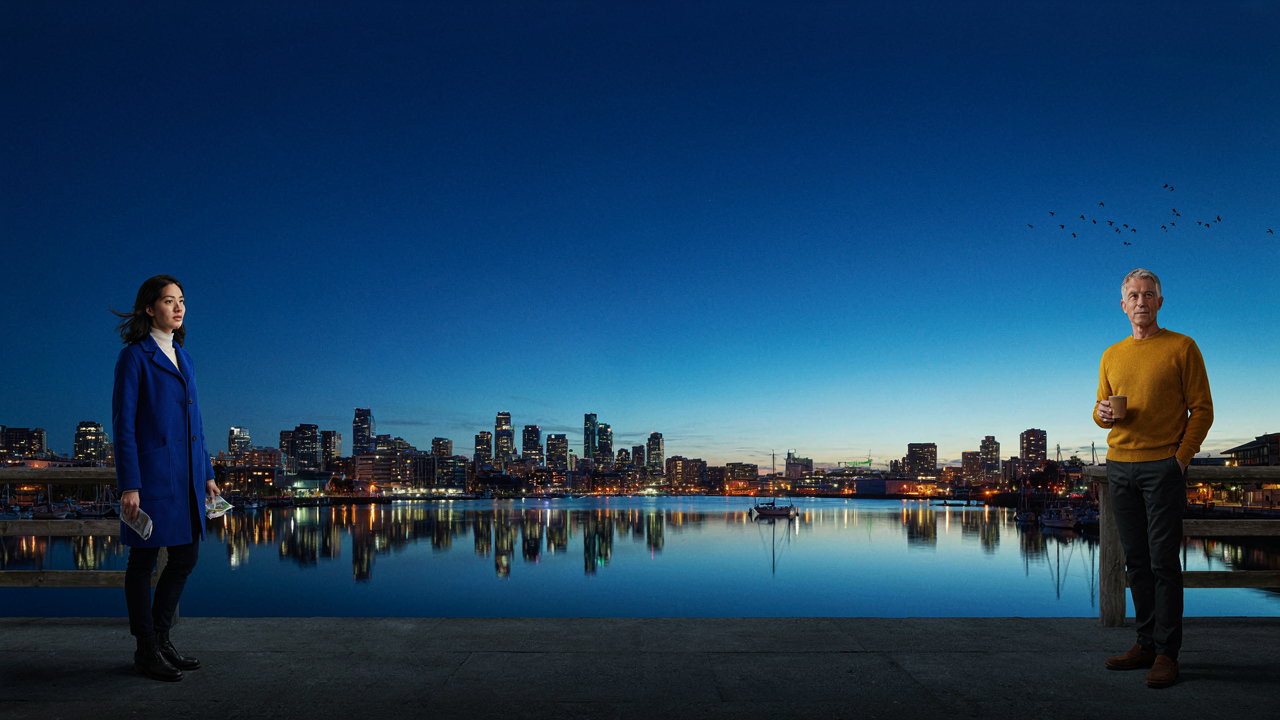
The Blue Hour Myth: Why Timing Is Overrated
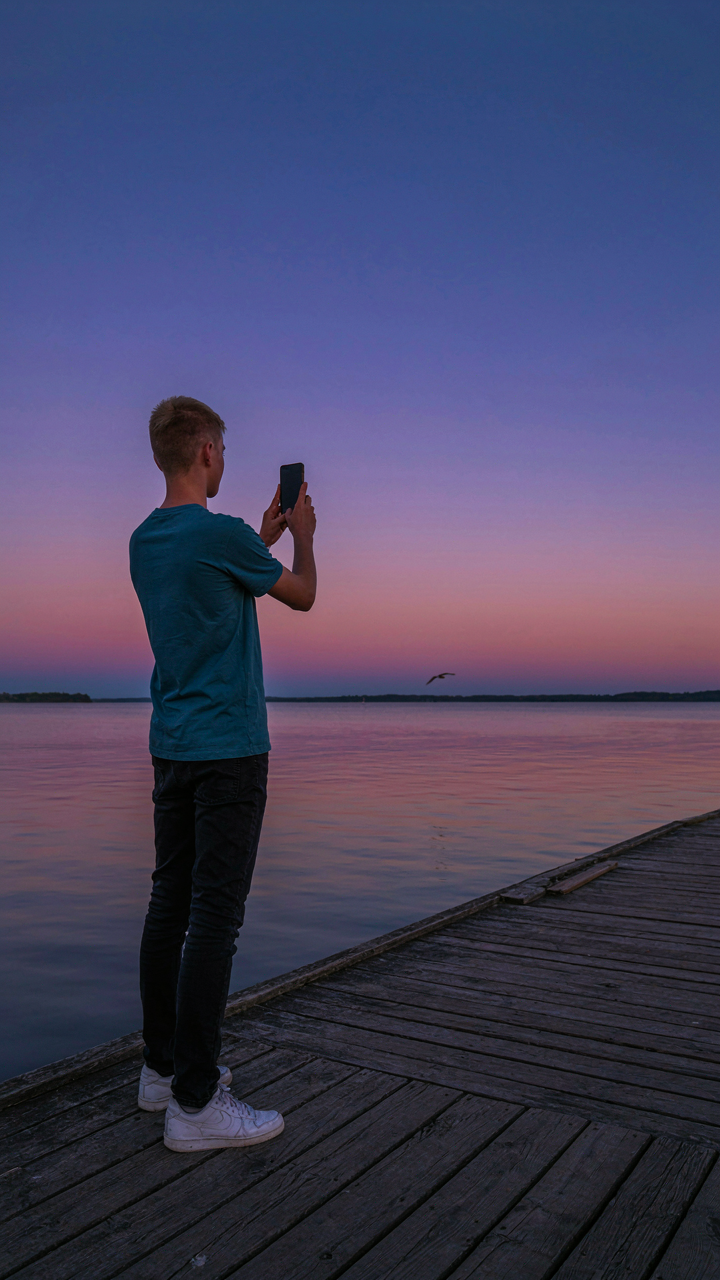
The Golden Hour Isn’t Actually Golden
You want permission to stop obsessing over the clock because you’re tired of missing shots while calculating sunset. Here’s the mechanism: the “magic hour” concept comes from film and photography tradition, not physics. Light behaves on a spectrum, not a schedule. Your iPhone’s sensor doesn’t care about calendar definitions. The window where you can shoot compelling blue hour images spans hours, not minutes, because twilight is a gradient, not an event.
Professional photographers invented the magic hour myth to simplify a complex problem into a repeatable formula. That formula sells workshops and creates artificial urgency. Your iPhone is more flexible than that framework allows. The real constraint isn’t the clock. It’s your phone’s ability to gather enough light while keeping ISO low and shutter speed fast enough to avoid blur. That capability window is wider than anyone tells you.
Light Exists On A Continuum, Not In Slots
Physics calls this the electromagnetic spectrum. For iPhone blue hour photos, treat the spectrum as a sliding scale of usable light intensity rather than hard start and stop times. Thirty minutes before sunset, you have one set of constraints. Sixty minutes after, you have different ones. Both work. Neither is objectively superior unless you’re chasing a specific look, and most people don’t know what look they actually want.
The real variable is your subject’s relationship to remaining light. A cityscape needs less ambient light than a landscape because buildings hold reflectivity longer. Water reflects the remaining sky longer than trees do. Your phone’s processing engine adapts to whatever light you give it, but it makes different trade-offs depending on intensity. Stop waiting for the perfect moment and start understanding what your specific scene needs from the light at each stage of twilight. That’s where control actually lives.
Beyond Instagram Filters: The Raw Power Of IPhone ProRAW For Blue Hour Night

Unlocking IPhone’s Native Data Capture
You want ProRAW because you think it’s a shortcut to looking like you know what you’re doing. It’s not. ProRAW is signal processing. The iPhone’s computational photography pipeline normally discards 60 to 70 percent of the sensor data it captures, then applies aggressive noise reduction and color science locked behind Apple’s algorithms. ProRAW keeps that raw sensor information intact, giving you the actual light data instead of a processed interpretation of it.

The blue hour presents a specific technical problem: low light combined with color temperature shifts that the iPhone’s white balance wants to correct toward warmth. ProRAW captures the scene’s spectral information before that correction happens. When you shoot ProRAW on iPhone 12 Pro and later, you’re storing 12-bit linear data that preserves shadow detail and tonal separation that the standard JPEG pipeline would have already destroyed. This matters because blue hour light sits at roughly 3500 to 4500 Kelvin, and the phone’s default logic pulls it toward neutral, which kills the mood entirely.
Post Processing Latitude For Blue Tones
The common advice is to shoot in manual mode and expose for the sky. That’s incomplete. Latitude in photography comes from thermodynamics, not artistic preference. When you increase exposure in-camera to preserve shadow detail, you’re literally capturing more photons across the image sensor. ProRAW’s linear encoding means a one-stop exposure boost in-camera gives you four times the tonal information to work with in the shadows compared to a standard JPEG shot at lower exposure and then lifted in post.
This distinction matters in post-processing because blue tones live in the shadow and midtone range of your histogram. Crushing blacks destroys them. When you open ProRAW files in Lightroom or Final Cut Pro, keep the initial tone curve adjustment minimal, then use selective blue channel lifting in the shadows only. The specifics: raise the blue channel by 10 to 20 points in shadows, leave midtones flat, reduce blue slightly in highlights to prevent blown-out sky halos. This preserves the color information ProRAW captured and avoids the posterized look of pushing a limited-bit JPEG’s color range.
The “Depth Perception” Protocol: Crafting Moody Blue Hour Wallpaper Aesthetic
Layering Light And Shadow For Visual Weight
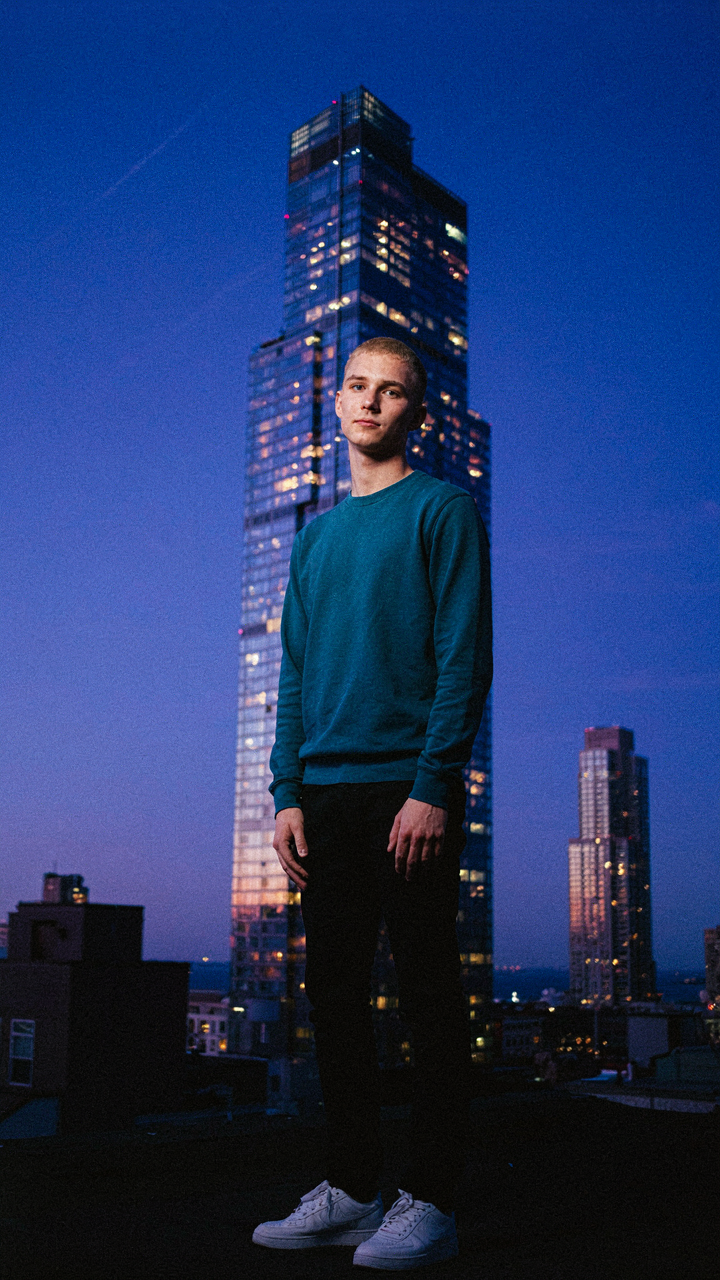
You want this image to feel important enough to live on your phone’s lock screen instead of disappearing into your camera roll. Here’s what actually works: borrow from chiaroscuro, the Renaissance technique of extreme light-dark contrast. Your iPhone’s sensor captures depth through separation, not blur. The mechanism is simple: shadows recede, highlights advance. Place a bright element (streetlight, window, moon) against deep blue sky, then nest darker foreground objects between them. This creates visual layers your eye reads as three-dimensional.

The common advice says “expose for the highlights.” That’s half wrong. Exposing for highlights crushes the shadows into pure black, which kills depth. Instead, expose for the midtones of the sky, then let the foreground fall naturally dark. Tap your iPhone’s exposure slider on the blue hour sky itself, not the landscape below. This preserves the tonal separation that makes the image feel substantial. The depth isn’t in the camera. It’s in the contrast you control.
Foreground Interest And Background Diffusion
Soft, diffused backgrounds are free real estate your iPhone hands you during blue hour. The low-angle sun scatters light through atmosphere, creating natural diffusion without technical effort. But your foreground must have edge and definition, or the image collapses into a flat gradient. Place a sharp silhouette in the lower frame, not a blurry shape. A building profile, tree branch, or power line cutting across the composition gives the background space to feel deep. Sharpness in the foreground, softness behind it, creates the illusion of distance.
Switch to portrait mode if your foreground object is isolated and distinct. The iPhone’s computational bokeh separates the sharp element from the blue hour sky effectively. Position your subject one-third from the edge, not centered. This asymmetry forces the viewer’s eye to travel through the frame, scanning the depth layers you’ve built. Take the shot at the exact moment the sun dips below the horizon but light still floods the upper sky. This timing gives you maximum tonal range between foreground and background. Tap focus on your foreground element, then adjust exposure down one to two stops to preserve the blue in the sky.
The “Contrast Compression” Method For Blue Hour Photography
Reducing Dynamic Range For Dramatic Effect
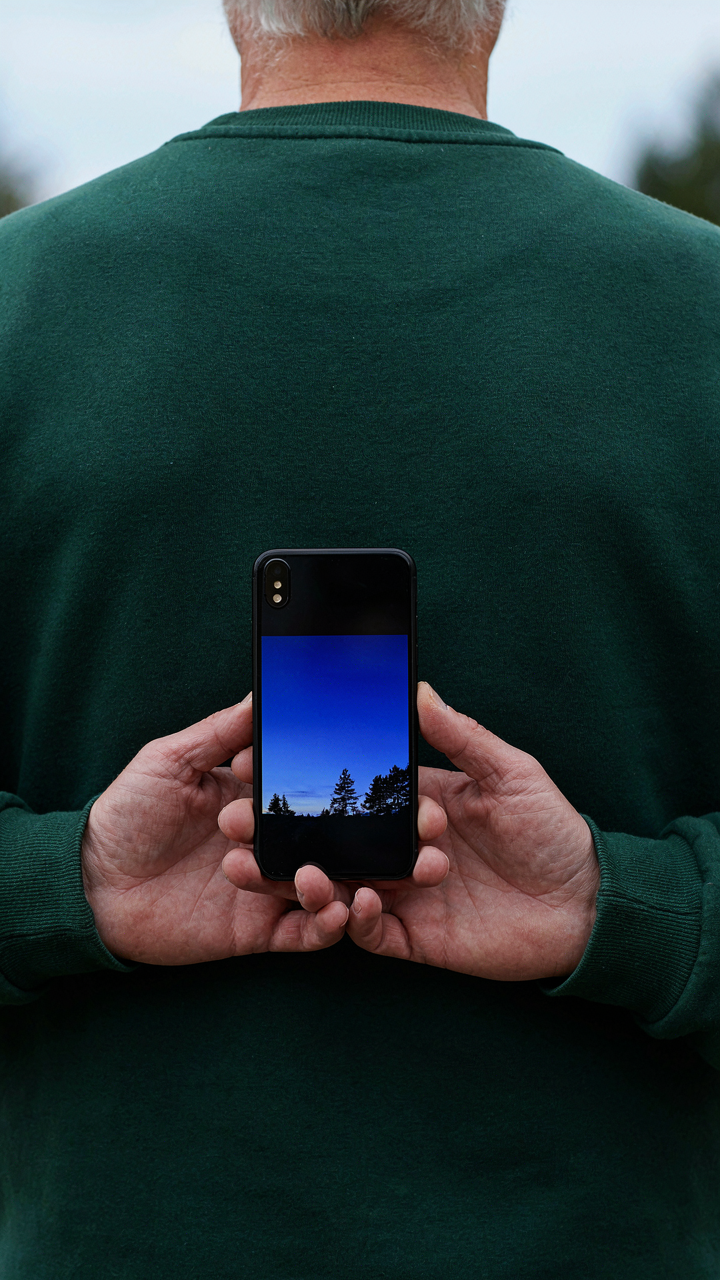
You want these photos to look effortless, like you just pointed and shot something inherently cinematic. The mechanism is borrowed from signal processing: compression. In audio, compression reduces the distance between loud and quiet. In blue hour iPhone photography, you’re doing the inverse on purpose. You’re narrowing the gap between your brightest sky and darkest foreground so the image reads as one cohesive mood instead of competing zones fighting for attention.

The iPhone’s default exposure algorithm fights you here. It tries to preserve detail everywhere, which destroys the blue hour effect. You override this by tapping the screen and sliding down 20 to 30 percent before you shoot. This underexposes the overall frame. Shadows go nearly black. Mid-tones flatten. The sky holds its color instead of blooming white. The compressed range now works for you instead of against you.
Strategic Use Of Highlights And Deepest Shadows
The real mistake people make is treating highlights and shadows as separate problems to solve. They’re not. They’re anchor points. In blue hour photos, your deepest shadows should go to actual black or near-black—not muddy gray. Your highlights should sit just below the clipping point. This creates visual tension without noise or blown-out regions. The frame reads as intentional contrast, not accidental exposure failure.
Open your iPhone’s Photos app and enable the exposure and shadows sliders in edit mode after you shoot. Pull shadows all the way down first. This forces foreground elements—buildings, trees, people—into silhouette. Then bring highlights down slightly, maybe 15 to 25 points, to prevent the sky from washing out. The frame now has a frame: deep blacks anchor the bottom, controlled sky sits on top. Lock these edits as a preset and apply them to every blue hour batch you shoot.
Blue Hour City: Urban Environments As Light Laboratories
Harness Artificial Light Sources
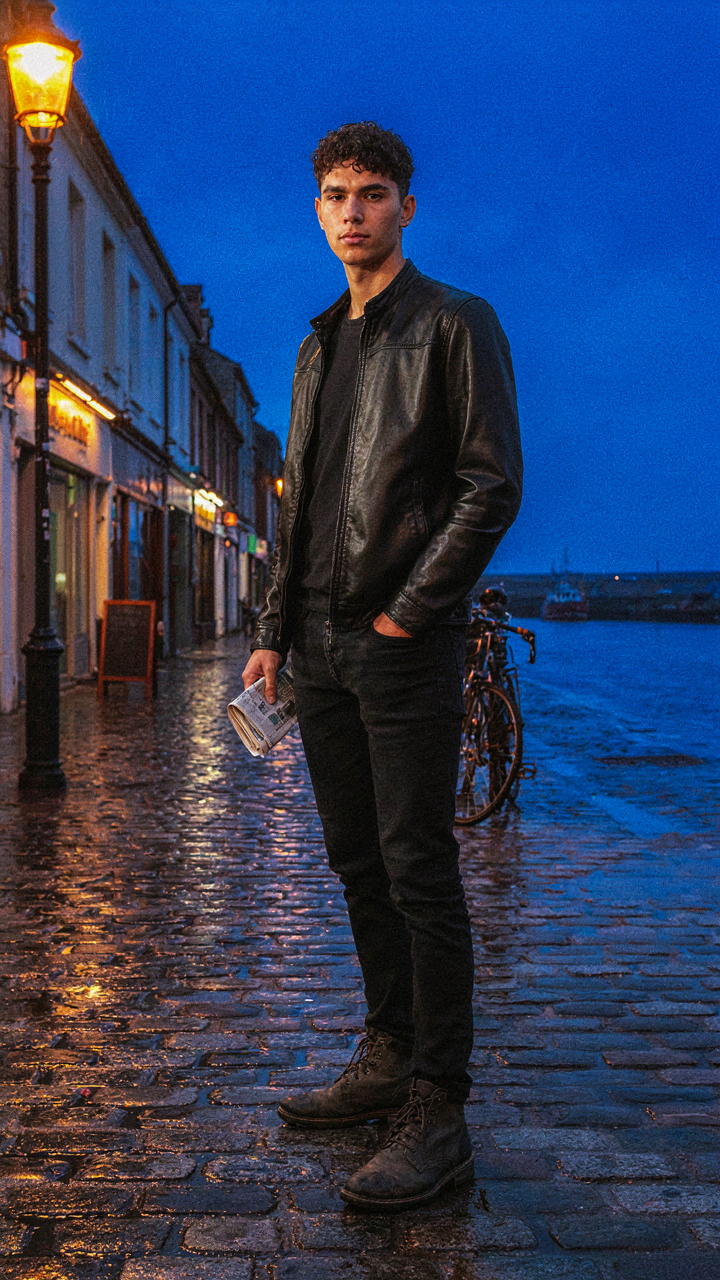
You want blue hour city shots because they make you look like you know something about photography. The mechanism is simple: you’re not fighting natural light anymore. You’re borrowing from electrical engineering’s concept of color temperature—the kelvin rating that determines whether light reads warm or cool. Street lamps, neon signs, and building lights all emit different temperatures. Your iPhone’s sensor doesn’t blend them the way your eye does. It records them as distinct layers of color information stacked in the same frame.

The common advice says to “use the ambient light.” That’s too vague. What actually works: position yourself so artificial light sources create separation between your subject and background. A sodium vapor streetlight behind your subject creates a warm halo. That warmth contrasts against the blue sky still holding residual light. Your iPhone captures this as dimensional rather than flat. Expose for the sky, let foreground elements fall slightly dark, and the temperature contrast does the heavy lifting. The light sources become compositional tools, not accidents you tolerate.
Reflections And Wet Surfaces Build Depth
Wet pavement isn’t a bonus during blue hour. It’s the difference between a snapshot and a layered image. When rain sits on asphalt or a street is freshly hosed, it acts as a mirror for both sky and artificial light simultaneously. Your iPhone reads these reflections as secondary light sources. They don’t just repeat the scene above—they create a lower plane of information your eye can track separately.
Position yourself low, frame so wet surfaces occupy the bottom third of your shot, and shoot into the reflection rather than at it head-on. Puddles near streetlights work best because the artificial light bounces off water with intensity the iPhone sensor actually resolves. Wet surfaces also darken surrounding areas, which pushes your contrast ratio higher and makes the blue in the sky read deeper. Check your shot in the phone’s native editing tools immediately after capture. If reflections are too faint, you underexposed the ground plane. Adjust your framing or move closer to the water source.
Engineering Atmosphere: Beyond A Rainy Blue Sky
White Balance As A Tool, Not A Setting
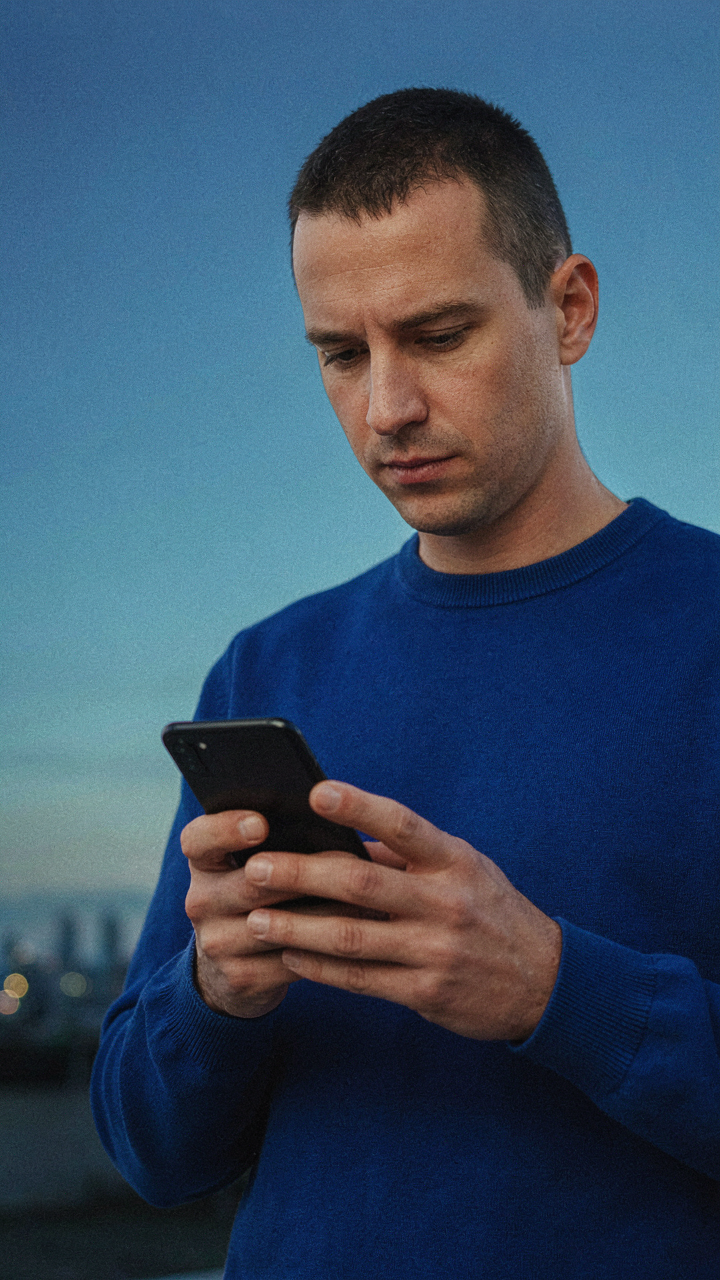
You want to look like you know what you’re doing with light. That’s the real reason you’re reading this. White balance is the mechanism that determines whether your blue hour sky reads as melancholic or toxic, and most people treat it like an afterthought. In color science, white balance is essentially a calibration problem: your phone’s sensor reads all wavelengths of light and decides what counts as “neutral.” During blue hour, this decision is everything. The iPhone doesn’t know you want drama. It wants to correct the scene back to daylight.

Override this impulse by setting your white balance deliberately. Open the Camera app, tap the scene, then swipe up to access exposure controls. Long-press the white balance icon (the thermometer) and drag left toward cooler tones, or tap into the native presets. Shooting in RAW through a third-party app like Halide gives you full white balance control in post, but most people don’t need that complexity. The standard iPhone camera’s white balance slider moves in Kelvin steps, and pulling it 500 to 1000K cooler during blue hour deepens the cyan and pushes your subject into genuine moodiness. Test this on your next evening shoot.
The Physics Of How We Read Cool Tones
Cool tones trigger a specific neural response, not because of culture or taste, but because human vision evolved in daylight. Cooler color temperatures signal lower light intensity and distance to the brain, which activates attention in a way warm tones don’t. In perceptual psychology, cool tones read as recessive and formal. Your iPhone’s blue hour sky isn’t just darker. It’s literally shorter in wavelength, and your eyes process that shift as a signal of depth and time passing. The psychology is physics wearing a mask.
This is why adding magenta or cyan to your shadows during blue hour works harder than adding warmth ever could. Warm tones in low light flatten the frame and read as careless. Cool tones in the same frame feel intentional and controlled, even if the exposure is identical. The mechanism is simple: contrast between cool shadows and your subject’s natural skin tone or foreground creates visual tension that holds attention. Shoot your next blue hour portrait with a -500K white balance shift and watch how the frame demands to be looked at longer.
The “Light Funnel” Principle: Applying Military Strategy To Blue Hour Pictures
Where Light Falls Off Fastest
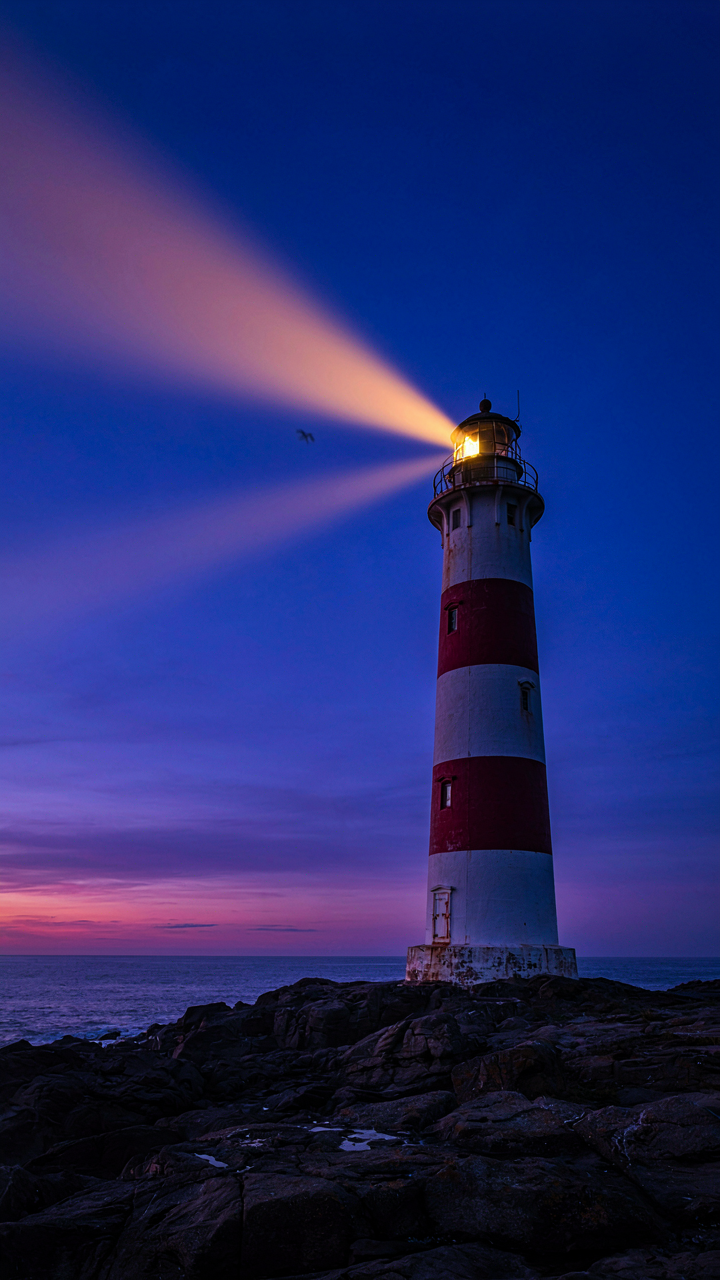
You want people to look at what matters in your shot without thinking about it. That’s the real reason you care about this section. Military strategy calls this concept “concentration of force”—directing maximum resources to the decisive point. In blue hour iPhone photography, light fall-off is your decisive point. The sky fades from blue to near-black at the top. Your subject either sits in that gradient or it doesn’t. Position matters because the iPhone’s sensor reads the entire frame at once. You can’t selectively brighten your subject later without destroying the sky.

The mechanics are simple. Blue hour light travels from a low angle, creating steep falloff as it moves up the frame. Shoot with your subject in the upper third where light intensity drops fastest. The darker zone above creates contrast your subject can’t avoid. This isn’t composition theory—it’s how photons actually behave during twilight. Test this by taking the same shot with your subject at frame center versus frame top. The top-positioned version separates itself from the background automatically.
Illumination Shapes Where Attention Lands
Most iPhone blue hour advice says “find interesting foreground.” That’s incomplete. You need to control where remaining light hits your foreground to create a focal point that works. Think of this like urban planning: roads (light) direct foot traffic (attention). Street lamps create nodes where people stop. Your subject needs to become a node—a place where whatever available light remains gathers first.
Use practical light sources deliberately. A lit window, a car headlight, a phone screen, or reflected streetlight becomes your illumination anchor. Position your subject so this light hits it before anything else in frame. The iPhone’s metering system reads the brightest area first. You’re exploiting that by making your subject the brightest thing it can be within the blue hour’s constraints. This concentrates viewer attention faster than any compositional rule. Set up your shot so primary light source illuminates subject first, then let blue ambient light fill the background.
The Unseen Tools: Accessories For Blue Hour Photography Aesthetic
Tripods For Stability And Long Exposures
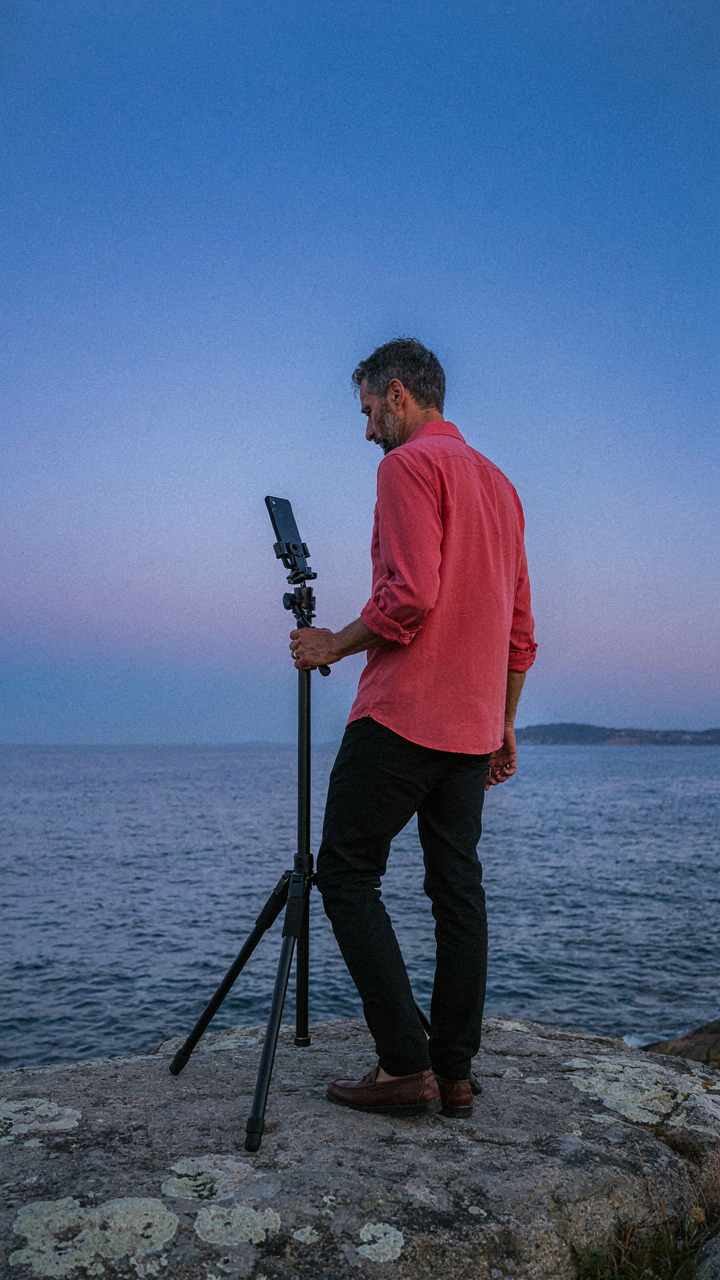
You want the gear because you think it makes you a real photographer. What actually matters is this: blue hour light demands slower shutter speeds, and your hand cannot hold steady at one-quarter second. Physics calls this the signal-to-noise ratio in imaging systems. On your iPhone, the tripod is your noise reduction tool, keeping the sensor stationary long enough to gather light without motion blur degrading detail in the sky.
- Gorillapod or flexible mount: Wraps around objects or stands independently, allowing off-center compositions that phones on rigid tripods cannot achieve without repositioning the entire rig.
- Phone clamp with ball head: Isolates vibration from wind or ground movement, critical when exposures exceed half a second and the slightest movement introduces camera shake.
- Weighted base tripod: Prevents tipping in outdoor conditions where you cannot anchor to a fixed structure, essential for waterfront blue hour shoots where ground is uneven.
- Intervalometer or remote shutter app: Eliminates finger-tap vibration by triggering the shutter remotely, keeping the phone untouched during exposure.
- Level attachment: Ensures your horizon is straight during setup so blue hour skies sit correctly in frame without requiring post-crop correction.

The real mechanic: longer exposures at blue hour require a stable platform because iPhone sensors gather light in discrete time intervals. Move the phone during that interval and you introduce directional blur. Mount it, lock it, trigger it remotely, then wait for the exposure to finish. That separation of human action from image capture is what separates sharp blue hour photos from blurred approximations.
External Lenses And Their Effect On Mood
Most iPhone photography advice treats external lenses as optional upgrades. That is incomplete. A wide-angle lens alters how the viewer experiences depth and scale during blue hour, fundamentally changing emotional weight. A telephoto compresses distance and isolates mood to a narrower slice of sky. These are not cosmetic changes. They are compositional levers that reshape what the frame communicates about dusk light.
Wide-angle lenses exaggerate foreground-to-sky depth, making land or water feel substantial against an expanding blue hour atmosphere. This creates vulnerability. Telephoto lenses eliminate foreground competition entirely, filling the frame with sky texture and gradient alone. This creates intensity. Neither approach is better. The choice depends on whether you want the viewer to feel small within a landscape or absorbed into light itself. Select the lens based on the emotional state you want blue hour to transmit, then build the rest of the shot around that decision.
Cultivating A Blue Hour Aesthetic Inspiration: Analyzing Masterpieces
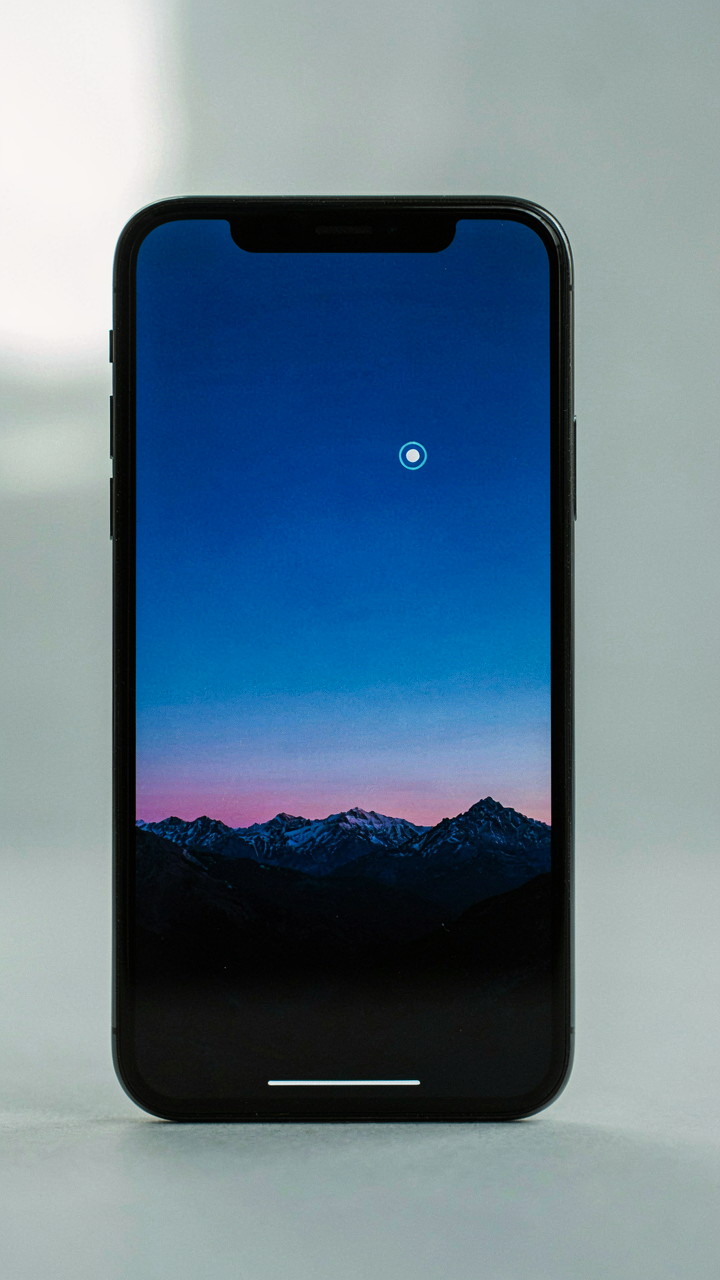
What Cinematography Reveals About Exposure
You want to look like you know something other people don’t. That’s the real reason you’re studying blue hour work. The mechanism is this: cinematography already solved the iPhone’s core problem—capturing detail in near-darkness without blowing the sky. Film crews use a principle called “exposure for the highlights,” which means they meter toward the brightest part of the frame and let shadow detail fall where it lands. On iPhone, this translates to tapping your brightest sky element, not your subject, when you lock exposure. The camera stops hunting for average brightness and commits to preserving the deep blue gradient instead.

Most iPhone users tap their subject or tap nowhere and let the meter average everything into gray mud. That’s the gap. Study how Villeneuve, Fincher, or Deakins frame dusk sequences and you’ll notice they all meter the light source, not the dark elements. Your iPhone’s exposure lock works identically. When you replicate this one move, the difference between your photos and everyone else’s becomes obvious.
The Historical Logic Behind Deep Blue Palettes
Painting history shows us why deep blues feel authoritative rather than sad. The Romantic era painters, particularly Caspar David Friedrich, used Prussian blue and indigo not for moodiness but for visual weight—the color commanded the frame the way a subject does. This isn’t aesthetic preference, it’s optical hierarchy. Deep blues recede further and feel more permanent than lighter tones, which is why they anchor compositions. Your iPhone renders deep blue skies with remarkable tonal separation when you expose correctly because the sensor captures the full range without compression.
The technical reason: iPhone sensors handle blue wavelengths with higher sensitivity than other colors. During blue hour, when the sun sits below the horizon and only scattered blue light remains, your sensor has the least competition from red and green channels. This means the blue channel reaches full resolution while the other channels stay proportionally dimmer. Instead of fighting this, successful blue hour photographers meter and compose around it. Start with scenes where deep blue dominates at least 60 percent of the frame, then position subjects as silhouettes or minimal contrast elements within that space.
The Blue Hour Lie: Why You Fail And How To Fix It
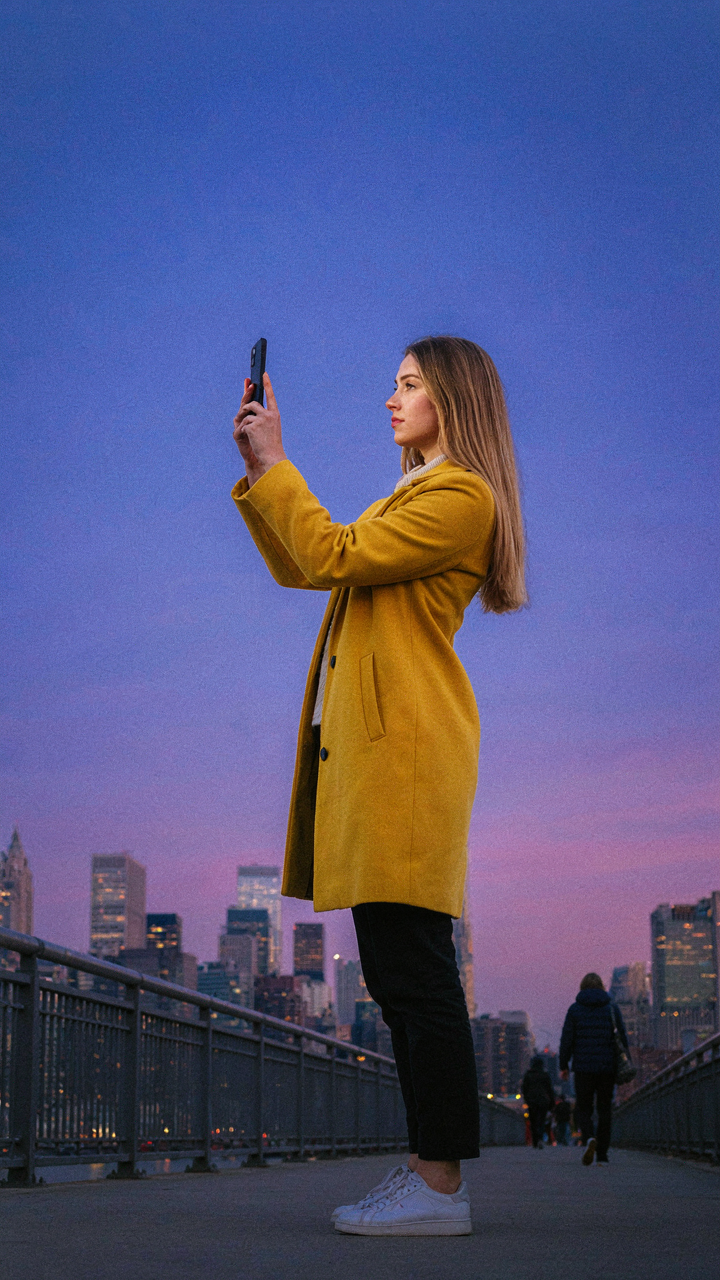
You’re Waiting For Permission
You’re scrolling through blue hour iPhone photos hoping someone tells you it’s okay to stop shooting flat daylight. The real mechanism: passive photographers treat their phone like a consumer device instead of a tool. You check the time, wait for twilight, then shoot whatever’s in front of you. The camera doesn’t fail you. Your lack of intent does. You’re collecting moments instead of constructing images.
The iPhone’s sensor performs best during blue hour because of light’s directional quality, not magic. Between sunset and full darkness, diffuse light fills your frame evenly. Your phone’s computational photography kicks in with less noise and better color separation. But none of this matters if you’re standing in the same spot as everyone else. You need a reason to be there before the light gets good.
The Operator’s Mindset Shift
Psychology calls this the difference between extrinsic and intrinsic motivation. Apply it here: you’re shooting for external validation (likes, portfolio proof) instead of internal standards (your image or none at all). A creator doesn’t ask if blue hour photos are worth taking. They decide what story the light tells, then position themselves to capture it. They scout locations at noon. They return at dusk with a frame already built in their head.
The shift is tactical. Stop thinking about when to shoot. Start thinking about what to shoot and why that location at that time delivers it. Your iPhone’s Night Mode, Smart HDR, and ProRAW exist as tools for executing this vision, not as excuses to point and hope. You move from consumer to operator the moment you stop asking if the light is good and start asking if you’re positioned correctly for the shot you already decided to make.
The Real Obstacle Isn’t The Light; It’s Your Refusal To Master The Manipulation Of It
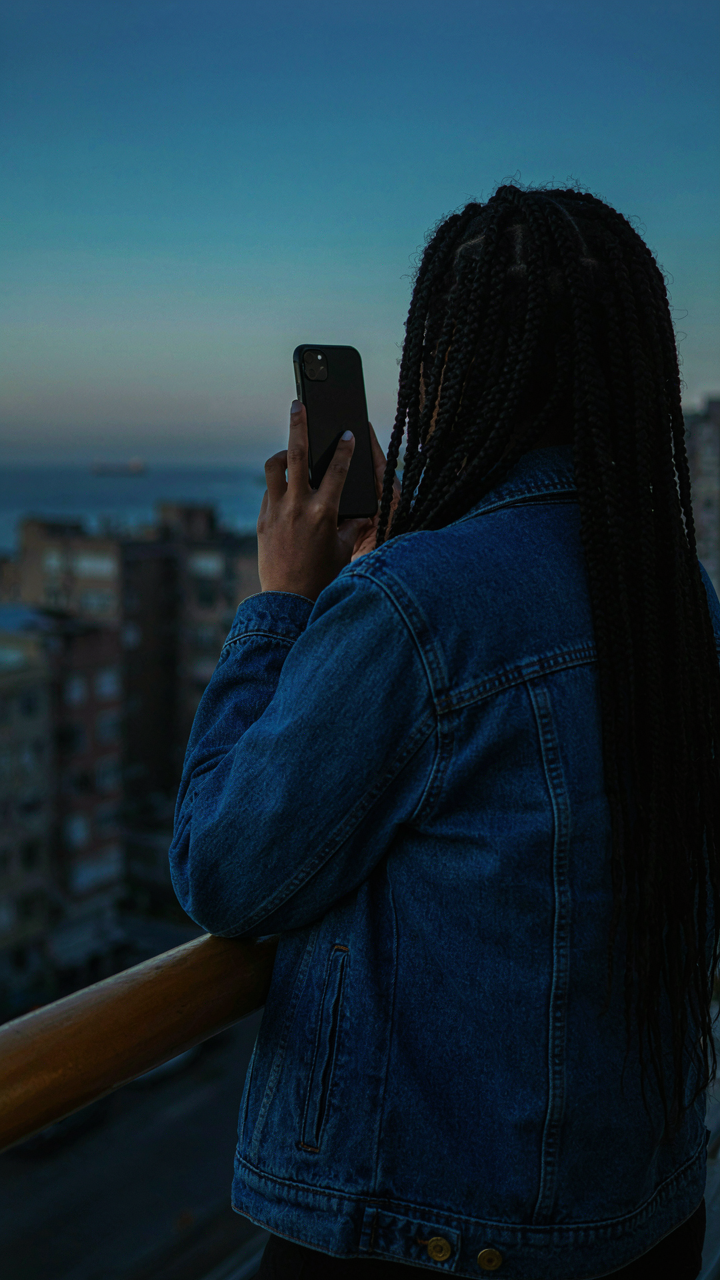
Most photographers blame their phone. They blame the time of day. They blame the weather. The truth is uglier: they won’t spend thirty minutes learning exposure compensation and understanding how their camera app actually works. Blue hour light doesn’t require expensive gear or perfect conditions. It requires you to stop making excuses and start experimenting with the controls you already have. Pull up your iPhone camera right now and shoot ten photos with different exposure settings. The skill gap between mediocre and magnetic isn’t talent—it’s the willingness to look incompetent while you learn.



