The Myth Of Effortless Depth: Why Your Blurry Photo Falls Flat

The Digital Depth Map Illusion
You want to believe the iPhone captured real depth information so you can fix it later. Here’s the mechanism: the iPhone doesn’t actually capture depth. It estimates it. The camera uses dual lenses or computational analysis to guess which pixels are close and which are far, then it applies blur algorithmically. This educated guess works fine until it doesn’t, which is exactly when you need to adjust it.
The depth map is a mathematical construct, not a photograph. Apple built this system to mimic optical blur from a DSLR with a telephoto lens. The phone creates a grayscale layer where brightness represents distance. Darker areas blur more, lighter areas stay sharp. When you shoot in Portrait Mode, you’re not capturing depth itself. You’re capturing a regular image plus a numerical prediction about what depth should exist.
What The Camera Truly Captures
Everyone assumes the iPhone records depth data alongside your photo. It doesn’t. The device captures one standard image file and stores a separate computational map that tells the processing engine where to apply blur. This separation matters because it means the depth information is a best guess, not ground truth.
When you adjust blur after shooting, you’re not revealing hidden depth data. You’re manually correcting the algorithm’s mistakes using Depth Control. The iPhone stores enough information to let you shift the blur plane slightly, but you cannot recover detail the algorithm never recorded. The blur happens in software. Adjusting it means telling that software to recalculate where the blur boundary sits based on your manual input.
Depth Control Deconstructed: The Exposure Triangle Of IPhone Portrait Blur

Aperture Vs. Software Simulation: The Key Difference
You want to believe your iPhone creates real depth of field like a camera with a physical aperture. It doesn’t. The mechanism: your iPhone has a fixed aperture, typically f/1.6 to f/2.8 depending on the model. Depth Control works backward—it uses computational photography to simulate what a larger aperture would look like by analyzing the scene after capture. The camera already took the shot. You’re editing a mathematical model, not controlling light entry.

Real apertures (in DSLRs or actual lenses) control how much light reaches the sensor while you shoot. iPhone’s Depth Control adjusts a software mask applied to already-captured pixels. This distinction matters because it means your blur quality depends entirely on how well the phone’s depth map reads your subject. A blurry edge on a person’s hair? That’s the algorithm misreading the boundary, not a lens limitation. You can only fix what the initial depth data allows.
The F Stop Slider: What Actually Moves
The f-stop numbers on your Depth Control slider are lies dressed as physics. When you slide from f/2.8 to f/1.4, you’re not changing your phone’s physical aperture—you’re scaling a blur radius applied to the background layer. The slider translates a number you recognize into a pixel-blur amount the software understands. Lower f-stop values produce wider blur radiuses; higher values tighten focus. It’s marketing using familiar photography language to describe a completely different process.
What the slider genuinely does: it adjusts the feathering and intensity of the background blur mask in real-time. Move it toward f/1.4, the algorithm increases blur on out-of-focus areas and sharpens the transition. Move it toward f/16, blur decreases and focus depth expands. The mechanical action is blur manipulation. The numbers are just calibrated to feel intuitive to photographers. When you finalize the edit, you’re baking these values into a new file layer that stays editable until you close and reopen the image.
The Subject Isolation Protocol: Crafting A Deliberate Blurry Face
Foreground And Background Separation
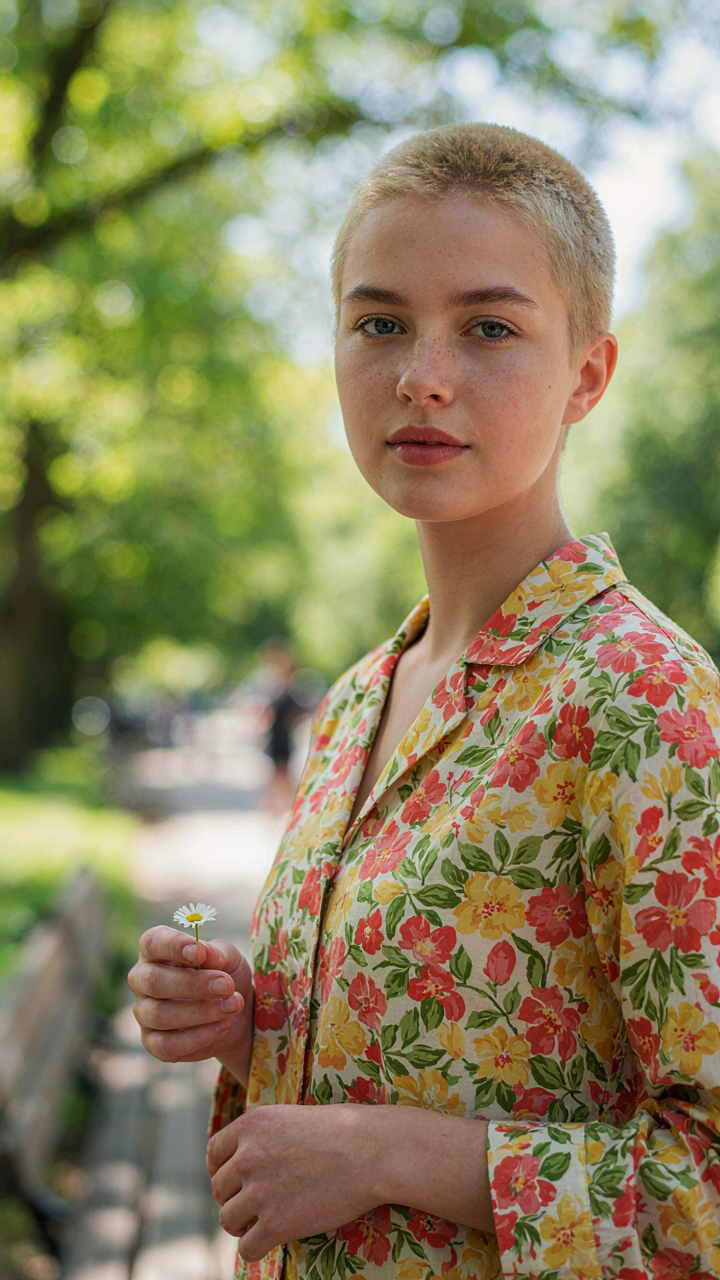
You want this shot to look professional, which means you need the subject to pop and the chaos behind them to disappear. Physics calls this “depth of field” – the zone where objects stay sharp. On iPhone, Depth Control lets you manipulate this zone after the shot. The blur intensity slider doesn’t just soften the background. It controls how aggressively the camera isolates your subject from everything else by adjusting the simulated aperture value retroactively.

The mechanism is computational, not optical. Your iPhone captured depth data during the shot using dual cameras or LiDAR. Depth Control then remaps that data to push the blur further back or pull it closer to your subject. Move the slider right, and the algorithm treats the subject plane as narrower, making everything farther away drop into aggressive blur. This is why subjects at varying depths can look separated inconsistently. The phone assigns depth based on edge detection and distance estimation, not actual physical positioning.
Blending The Face Blur Effect
Most people slide the blur all the way up and wonder why their portrait looks like a cutout pasted on a blurred poster. The problem is real: extreme blur creates a hard boundary between the subject and background. That edge reads as fake because it violates how natural depth of field actually works in photography. Real lenses have gradual transitions. iPhone’s computational approach can look harsh if you ignore one critical detail.
The fix isn’t artistic intuition. It’s restraint applied to a specific layer. Keep the blur slider between 3 and 6 on the intensity scale for most portraits. This range lets the algorithm maintain soft transitions around hair, shoulders, and edges where the subject meets the background. At these settings, the blur still isolates the face effectively without creating that artificial separation. Test your specific subject and lighting before finalizing. The goal is invisibility, not impact.
Beyond The Blurry Face Aesthetic: Intentional Imperfection

When Sharp Wins
You want blur because you think it looks professional. That’s the real reason. Here’s what actually matters: portrait mode blur is a tool, not a style. It’s borrowed from photography’s depth of field principle, where a shallow depth of field isolates a subject. On iPhone, shallow depth means foreground and background blur while keeping your subject sharp. But shallow isn’t always right.

Sharp backgrounds force context into the frame. They tell a story about where your subject exists. A blurred coffee shop behind a face reads as generic. A sharp espresso machine, specific lighting, actual people reads as real. Depth Control lets you dial blur down to zero after shooting. Use it. The consensus says blur everything. That’s wrong.
Direct The Eye With Focus
Blur doesn’t guide viewers anywhere if you misplace it. Think like a designer using negative space. You control what matters by choosing what stays sharp. A sharp subject with a soft background works. A sharp subject with a sharp background works too if you have a reason. Depth Control changes where your focal plane sits after the shot.
The mechanism is simple: move the blur slider left toward zero, and you sharpen the entire frame incrementally. Move it right, and you deepen the blur. The real skill is deciding what visual information your viewer needs to understand the moment. Decide that first. Then adjust the slider to match it.
The Post Capture Power Play: Editing Your Blurred Pic

The Photos App: Where Most People Stop
You want to look like you know what you’re doing with a camera. The truth is you’re hoping the software does the heavy lifting after you’ve already pressed the button. Apple’s Photos app lets you adjust depth after capture because the iPhone stores depth data alongside your image—a map of distance information the camera collected during shooting.

Open any portrait mode photo in Photos, tap Edit, then tap the depth control icon at the bottom. You’ll see a slider marked with an f-stop number. Moving it left increases blur, moving it right decreases it. This is a post-hoc adjustment of aperture simulation, not actual optical change. The mechanism works because iOS re-renders the background based on the depth map it already has on file.
Third Party Apps: The Real Depth Control
Most people don’t know the Photos app is limited. You’re locked into Apple’s blur algorithm and can’t isolate specific elements—you can only blur the entire background uniformly. Third-party apps like Focos, Lens Distortions, and Halide give you per-pixel depth control, meaning you can selectively sharpen or blur individual objects in the frame after shooting.
These apps read the same depth data but let you paint blur onto specific areas, adjust focus planes vertically, and apply different blur shapes to different zones. The advantage is surgical precision. You can keep someone’s shoulder sharp while blurring their arm, or recover detail in a face that the automatic algorithm over-softened. Download one, import your portrait, and use the manual focus adjustment tools to rebuild your image the way you intended it before you pressed capture.
The Environment Equation: Maximizing Depth Before The Shot

Distance And Separation Matter More Than The Camera
You want to look like you know what you’re doing with a camera. The real mechanism here is optical—borrowed from physics, it’s called focal length compression. iPhone Portrait Mode uses computational depth estimation, but it still obeys the rule of subject separation: the distance between your subject and the background determines how much blur the algorithm can convincingly generate. Close backgrounds eat blur alive. Far backgrounds give the software room to work.

Stand your subject ten feet from a wall instead of two feet away. The computational depth map gains contrast when the subject and background occupy genuinely different planes in space. iPhone’s depth sensor reads this spatial information and applies blur proportionally. No separation equals no data for the algorithm to work with. Position first, then shoot.
Contrast Between Light And Shadow Accelerates Perceived Depth
Everyone says lighting helps portraits. That’s incomplete. What actually works is tonal separation. When your subject is lit differently than the background, the depth map detects edge contrast more reliably. iPhone’s algorithm leans on luminance data to distinguish foreground from background. High contrast lighting gives it cleaner information to process, which means sharper focus on your subject and more convincing blur behind them.
Use directional light that creates shadow on one side of your subject’s face while leaving the background in a different tonal zone. If your subject and background share similar brightness levels, Portrait Mode struggles. The blur reads as artificial because the depth estimation has ambiguous information to parse. Shoot during golden hour or use a single light source that naturally separates your subject from the environment.
The “Blurry Selfie Aesthetic” Trap: Authenticity Vs. Artifice

When Perfect Blur Becomes A Signal Problem
You want the blur to say something about your taste. That’s the real reason you’re tweaking it after the shot. In signal theory, blur operates like noise reduction in communication: too much and you lose the message entirely. iPhone portrait blur works the same way. Aggressive depth effect flattens texture and dimension, turning your face into a floating object separated from context rather than a person in a place.

The common advice is to maximize blur for “professional” results. Wrong. Professional portraits use blur strategically, not blanket coverage. When you over-smooth with extreme depth control post-shoot, you kill the details that make an image feel honest. Skin texture, environmental context, and subtle lighting disappear. The viewer senses the manipulation before they can name it. That artificial quality costs you credibility faster than a blurry photo would.
Know When To Flatten It Entirely
The moment you realize blur might be hiding something, remove it. This isn’t about being bold or raw for shock value. It’s about recognizing when context matters more than separation. A selfie in a meaningful location with full background depth reads as genuine. The same selfie with aggressive blur reads as someone hiding what’s behind them, which triggers distrust.
Depth control exists as a tool, not a mandate. If your lighting is strong, if your background adds information, if you’re somewhere worth showing, dial the blur down or kill it entirely. The aesthetic trend toward maximum blur is already fading because audiences caught on to what it signals: uncertainty about the image itself. Use the depth effect when it genuinely improves composition, not when you’re using it to fix what poor framing created.
Depth Control’s Limitations: When Not To Trust The Algorithm

Where The Algorithm Breaks Down
You want to believe the phone solved the problem so you don’t have to think about it. It hasn’t. Portrait mode uses computational photography—borrowing signal processing logic from radar and sonar—to map depth by comparing pixel data across multiple frames. The system treats edges as boundaries, but hair, fur, and translucent fabric don’t read as clean edges to the algorithm. They’re noise. When foreground elements sit close to the subject’s silhouette, the depth map collapses. The blur bleeds where it shouldn’t or stops where it should continue.

iPhone’s depth engine excels at distance but fails at transition zones. Complex edges like flyaway hairs, wispy fabric, or intricate jewelry confuse the sensor because they lack the contrast the algorithm expects. You get harsh cutoffs, haloes, or inconsistent blur application. The software assumes clean separation between subject and background. Reality doesn’t cooperate.
Manual Fixes That Actually Work
The real move isn’t accepting what the phone delivered. It’s knowing exactly where to intervene. Most guides tell you to reshoot or live with the result. Wrong. You can edit depth after capture using Depth Control in the Photos app, and that’s where precision matters.
- Refocus slider adjustment: Move the focal plane forward or backward to shift which depth layer gets sharp focus, then reapply blur to the corrected layer.
- Aperture value tuning: Dial f-stops tighter or wider to control blur intensity without reshaping the depth map itself.
- Selective mask application: Use the edit interface to manually exclude regions from blur, targeting problem areas like hair edges or foreground hands.
- Depth edge refinement: On compatible iPhones, slightly adjust depth boundary detection to tighten or loosen what the algorithm considers foreground versus background.
- Re-render with fresh parameters: Capture multiple depth snapshots during shooting, then choose the cleanest depth map in post instead of relying on the default frame.
The depth map doesn’t change when you adjust these controls—you’re remapping how the blur gets applied to the existing depth data. This matters because it means you work within the phone’s actual sensor limitations, not against them. Depth Control edits apply instantly and nondestructively, so you test iterations without degrading the original file. Stop reshoot when you can refine instead.
Beyond The IPhone Portrait Blur: Mastering Visual Hierarchy
Leading Lines Shape Where Eyes Move
You want blur to do the work for you so you can look like you know what you’re doing. That’s the real motive here. But blur alone doesn’t direct attention. Borrowed from visual design principles, “contrast” operates the same way in composition as it does in depth perception: the eye moves toward difference, not toward softness.

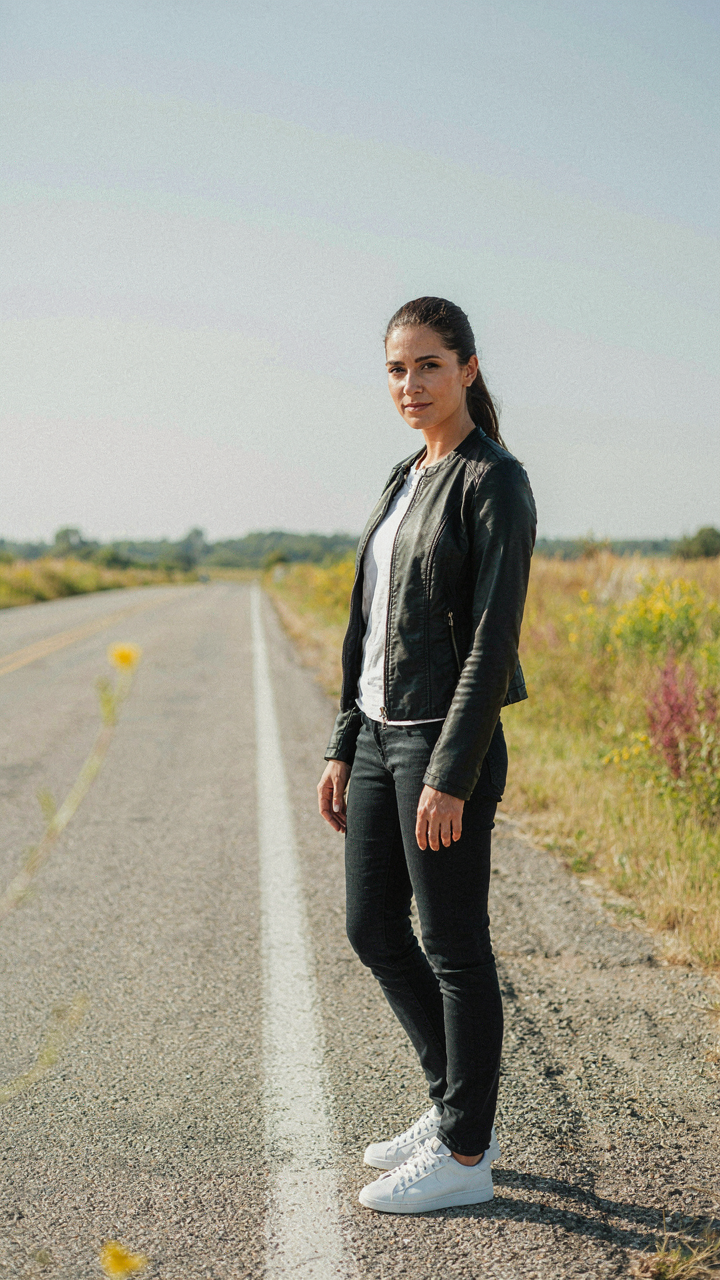
Leading lines force the viewer’s gaze along a path before blur even enters the frame. Diagonal lines, roads, shadows, and body positioning all create momentum. When you compose with strong leading lines, your subject sits at the endpoint of that visual journey. The iPhone’s portrait mode then reinforces that hierarchy by blurring the background, but the line did the heavy lifting first. Depth control lets you adjust blur intensity after shooting, but you can’t fix a composition that lacked direction to begin with. Establish the line first, then refine the blur strength.
Negative Space Creates Breathing Room
Empty space isn’t wasted space. It’s the mechanism that makes your subject matter. When you frame a face off-center with substantial empty area around it, that void becomes intentional. The blur then fills that empty space with visual weight and texture, creating separation without clutter.
Most phone photographers oversample their frames. They cram subjects into tight compositions, then blame the camera for muddy results. Negative space gives blur a job to do. Instead of fighting competing elements in a crowded frame, the blurred background becomes a canvas. Use depth control to increase blur intensity in those empty zones after shooting. This pushes the subject forward and transforms dead space into compositional strategy.
The Real Obstacle To Compelling Iphone Portrait Blur Isn’t The App; It’s Your Fear Of Intentional Imperfection
Most people never adjust their depth control because they’re waiting for permission to make their photos look “different.” You don’t need permission. Open your camera app right now and shoot something with maximum blur. Let it look strange. Let it look intentional. The tool doesn’t create better portraits—your willingness to break the rules does. Stop waiting for the perfect moment and start creating it.



