The Myth Of Unrepairable Speakers: What Actually “Blows”

Cone Tears Versus Voice Coil Failure
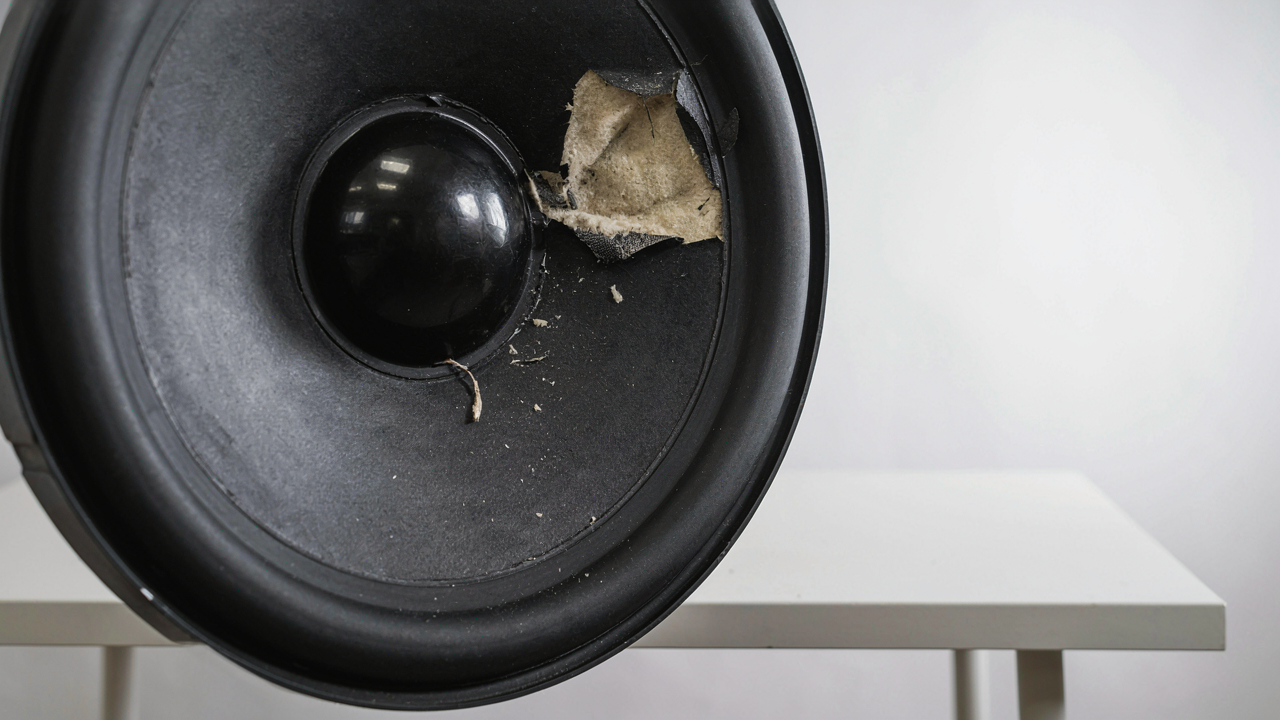
You want to believe your speaker is salvageable because throwing it away feels like failure. Here’s what matters: a cone tear and voice coil failure are fundamentally different problems that demand opposite repair approaches. Using electrical terminology, think of a cone tear as a mechanical “open circuit” and voice coil failure as a “short circuit.” One breaks the structural path. The other breaks the electrical path. Confusing them kills your repair attempt before you start.
A cone tear shows as a visible rip, crease, or hole in the paper or composite material. The voice coil still functions electrically. You can hear sound from the undamaged portion of the cone, though it sounds thin or distorted. A failed voice coil produces no sound at all, smells burnt, or creates a grinding noise regardless of cone condition. Diagnostics matter here: apply a low-voltage signal directly to the speaker terminals and listen. If you hear anything, the coil works. If nothing happens, the coil is dead. This distinction determines whether repair is practical or waste of time.
What Actually Damages Speakers Beyond Volume
The consensus says loud music blows speakers. That’s incomplete. Overpowering a speaker does cause failure, but so does underpowering it, thermal cycling, moisture, and mechanical shock. A 100-watt amplifier pushed to clipping at 50 watts can do more damage than clean 150-watt output. Clipping generates harmonic distortion that heats the voice coil faster than linear distortion. The coil reaches failure temperature quicker even at lower volume levels.
Environmental factors destroy speakers quietly. Humidity causes the surround material to swell and lose elasticity over months. Temperature swings crack adhesives connecting cone to surround. Vibration from being stacked or transported snaps the suspension before the speaker ever gets powered on. Liquid damage is catastrophic: water or spilled liquid accelerates corrosion of the voice coil windings and shorts the terminals instantly. Your repair starts with identifying which failure mode you’re actually dealing with, not assuming the speaker “just died.”
Diagnosis, Not Guestimates: Pinpointing Speaker Damage

What You’re Actually Looking For
You want to skip the repair shop bill and sound like you know what you’re doing. That motive blinds most people to the actual damage sitting in front of them. Visual inspection works only if you know what constitutes failure versus normal wear. A cone can look intact from ten feet away while the surround—the flexible ring that connects cone to frame—has split where light won’t catch it. Start by powering down completely and removing the speaker from its enclosure or cabinet.

Dust caps, cones, and surrounds age differently. Paper cones yellow and harden but rarely tear unless subjected to physical impact or extreme heat cycles. Rubber surrounds degrade from UV exposure and ozone in the air, becoming brittle and cracking along stress points. Look for radial tears running from the cone attachment point outward, not concentric wrinkles. Use a flashlight at an angle to catch shadows where tears begin. The damage mechanism is simple: as the surround loses elasticity, it no longer returns the cone to center, and that misalignment forces the tear to propagate.
What Your Fingers Can Tell You
Touch tells you what cameras miss, which is why technicians use this step before ordering parts. Press gently on the cone about midway between the dust cap and surround to feel for creasing or asymmetry. The cone should move freely and return to dead center without hesitation. If it sticks in one direction or binds partway, the surround has already failed at that point, even if no visible tear exists yet. A torn surround feels like a gap when your finger crosses it.
Run your hand around the entire perimeter of the surround while the speaker sits dusty-side up. Feel for hardness, cracking, and separation from the frame. Rubber that crumbles under light pressure is gone. Check the spider—the corrugated support underneath the cone—for tears or delamination by reaching up through the magnet gap if the speaker design allows access. The spider failure is rarer than cone or surround damage, but it kills the speaker just as permanently because the cone loses its axial centering and rubs the pole piece.
The Minimalist’s Toolkit For DIY Speaker Repair
What Adhesive Actually Does Here
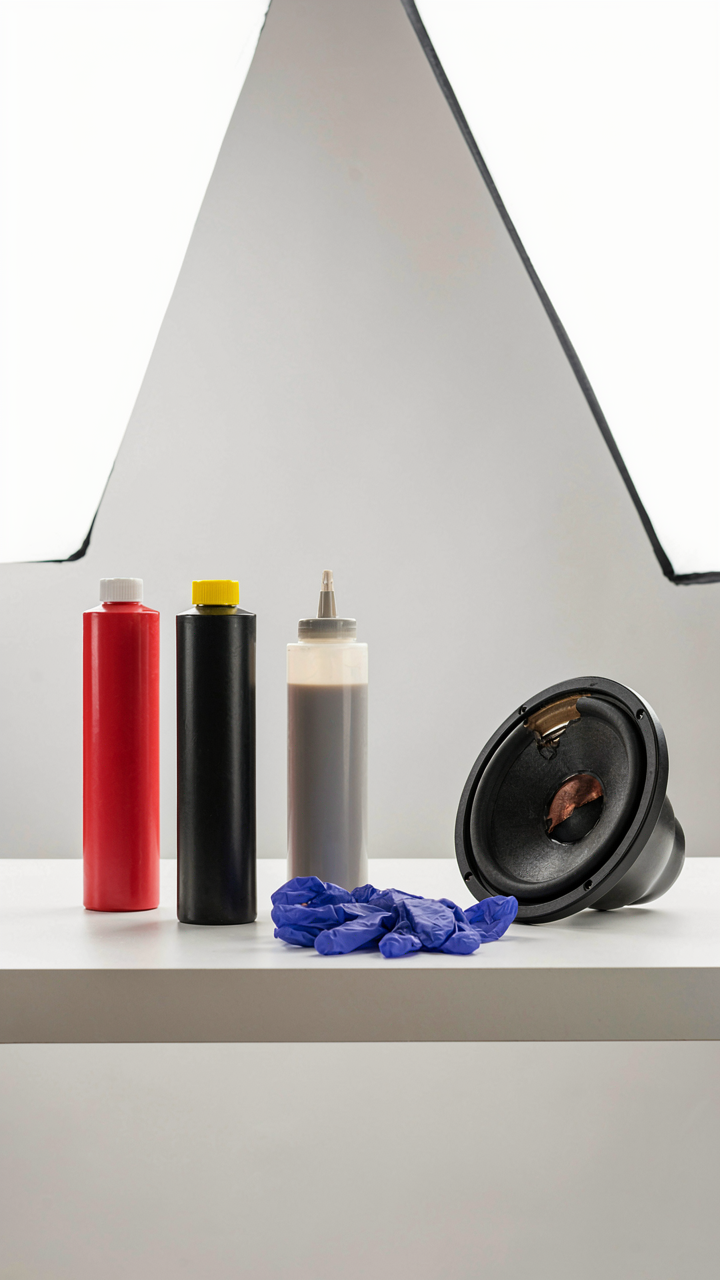
You want to fix this yourself to avoid the repair shop bill, but the real fear is picking the wrong glue and making it permanent damage. Here’s the mechanism: adhesive doesn’t restore the cone’s structural integrity on its own. It closes the tear, yes, but the bond must flex with the cone’s movement or it fails immediately on the next bass hit. This is material science, not carpentry. Cone movement isn’t static pressure, it’s cyclical stress, which means your adhesive selection determines whether the repair lasts one week or one year.
- Flexible polyurethane adhesives: Cure to a semi-rigid state while maintaining elasticity. They handle repeated cone movement without cracking. Best for larger tears in paper cones.
- Contact cement: Bonds instantly but becomes brittle over time under stress. Works for small tears only, usually fails within months on bass-heavy content.
- Cyanoacrylate (super glue): Creates an extremely rigid bond that fractures under flexing. Avoid for any tear longer than a quarter inch, especially on fabric surrounds.
- Hot glue guns: Too rigid when cooled and lacks water resistance. Separates from cone material when humidity changes. Not viable for long-term repair.
- Specialty speaker repair adhesives: Formulated to cure flexible and resist moisture and heat. Most expensive option but designed specifically for cone and surround materials.

Most people choose adhesive based on what’s in their garage, not on how the material behaves under the speaker’s actual operating conditions. The cone accelerates and decelerates thousands of times per second during playback. Your adhesive either moves with it or becomes the failure point. Flexible polyurethane is the consensus pick because it balances cure time, flexibility, and availability. Apply it thin. Thick adhesive lines create stress concentrations that fail faster than thin applications.
Precision With What You Already Have
The standard advice is to buy specialized speaker repair clamps, but that’s sales logic, not mechanics. What you actually need is even pressure across the repair while the adhesive cures. Any object that distributes weight evenly works. The mechanism is simple: concentrated pressure creates stress points that either rupture the adhesive or distort the cone’s shape permanently.
C-clamps with rubber pads work because they hold steady tension without vibration. Book stacks work because their distributed weight applies even pressure. Painters tape works for surrounds because it holds alignment without over-torquing. The key is holding the repair flat for the full cure time your adhesive specifies, usually 24 hours. Don’t move the speaker or touch the repair site during this window. Moisture and vibration both compromise the bond before it’s chemically set.
Cone Repair Protocol: Bridging The Gaps

When The Patch Matters More Than Replacement
You want to fix this yourself because replacing the driver costs money and time you don’t have. Here’s what actually determines success: the tear location and the material you’re bridging. A tear in the cone’s center dome behaves differently than one at the surround edge. The patch doesn’t restore the cone’s original stiffness, it arrests further damage and seals the air leak that kills output.

Use fabric repair tape or speaker cone patch material. These materials work because they add mechanical support without adding significant mass that throws off the cone’s resonance. Apply the patch on both sides of the tear when possible. The goal is not invisibility. The goal is containment. Pressure-sensitive adhesive fails here because cone material is porous and flexes constantly. Use contact cement or flexible epoxy that cures to the same durometer as the cone itself.
The Real Timeline Nobody Admits
Drying time is where people fail because they ignore the material’s actual chemistry and turn a speaker back on too soon. Contact cement cures in hours but reaches handling strength much faster than full strength. Flexible epoxy takes longer but requires specific temperature ranges to cure correctly. The surround material, usually rubber or foam, absorbs solvent differently than the cone does. You can’t accelerate this with heat guns or sunlight.
Wait the full cure time the adhesive manufacturer specifies, then wait another 24 hours before running current through the driver. The patch needs to move with the cone without peeling at the edges. Test the repair at low volume first. If you hear crackling or the patch breaks during playback, the adhesive chose incorrectly for your cone material or the tear was too severe to bridge reliably.
Surround Reattachment Method: The Flex Seal Fix

How To Spread Adhesive Without Pooling
You want this to work without dropping another $200 on a replacement speaker, which means you need the adhesive to do its job instead of sitting in blobs that cure unevenly. Think like a structural engineer: load distribution is everything. Uneven adhesive creates stress concentration points where the surround tears again within weeks. The mechanism is simple: a thin, consistent layer cures uniformly and maintains flexibility across the entire reattachment zone.

Use a 2-inch foam brush or old toothbrush with stiff bristles to work contact cement or flexible polyurethane adhesive into the surround channel and speaker frame. Do one small section at a time, maybe 4 to 6 inches of perimeter. Push the brush bristles into the groove to ensure the adhesive fills voids without pooling on the surface. The adhesive should look wet and slightly shiny, not glossy with puddles. Work methodically around the entire cone. This takes 10 to 15 minutes and prevents the repair from failing at stress points.
Clamp Pressure Without Crushing The Cone
Clamping isn’t about how hard you squeeze. It’s about maintaining even contact across the entire reattachment surface for the full cure time. Most people either over-tighten and deform the cone or under-tighten and create gaps where adhesive doesn’t set properly. The goal is constant, gentle pressure that keeps the surround in contact with the frame while the adhesive hardens.
Use a wooden ring clamp or DIY equivalent: a piece of plywood with the speaker diameter cut out as a circle, then lay a rubber mat on top to distribute pressure evenly. Stack sandbags or weights across the mat starting at 5 pounds total, then increase gradually to 15 to 20 pounds over the first 30 minutes. Leave the full weight on for the entire cure time your adhesive requires, usually 24 hours for contact cement. Check every few hours that nothing has shifted. Remove weight slowly to avoid jarring the fresh bond.
Speaker Repair Tutorial For Beginners: Recalibrating Expectations (Physics)
Resonance And Damping: The Tuned System
You want this to work because you think gluing a cone back together gives you the original speaker back. It doesn’t. A speaker is a tuned system, and physics doesn’t negotiate. Resonance in acoustics works like resonance in any oscillating system: the speaker cone and its suspension have a natural frequency where they move with minimum resistance. The cone’s mass and the surround’s stiffness form a spring-mass oscillator. When you tear the surround, you alter the damping characteristics of that system, which changes how energy dissipates during cone movement. Even a professionally repaired speaker won’t restore the original damping curve because the repair introduces material inconsistency where the tear was.

This matters because damping controls how quickly the cone stops vibrating after the audio signal ends. Poor damping creates ringing, muddy bass, and tonal coloration that no EQ fixes. The surround material itself acts as a damper through friction and material flexibility. A patched surround never restores uniform friction across its entire surface. Acceptance starts here: a torn and repaired speaker will have measurable frequency response deviation, especially in the midbass where resonance effects are most audible. Your ear might not catch it at low volumes, but it’s there. This is why replacement beats repair in most cases.
Mass Versus Stiffness: The Trade Off In Motion
Speaker designers spend months balancing cone mass against surround stiffness because moving less material faster produces cleaner sound. This trade-off defines speaker performance across frequency ranges. A heavy cone with a compliant surround moves slowly but controls low frequencies well. A light cone with a stiff surround articulates high frequencies but loses bass control. A torn surround changes stiffness unpredictably depending on tear size, orientation, and repair method. You can’t predict whether stiffness increases or decreases without testing the repaired unit.
When you repair by patching or gluing, you’re introducing a localized stiffness anomaly. The patch material has different elastic properties than the original surround compound. This creates a stress concentration point where the repair meets undamaged material. During cone excursion, the cone loads unevenly against the surround, accelerating failure at the repair boundary. The mass of the cone remains unchanged, but its perceived coupling to the suspension system changes. This decoupling is why many repaired speakers fail again within months under normal use. Test the repaired speaker at operating volume and listen for distortion that wasn’t present before the tear.
Large Speaker Repair: Scaling Up Without Overcomplicating
Leverage, Not Brute Force
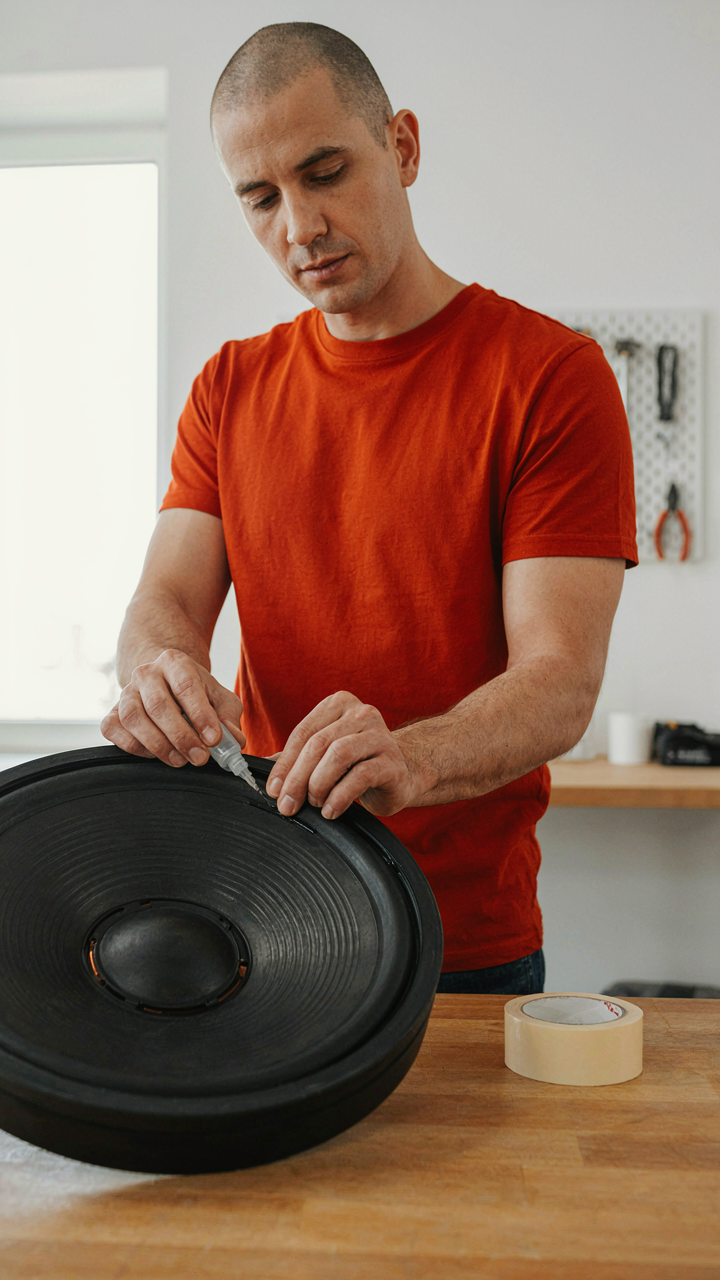
You want to feel capable handling the repair yourself without breaking something else and wasting money. The real mechanism is simple: larger cones and surrounds create more mechanical resistance, and you’ll fight that resistance with the wrong tool instead of physics. Use fulcrums and angles to distribute force across the repair zone, not concentrated pressure that tears fresh material or snaps the suspension.

Woofers and subwoofer cones in the 8 to 15 inch range require a different approach than tweeter work. Support the cone base with one hand while working the surround or tear with the other. Never pull straight out or push straight in. Angle your tools to let leverage do the load transfer. Position your hands so the cone can move slightly without binding. This prevents secondary damage that compounds the original failure.
Reinforcement At The Weak Point
Everyone talks about patching the tear and calling it done. That’s lazy. The real answer is identifying why that specific surround failed and preventing the next failure point. Materials fatigue from repeated flex cycles at the cone-to-frame junction, not the center. Reinforce the weak junction zone with compatible material before you reassemble.
Apply a thin layer of flexible adhesive and cloth tape along the inner surround edge where it meets the cone. Use paper tape rated for speaker repair, not standard duct tape. Overlap the junction by half an inch on both sides. Let the adhesive cure fully before powering the speaker. This shifts the stress distribution away from a single failure point and extends component life significantly.
Car Speakers: The Environmental Factor In DIY Speaker Repair Guide
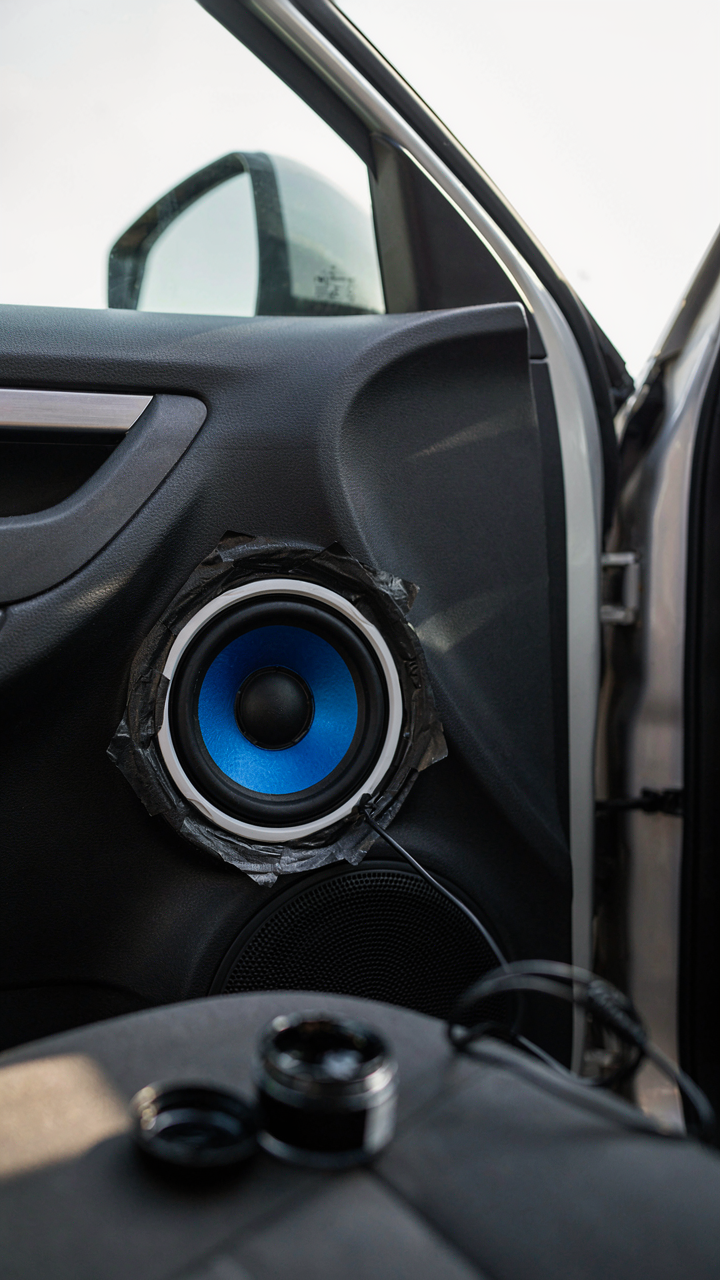
Adhesive Bond Strength Across Temperature Swings
You want your repair to hold because admitting failure after two weeks of work is unbearable. Here’s what actually matters: adhesives are chemistry problems, not willpower problems. Temperature and humidity dictate molecular behavior. Hot glue cures faster but bonds weaker under thermal stress. Epoxy requires stable conditions—humidity spikes create voids in the cure layer. Your car’s interior swings 40 to 80 degrees Fahrenheit between seasons. Most DIY repairs fail because the adhesive experiences stress cycling it was never formulated to handle.

Humidity attacks the adhesive interface before temperature does. Water molecules penetrate the bond line and destabilize the resin structure. If you repair in a humid garage without climate control, moisture wicks into the uncured epoxy. The fix: wait for low humidity days, keep the car sealed during cure, and use epoxy rated for automotive thermal cycling, not craft-store alternatives. Check the adhesive spec sheet for glass transition temperature—it must exceed your local seasonal extremes by at least 20 degrees.
Vibration Resistance Ensures A Lasting Car Fix
Car speakers live inside an acoustic chamber that transmits engine vibration directly into every repair you make. Structural engineering teaches the concept of resonant frequency—the vibration rate that causes maximum amplification. Your repair transfers engine rumble into the cone at specific frequencies where it resonates hardest. When the cone vibrates, every imperfect adhesive bond flexes. Flex cycles fatigue the material. Fatigue cracks the repair. The speaker fails again within weeks.
The real lever is damping material placement, not adhesive strength alone. Reinforce the repair by backing the torn cone or surround with fabric tape that absorbs vibration energy. Position the tape perpendicular to the tear direction so it resists flexing, not just absorbs it. Let the adhesive cure fully under load—clamp or tape the repair in place for at least 24 hours before the speaker experiences bass frequencies. Test the repair by running the engine and listening for the same distortion that signaled failure. If you hear it, the repair didn’t account for vibration demand.
Beyond Repair: When To Call It Quits

The Math On Repair Versus Replacement
You’re hoping the repair costs less than replacement so you don’t feel stupid for not buying better speakers in the first place. That’s the real question here. But economics tells us to compare the total cost of ownership, not just parts and labor. A blown speaker repair often costs between 40 to 70 percent of a replacement unit’s price. The calculation shifts based on speaker age, availability of exact replacements, and whether the model still exists in the market.

Pull together actual numbers before deciding. Get a repair quote. Check replacement pricing on identical or equivalent models. Factor in shipping costs if you’re mailing speakers out. The decision point lands where repair plus future risk exceeds replacement cost.
- Speaker age under three years: Replacement usually wins financially. Parts availability is high, warranty transfers, and you reset the failure clock entirely.
- Mid-range models five to eight years old: Repair becomes viable if the unit costs over 150 dollars new. Pricing narrows the gap considerably at this age range.
- High-end or discontinued speakers: Repair often makes sense regardless of cost. Replacement speakers with identical acoustic profiles may not exist at any price.
- DIY repair capability: If you can handle the work yourself, material costs alone shift the math dramatically in favor of repair over outsourced labor.
- Matching stereo pairs: Replacing one speaker in a matched set creates sonic problems. Repair preserves the pair’s balance and frequency response consistency.
The repair path wins when you own speakers you cannot replace without degradation, or when the replacement market offers inferior alternatives at equal or higher cost. Otherwise, replacement neutralizes the problem permanently.
Damage That Stops Everything
Most blown speaker repair advice tells you to assess the cone and surround separately. That’s incomplete. You also need to inspect the voice coil and spider for damage that occurs behind what you can see. A cone tear alone might heal. A voice coil that struck the magnet during impact cannot be salvaged without a full replacement unit.
Run your finger around the voice coil gap at the magnet. Look for friction marks, paint transfer, or metal discoloration. Press gently on the cone and listen for grinding or scraping from inside the speaker. These signals mean the voice coil shifted permanently out of alignment. The speaker produces distortion at any volume level and will fail again under use. Stop the repair process here. Replacement is your only path forward.
The Audio Aftermath: Testing Your DIY Speaker Repair

Start Small, Then Push
You want proof your repair holds without admitting you’re afraid it’ll fail the moment you turn up the volume. Here’s the mechanism: cone surrounds and patches need gradual stress introduction because adhesive bonds cure unevenly under thermal load, and sudden pressure spikes can rupture fresh welds before the material reaches full strength.
Begin at 10 to 15 percent volume on familiar tracks. Play material with controlled dynamics—nothing with hard transients or bass drops. Listen for distortion, crackling, or unusual vibration coming from the repair site. Run three to five minute sessions, then let the speaker cool for at least 30 minutes between tests. This isn’t caution for its own sake. Thermal cycling while the adhesive is still curing accelerates failure.
Listen For What Shouldn’t Be There
Most people think “residual imperfection” means the speaker sounds bad overall. It doesn’t. You’re hunting for specific artifacts that signal the repair isn’t holding: cone breakup at higher volumes, rubbing or scraping sounds that weren’t there before, and phase cancellation that makes vocals or mids sound hollow compared to a working reference speaker.
Play a known reference track at moderate volume through both the repaired speaker and an undamaged one if you have it. Listen to the midrange and upper midrange first—this is where a compromised cone shows strain immediately. If the repaired speaker exhibits distortion that increases disproportionately as volume climbs, the cone patch or surround isn’t absorbing vibration correctly. Stop testing and let the repair cure longer before proceeding further.
The Real Obstacle Isn’t The Torn Cone; It’s Your Aversion To Simple, Direct Action

Most people won’t fix their speakers because they’ve convinced themselves the repair is too technical. It isn’t. You’re avoiding a two-hour project because you’d rather rationalize buying new ones. Stop. Pull that speaker out today, order the replacement cone, and do the work. The only thing between you and a functioning speaker is the decision to start. Everything else is just following steps.



