The Minimalist’s “Less Is More” Delusion
Survival Gear Versus Status Signaling
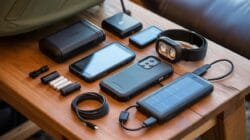
You want to believe that traveling light makes you smarter than the person with the full truck. That’s the real draw here, not actually staying alive. The mechanism is simple: you’re confusing two entirely different problems. Survival gear solves the problem of not dying in the field. Aesthetic minimalism solves the problem of looking intentional on social media. They almost never overlap. A satellite communicator weighs ounces but saves your life when you break down 200 miles from cell service. It doesn’t photograph well, so it doesn’t trend.
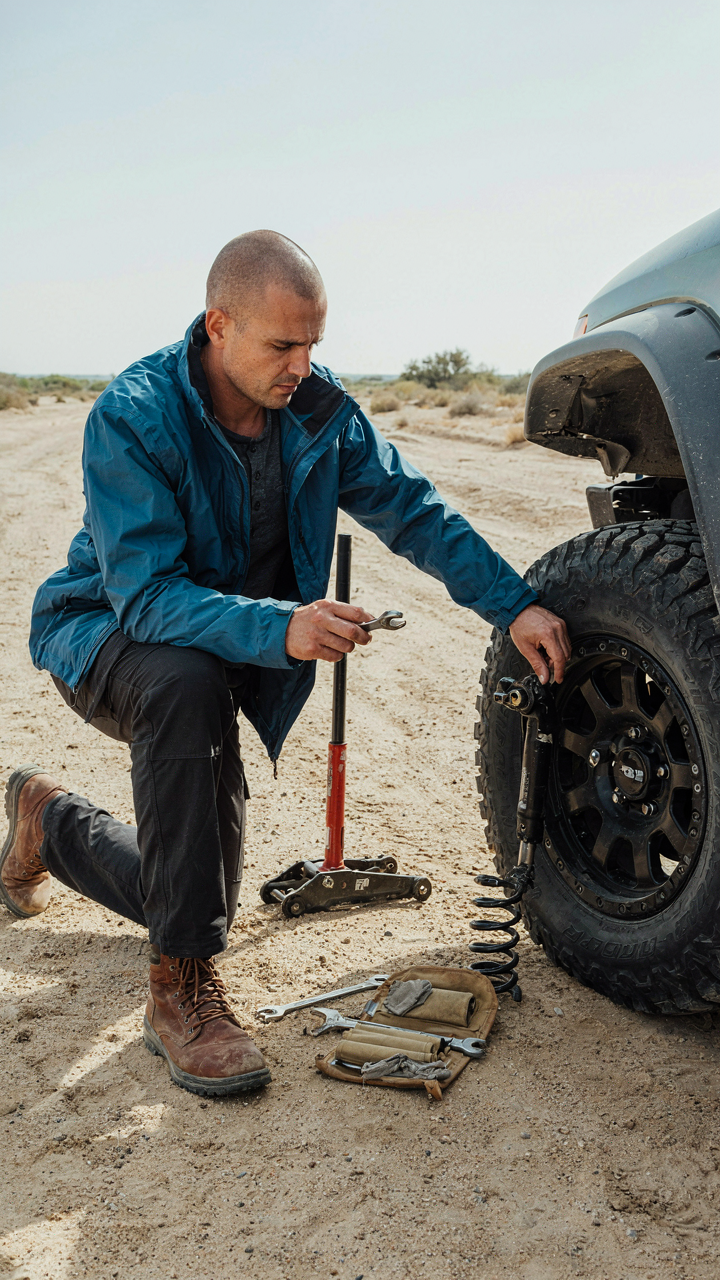
Real overland travelers pack based on consequence, not identity. If you break a suspension component, you need a jack rated for your vehicle’s weight, not a lightweight camping jack you saw on Instagram. If you get injured, you need a trauma kit with tourniquets and pressure dressings, not a travel pouch with three bandages. The difference between “minimal” and “unprepared” is whether your decisions prioritize actual problems you might face or the narrative you want to tell about yourself.
When Minimalism Becomes Liability
Most overland advice says pack light, which is incomplete guidance that gets people stranded. Economics calls this “false economy” — you’re optimizing for the wrong variable. Traveling overland means you’re far from resupply, repair shops, and emergency services. Every system failure becomes exponentially more dangerous the further you travel. Skipping a spare battery, extra water capacity, or proper tire repair tools doesn’t make you tough. It makes you a liability to rescue teams.
The real cost of under-packing appears only when something breaks. You run out of water before the next reliable source. Your radiator hose ruptures and you have no spare. Your tire tears on rocks and you have no patches. At that point, minimalism stops being philosophy and becomes survival mode with no margin. Start by identifying the actual failure points on your vehicle and route, then pack repair materials for those specific failures. This isn’t optional — it’s the difference between a trip and a rescue operation.
Beyond The Instagram: Real Overland Rig Selection
Capability Gap Vs. Status Signal
You want people to know you’re the type of person who does this. That’s not a judgment—it’s the mechanism that kills most beginner rigs before they leave the driveway. You buy for the trip you want to tell people about, not the trip you’re actually taking. The gap between perceived need and real need is where money disappears and vehicles sit unused.

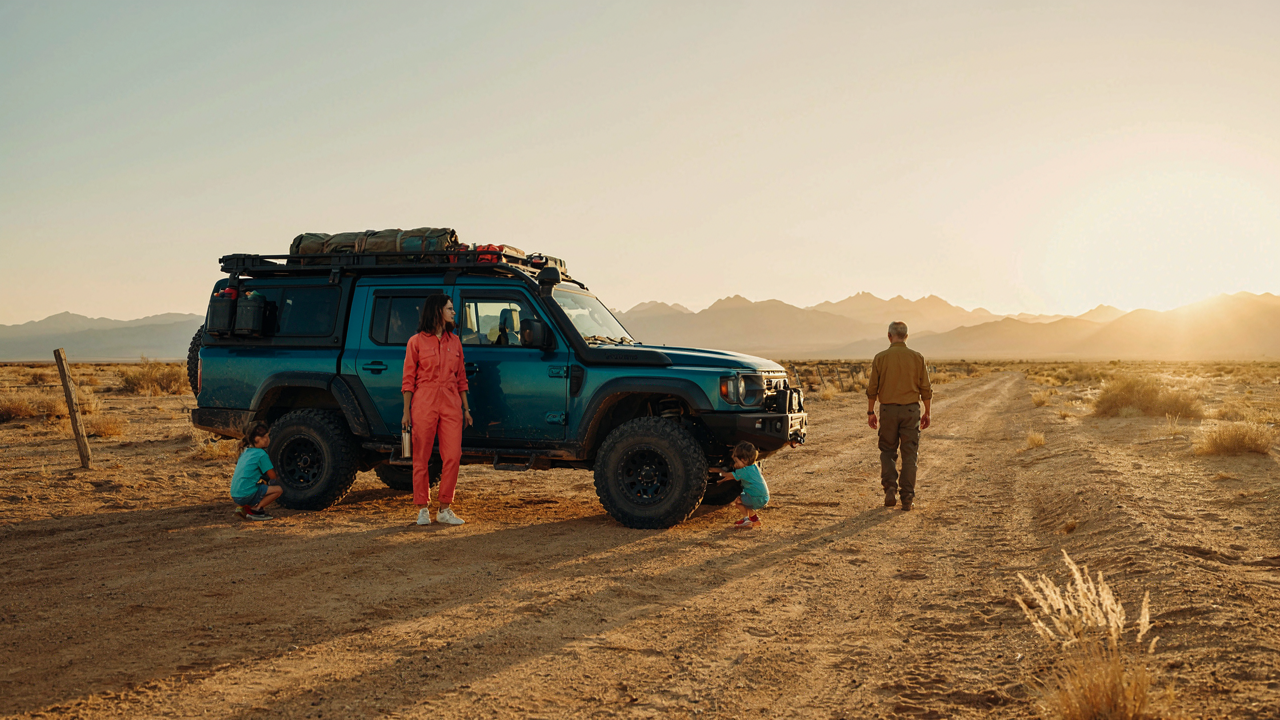
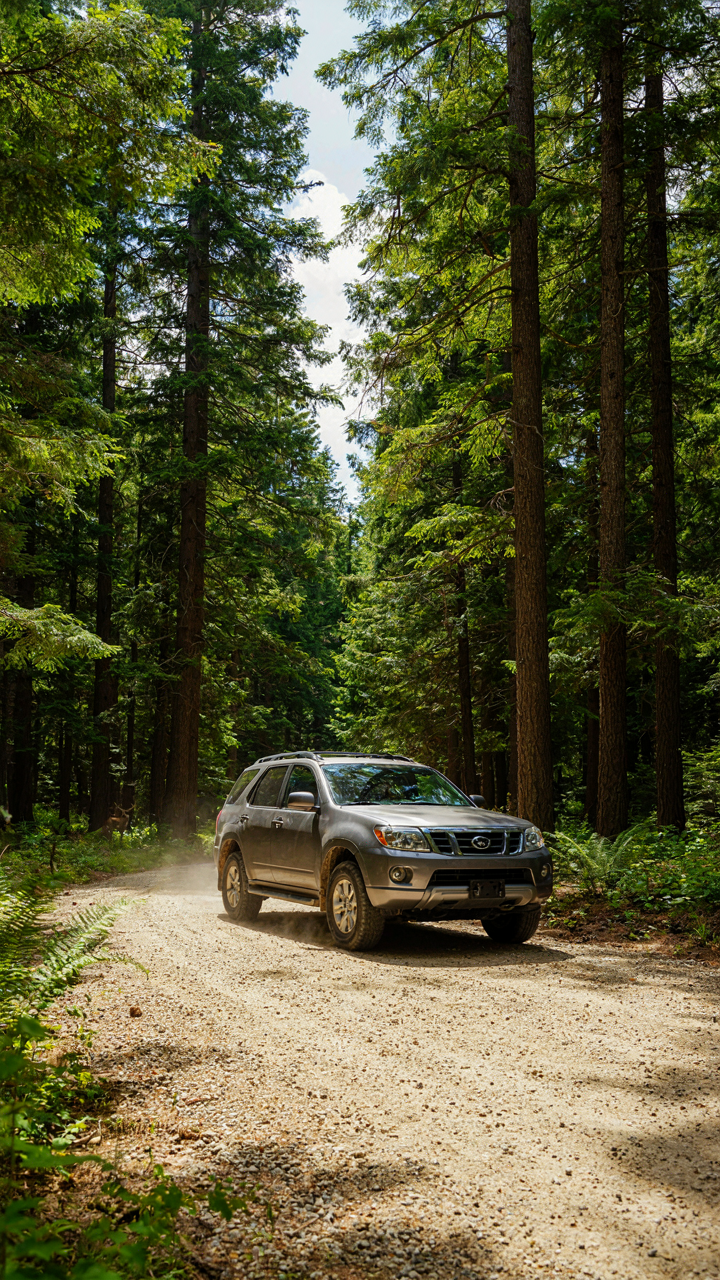
Start by naming your actual destination and drive time. A weekend trip to established BLM land requires different capability than a two-month expedition into remote terrain. Most beginners overshoot by two vehicle classes. A stock SUV handles 90 percent of beginner overland routes. Lift kits, winches, and armor look purposeful but solve problems you won’t encounter on maintained dirt roads and dispersed campsites. Assess what your specific route demands, then buy one tier below that threshold. You’ll stay mobile, spend less, and actually deploy the rig.
Maintenance: The Cost Nobody Budgets For
Modern overlanding gear is engineered for reliability, but it breaks at intervals people never calculate into trip planning. Think of maintenance cadence from mechanical systems theory: each component has a failure rate that compounds when systems interact under stress. Dust, heat cycles, impact, and corrosion accelerate wear faster than street driving. A vehicle with 80,000 miles of highway use and 8,000 miles of overland driving will have maintenance costs skewed toward the overland portion.
Budget for fluid changes, filter replacements, and wear inspections before every major trip, not after breakdowns. Establish service intervals based on your specific vehicle’s manual, then tighten them by 25 percent for overland use. Carry fluid reserves matching your vehicle’s capacities: engine oil, coolant, brake fluid, and transmission fluid should be in your kit before you leave pavement. The real cost of off-grid longevity is the maintenance routine you commit to before problems force you to stop in the field.
The Off Grid Communications Protocol

Satellite Versus VHF UHF Range And Reliability
You want a device that works everywhere so you never feel stranded. That’s not the mechanism at play here. The real mechanism is signal propagation, borrowed from physics: line of sight determines whether your message reaches anyone. Satellite communicators don’t need line of sight to the horizon. They ping orbital infrastructure directly overhead. VHF and UHF radios require an unobstructed path from transmitter to receiver, which terrain destroys instantly.

Satellite messengers like the Garmin inReach or Spot succeed because they maintain contact regardless of canyon walls, dense forest, or mountain barriers. They cost more upfront and charge monthly subscription fees. VHF radios have zero monthly cost and transmit farther in open terrain, but they fail the moment you enter terrain that blocks the horizon. Most overland beginners operate in mixed environments where obstacles appear without warning. Satellite wins for reliability because it removes the variable. Choose satellite if you travel unpredictably. Choose VHF only if you move in groups through open country where everyone stays in radio range.
Passive Versus Active Rescue Initiation
Emergency beacons split into two categories based on what happens after you trigger them. Passive beacons broadcast a distress signal and your location, then wait for someone monitoring that frequency to hear you and initiate rescue. Active systems send an alert directly to a monitoring center that immediately coordinates rescue without waiting for someone to stumble across your signal. The difference is response time and accountability. Passive systems assume someone is listening. Active systems guarantee someone is paid to respond.
Personal locator beacons activated through official channels like the 406 MHz system connect you to search and rescue infrastructure. Satellite communicators with SOS buttons trigger responses from commercial monitoring centers contracted to dispatch local emergency services. The mechanism is simple: passive relies on chance or group communication, active transfers responsibility to a third party paid to act. For solo travel or travel in truly remote areas, active rescue initiation is not optional. Passive beacons belong only in groups where someone outside your trip knows your route and monitors transmissions actively.
Powering Your Expedition: The Energy Budget Method

Solar Panel Efficiency: Watts, Amps, And Real World Output
You want solar because you think it means energy independence. It doesn’t. Solar is a rate limiter, not a solution. The physics term is power density—the amount of usable energy a system produces per unit of area—and on a vehicle, your roof space is finite and your power needs are not.
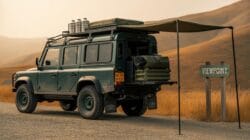
A 100-watt solar panel in direct sun produces roughly 5-6 amps at 20 volts under ideal conditions. That’s theoretical peak. Real world crushes this fast: angle matters, dust kills output by 25 percent, heat reduces efficiency, clouds cut production to near-zero, and morning or afternoon sun means you’re operating at 50 percent capacity. You need this number not to feel optimistic, but to calculate realistic daily recharge rates and stop pretending midday panels will run evening systems.
Battery Chemistry Breakdown: Capacity Versus Discharge Cycles
Lithium iron phosphate batteries cost three times more than lead-acid upfront. They deliver 80-90 percent usable capacity per cycle versus lead-acid’s 50 percent. That changes the math. A 100Ah lithium system gives you 80-90 usable amp-hours; the same 100Ah lead-acid gives you 50. Discharge cycles—how many times you can drain a battery before it degrades—favor lithium at 3000-5000 cycles versus lead-acid at 500-1000 cycles.
Pick battery chemistry based on trip duration and recharge frequency, not marketing. Short trips under three months with regular access to shore power or generator recharge favor lead-acid’s lower cost and simplicity. Extended overland routes with long gaps between charging stations favor lithium’s depth-of-discharge efficiency and lifespan. Match your chemistry to your actual expedition profile, then size your panels to recharge that battery chemistry at the rate your system drains it daily.
Navigation: The Cartographer’s Imperative

Both Digital And Analog Systems Working Together
You want redundancy because it makes you feel prepared, but the real mechanism is that one system fails in conditions the other handles. GPS batteries die. Paper doesn’t. Signal drops in canyons. Maps don’t require towers. Neither system alone covers your actual risk profile on overland routes. You carry both not for reassurance but because they fail in different ways.
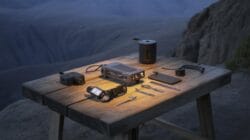
Your digital setup handles speed and precision. Offline maps on your phone or tablet let you zoom, measure distances, and track breadcrumbs in real time. The analog backup—a physical topographic map and compass—works when electronics fail, when batteries die at kilometer 400, when you need to navigate by terrain features alone. The compass becomes your redundancy protocol: it requires no power and forces you to read the landscape instead of trusting a screen.
Reading Terrain Like Route Reconnaissance
Military strategy teaches the concept of reconnaissance: gathering intelligence before committing resources to movement. Terrain reading in overland travel works identically. You study maps not to memorize them but to predict what the land will demand from your vehicle and pace before you arrive. High passes require fuel and time calculations. River crossings demand timing and vehicle preparation. Sand requires tire pressure changes and recovery gear. This isn’t paranoia. This is resource allocation based on terrain facts.
The mechanism is simple: every route has a limiting factor that controls your speed and fuel consumption. Find it on the map first. Tight switchbacks limit speed more than open desert does. Rocky terrain destroys tires faster than hardpan. Elevation gains burn fuel at predictable rates. You read the topographic lines, the contour intervals, the vegetation markers, the water sources shown on your map and cross-reference them with the seasons and your vehicle’s specs. Your route planning is only as good as your ability to name what terrain will actually cost you before you commit your vehicle to it.
Overland Camping: Shelter & Sustainment

Ground Shelters Beat Rooftop Tents For Beginners
You want the rooftop tent because it looks like you know what you’re doing. The mechanism is simpler: ground options cost less, weigh less, and fail less often when you’re still learning what you actually need. A rooftop tent requires a vehicle rated for the extra load, adds wind resistance, and creates a single point of failure at height. Ground camping teaches you site selection, weather patterns, and gear management without bankruptcy.
- Freestanding dome tent: Sets anywhere, needs no stakes to function, handles wind reasonably well. Heavier than tunnel designs but more forgiving for beginners learning tent placement.
- Tunnel tent: Lower profile sheds wind better, lighter weight, requires proper staking. Demands better site selection and stake quality to perform.
- Tarp and bivy combo: Minimal weight, maximum flexibility, steepest learning curve. Requires understanding weather, wind direction, and ground drainage before executing safely.
- Ground mat plus sleeping bag in vehicle: Technically works for short trips. Limits mobility, traps condensation, and signals you’re not actually prepared for overland conditions.
- Canvas bell tent or yurt: Heavy and slow to deploy but teaches you about thermal mass, ventilation, and actual comfort over two-week stretches. Overkill for starter builds.

The real decision point is deployment time versus conditions you’ll face. In established campsites with mild weather, a freestanding tent solves 90 percent of beginner problems. You pack it, you find level ground, you leave. No calculation required.
Water Purification: Filter First, Backup Second
Boiling is the oldest and most reliable method, but it wastes fuel and time you don’t have on multiday routes. Filtering removes particles and most pathogens through mechanical and chemical stages, then chemical treatment (bleach, iodine, or tablets) eliminates viruses boiling captures. The strategy mirrors military water logistics: layer your defenses so a single failure doesn’t contaminate your supply.
Most beginners pick one method and skip backups. That’s why they get sick. Gravity filters (Sawyer or LifeStraw) are practical starters because they require no power or precise dosing, but they clog with sediment and fail against viruses in unknown water sources. Carry chemical tablets as your insurance. If your filter breaks at mile 40, bleach costs nothing and works everywhere. Boil water only when you’re stationary with fuel reserves and time. The sequence on trips: filter first through gravity system, add chemical treatment, boil only if source quality is unknown or system fails.
Recovery Gear: The Self Reliance Mandate
Choosing Between Winch Types
You want a winch because you’re afraid of being stuck, but the real question is how much weight you’re actually moving and how often. From military logistics, we borrow the concept of force multiplication: your winch’s pulling capacity must exceed your vehicle’s total mass by at least 1.5x to account for resistance angles and stuck geometry. Most beginners skip this math entirely.
- Electric winches: Run off your battery and alternator. Lighter duty, quieter, easier to install on stock bumpers. Best for vehicles under 6,000 pounds or casual weekend trails. Lower upfront cost. Recharge time matters if you need multiple pulls.
- Hydraulic winches: Pull directly from your engine’s hydraulic system. Higher sustained power, no battery drain, better for repeated heavy use. Require custom fabrication and engine modifications. Most common on purpose-built expedition rigs.
- Manual winches: Hand crank systems with mechanical advantage. Weigh almost nothing, cost under 300 dollars, require no vehicle integration. Slow and exhausting for pulls over 5,000 pounds. Viable backup only.
- Portable electric winches: Stand-alone units you mount temporarily. Most affordable entry point. No permanent frame modifications. Slower recovery speed and limited line capacity compared to integrated systems.
- Synthetic vs. steel cable: Synthetic line floats, weighs less, safer if it snaps. Steel handles sharp rocks better and costs less. Synthetic is standard now because recovery happens on rougher terrain than it did ten years ago.

The actual mechanism: match your winch rating to terrain severity, not ego. A 9,500-pound electric winch on a 5,000-pound Tacoma handles desert and mild forest tracks. That same winch on rock crawling gets you extracted once before overheating. Buy the tool that fits your actual miles, not your Instagram feed.
Traction Boards And Their Actual Job
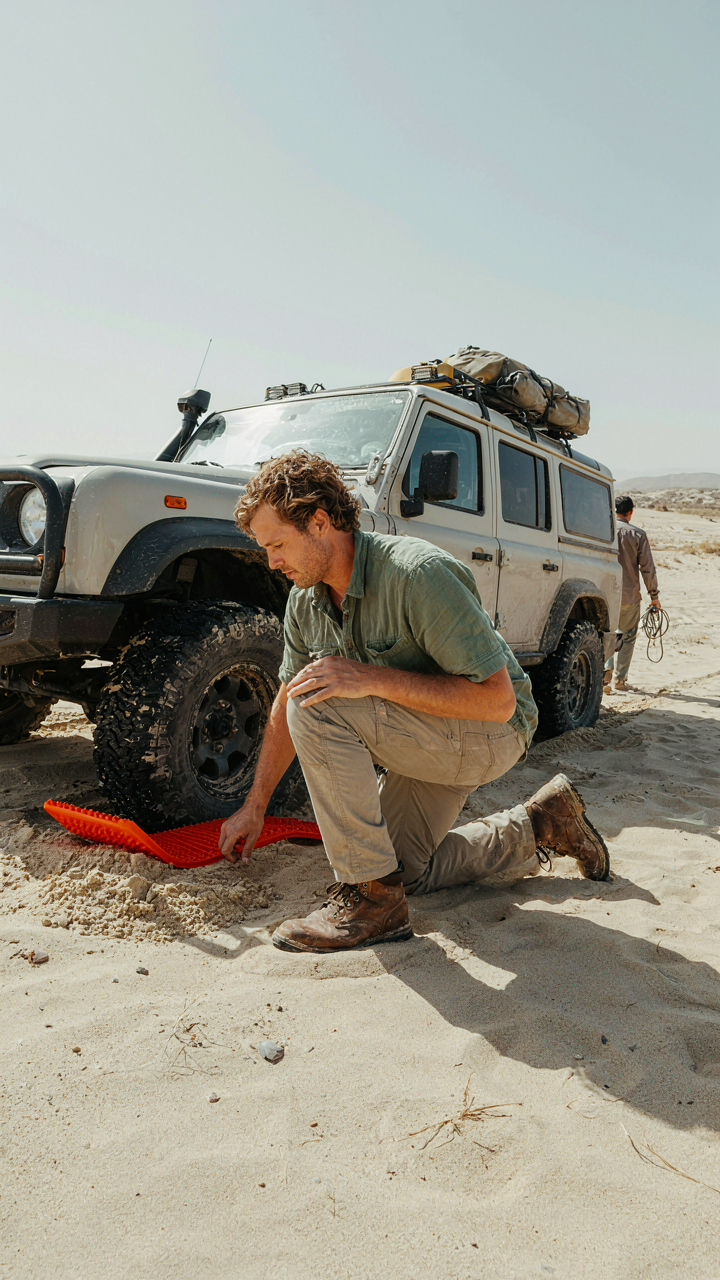
Traction boards look simple because they are, but most people use them wrong. They’re not magic. They redistribute your vehicle’s weight across soft ground by creating a wider base of contact, turning a high-pressure tire sinkage problem into a low-pressure distribution problem. You place them under the drive wheels before you get stuck, not after.
The real limit is this: traction boards work on sand, soft snow, and loose gravel. They fail on clay, mud that sucks, and terrain where your frame will bottom out regardless. If the ground is truly liquid or your suspension geometry is wrong, boards buy you maybe ten feet. Most beginners deploy them as a last resort, which wastes them. Pre-position boards on known problem sections and recover 200 yards easily instead of fighting for 30 feet when high-centered. Recovery speed matters more than depth of rescue.
Medical Preparedness: The Casualty Care Protocol
Stop The Bleed First
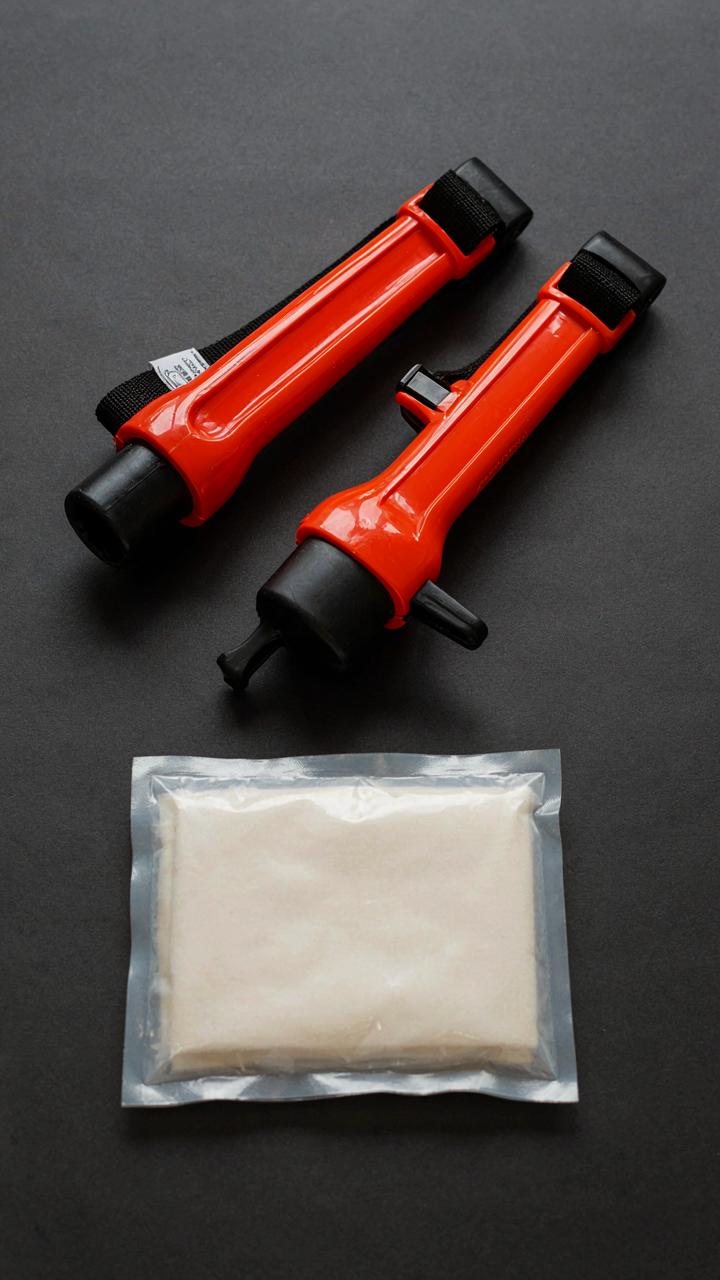
You want this section because you’re afraid of looking helpless if something goes wrong. That fear is rational, but it’s also useless unless you understand the mechanism: blood loss kills faster than anything else in remote environments. Tourniquets, hemostatic gauze, and pressure dressings aren’t luxuries. They’re the difference between a manageable problem and a fatal one. A hemorrhage control kit weighs under two pounds and occupies space smaller than a paperback.

Your trauma kit needs immediate-action items, not comprehensive medical supplies. Carry at least two tourniquets rated for limbs, hemostatic gauze like QuikClot or Celox, Israeli bandages for wound packing, and a compression bandage. Include a nasopharyngeal airway to manage an unconscious person’s breathing without advanced training. These items address the three killers in trauma: uncontrolled bleeding, airway obstruction, and tension pneumothorax. Everything else is secondary until you’ve handled these three problems.
Wilderness First Aid Certification Beats Guessing
Most beginner advice stops at “get first aid certified.” That’s incomplete. Wilderness first aid differs from standard CPR certification because it teaches you to manage injuries when evacuation takes hours, not minutes. The medical model you learn in a classroom assumes hospitals exist nearby. Remote travel assumes they don’t. This shift changes decision-making entirely.
Take a two-day wilderness first aid course from an accredited provider like NOLS or Wilderness Medicine Institute. You’ll learn patient assessment in real conditions, improvisation with limited gear, and when to evacuate versus when to shelter in place. The certification lasts three years and costs between 300 and 500 dollars. This investment directly reduces your liability as a trip leader and eliminates the paralysis of not knowing what to do when someone gets hurt.
Your Greatest Gear Deficit Isn’t What You Lack, But The Operational Intelligence You Refuse To Cultivate

Most beginners buy gear to feel ready. They’re not. Real readiness comes from running one actual trip, failing in specific ways, then fixing those failures. Stop researching vehicles you don’t own yet. Pick a three-day route this month. Go broken. Document what breaks. That cycle teaches you more than a thousand gear reviews ever will. Your truck matters less than your willingness to learn through repetition.