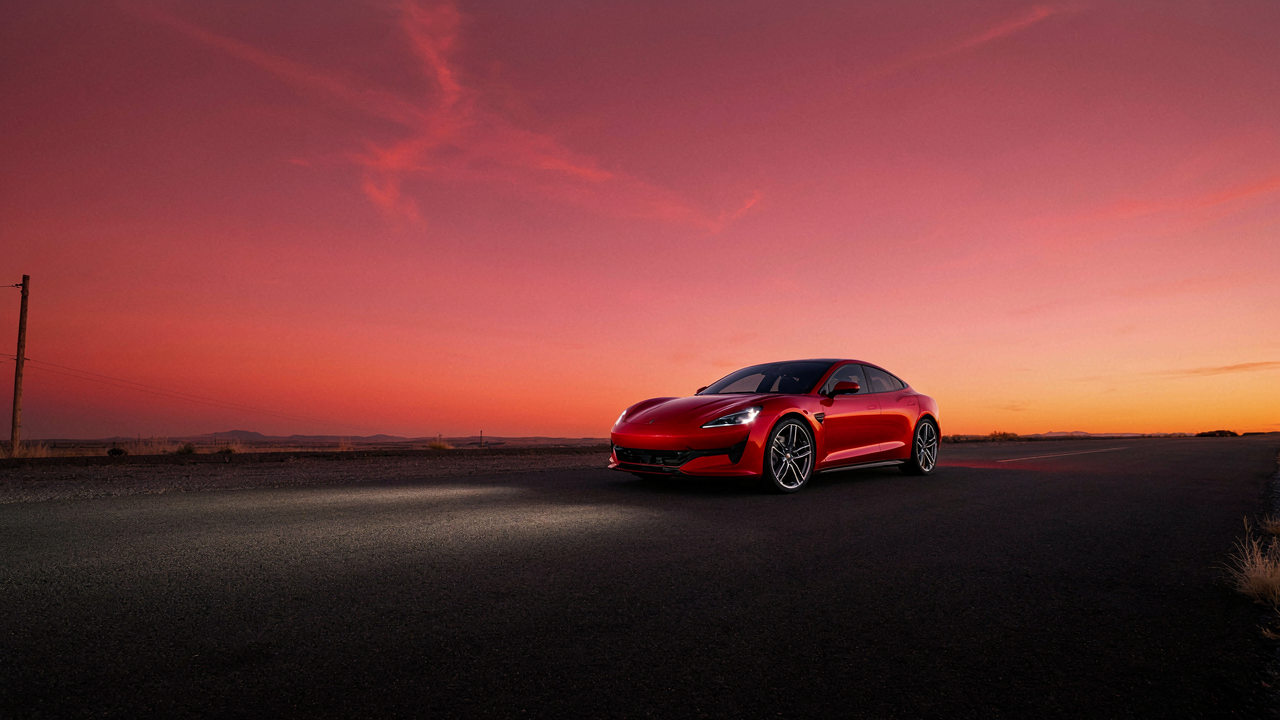
The Falsity Of “Clean Shots”: Your Lens Is Your Enemy

What’s Actually Killing Your Shine
You want people to believe you care about details. That’s why you clicked this section. The truth is simpler: a smudged lens destroys every shot before the camera even processes it. Fingerprints, dust, and oil residue sit between the iPhone sensor and the car’s reflection. Light hits the smudge first, scatters, and collapses contrast. Your phone captures the dirt, not the car.
Most iPhone car shots fail because the lens was compromised from the moment you raised the phone. You can nail composition, lighting, and angle perfectly. None of it matters if fingerprints coat the glass. The sensor sees a diffused, low-contrast image. You’ll blame the light. You’ll blame the phone. The enemy was your own hand.
The Only Lens Protocol That Works
Forget the sleeve. Wiping your lens on fabric teaches it nothing and often makes it worse. You need a microfiber cloth, not cotton or polyester. Microfiber traps particles instead of smearing them across the glass. The material is engineered at microscopic level to lift oils without scratching sapphire or ceramic coatings iPhone lenses use.
Before every shoot, wipe the lens with a dry microfiber cloth using circular motions from center outward. This removes dust and residue accumulated since your last cleaning. Do this twice. The first pass lifts loose particles. The second confirms the lens is actually clean. If you skip this step or use anything else, you’ve already lost the shot. Store the cloth in a sealed bag so it stays clean between shoots.
Light’s Unforgiving Truth: No Filter Replaces Good Sun
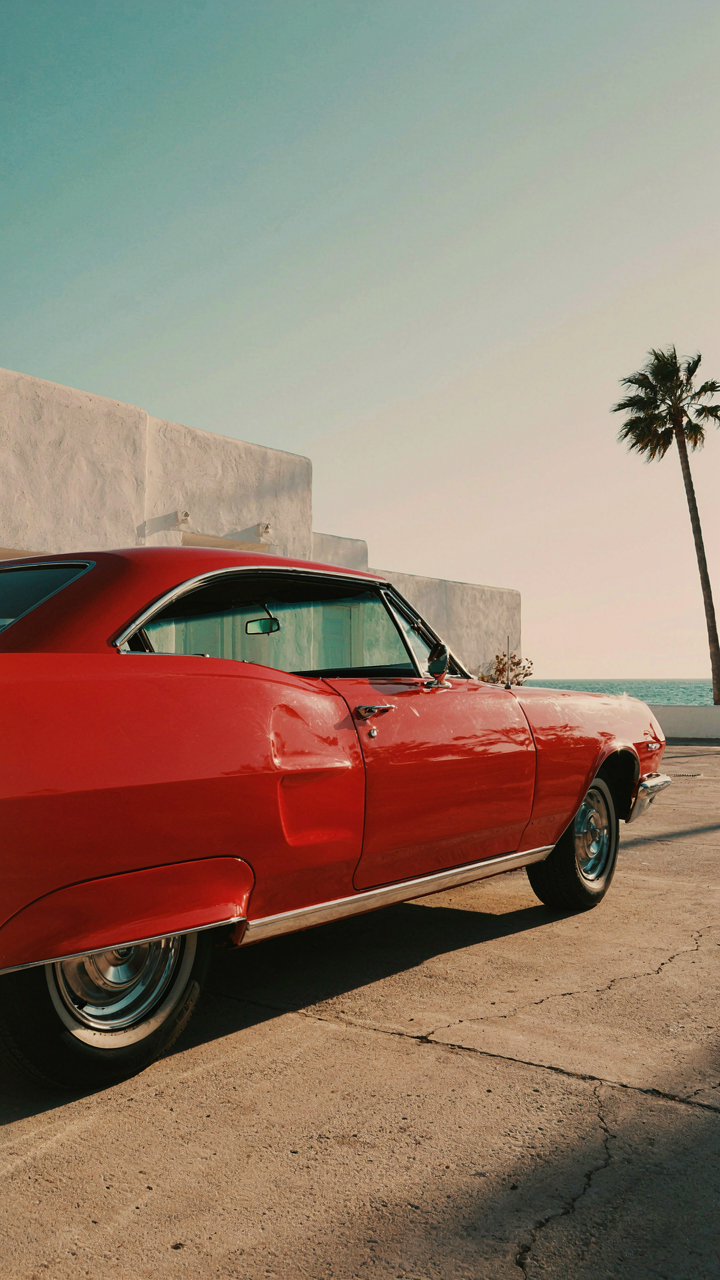
Golden Hour Isn’t Magic, It’s Geometry
You want golden hour shots because you think they’ll make your car look expensive without effort. They won’t. Golden hour works because the sun sits low on the horizon, creating a predictable angle. This angle stretches shadows across the car’s body, which reveals panel gaps, body lines, and curves that flat midday light erases. The warm color cast is secondary. The real mechanism is directional raking light, borrowed from photography’s lighting principle called side-lighting. A filter can’t recreate this because a filter operates on a flat plane while raking light operates on three-dimensional form.

Shoot within ninety minutes of sunrise or before sunset. Position the sun to the side of the car, never behind you. The iPhone’s camera won’t capture the full range between highlights and shadows at golden hour, so expose for the car’s body first, then accept that the sky will blow out. If the sky matters more than the car, you’ve already lost. Bracket your exposures in the Photos app by taking three shots at different exposure points, then choose the one where the car’s geometry reads clearly.
Overcast Light Eliminates Your Mistakes
Most car photography advice treats overcast skies as inferior. Wrong. Overcast skies function as a giant softbox, which is the exact diffusing mechanism used in studio lighting. When clouds blanket the sky, they scatter direct sun into uniform, shadowless light. This removes the technical demand of managing contrast and lets you focus on composition and car position. The iPhone’s sensor struggles with extreme contrast ratios. Overcast removes that struggle entirely.
Overcast conditions eliminate specular highlights, which means reflections won’t blow out or distract from the car’s shape. Shoot perpendicular to the car to show its profile clearly. Use this predictable, forgiving light to test angles and positioning you couldn’t nail in golden hour. Your only limitation becomes the camera’s color accuracy, not its dynamic range. Bracket shots less aggressively in overcast since the light stays stable. Choose a plain grey sky and position yourself so the backdrop stays simple behind the car.
The Environment Protocol: Curating Your Car’s Stage
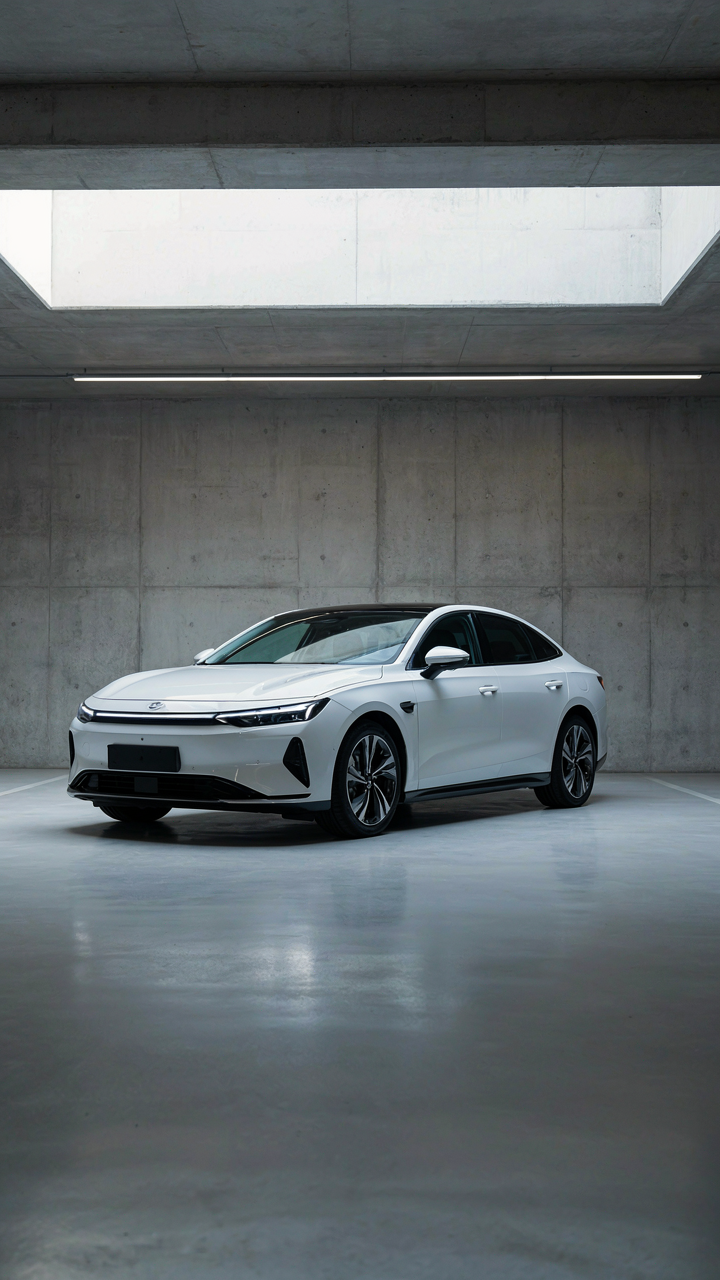
Kill The Visual Noise Around Your Car
You want people to see the car, not unconsciously process everything else first—that’s the real reason environment matters. In photography, entropy is disorder competing for attention. Your iPhone’s sensor has limited dynamic range, so it treats a busy background the same way your eye doesn’t: every element carries equal weight. A cluttered street pulls viewer focus away from the vehicle before they realize it’s happening.

Scout locations with one rule: subtract before you shoot. Empty parking structures work. Blank walls work. Residential streets at dawn work. The background should be visually simple enough that removing it wouldn’t change the composition—it’s a support surface, not a scene. Your car becomes the only thing worth looking at because nothing else demands processing power.
Manage Reflections Before They Wreck The Shot
Reflections aren’t problems to fix in editing—they’re problems to eliminate at capture. This is basic optics: light bounces off your car’s surface at predictable angles based on the sun’s position and your shooting angle. The common advice says “just avoid reflections,” which is useless. The real mechanism: reflections happen when your iPhone’s lens sits at an angle that mirrors the sky, trees, or buildings directly into the car’s body.
Position yourself so reflections show only what you want: sky, or a blank area. Time your shoot for golden hour when the sun is low and reflections are more controlled. If you’re shooting from the side, move your position incrementally until the background reflecting in the paint becomes a solid color rather than identifiable objects. Reflections of recognizable things kill the image; reflections of uniform sky enhance depth and make the car read as three-dimensional.
Beyond Eye Level: The Car Photography Angles Gambit
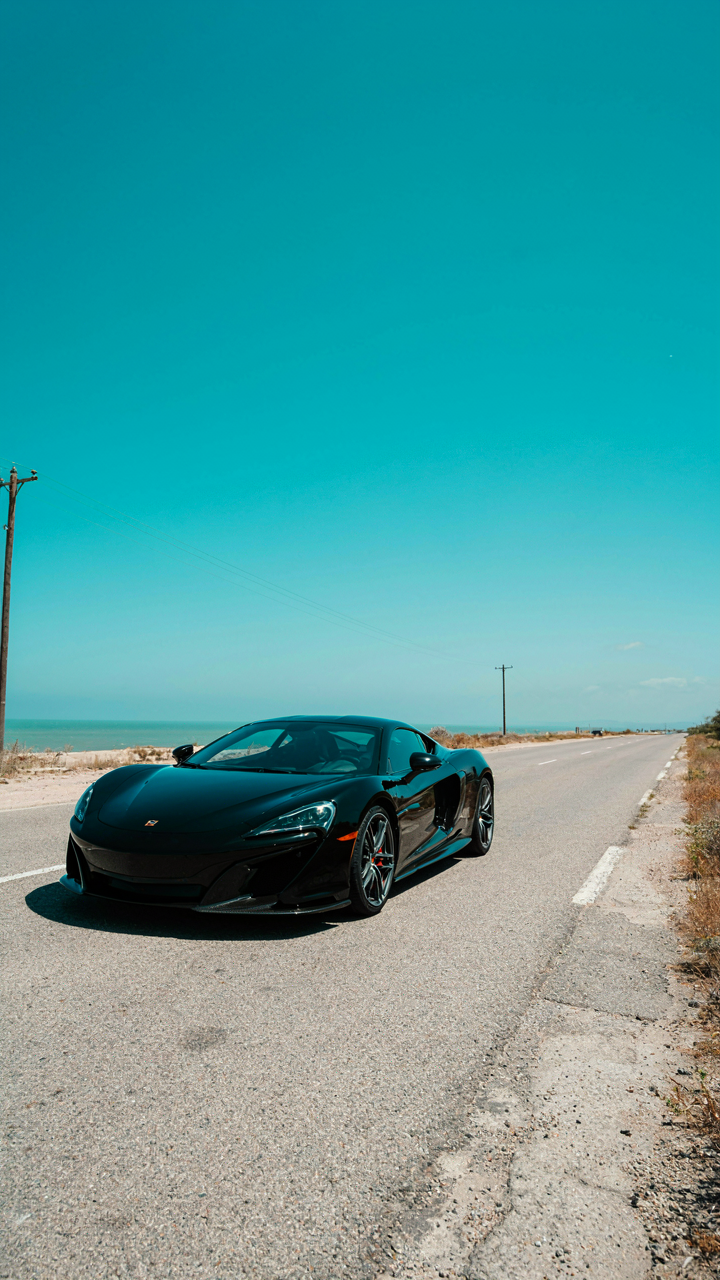
Low Angles Build Dominance
You want the car to look powerful because you want to feel powerful when people see your shot. That’s the real motive here. Low angles work through basic physics: they compress vertical space and position the viewer below the subject. The car appears larger relative to the sky. Its hood rises. Its stance deepens. This is leverage borrowed from cinematography, where low angles signal authority and threat. Your iPhone’s camera sensor doesn’t care about your eye level. Move it down.

To execute this, crouch or kneel beside the car. Frame the shot so the hood fills the lower third of the frame and sky occupies the upper portion. The horizon line should sit high, never centered. Shoot during golden hour when light rakes across the body panels. The angle exaggerates the car’s mass and makes ground contact visible. This works for any vehicle because the mechanism is visual proportion, not opinion.
High Angles Show The Whole Picture
Common advice says high angles are “less dramatic.” That’s incomplete. High angles don’t diminish drama, they change the story. They reveal context, environment, and how the car occupies physical space. You see the roof, the shadows it casts, the surrounding landscape. Aerial perspective kicks in because depth increases. The car becomes a subject within a larger system rather than isolated theater.
Position yourself on a slight elevation or stand on a step. Angle the iPhone downward at roughly 45 degrees. Include enough foreground to establish location without cluttering the frame. High angles work best when the landscape adds meaning: empty parking lots, tree coverage, urban geometry. The car should occupy roughly one-third of the composition. Shoot when light creates distinction between the vehicle and surroundings.
The Visual Gravity Method: Composing For Impact
Where The Subject Actually Lives On Frame
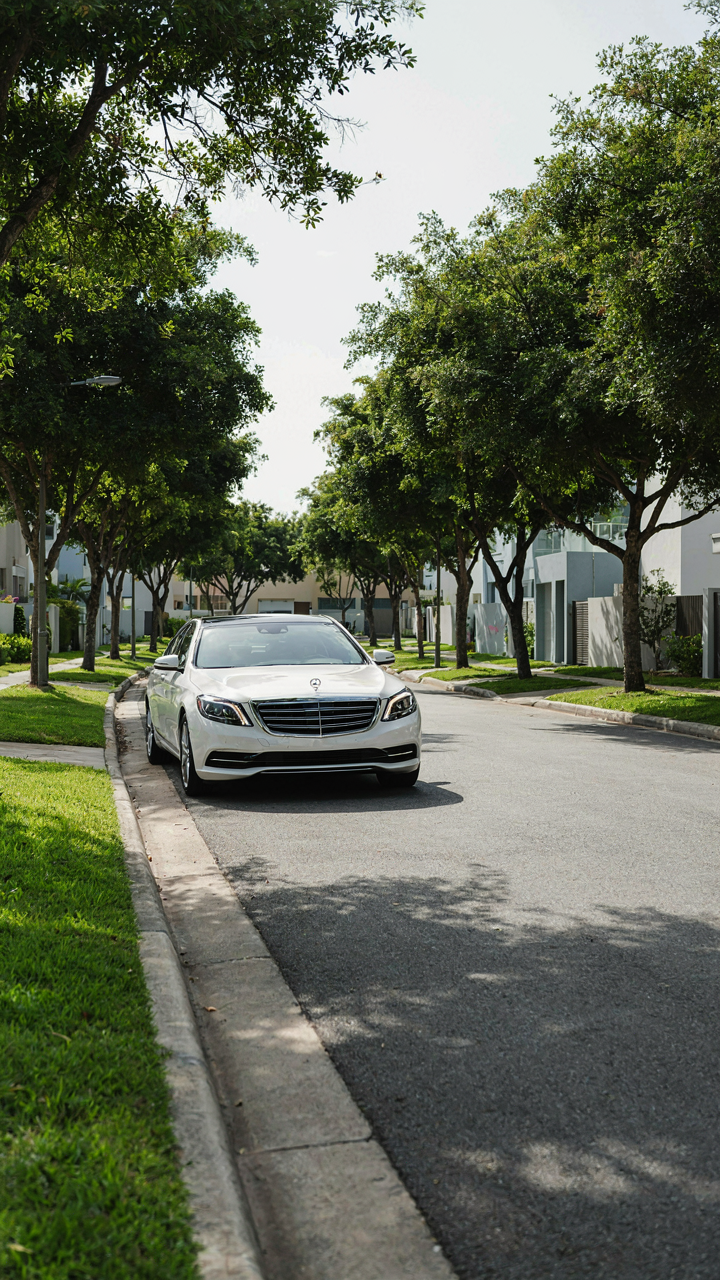
You want your car to look important. That’s the real reason you care about composition. The mechanism is simple: physics borrowed from painting. In physics, gravity pulls mass toward a center. In frame composition, the viewer’s eye does the same thing—it naturally settles where visual weight concentrates. The Rule of Thirds exploits this. Place your car’s key elements (hood, headlights, side profile) where the grid lines intersect, not dead center. This creates tension without chaos. Your iPhone’s native camera grid makes this exact. Activate it in Settings, then compose accordingly.

The mistake most people make is centering the car perfectly. This reads as static, formal, antiseptic. Offset the car slightly along one of the vertical or horizontal third lines instead. This forces the viewer’s eye to work microscopically harder, which registers as intentional framing rather than accidental capture. The car still dominates the frame. It just doesn’t bore. On your iPhone, frame the shot, then tap to lock exposure and focus on the car’s most reflective panel—usually the side or hood. This anchors the composition while you dial in the Rule of Thirds positioning.
Lines That Move Eyes To The Target
Leading lines are the fastest way to direct attention without the viewer knowing it happened. They work because the human eye follows paths automatically. On a car, this means using the driveway, road markings, or the car’s own shadow as a visual arrow pointing toward what matters most. Your iPhone’s wider lens naturally captures more environment, which gives you line material that narrower cameras miss. Use that advantage. Position the car so that a line—pavement edge, parking lot stripe, even a tree shadow—runs toward the vehicle’s front or side profile.
Concrete mechanics matter here. Open your iPhone camera. Before you frame the car, identify one natural line in the scene that could lead toward it. Position yourself so that line starts at the frame’s lower left or right corner and terminates where the car sits. This is not artistic guessing. It’s a routing system. Tap the focus point on the car itself, not the line. The line is only infrastructure. When you review the shot, the eye should travel the line first, then land on the car. If that doesn’t happen, you’ve positioned the line too far from the car’s position.
Deceptive Reflections: The Enemy Within Your Paintwork
You’re Standing In The Shot
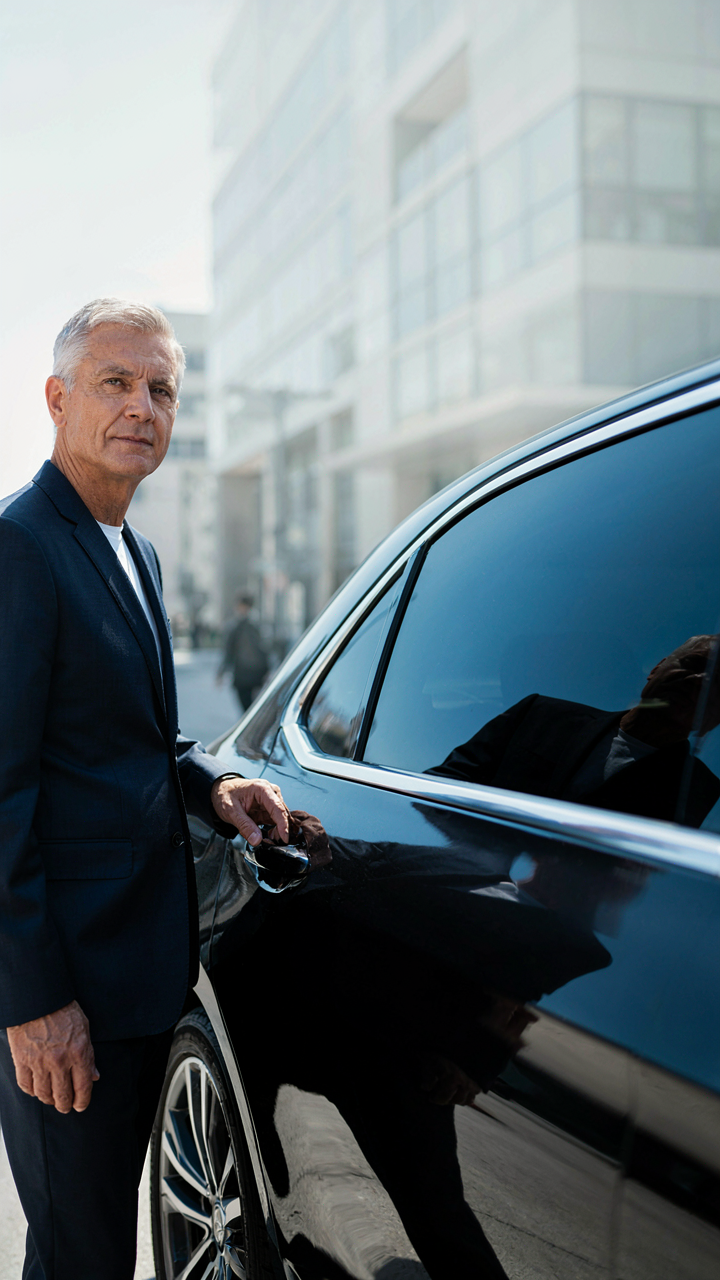
You want the car to look untouchable. That’s the real reason you’re reading this. But here’s what kills luxury car photos: your own body reflected in the paint. The iPhone captures what the human eye dismisses. Move yourself out of the reflection path before worrying about anything else. Step behind the camera’s sightline, not just beside it.

Physics calls this the law of reflection: angle of incidence equals angle of reflection. With car paint, you’re working with a curved mirror. Position yourself 45 degrees away from the car’s reflection angle, not parallel to it. If the sun hits the side panel at noon, your body casts a reflection at a predictable trajectory. The iPhone’s wide lens magnifies this problem because it captures more surrounding area. Back up. Move laterally. The reflection disappears when you remove yourself from the light path the paint is throwing back at the sensor.
Define Shape Through Darkness
Strategic shadow placement isn’t about hiding flaws. It’s about making geometry visible. A perfectly clean car with flat lighting looks like plastic. Shadows carve out the hood, define the character line, show the door’s edge. Position yourself so the sun creates a shadow that runs along the car’s length, not across it. This reveals contour instead of erasing it.
The iPhone’s metering system locks onto the brightest surface. If you expose for the shadow side, the highlight side burns out and loses detail. Shoot from angles where shadows naturally fall perpendicular to the camera’s axis. Early morning or late afternoon light is forgiving because the sun sits low, creating long shadows that define volume. Place your body to ensure your own shadow doesn’t cross the car’s critical lines. The shadow becomes structure.
Post Processing Discipline: Enhancing, Not Fabricating
White Balance Correction: True Color Fidelity
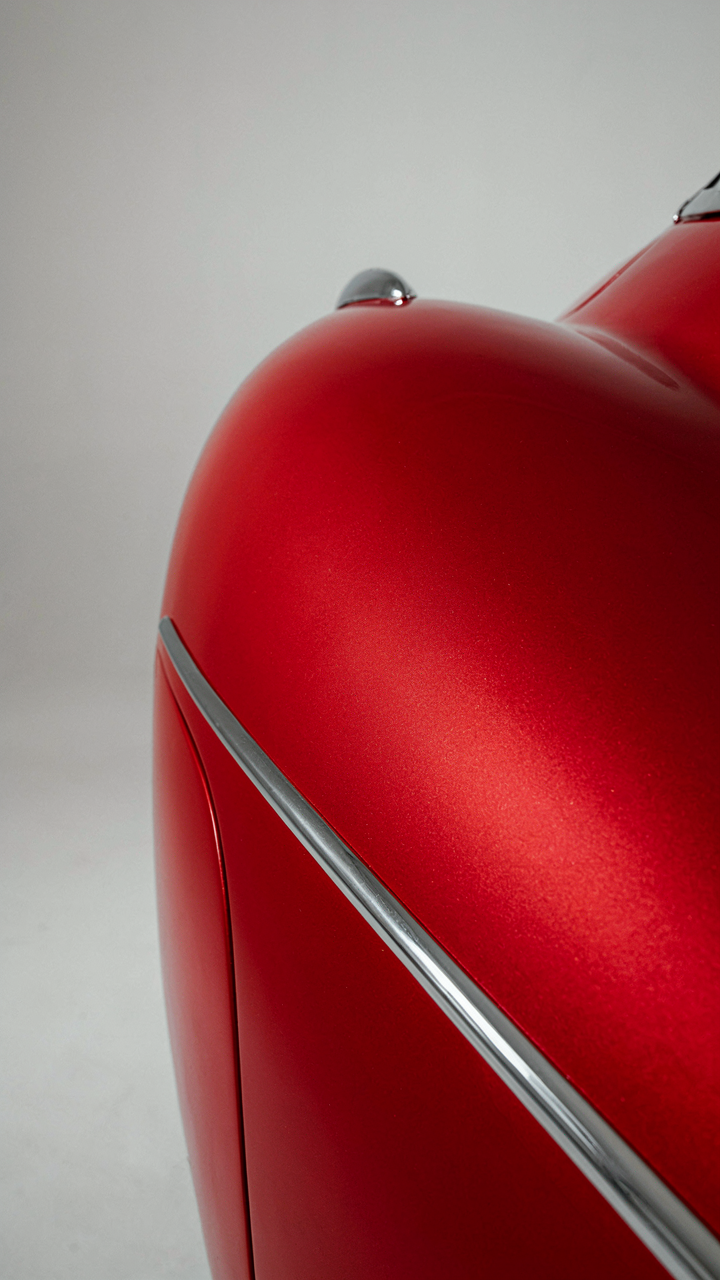
You want the edit to be invisible because you think that proves you’re skilled. The mechanism is simple: your iPhone’s sensor records data, not truth. White balance is the translation layer between what the sensor captured and what humans perceive as “correct.” Get this wrong and the car looks sick or dead, regardless of how clean it actually is.

iPhone cameras default to auto white balance, which works fine in controlled light. But shoot a car in golden hour or under sodium vapor lights and the algorithm guesses wrong. The fix happens in post because the sensor already recorded the color information you need, you’re just telling the software how to read it.
- Kelvin temperature adjustment: Slide the temperature axis in editing software. Cooler (lower K) for warm light contamination, warmer (higher K) for blue casts. Most car photos need 200-400K correction from auto settings.
- Tint correction: Separate from temperature. Corrects green or magenta casts common under fluorescent or parking lot lighting. Use the tint slider after you nail the Kelvin value.
- Eyedropper tool: Sample a neutral surface in the frame (white wall, concrete) to let the software calculate the dominant color cast. Fast but requires a truly neutral reference point in frame.
- Before-and-after toggle: Compare original vs corrected in real time. Most mistakes happen when you over-correct without reference. Toggle every thirty seconds during adjustment.
- RAW format workflow: Shoot in ProRAW if your iPhone model supports it. Gives you more white balance latitude in post without degrading color information like compressed formats do.
The work ends when the car’s trim, paint, and glass look the way they looked to your eye on location. Not better. Not “enhanced.” Actual. Eyeball the metal on the body line and ask: does this match what I saw? If yes, you’re done.
Contrast And Exposure: Subtle Punch, No Over Editing
The consensus says “pop your blacks” and “crush those shadows” because contrast reads as confidence. Most iPhone car photos get murdered this way. You lose detail in the paint, the tires go pure black, and the whole image looks like a phone filter instead of a photograph.
Exposure correction happens first. If the metering clipped the highlights on the windshield or chrome, pull them down by 0.3 to 0.5 stops. Shadows darker than the tires don’t need recovery—that’s just bad composition, not a problem post-processing solves. Contrast comes after exposure is locked. Add 5 to 15 points. Nothing more. The paint should reveal its texture under light. The tires should show their sidewall detail. If you can’t see the difference between gloss and matte finishes on the body panels, you’ve crushed it too far and need to undo.
Highlights deserve separate attention from shadows in modern editing apps. Protect bright reflections on glass and chrome by pulling the highlights slider down 5 to 10 points while leaving midtones alone. This kills the blown-out look without flattening the image. Blacks stay true to what the sensor captured—no artificial darkening. Export and view on different screens once. If it looks overdone on a laptop but right on your phone, you’ve been compromised by screen calibration and need external reference. The moment you start second-guessing your own eye between devices, stop and trust the original scene you photographed.

Contextual Storytelling: Car Photography Ideas Angles Beyond The Static
Motion Blur Tells The Story Your Static Shot Can’t
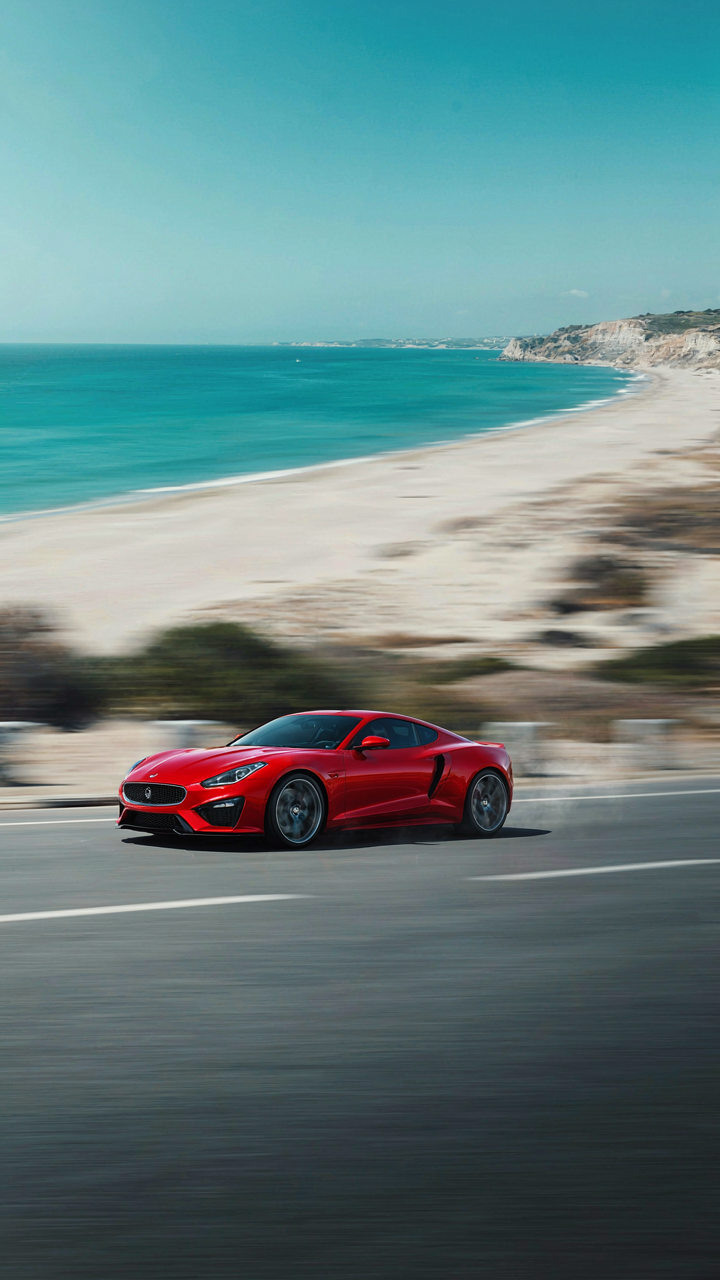
You want motion blur because you think it looks cool. The real reason is you’re trying to fake energy you didn’t capture. Borrowing from physics, motion blur works on the principle of relative velocity—the faster the subject moves relative to your frame, the more dramatic the trail. On iPhone, this means panning: you move the camera to track the car’s direction while it drives past you.
The mechanism is simple. Lock your iPhone’s exposure and focus before the car enters frame by tapping and holding. Set shutter speed to 1/15th or slower using a third-party app like Slow Shutter Cam. Track the car smoothly as it passes, keeping it centered in frame. The background streaks while the car stays relatively sharp. Most people skip the locked exposure step and end up with a blurry mess instead of directional motion.
The Car As Landscape, Not Subject
You’re framing the car wrong if it dominates your composition. The environment tells you whether this shot matters. Place the car as one element within a larger visual story—a driveway, a winding road, an urban corner, a sunset backdrop. The iPhone’s 24mm equivalent field of view naturally encourages this if you step back instead of closing in.
Position the car in the frame’s lower or upper third, leaving sky, road, or architecture to do the contextual work. Shoot from angles that force the viewer to read the scene before noticing the vehicle. A car parked against mountains or buildings becomes a scale reference, not the destination. Meter your exposure off the brightest part of the environment, then let the car sit in that same light. This creates natural integration instead of the artificial look of a car shot in isolation under studio conditions.

The Myth Of “Auto”: Manual Controls For True Mastery (Car Photography Settings)
Exposure Compensation: Overriding IPhone’s Assumptions
You want to feel like you know what you’re doing, so you’re reading about manual settings. That’s fine. But the real reason you need exposure compensation is that iPhone’s meter reads the entire frame and assumes you want the average bright. On a shiny car, that average is a lie.
The iPhone’s light meter works like a democratic vote where every pixel gets a say. On a clean car with reflective paint, the highlights dominate the reading, forcing the meter to underexpose everything else. Drag the exposure slider up in the Camera app before you shoot. This override isn’t creative tweaking. It’s correction. You’re telling the phone what the scene actually contains, not letting it guess wrong based on reflectivity.
Focus Lock: Pinpoint Sharpness Where It Matters
Generic advice says tap the screen to focus. That’s not wrong, but it’s incomplete. You’re not fighting for sharpness everywhere. You’re fighting for sharpness where buyers look first.
Press and hold on the specific part of the car that matters: the headlight, the wheel, the grille detail, the badge. The phone locks focus to that plane and stops hunting. This matters because iPhone’s autofocus can drift when shooting reflective surfaces. The mirror, the paint, the trim all bounce light back at different distances. Lock focus eliminates the drift. Keep your finger on that spot through the shot. When you release, the lock stays active for the next few frames. Shoot three to five frames at lock to guarantee at least one frame has zero focus drift.
Your True Limitation Isn’t The Camera In Your Pocket, But The Unexamined Assumptions In Your Head
Most people sabotage their iPhone car photography before they press record. They assume the phone can’t compete with real cameras. They assume the light has to be perfect. They assume they need expensive gear. None of this is true. The real bottleneck lives between your ears. Stop believing your phone is the problem and start believing you’re capable of mastery with what you already own. Today, shoot one car in harsh midday sun using only your phone and one reflection trick from this article. You’ll realize the gear was never the issue. The photographer was.