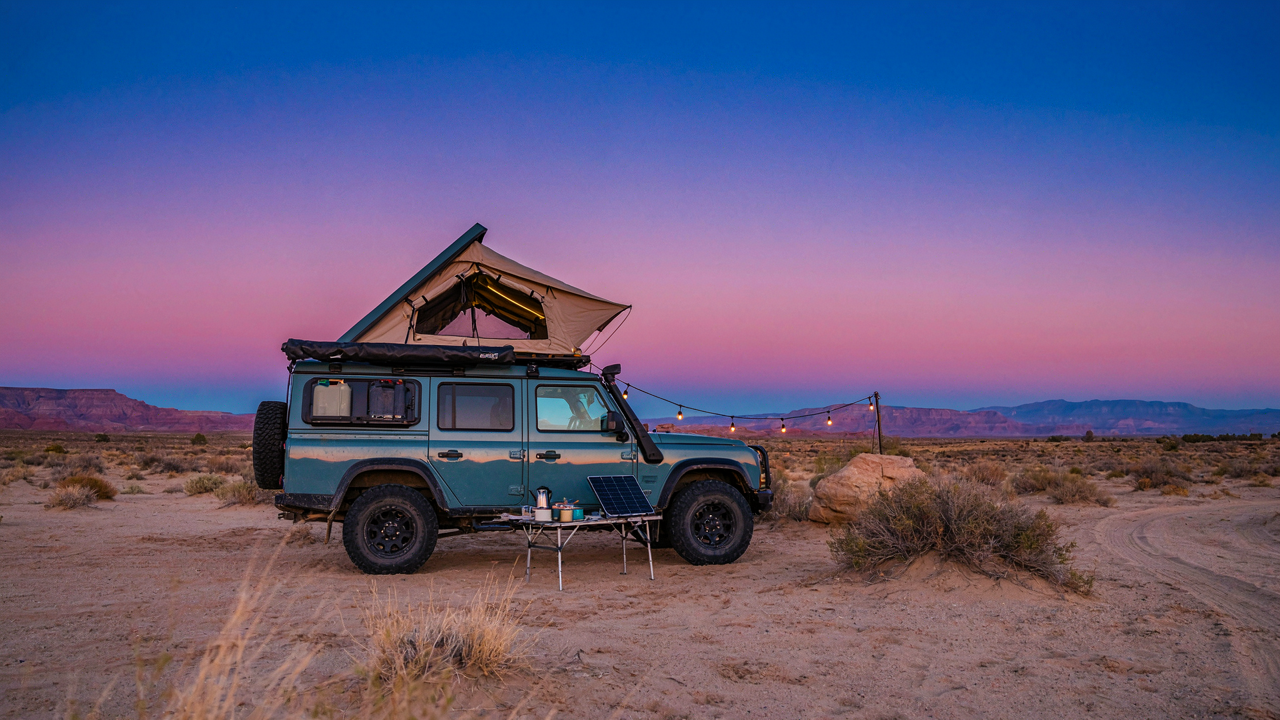
The Illusion Of Illumination: Why More Light Isn’t Always Better
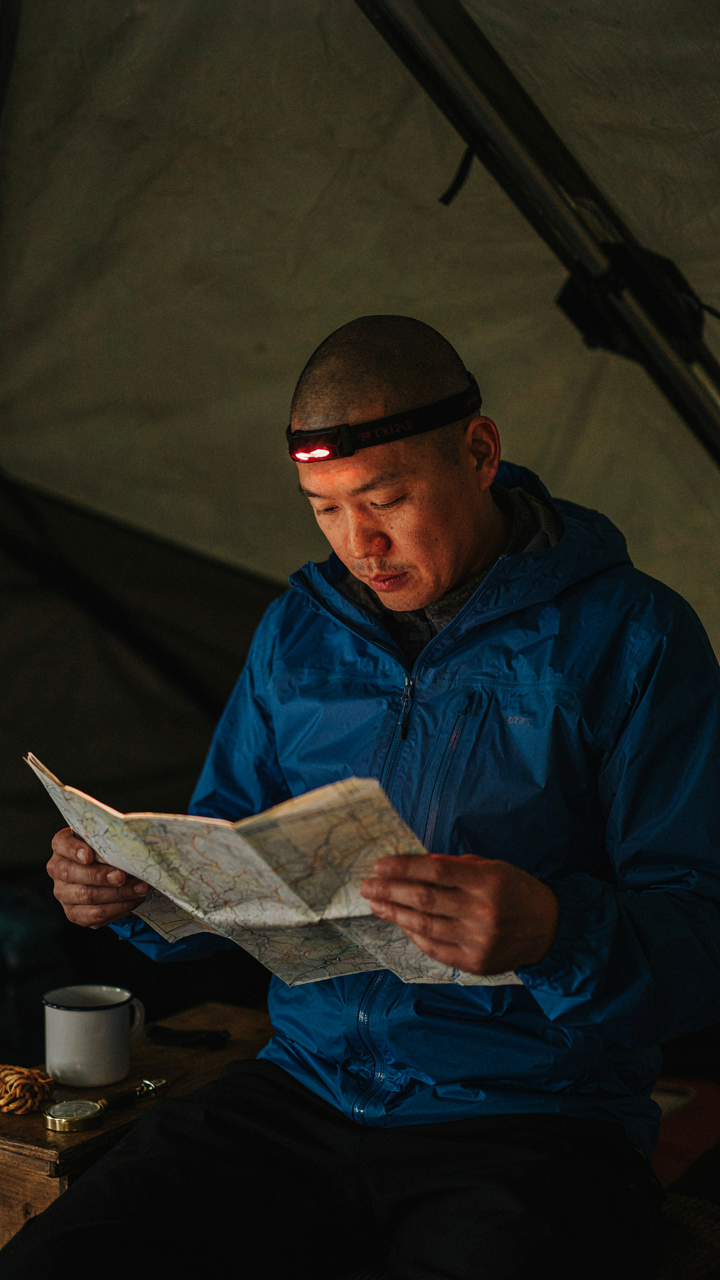
Your Eyes Betray You In The Dark
You want to feel safe, so you assume brightness equals security. It doesn’t. This is a biology problem, not a preference problem. Your rod cells, which dominate night vision, require 20 to 30 minutes to fully adapt to darkness. Blast them with bright light and you reset that timer to zero. You’re not gaining situational awareness. You’re destroying it and advertising your position simultaneously.
Overland camps that run high output lights all night create two vulnerabilities at once. Everything beyond your lit perimeter becomes invisible to you while remaining perfectly visible to anyone outside looking in. Your pupils constrict, narrowing your functional field of view. You’ve traded peripheral awareness for the illusion of control. The moment your light fails or you step beyond it, you’re functionally blind.
Red Light Discipline Wins The Exchange
Military and tactical operations don’t use white light for night work without reason. Red light preserves rod cell function because those cells respond minimally to wavelengths above 600 nanometers. You maintain night vision while lighting your immediate work area. This isn’t theory. It’s the operating principle behind every credible night navigation protocol.
Most overland setups skip this entirely and run white LEDs because they’re cheaper and feel more normal. That comfort costs you. Red light discipline means mounting a 5 watt red LED on a dimmer switch, using it exclusively after dark, and keeping white light off until you need to break camp. Your eyes stay adapted. Your camp stays harder to locate. You see threats before they see your reaction.
Task Specific Lumination: The “Surgical Strike” Lighting Method
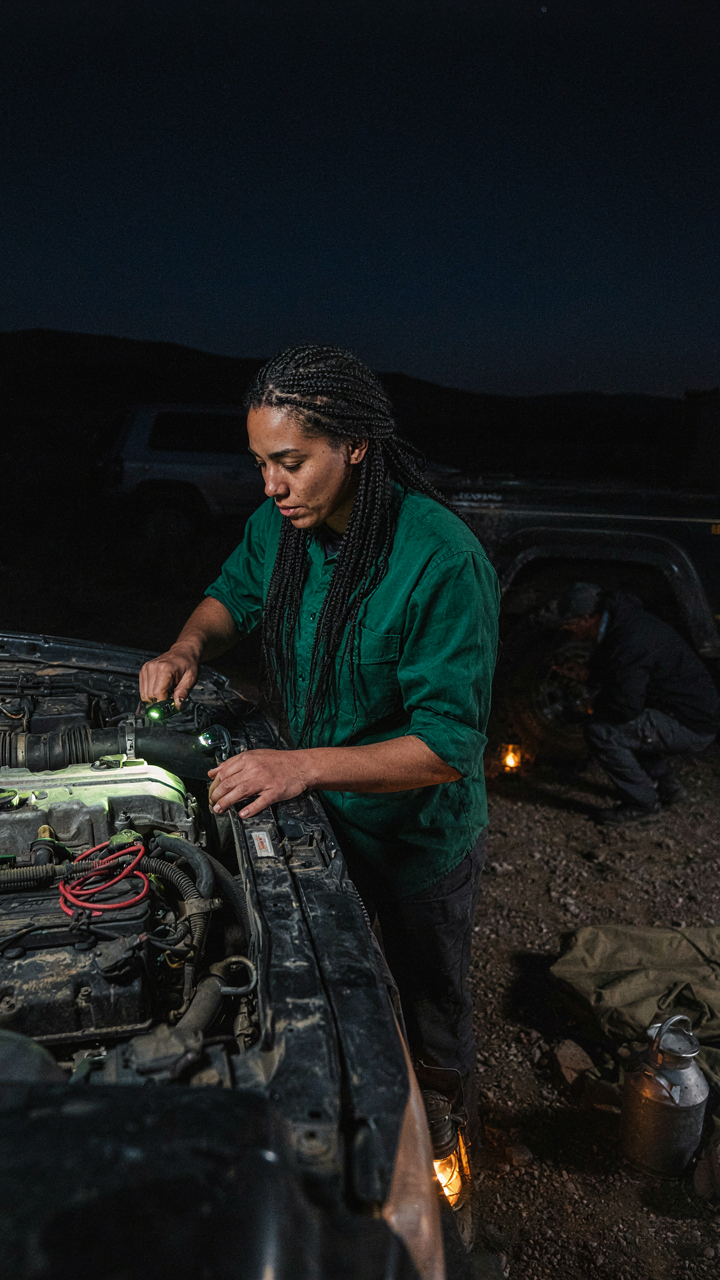
Focused Light For Cooking, Repairs, And Navigation
You want to look competent at night. Here’s the real mechanism: most overlanders buy one bright light and point it everywhere, wasting battery and destroying their own night vision in the process. Military targeting uses the concept of “terminal guidance”—delivering force exactly where it’s needed, nowhere else. Overland lighting works the same way. A headlamp, a task light clipped to your work surface, and a separate navigation light each do one job. They don’t compete for the same battery pool or blind you with scatter.

Cook with a headlamp angled down at your stove. Repair with a clip light mounted directly on the problem. Navigate with a handheld beam you control, not a stand light that floods everything. The difference isn’t comfort—it’s efficiency. You’re not creating ambient light. You’re creating functional zones. Each tool operates independently, so if your headlamp dies, your repairs don’t stop. This is why overlanders who run task-specific lights burn less battery and see better than those with one “camp light” they compromise on every task.
Minimizing Light Spill For Actual Efficiency
The common advice is to use low brightness and call it conservation. Wrong. Light spill wastes power because you’re illuminating dirt and sky instead of your task. Directionality matters more than wattage. A focused 500-lumen beam on your cookware beats a diffuse 1000-lumen glow around your whole camp. Point your light source down and inward. Use reflectors or diffusers that contain output rather than spread it. Cup your hand around a headlamp if needed—it forces the light where you need it.
Measure spill by how much light reaches your peripheral vision. If you’re seeing detail beyond your immediate work area, your beam is too wide or too bright for that task. Restrict output at the source instead of using distance or obstruction. A parabolic reflector built into the light housing costs nothing and cuts wasted lumens by 40 percent. When you break camp, your battery should show barely any drain from lighting. If it doesn’t, you’re running too bright, too wide, or too long. Narrow your beam angle first, reduce wattage second.
The Dynamic Duo: Red Light & White Light Strategy
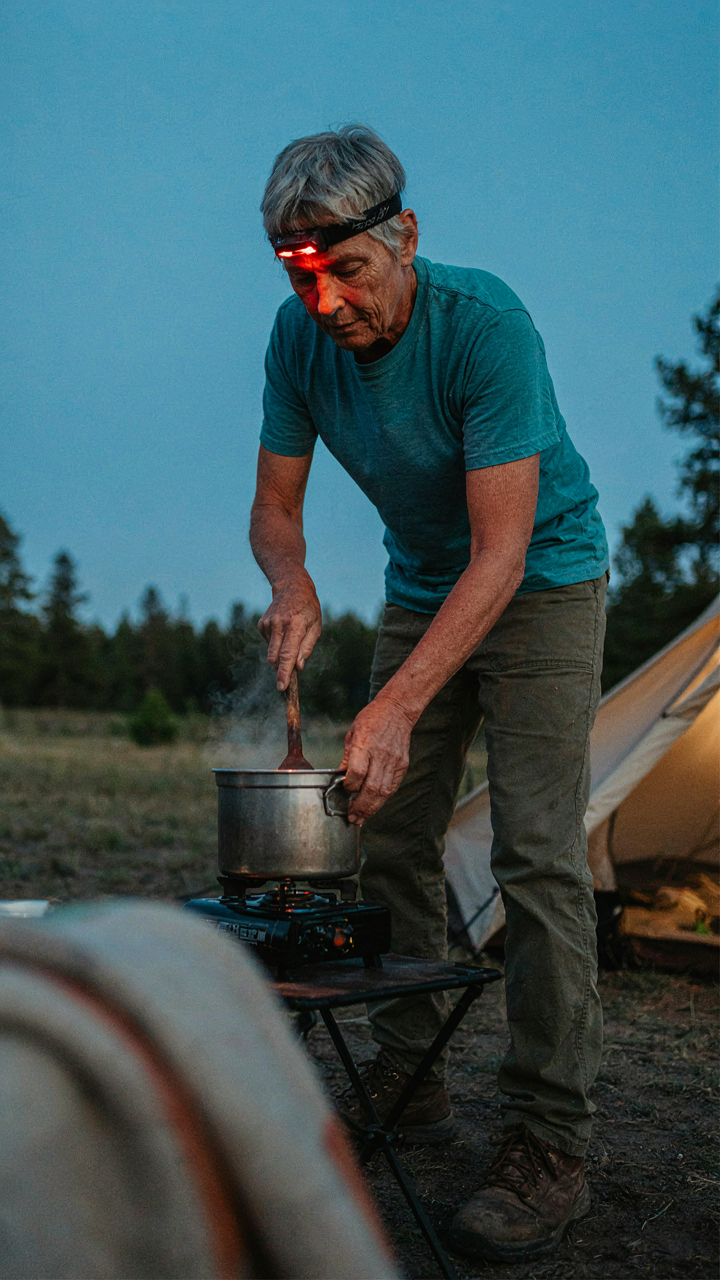
When Red Light Becomes Your Baseline
You want to look competent around the fire without admitting you’re terrified of stumbling into darkness. Here’s the mechanism: red light preserves your rod cells’ sensitivity to low light while suppressing melatonin suppression far less than white light does. This isn’t preference. This is biology. Red wavelengths don’t trigger the circadian disruption that keeps you wired at midnight when you need sleep.
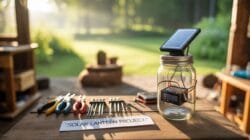
Deploy red light for all camp tasks after sunset: cooking prep, gear organization, map reading, headlamp use. Keep white light for the first hour after dusk when visibility matters and circadian timing is less critical. The moment you need to navigate safely, white light wins. The moment you need to stay functional and sleep later, red light is the only rational choice. Most overlanders skip this entirely and wonder why they’re exhausted by day three.
Sequencing Your Light Transition
The common advice is backwards: people think you adapt to darkness by sitting in it. That’s not how it works. Your eyes need a protocol, not patience. Start with white light at full intensity for setup and cooking. Thirty minutes before you plan to sleep, switch every light source to red. This gives your eyes time to adjust without the shock of total darkness later.
Maintain red light for the final two hours before bed. If you need to move around camp during the night, use a dim red headlamp instead of reaching for white light. The switching cost is real: one blast of white light resets your adaptation by fifteen to twenty minutes. Keep red sources low and diffused. Use red lens filters on headlamps or dedicated red LED panels. This is the operational difference between sleeping through the night and waking at 2 AM unable to fall back.
Awning Lights: Beyond Ambiance, Towards Utility
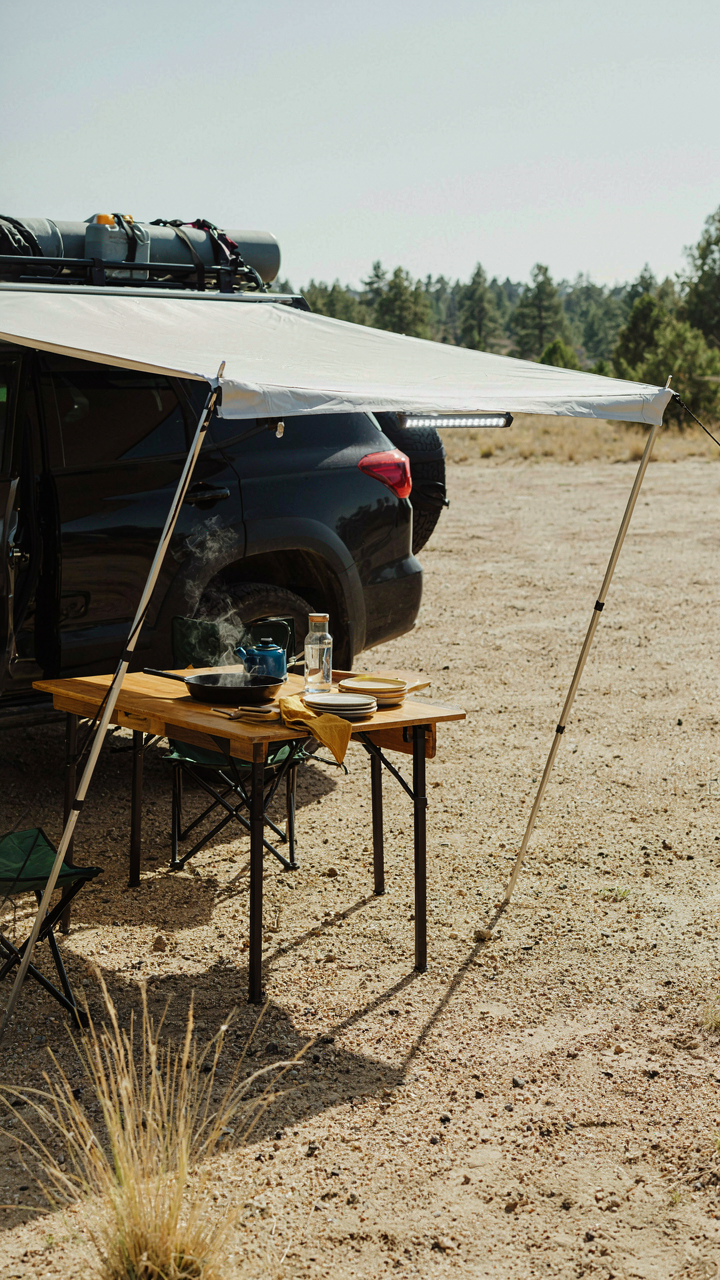
Where The Light Actually Needs To Land
You want awning lights because you’re imagining the Instagram moment, not because you’ve thought through what you’re actually trying to see. Here’s the mechanism: light behaves according to the inverse square law from physics, meaning intensity drops proportionally to the square of distance from source. Your awning light forty feet from your sitting area does almost nothing there. Mount the light where task work happens, not where it looks good from camp.
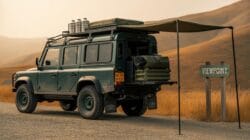
Most setups waste lumens by pointing lights upward or outward instead of down onto work surfaces. Pendant-style LED strips work better than traditional dome fixtures because they concentrate output downward. A 2,000 lumen LED bar mounted to your awning’s forward edge creates a functional perimeter without blinding everyone or draining battery banks with heat waste from inefficient bulbs.
Keeping Water Out, Keeping Structure Sound
Weather resilience isn’t about buying a “weatherproof” label. It’s about understanding where water actually enters fixtures and what mounting load your awning fabric tolerates. Silicone gaskets degrade faster than most people think, typically lasting two to three years in UV exposure before cracking.
Hard-mount your lights to the awning frame itself, not the fabric. Use stainless steel hardware and sealed connectors rated IP67 minimum. Angle mounting brackets so water runs off rather than pooling. Test connections seasonally because vibration from driving loosens terminals gradually. If you’re connecting to your awning’s electrical line, use a dedicated circuit with its own breaker rated for the total amperage, then run conduit through sealed pass-throughs rather than drilling directly through fabric and frame.
The Light Economy Protocol: Managing Power For Remote Camps
Battery Chemistry And Capacity Choices
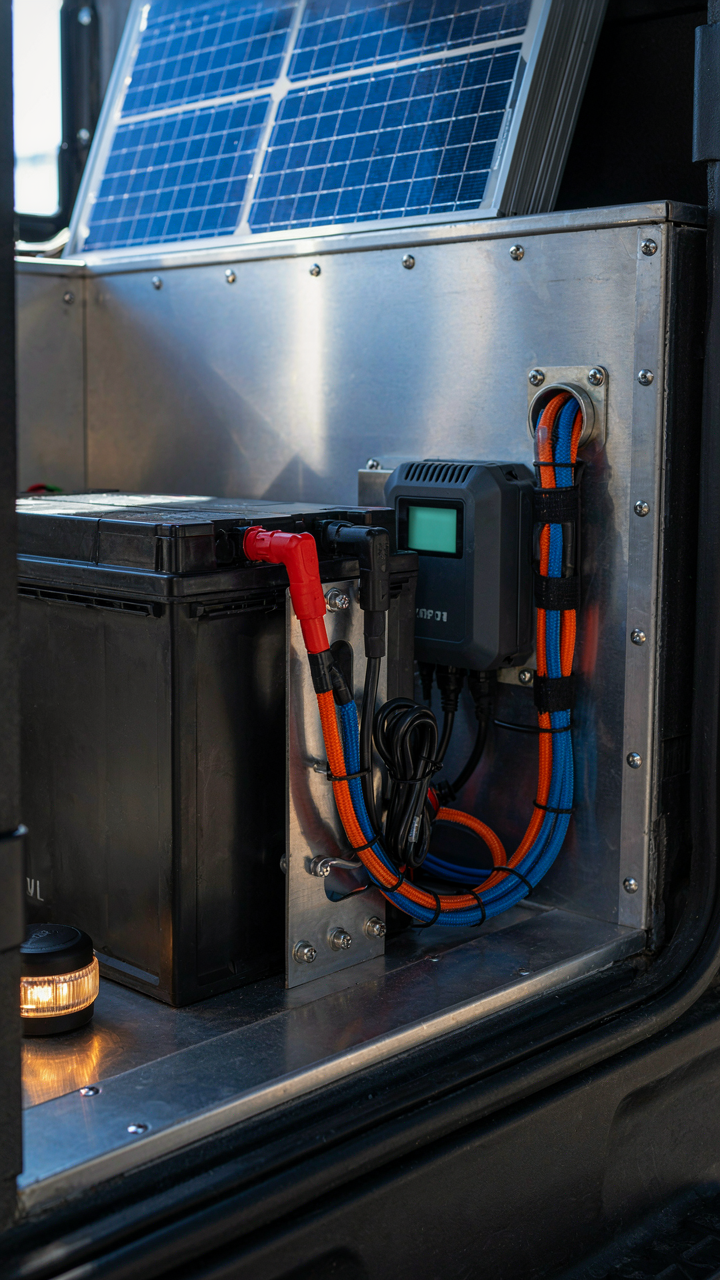
You want to feel prepared without actually thinking through the math. Here’s what matters: battery chemistry determines discharge curve and usable capacity, not just rated amp-hours. Lithium iron phosphate (LiFePO4) gives you 80-90% usable capacity and flat discharge, meaning your lights don’t dim as the battery drains. Lead-acid gives you maybe 50% usable capacity before voltage sag kills performance. The mechanism is electrochemical: LiFePO4’s stable voltage platform lets you extract real energy. Lead-acid’s voltage collapse means you’re running on fumes at half charge.
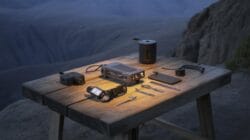
Capacity math is straightforward but most people skip it. Calculate your nightly draw in watt-hours, multiply by nights between charges, add 30% buffer. A single 100-watt LED panel drawing 20 watts for five hours equals 100 watt-hours daily. A 400Ah LiFePO4 battery at 12V holds 4,800 watt-hours usable. That’s 48 nights of solo camp lighting before recharge, or 10 nights supporting a full camp setup. Oversizing the battery is cheaper than undersizing it and running dead.
Solar Charging And Generator Integration
Solar panels charge slower than you think they will. Direct solar irradiance peaks at noon and varies by season, latitude, and cloud cover. A 200-watt rigid panel in optimal conditions charges a 12V battery at roughly 15 amps under full sun, but that window shrinks in winter or at higher latitudes. The real constraint isn’t the panel’s rated output, it’s the actual hours of usable sunlight your location provides. Generator backup solves this but introduces fuel logistics and noise into your camp footprint.
- Rigid Monocrystalline Panels: 18-22% efficiency, weatherproof, ideal for fixed camp installations where space allows. Higher output per square foot than alternatives.
- Flexible Panels: 16-18% efficiency, lighter weight, conform to curved surfaces like vehicle roofs. Trade efficiency for portability and durability in rough terrain.
- Portable Folding Systems: 100-400 watt capacity, stows easily, deploys quickly. Best for camps that move every few days or stay in shaded locations.
- Generator Backup Strategy: Propane or gas generators provide 3-5 kW output on demand, charge depleted batteries in 2-4 hours. Use for bulk charging, not daily operation, to preserve fuel and minimize noise pollution.
- Hybrid Controllers: MPPT regulators optimize solar input efficiency by up to 30% versus basic PWM controllers. Essential for multibattery or high-wattage solar arrays to prevent charging losses.
Stack your charging sources by priority: solar during daylight, generator for rapid top-up when solar can’t meet demand, and grid charging at towns or resupply points. This approach keeps your battery in the 60-80% state of charge range, which extends lifespan and ensures you never camp in darkness because infrastructure failed.
Rooftop Tent & Camping Set Up: Integrated Lighting Systems
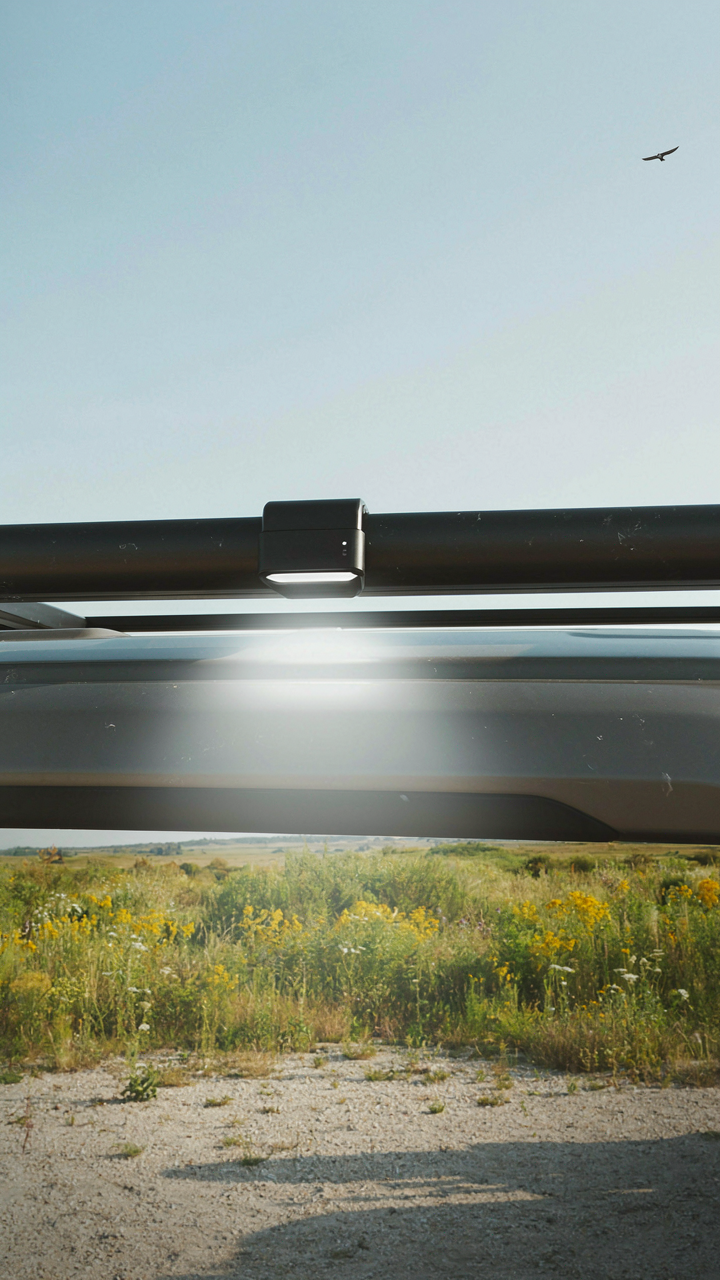
What Factory Lighting Actually Does
You want built-in lights because you’re afraid of being stuck in the dark without options, and you assume factory-installed systems solve that problem. They don’t, not completely. Most rooftop tent manufacturers treat lighting as an afterthought—a single LED strip or dome light bolted to the tent’s interior frame. These lights use the same power draw principle as any electrical load: they consume amp-hours from your auxiliary battery at a fixed rate. One hour of a 10-watt interior light running costs roughly one amp-hour. That math matters when your total battery capacity is finite.
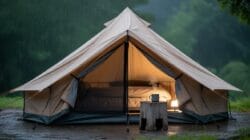
Factory lighting covers one scenario well: basic interior visibility during setup or movement inside the tent. It fails everywhere else. The light doesn’t reach camp perimeter, doesn’t create task-specific zones, and rarely offers dimming or color temperature control. You’re left with binary choice: full brightness washing out your night vision, or darkness. The mechanism is limitation by design, not limitation by budget.
Layered Additions That Actually Extend Reach
What most people miss about modular camp lighting is that you’re building for redundancy, not aesthetics. Think in layers like a military tactical doctrine would: ambient, task, and navigation lighting each serve a distinct function and draw power independently. Ambient lighting (your factory dome or tent interior strips) should be dim and warm—2700K color temperature, dimmable to 50 percent. This preserves your circadian rhythm and doesn’t blind nearby campers. Task lighting addresses specific zones: a clip-on LED for gear organization, a headlamp for detailed work. Navigation lighting marks the perimeter with low-lumen path markers or a separate pole-mounted light on your vehicle.
The protocol: start with what the tent provides, then plug gaps with modular pieces that run on separate circuits. A portable LED panel (10-30 watts, adjustable brightness) mounts to your roof rack and runs through a secondary breaker on your auxiliary battery. Magnetic mounting on steel surfaces means repositioning takes seconds. Keep headlamps and compact flashlights as failsafes—they cost almost nothing and solve lighting immediately if your electrical system fails. Build your lighting architecture before the trip, not on the first night when you’re tired.
Off Road Adventure Lights: Navigating The Unseen
Spotlights And Headlamps For Trail Detection
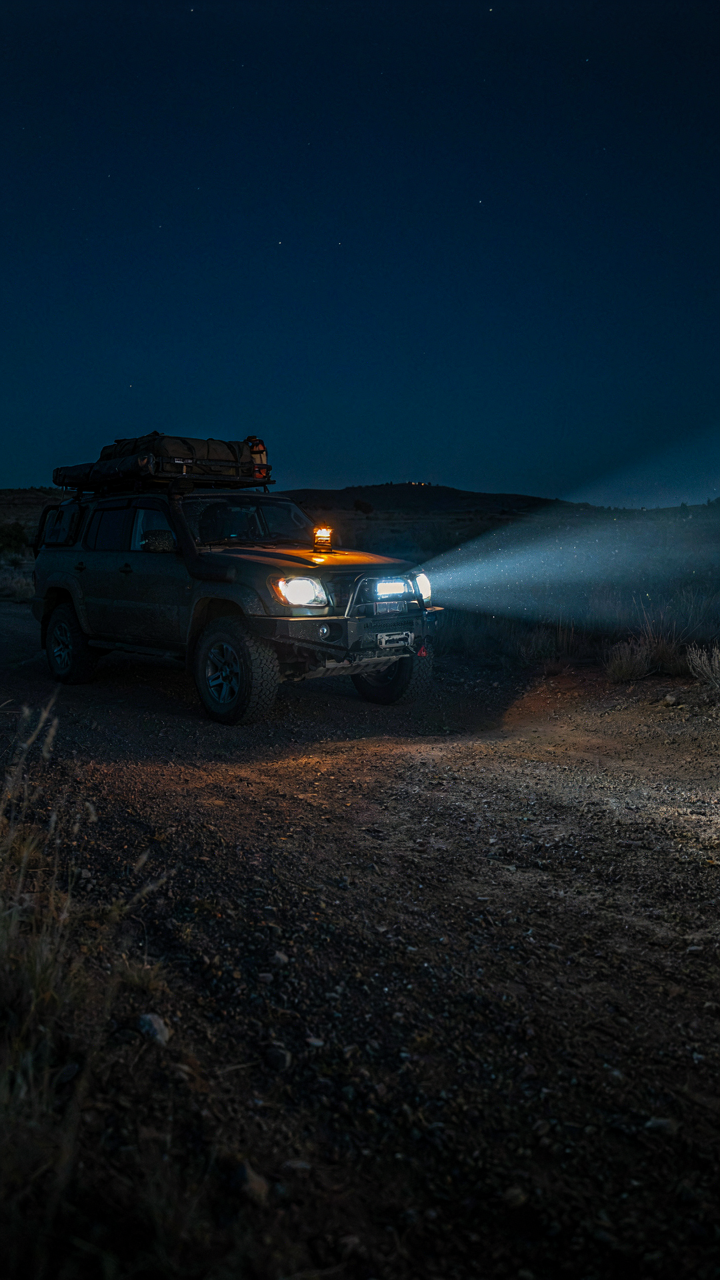
You want forward-facing light because you’re afraid of hitting something you didn’t see coming. The mechanism is simple: visibility eliminates the gap between the obstacle and your reaction time. Military targeting doctrine calls this “acquisition distance”—the space between spotting a threat and engaging it. In overland lighting, acquisition distance means the beam travels far enough ahead that rocks, washouts, and terrain changes appear before your vehicle reaches them.
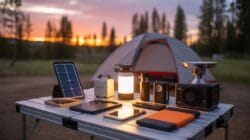
LED spotlights mounted on roof racks or bumpers do this job. They throw 800 to 2000 lumens in a concentrated beam, pushing 100 to 200 feet down the trail depending on wattage and lens design. Handheld high-powered flashlights work for foot reconnaissance around camp, but they lack the sustained reach of mounted units. The key is beam angle: narrower spreads travel farther, wider spreads cover more ground but lose distance. Choose based on your typical terrain—tight single-track requires wider coverage; open desert benefits from extended throw.
Perimeter Beams For Camp Boundary Definition
Most people place camp lights randomly and wonder why the perimeter still feels exposed. The real problem is that human eyes struggle to detect depth and distance in darkness, so boundaries dissolve. Camp lighting solves this by creating a visual fence—light defines where your secured space ends and the dark begins. You’re not trying to illuminate every detail; you’re establishing a recognizable edge that your brain can process as “inside” versus “outside.”
String lights or rechargeable camping lanterns spaced 15 to 20 feet apart form an effective perimeter. Place them low, around 3 to 4 feet high, so light skims across the ground rather than climbing into your eyes. Red or amber wavelengths preserve night vision better than white, meaning your pupils stay adjusted and you see threats faster if they approach from beyond the lit zone. Run this perimeter setup on a separate battery circuit from your main power bank so camp lighting doesn’t drain your vehicle’s reserves.
Portable Camping Light: The “Swiss Army Knife” Of Illumination
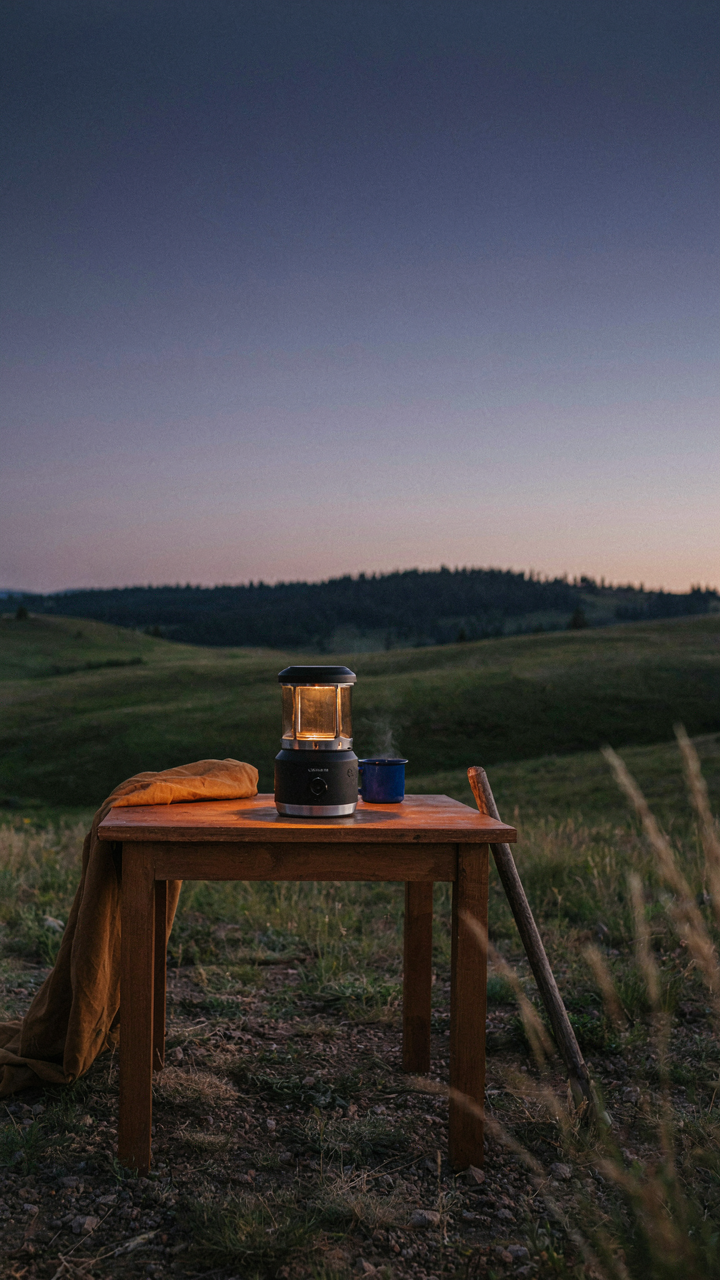
One Tool That Handles What You Can’t Predict
You want one light so you stop carrying five. The real mechanism here comes from industrial redundancy theory: a system designed to handle baseline function plus unexpected load performs better than single-purpose tools stacked together. A quality portable camping light absorbs task creep. You use it for tent setup, gear inspection, emergency signaling, and midnight bathroom runs without swapping devices or draining separate batteries.
The portable light solves the decision fatigue problem that kills efficiency on longer trips. Most overlanders carry a headlamp, a lantern, and a flashlight, then end up using whichever sits nearest. You waste mental cycles choosing. A single robust portable unit—typically a rechargeable LED lantern with adjustable output—eliminates that tax. You grab one thing, it works in any situation, and you move forward.
Build For The Conditions You’ll Actually Face
Waterproofing standards matter because manufacturers rate them differently and most ratings don’t reflect real camp use. IP67 means submersion in one meter of water for thirty minutes. IP68 means indefinite submersion past one meter. Neither spec tells you what happens when condensation pools inside a cold lens or saltwater spray corrodes solder joints over months. The real test: can you leave it out during rain without thinking about it?
Durability splits into two mechanisms: material selection and thermal stress. Aluminum body with rubber grip handles temperature swings without cracking like plastic does. Silicon seals expand and contract with heat cycles but stay flexible. Cheap LED lanterns fail at the solder points where the board meets the housing—vibration during driving loosens connections before failure shows up. Buy lights with isolated LED boards and potted circuitry. You verify this by looking at photos before purchase, not by guessing brand reputation.
The “Scout’s Eye” Principle: Observing Without Revealing
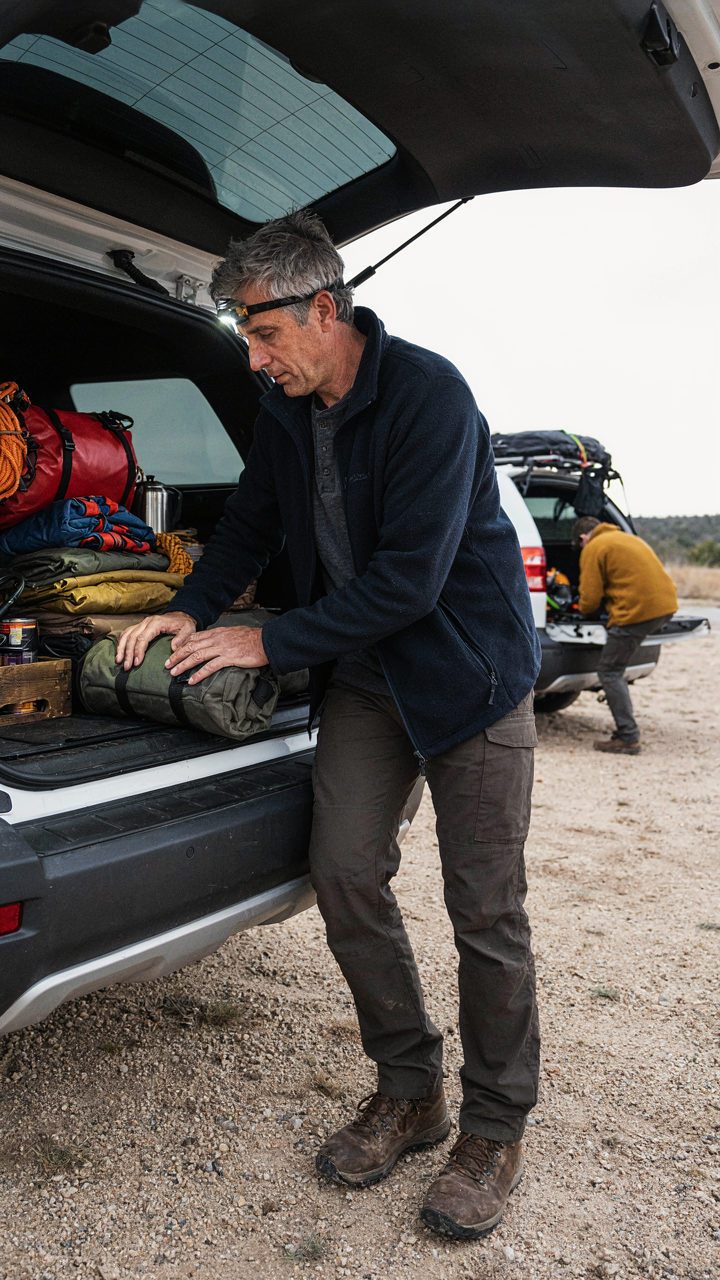
How Military Observation Shapes Camp Light Placement
You want to feel in control at night. That’s the real reason you care about this. Military strategy calls this “observation dominance,” and it maps directly onto camp lighting: your light placement determines what you see versus what sees you. The difference is tactical, not romantic.
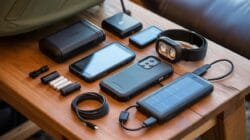
Position your primary light source behind your body and slightly elevated. This illuminates your immediate workspace while keeping your eyes adjusted to darkness beyond the lit zone. Your pupils stay dilated enough to detect movement in the perimeter. Enemy doctrine calls this “maintaining situational awareness.” Apply it: light the task, not the observer.
Minimal Light For Assessment Without Exposure
The common advice says “bring a bright headlamp.” That’s incomplete. High output lights destroy your night vision and broadcast your position across distance. A dim, focused beam of 200-400 lumens maximum preserves your ability to see the darker perimeter while you work or move.
Red light preserves night vision better than white, but only red light limits your ability to assess color-coded hazards or read details. Compromise with a warm white light at low output, or a headlamp with a true red mode for pure observation tasks. Use the lowest setting that lets you complete the specific task, then power down immediately. Your camp stays visible to you, invisible to distance.
Camping Organization: Securing And Storing Your Lighting Arsenal
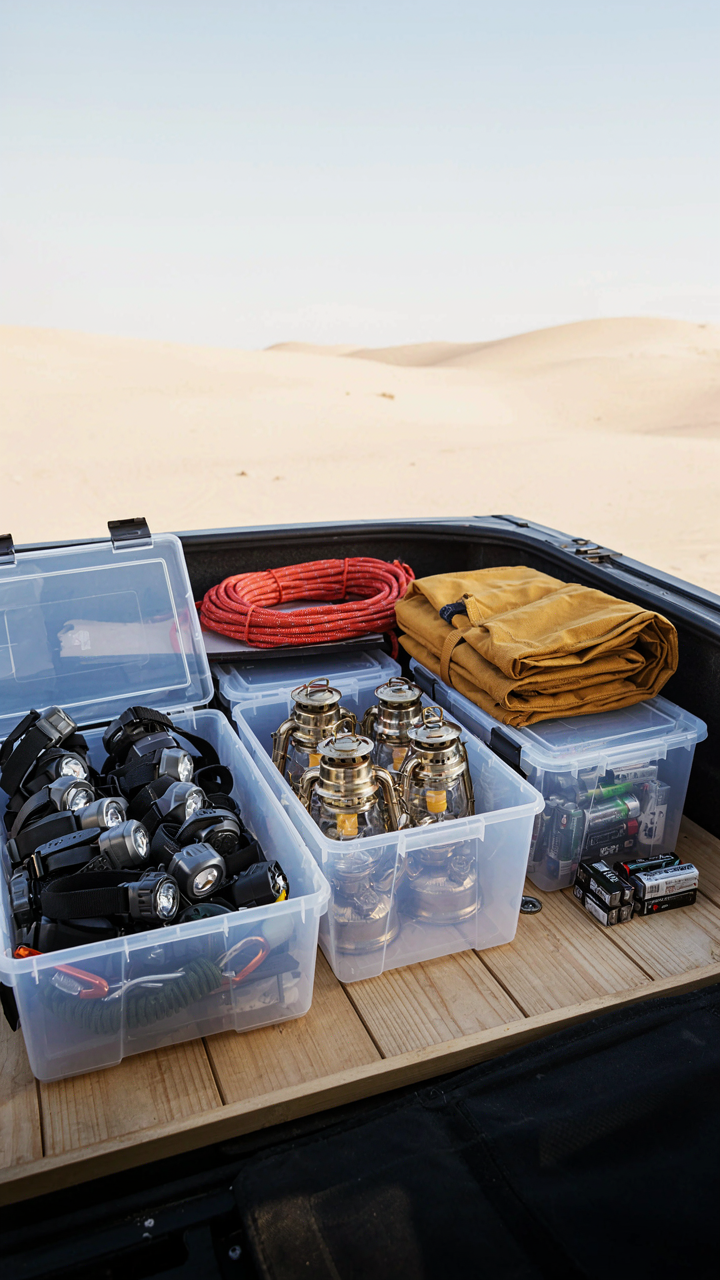
The Setup That Prevents Midnight Scrambling
You care about this because fumbling in the dark for a headlamp while your group waits is a status killer. The real mechanism is inventory control. Overland camps fail not because lighting fails, but because people don’t know where their lighting is when they need it. Military logistics calls this “first article inspection”—knowing exactly what you have before you need it. Your lighting arsenal works the same way. Store gear in dedicated zones by function and frequency of use. Headlamps go in your personal bag. Lanterns go in a camp-accessible crate. Backup lights go in a sealed dry bag. This prevents the chaos of three people searching for one flashlight while darkness settles.
The storage protocol matters more than the container. Use clear plastic cases for visibility. Label compartments by light type, not by person. Establish one person as the lighting coordinator for your trip. This person does a five-minute inventory check each morning and flags low batteries before they become problems. Store batteries separately from lights in sealed containers to prevent corrosion and accidental discharge. Place your primary lighting in the first thing you unpack so it’s never buried under camp gear.
Impact Resistance And Weather Sealing
Most advice says “just buy rugged lights.” That’s incomplete. The actual variable is where impact happens and what surface receives it. Overland camps sit on uneven ground. You drop things constantly. Lights need both material durability and storage placement that prevents drops. Glass lenses crack. Plastic lenses scratch but survive falls. Rubber bumpers absorb shock. Store fragile optics in padded cases inside your main storage box, not loose in a crate where they rattle against metal and stone.
Moisture kills electronics faster than impact does. Battery corrosion, lens fogging, and circuit failure all trace back to humidity and water exposure. Store lights in individual dry bags within your main crate. Use silica gel packets rated for your storage container volume. Seal everything before dusk when temperature drops and condensation forms. Check seals weekly during multi-week trips. Store backup batteries in a waterproof pouch separate from your active lights so a single water intrusion doesn’t compromise both your primary and secondary systems.
The Real Obstacle Isn’t Finding Light, But Mastering Its Absence And Presence. Stop Illuminating Problems, Start Solving Them
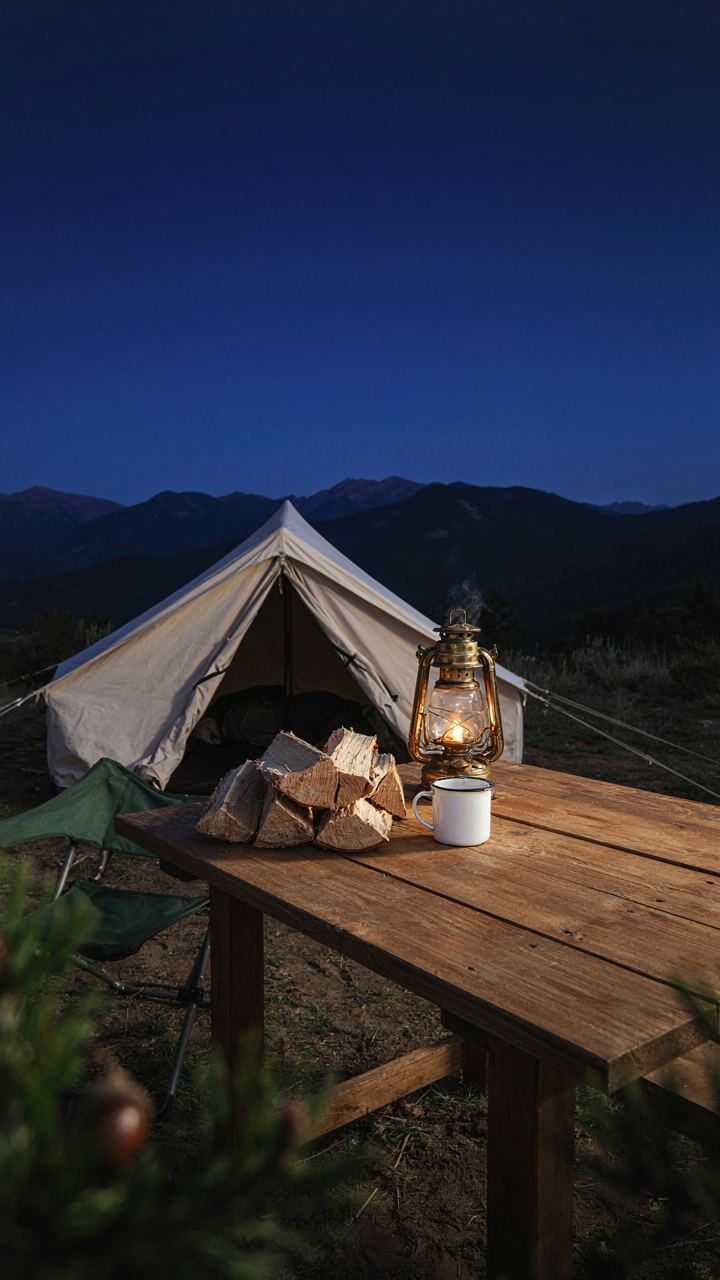
Most overlanders waste money on lights they never use because they never planned for darkness. You don’t need more lumens. You need a lighting strategy that matches your actual camp routine. Tonight, write down three specific tasks you do after sunset, then pick one light source that handles all three. That’s it. Most people fail at camping because they solve for comfort instead of function, and overland camp lighting is no exception.



