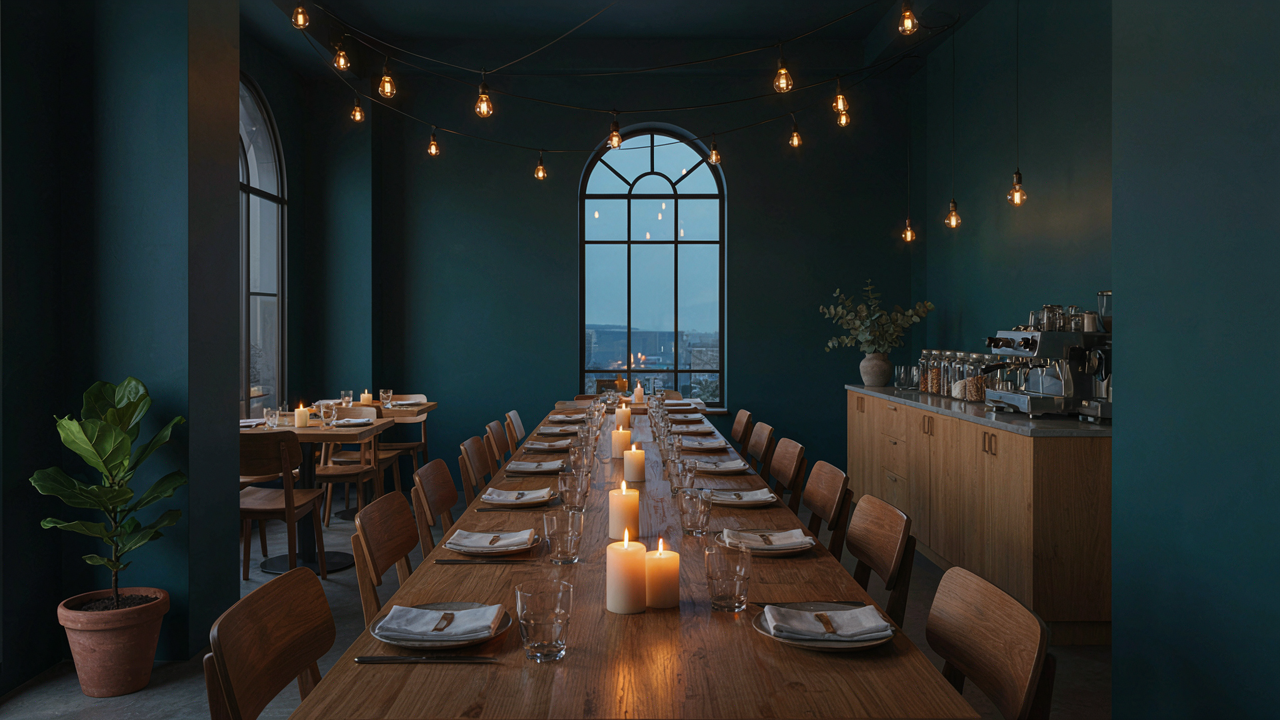
The Ambient Light Assimilation Protocol
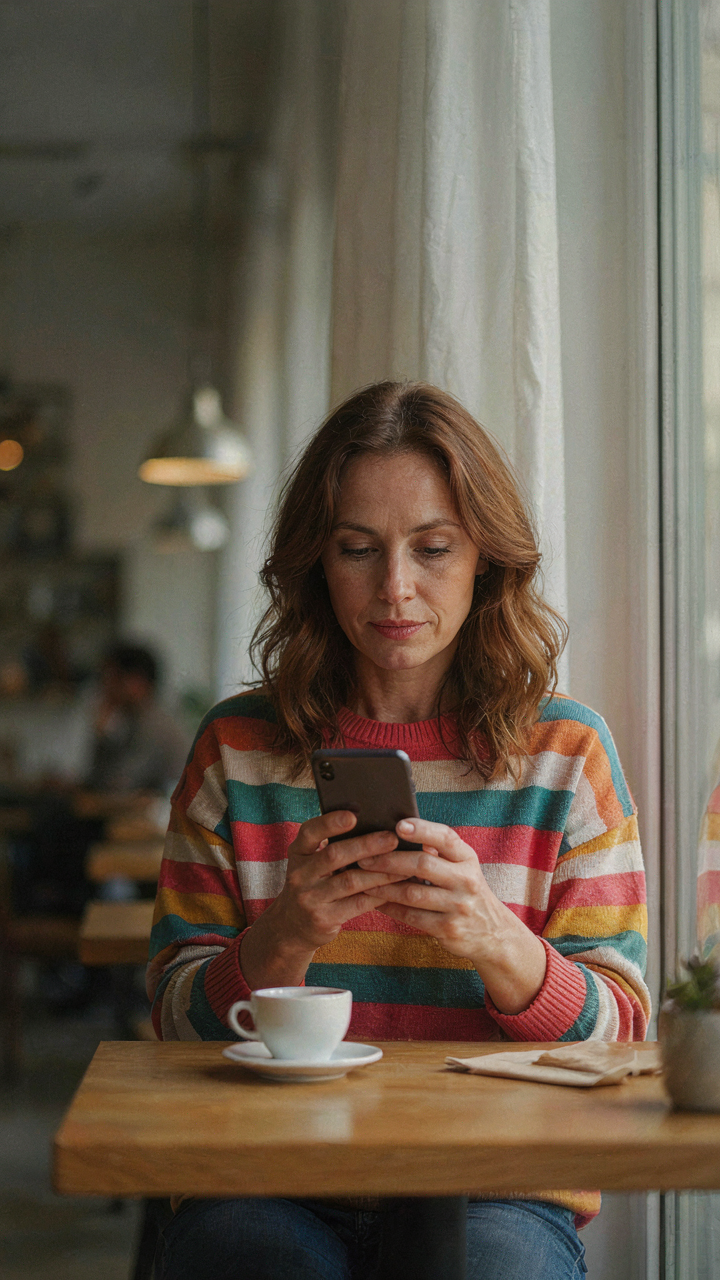
Where Natural Light Actually Lives
You want to look competent in dim venues without blowing out your photos or looking like you’re using a flash from 2008. The real mechanism is this: your iPhone’s sensor can only capture what light bounces into it. Most people miss where that light actually comes from because they’re looking at the wrong surfaces.
Natural light in cafes and evening events moves through the space in predictable patterns. Windows throw directional light across tables. Candles and string lights create pools of illumination on specific zones, not the whole room. Your job is to position yourself or your subject where existing light already concentrates, not to chase shadows and hope the computational photography handles it.
Leverage Existing Venue Lighting, Not Artificial Fill
The advice to “add your own lighting” misses the point entirely. Your iPhone already has Night mode, Smart HDR, and Deep Fusion fighting to salvage dim scenes. Adding external flash or ring lights defeats this. You’re now competing against what the sensor already sees instead of working with it.
Position yourself so existing overhead, pendant, or ambient venue lighting hits your subject’s face or key detail at an angle. Backlighting from windows or wall sconces creates separation. Side-lighting from a cafe’s interior fixtures shapes dimension without flattening the image. The iPhone’s computational photography stacks multiple exposures automatically. Let it work with what’s actually there, then move your frame to catch light that already exists in the space.
Exposure Compensation: The Art Of Subtraction

Pull The Slider Down First
You want the shot to look professional, which means you’re terrified of a dark image. Stop. The real mechanism here is borrowed from signal processing: noise floor. In low light, the iPhone’s sensor generates electrical noise. When you push exposure up to fight darkness, you amplify that noise along with the signal. Pull exposure down by 0.3 to 0.7 stops first. This reduces noise, crushes blacks cleaner, and gives you actual detail instead of murk.

Most advice says “expose for the highlights.” That’s incomplete. You’re not just protecting highlights. You’re starving the noise. The iPhone’s computational photography kicks in harder when the image isn’t overexposed, producing cleaner color and texture. In a cafe, pull down by default. You recover the shadows in post. You can’t recover blown-out wall sconces and clipped skin tones.
Let The Blacks Stay Black
Beginners eliminate every shadow, terrified of “losing detail.” Wrong instinct. Shadow is information, not failure. A cafe at night has pools of darkness. They’re real. Flattening them into gray makes the image look processed and false.
Exposure compensation isn’t about brightness. It’s about signal-to-noise ratio and contrast structure. Lower exposure means the deep blacks stay deep, which makes lit areas pop by comparison. On your iPhone, use the exposure slider to sit at negative 0.5 to 1.0 stop. The image looks underexposed on screen. It won’t be in post. The blacks hold their weight, the lit faces read correctly, and the room reads as night instead of a bleached studio. Commit to darkness on capture, not brightness.
Stabilization: The Unsung Hero Of Low Light Photography

How Your Body Becomes The Tripod
You want sharp photos without looking like you’re hunting wildlife. That’s the real reason stabilization matters in low light. When your iPhone’s sensor needs longer exposures to gather enough light, even micro-movements blur the frame. Physics calls this “apparent motion.” Your hands become the variable. Eliminate the variable by bracing your body against fixed structures.

Press your elbows into your ribcage or a table edge. Cradle the phone between both hands with thumbs underneath for support. Lean against a wall or doorframe. These positions lock your body in place and reduce the micro-tremors that destroy sharpness at slow shutter speeds. The phone stays still because you stay still. Test this: shoot the same low-light scene hand-held versus braced against a solid surface. The difference is immediate and measurable.
Tripods Without The Performance Tax
The conventional wisdom says tripods kill spontaneity in cafes and events. That’s incomplete. A tripod doesn’t force you to use it for every shot. Bring a small, lightweight model for specific moments where you anticipate staying in one position. Use it during dinner speeches, ambient venue shots, or when you need your hands free to manage lighting reflectors or adjust your phone’s framing.
The real mechanism is time efficiency, not creativity loss. You set the tripod once, lock your composition, and stop fighting gravity. Your hands relax. Your images sharpen. You make deliberate decisions instead of reactive ones. After the moment passes, pack it up and shoot hand-held again. The tripod becomes a tool for specific tactical situations, not a creative restriction. Pick one that weighs under a pound and fits in your bag without complaint.
Night Mode: Understanding Its Actual Mechanics
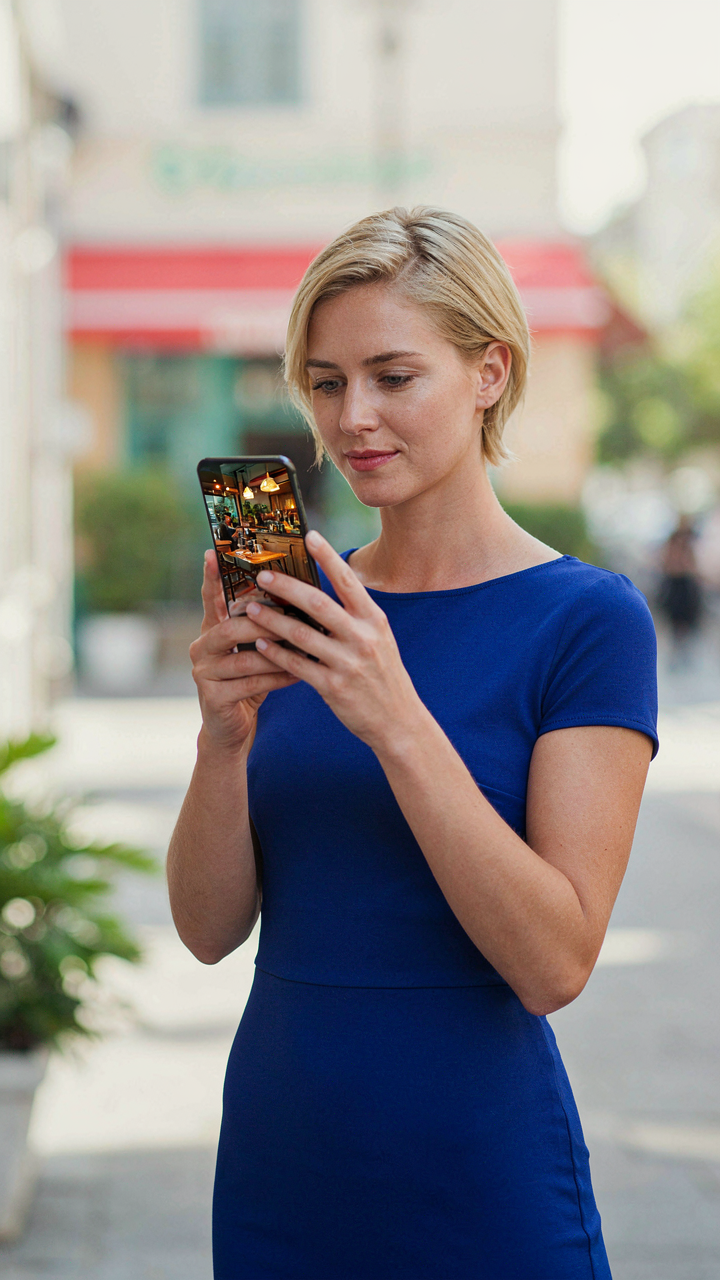
How Night Mode Actually Works
You want Night Mode to feel like magic because admitting it’s a computational workaround means accepting that your phone is making decisions you don’t fully control. Night Mode borrows from signal processing: it’s temporal stacking, where your sensor captures multiple exposures in rapid succession, then computational photography aligns and blends them. The phone holds the shutter open longer than normal, collecting more photons, then uses machine learning to reduce noise while preserving detail. Apple doesn’t publish exact exposure times, but the mechanism is exposure extension plus algorithmic fusion.

The real limitation nobody mentions is that Night Mode trades resolution and texture for brightness. Your 12-megapixel sensor effectively processes lower resolution data during computation. In a dim cafe, Night Mode smooths out fine details intentionally, crushing shadow information to prevent noise. It works because your brain forgives lost detail faster than it forgives grain. You’re not getting truer light; you’re getting a processed simulation of what low light should look like. When you enable Night Mode, you accept that trade automatically.
When Night Mode Becomes A Liability
Most advice says use Night Mode whenever available, which is incomplete. Night Mode fails when you need texture and authenticity over brightness. In cafes with warm tungsten or Edison bulbs, Night Mode flattens the color temperature, making amber light feel generic. It also struggles with moving subjects because the multi-frame stacking requires stability. If your subject moves mid-capture, you get ghosting artifacts. The algorithm assumes a static scene. Night Mode also triggers aggressively in situations where manual exposure control would serve you better. Disable it when mood matters more than visibility.
Your actual protocol: shoot one frame with Night Mode enabled, one without. Compare immediately. If Night Mode crushes the color cast you came for, delete it and keep the manual exposure. If your subject moved and created ghosting, Night Mode is the problem, not the solution. The cafe’s character lives in its shadows and color temperature. Night Mode erases both systematically. Start with manual control and exposure compensation before defaulting to Night Mode automation.
The Focal Point Priority System
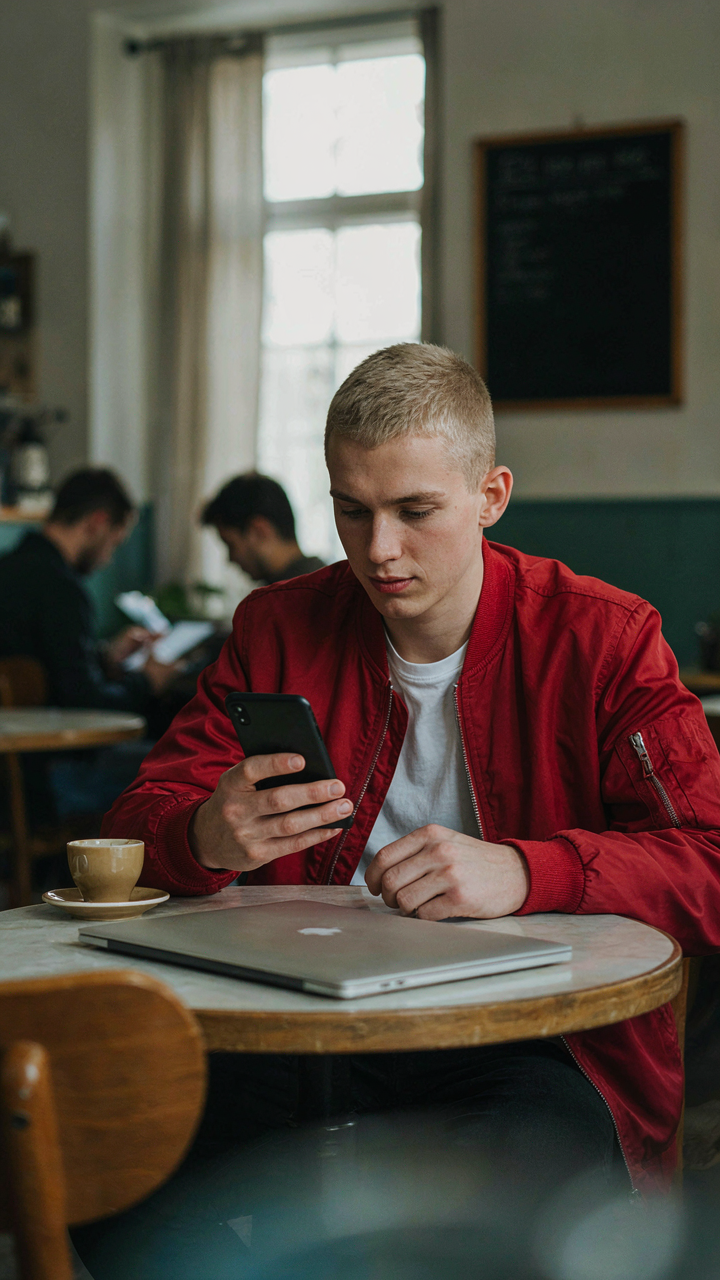
Where Your Focus Actually Lives
You want sharp photos of people at events but you’re losing them to blurry backgrounds and washed out faces. That’s not a camera problem. That’s a priority problem. In low light, your iPhone’s autofocus behaves like a military targeting system scanning for any contrast it can lock onto. Without direction, it locks onto whatever reflects light strongest, which is usually not your subject. You need to hijack that system.

The mechanism is simple: contrast drives autofocus. Your iPhone’s sensor hunts for edges and light transitions. In a cafe with competing light sources, that means it chases the neon sign behind your subject instead of the face in front of it. You’re not fighting physics here. You’re fighting default behavior. The camera doesn’t know what matters. You have to tell it.
Tap The Subject Before You Shoot
Tap-to-focus is not a convenience feature. It’s the difference between a sharp subject and a ruined shot. Press your finger directly on the face or object you want sharp. The iPhone locks focus there and holds it until you take the photo. This overrides the autofocus system’s random scanning entirely.
When you tap, you’re also triggering exposure metering to that point. This is the hidden leverage. The phone adjusts brightness based on that focal point, which means your subject gets properly exposed instead of the entire frame’s average. Release your finger before you shoot. The focus lock stays active for several seconds, giving you time to recompose and frame the shot without the autofocus hunting again.
Post Processing: The “Less Is More” Edit
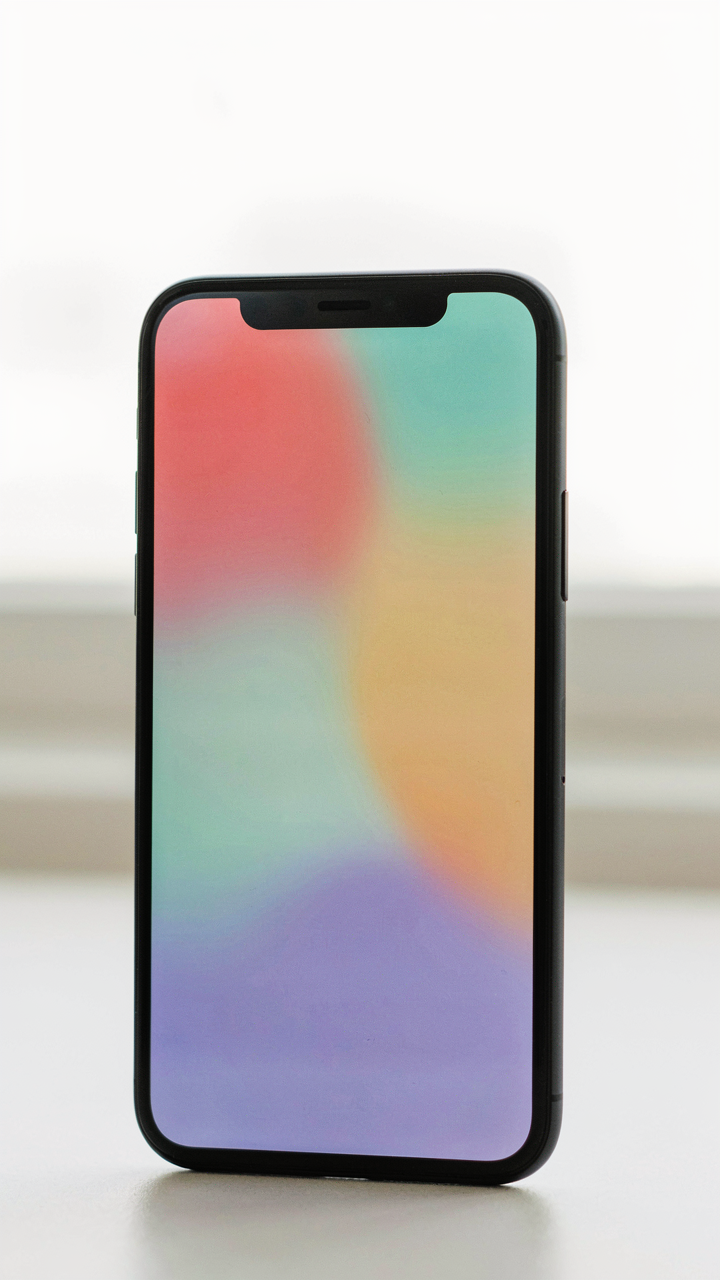
Subtle Low Exposure Edit IPhone Adjustments
You want the edit to look untouched because you think that’s what separates professionals from amateurs. The real mechanism is exposure recovery. In film photography, overexposure destroys data permanently. In digital, underexposure leaves recoverable information in the shadows. Your phone captures this data. Most people waste it by crushing blacks in post instead of lifting them.

Start in the Exposure slider, not Highlights. Move it between plus 0.3 and plus 0.7. This is the primary control for shadow detail on iPhone. Then use Shadows slider at plus 15 to plus 30 to pull out cafe corner faces and event backgrounds without blooming the highlights you preserved.
- Exposure first: This lifts the entire image uniformly and recovers the shadow data your sensor captured before you touch anything else.
- Shadows second: Targets only the darkest tones, letting you recover face detail without blowing out the overhead lights or windows.
- Blacks slider minimally: Keep it between zero and minus 5. Crushing blacks destroys dimension. Resist the urge to “add contrast” this way.
- Highlights barely touched: Lower by minus 5 to minus 10 only if blown-out light sources appear. Usually unnecessary with proper exposure capture.
- Saturation stays neutral: Cafe tungsten and event stage lighting are already color-cast. Don’t amplify this with saturation bumps. Correct color temperature first.
Most phone editors apply these backwards, crushing blacks for “punch” and then wondering why faces look flat. The person in the photo needs dimension before you chase contrast. Your phone’s computational photography already added local contrast during capture. You’re refining, not rebuilding.
Noise Reduction: When To Stop, What To Accept
Noise reduction on iPhone is a trap disguised as a feature. You reduce noise by averaging pixels, which deletes the fine detail your lens actually resolved. The cafe shot at ISO 1600 has grain. That grain proves the light was real and your phone captured actual information. Smoothing it away trades texture for a plastic, processed look that screams “phone photo.”
Open Noise Reduction in your editing app only when grain becomes visible as blotchy color artifacts, not luminance grain. Color noise looks like random green and magenta spots. Luminance noise looks like gray speckle. Reduce color noise aggressively. Leave luminance noise alone. Apply Noise Reduction at plus 30 to plus 50 for color only, then stop. Accept the grain. Your eye adapts to it within seconds. A viewer’s eye does the same. What destroys a photo is the smoothed-out, waxy skin tone that screams “I was edited too much.”
The Economic Principle Of Light

Why Light Behaves Like Capital
You care about this section because you want to stop looking like an amateur at dim venues. Here’s the mechanism: economics teaches scarcity forces optimal allocation. In iPhone low light photography, light is your scarce capital. Your sensor has a fixed processing budget per frame. You don’t have unlimited light to work with, so you must choose where that light lands and what you sacrifice to capture it.

The phone’s computational photography doesn’t create light from nothing. It trades off resolution, color accuracy, and speed to gather what little light exists. This trade happens whether you understand it or not. Most people waste their light budget on areas that don’t matter—blurry backgrounds, empty space, irrelevant details. They then complain the subject looks soft or noisy. The real problem is misallocation, not equipment failure.
Direct The Light Where It Counts
Stop spreading light evenly across the frame. Concentrate it on what matters. In a cafe, this means exposing for the person’s face, not the dark wall behind them. Your iPhone’s exposure metering defaults to averaging the entire scene, which tanks your subject when surrounded by shadow. Tap directly on the face and hold to lock exposure there. You’ve now allocated your light budget to the highest-value target.
Underexpose the background intentionally. The dark corners and dim furniture don’t need detail—they need to stay dark so the subject gets priority. This is not a creative choice. It’s resource allocation. When you pull up exposure compensation, drag left to reduce overall brightness, then tap your subject again to lock it. Your sensor now invests its processing power in shadow detail where humans actually exist, not in rendering invisible background texture nobody will examine.
Streetlight Photography: Harnessing Urban Glow
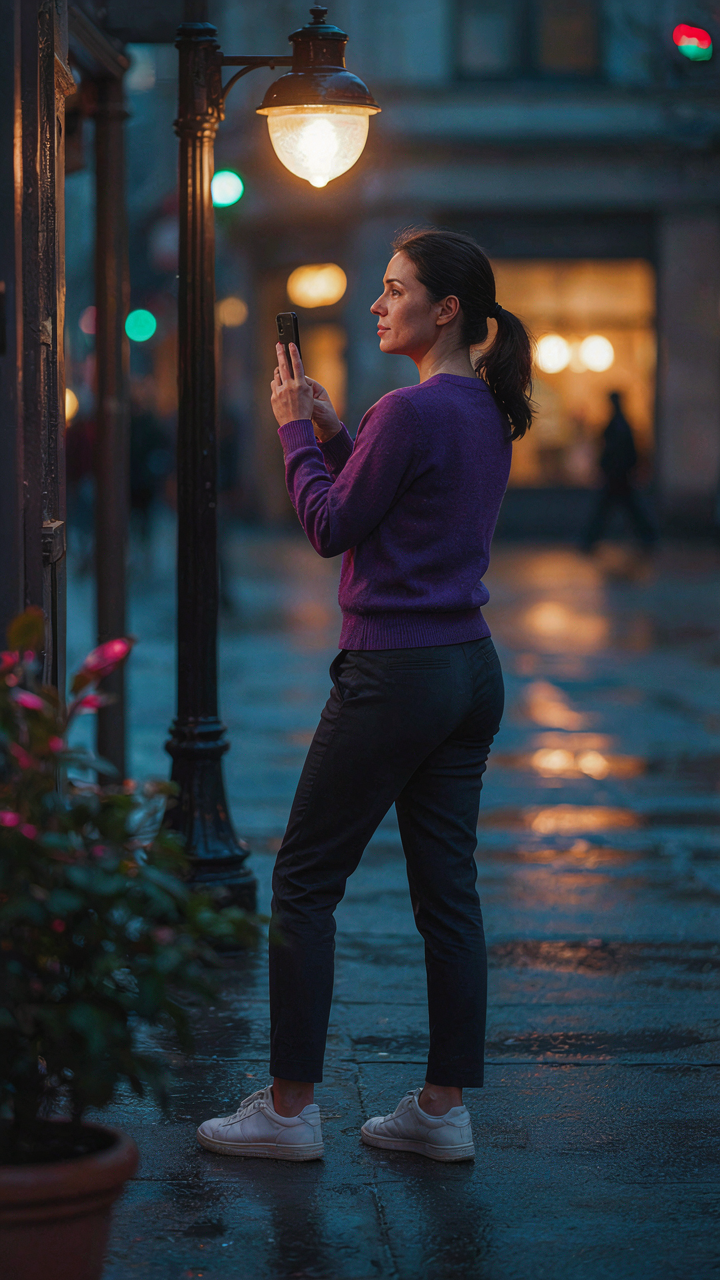
When Streetlights Become Your Main Light
You want these shots because they make you look like you know what you’re doing with a camera. The mechanism is simple: streetlights are already positioned as key lights in urban environments. Borrow a term from cinematography called “motivated lighting”—light that comes from a visible, logical source in the frame. Streetlights do this work for you. Position your subject so the light hits them directly or at a 45-degree angle. Your iPhone sensor reads the streetlight as the primary exposure reference.

Exposure lock is your control here. Tap and hold on your subject’s face until you see the AE/AF Lock notification. This prevents the camera from chasing the darker surrounding areas and blowing out the streetlight itself. The light falloff around streetlights is steep. A subject two feet from the light receives vastly different illumination than one ten feet away. Move your subject incrementally toward or away from the source until the face shows detail without blown highlights on the nearest features.
Silhouettes And Contrast By Design
The common advice here is wrong: don’t chase even exposure in every shot. Strategic underexposure of your subject against a bright streetlight creates drama that flat, evenly-lit photos never achieve. Silhouettes work because they eliminate the need for your sensor to resolve detail in shadow areas where noise becomes visible. Your iPhone’s sensor can capture the bright light source cleanly while rendering your subject as a dark shape.
Frame your subject between yourself and the streetlight. Tap on the brightest part of the light source to lock exposure there. Your subject will darken significantly. This is intentional. The outline, posture, and head shape become the image’s content. Evening events work perfectly for this because mixed light sources create depth naturally. One streetlight illuminates the background while subjects remain underexposed in the foreground, producing separation that feels professional without requiring post-processing tricks.
Camera Settings: Beyond Auto Pilot
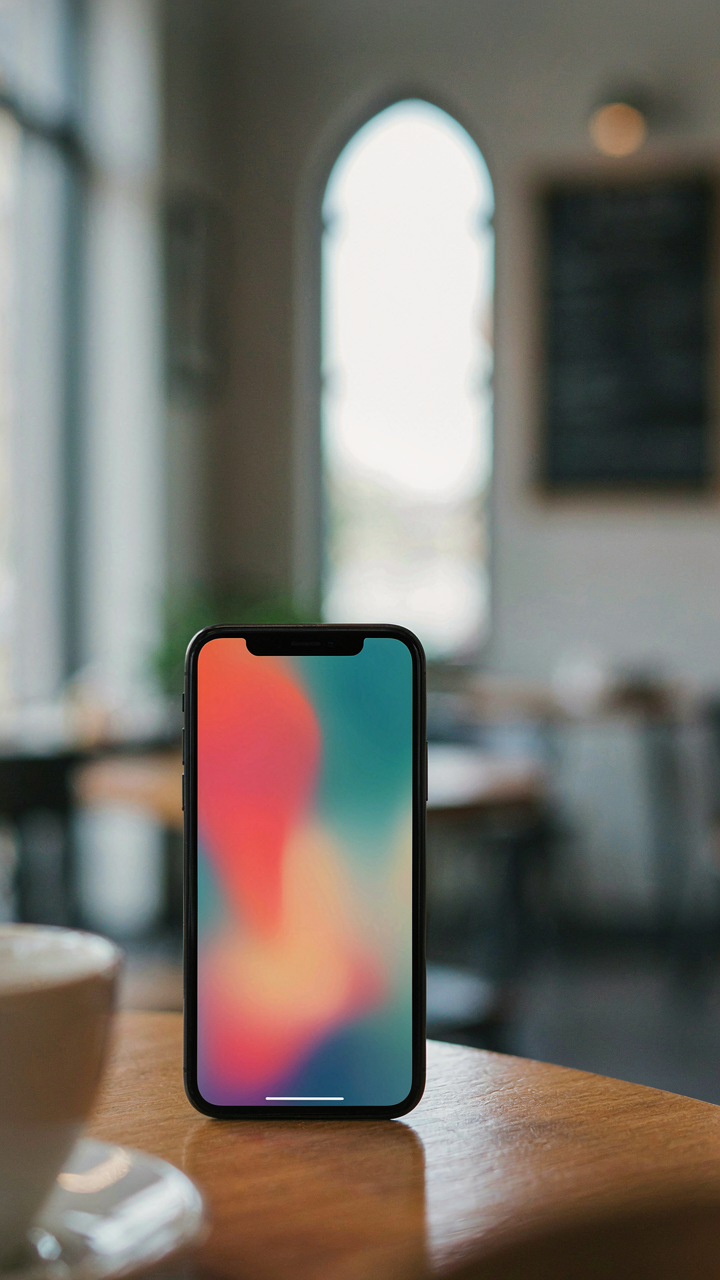
Take Manual Control Over ISO And Shutter Speed
You want manual control because you’re tired of blurry shots and refuse to look incompetent. Here’s the mechanism: Auto mode trades shutter speed for ISO to keep exposure stable, which means your phone chooses blur over grain every time. In low light, this trade-off kills detail. Manual mode lets you decide which matters more for each shot.

ISO controls sensor sensitivity. Shutter speed controls how long light hits the sensor. In low light, you raise ISO first to let more light in without motion blur, then slow shutter speed only as far as you can hold steady. Start at ISO 800 in cafe lighting. If your subject moves or your hand shakes, bump shutter to 1/60th or faster instead of climbing ISO higher. Test your personal hand-shake threshold by shooting at 1/30th repeatedly and checking results.
ProRAW Unlocks Hidden Detail In Darkness
ProRAW format captures more tonal information than standard JPEG, which means you recover shadow detail and control highlights with precision in post-processing. Most advice skips the real reason: standard iPhone captures only 8-bit color depth per channel. ProRAW gives you 12-bit depth, roughly four times the tonal gradations. This matters in low light because underexposed areas contain recoverable data that JPEG compression destroys permanently.
Enable ProRAW in Settings under Camera, then Photo Capture Format. Shoot at underexposure by one to two stops in low light, then recover those shadows in post without banding or noise artifacts. The file size jumps from three megabytes to forty megabytes per shot, so clear storage beforehand. Process each file in Lightroom or Adobe Camera Raw rather than Photos app, where you have granular control over shadows, highlights, and color grading without degradation. This workflow converts bad low light into recoverable raw material.
Your Pursuit Of Perfect Low-light Photos Reveals A Deeper Struggle: The Fear Of Creative Limitation
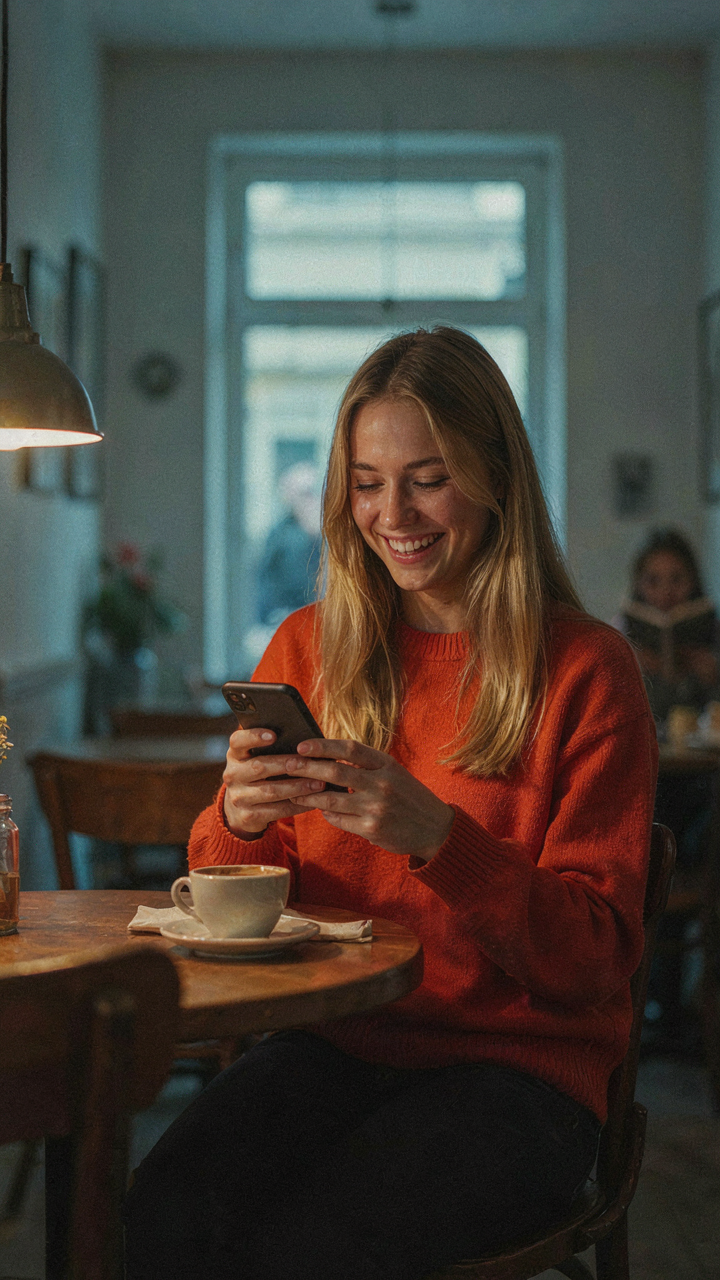
You don’t need better gear. You need permission to shoot badly first. Most photographers freeze in dim light because they’re chasing flawless results before they understand their tool. Open your iPhone camera at the next event. Shoot twenty terrible frames. The fear vanishes the moment you stop treating limitations as obstacles and start treating them as the only rules that matter. Constraints don’t kill creativity. They’re what builds it.



