The Cognitive Bias Of Brightness: Why Your “Glowing” Skylines Fall Flat

Your Phone Lies About Exposure
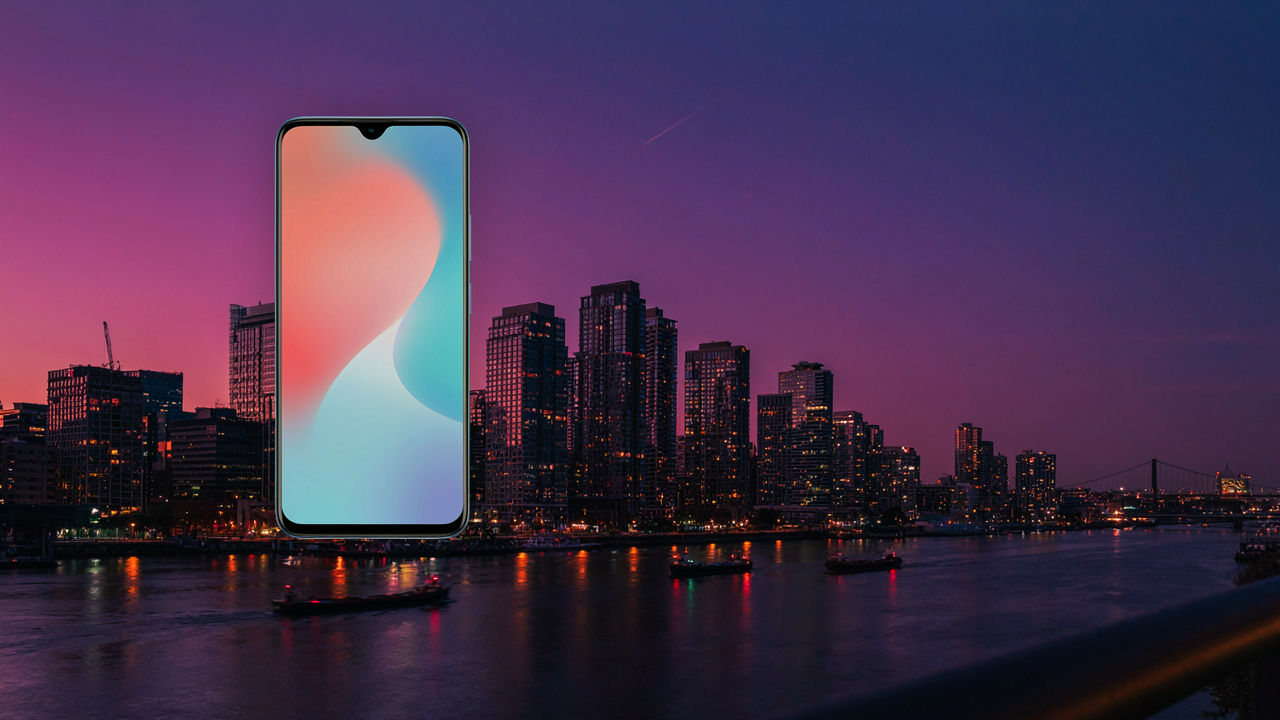
You want your night shot to look impressive, so you chase the histogram right. That’s the real reason you’re reading this. But here’s what nobody tells you: your iPhone’s exposure meter reads the entire frame as one value, then averages toward middle gray. In low light, this means it overexposes to compensate. You see a bright screen and assume the shot is good. It isn’t. The skyline burns out into a flat wash because the sensor sacrificed shadow detail to hit that middle gray target.
The mechanism is physics. In exposure metering, the camera treats your scene like a reflectance problem, not a visibility problem. Maximum brightness doesn’t equal maximum impact. A slightly underexposed night skyline with retained detail in the bright areas creates actual dimension. Your eye perceives contrast, not total light output. Dial exposure down one to two stops from where the iPhone suggests, then check the histogram in post. The skyline gains back its structure.
Darkness Creates The Illusion Of Glow
The common advice says “get more light.” Wrong. Glowing happens at the edge between lit and unlit space. This is basic visual hierarchy from graphic design: contrast drives perception, not absolute luminance. A building lit at 800 lumens against a 50-lumen sky reads as luminous. The same building at 1200 lumens against a 700-lumen sky reads as normal. The ratio matters. Underexposing your entire frame intensifies the perceived brightness of the lit elements because the dark areas compress.
Shoot with exposure locked two stops below the meter recommendation. Let the city lights become islands in darkness. Night Mode will lift shadow detail enough to show context, but the bright elements stay controlled. The buildings appear to emit light rather than reflect it. This is the protocol: tap to lock exposure on a mid-tone street, then reduce by two stops using the slider. The skyline gains presence because contrast does the work exposure cannot.
The Unseen Architecture: Mastering Urban City Street Composition After Dark
Tell A Story With Negative Space
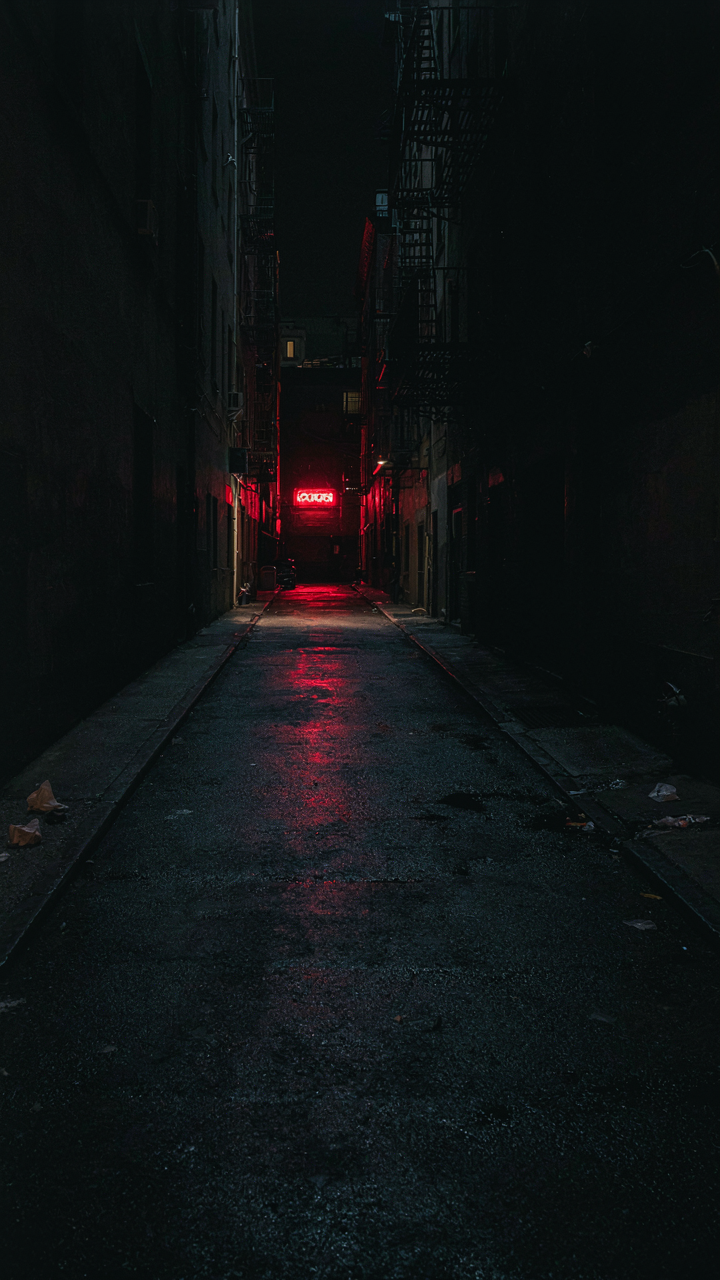
You want the shot that makes people think you used a real camera. That’s the actual motive here, and it’s worth naming because it changes what you optimize for. Most phone photographers chase bright lights. The mechanism is different: negative space is your primary compositional tool at night, not your secondary one. Dark areas anchor the frame and make lit elements read faster. Your eye processes contrast before it processes detail.

Negative space in night photography works like silence in music—it forces attention. Cities after dark have massive stretches of nothing: unlit walls, dark sky, empty streets. These aren’t compositional failures. They’re your strongest assets. Position bright elements (neon, street lamps, lit windows) against these voids. The iPhone’s dynamic range is limited, so you’re fighting the camera’s instinct to expose everything equally. Use that limitation. Let the dark stay dark. This creates separation between your subject and the environment, which reads as intentional framing, not accidental underexposure.
Lines That Route The Viewer’s Eye
Visual hierarchy borrowed from graphic design applies directly to night street composition. In design, a “leading line” channels attention through a layout. On your iPhone screen at night, leading lines do the same work: they route the viewer into the frame and control where they stop. The common advice—”use diagonal lines”—misses the actual mechanism. You need lines that exist in shadow first, then reveal themselves through light.
Streets, power lines, building edges, and guardrails all function as leading lines. But at night, these lines only work if they contrast against their background. A dark street edge against a lit storefront reads as a line. The same edge against a dark building reads as nothing. Position your subject at the line’s endpoint or intersection. This forces the eye to travel into the frame before landing on your anchor point. On the iPhone, use manual focus to lock onto your endpoint, then frame so the line leads directly to it.
Beyond HDR: The Dynamic Range Deception
Take Manual Control Of Light Capture
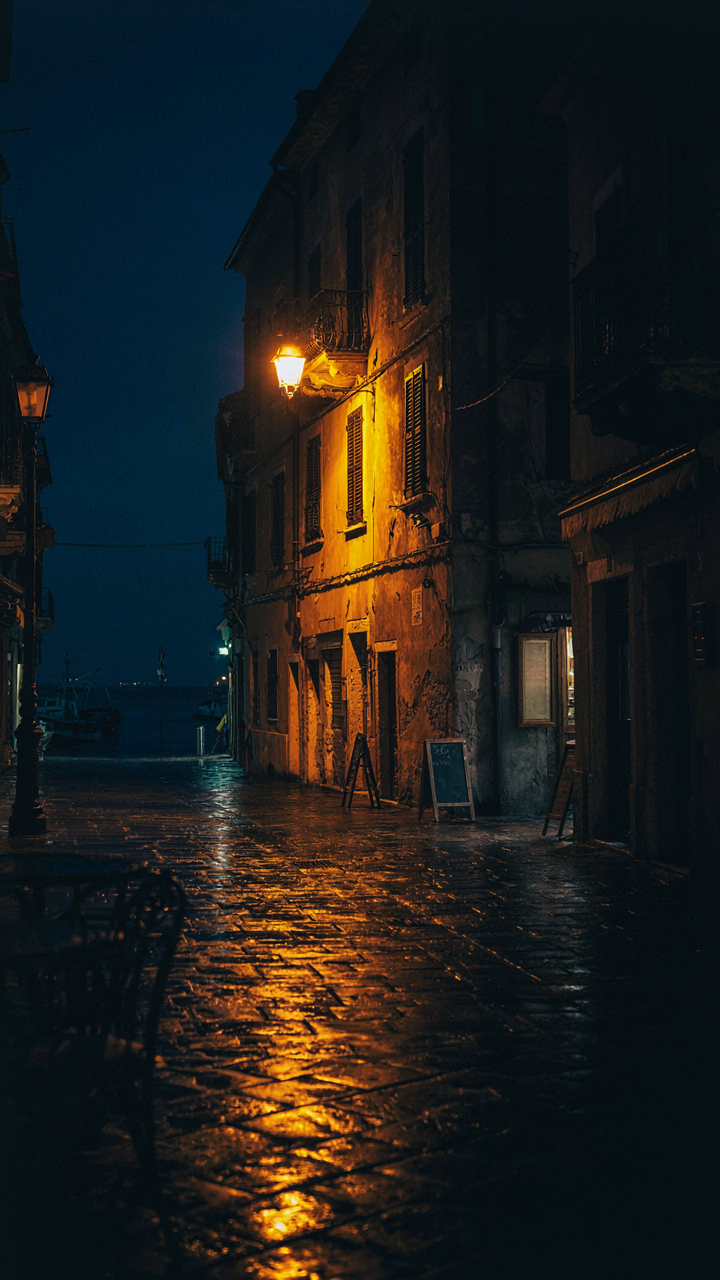
You want HDR to do the work so you don’t have to think. That’s the real reason this section matters. Here’s what nobody says plainly: HDR is a crutch that trades away control for a false sense of safety. Think of exposure like military supply lines—centralized systems (automatic HDR) move resources everywhere at once, but manual targeting (exposure compensation) puts firepower exactly where you need it. On iPhone, HDR averages multiple exposures to compress dynamic range, but it destroys shadow detail and clips highlights at the exact moments you need precision. Use exposure compensation instead. Tap the screen on your subject, then slide the exposure slider up or down before you shoot. This single move gives you authority over which tones matter in your frame.

The mechanism is simple: your iPhone meter reads the entire scene and tries to keep everything visible. That destroys contrast. Manual exposure locks onto one zone and exposes for that zone only. Night skylines demand this. Expose for the lit building and let the sky go black. Expose for the sky gradient and let the street fall to shadow. Choose one. Commit to it. This is not a suggestion—it’s the difference between a flat, processed image and one that holds actual visual hierarchy. When you manually set exposure, you’re saying what matters. HDR says nothing matters, so everything gets flattened equally.
Know Where Your Sensor Actually Fails
iPhones have small sensors. That’s the constraint that changes everything else. A small sensor means fewer photons hit each pixel, which means more noise in shadow regions and faster saturation in bright regions. Night photography on iPhone doesn’t fail because the camera is bad. It fails because you’re asking a small sensor to do what a large sensor does, then expecting the same result. The iPhone 15 Pro’s larger main sensor helps, but it doesn’t change the fundamental physics—small sensors lose shadow detail faster and clip highlights sooner than full-frame cameras do. This is not a flaw to fix with software. It’s a specification to work inside of.
Understand this limit and you work with it instead of against it. Stop trying to preserve detail in both the dark street and the bright neon sign. You can’t. Your sensor has a hard ceiling on dynamic range—roughly 11 to 12 stops on current iPhones, versus 14 to 16 on full-frame cameras. The real play is to shoot scenes where the light itself has already compressed the range for you. Sodium vapor streetlights create monochromatic scenes. Neon signs in dark alleys eliminate half your dynamic range problem before you even press the button. Position your frame so your sensor never has to choose between impossibly bright and impossibly dark zones.
The “Light Pollution As Asset” Protocol
Ambient Glow As Compositional Anchor
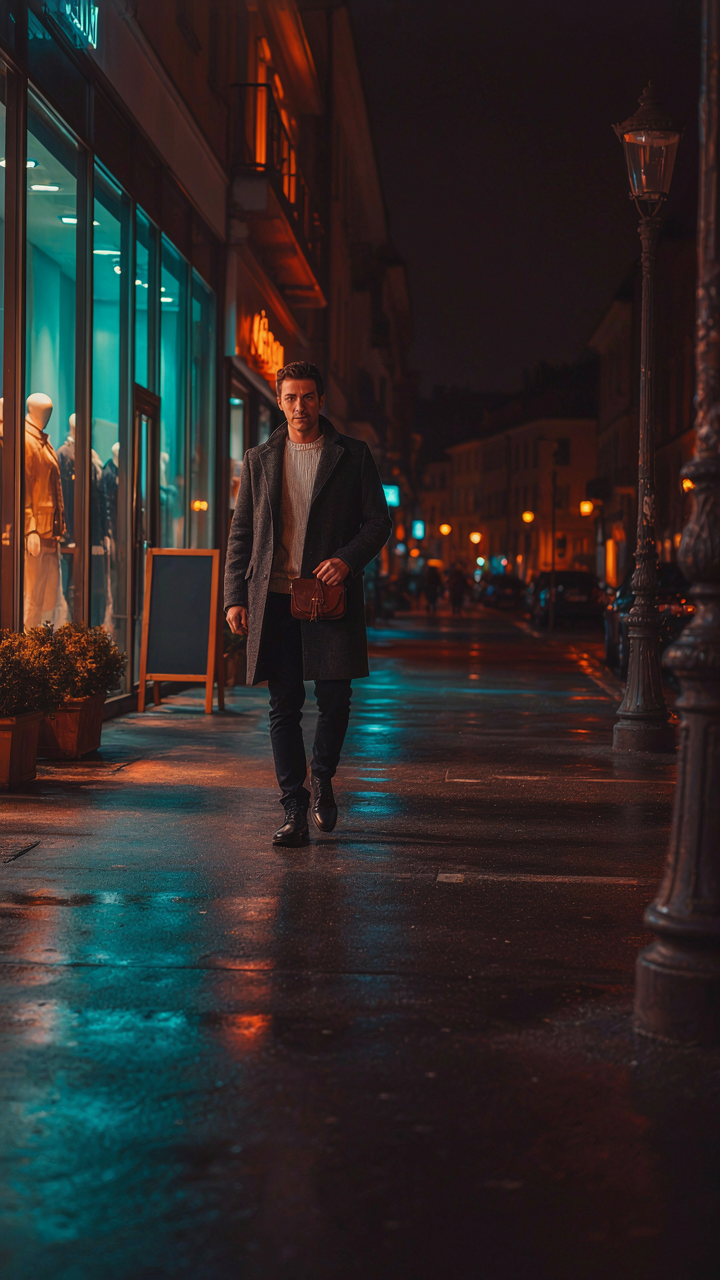
You want your night shots to look intentional, not just dark and grainy. The mechanism is this: light pollution isn’t noise to eliminate. It’s the dominant light source in urban environments, and your iPhone’s sensor responds to it the way a film camera responds to tungsten. Use it as your key light.

Most advice tells you to find the darkest spot. Wrong. Dark spots produce flat, underexposed frames that demand heavy editing. Instead, position your subject so ambient glow from street lights, storefronts, or building facades hits it at an angle. This creates separation and definition without requiring computational photography to rescue the image. Your iPhone’s Night mode will layer exposures around this anchor light, not fight against it.
Unexpected Color Casts From Mixed Sources
Urban lighting mixes color temperatures aggressively. Sodium vapor produces orange. LED produces cool white or blue. Neon produces red, pink, green depending on the gas. Treating this as a problem is a beginner’s error. These color casts are what make city night photography distinct from studio work. They’re your palette.
Look for intersections where different light sources meet. A subject lit by warm streetlight on one side and cool storefront glow on the other creates natural color contrast your iPhone’s sensor captures without intervention. Avoid shooting in monotone orange zones. Move to boundaries where temperature gradients exist. The White Balance slider in the native camera app locks your color temperature as you compose, letting you see casts before you shoot. Shoot RAW through a third-party app if you want maximum correction range later, but lock in what you see first.
The Night Landscape Photography Of Absence
Shadows Define What Light Cannot
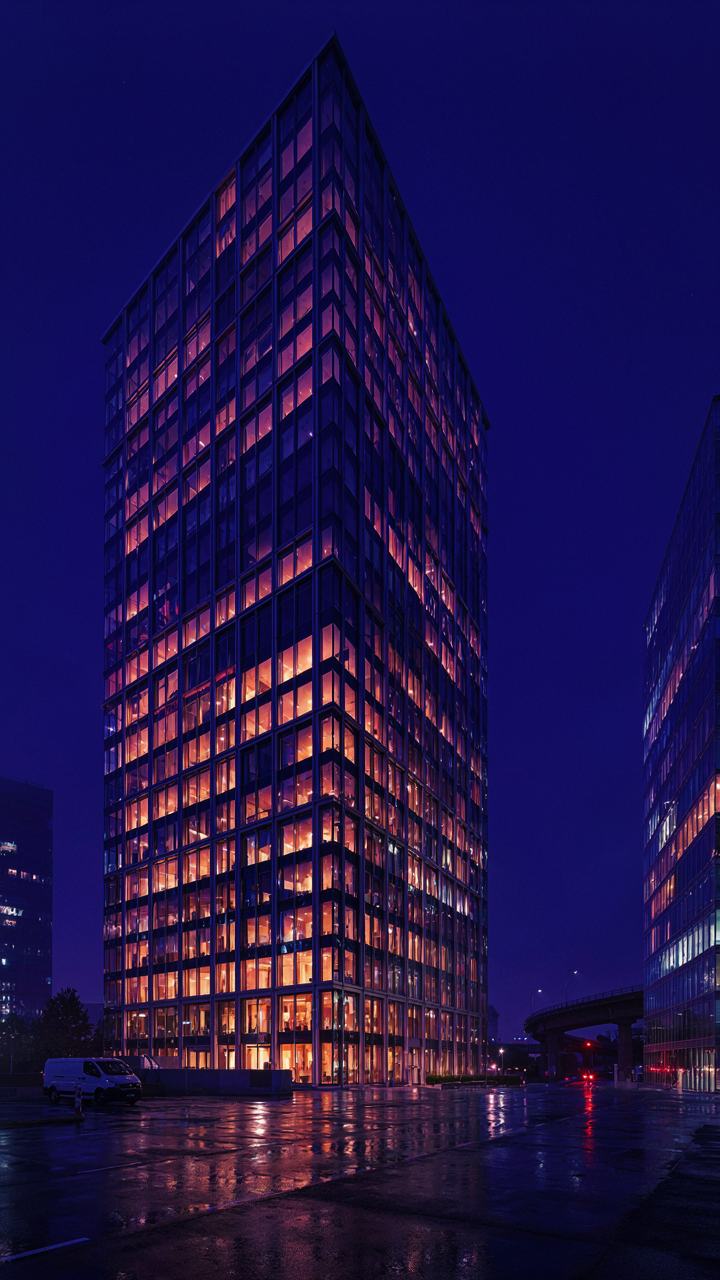
You want this section because you’re afraid your night shots look flat and amateurish compared to what professionals produce. That fear is correct. The real mechanism: shadows aren’t empty space. In lighting design, we call this “chiaroscuro contrast”—the relationship between light and dark that creates dimension. On your iPhone, shadows anchor form. A building without shadow reads as cardboard. A building where shadows carve out depth reads as structure.

Most night photography advice says “expose for the highlights.” That’s incomplete. Your iPhone’s sensor captures shadow detail you’re throwing away by overexposing. Pull your exposure down one to two stops below what feels right. Let the bright signs and lit windows hold their detail instead of blowing out into white. The shadows that result become the negative mold that reveals the city’s actual geometry. This is where your image stops looking like a phone snapshot.
Empty Space As Visual Anchor
Negative space in city night work functions like negative space in graphic design: it forces the viewer’s eye where you want it. Don’t fill the frame. A half-black sky with one lit skyscraper reading against it works harder than a frame packed with every light source visible. The emptiness creates contrast that makes the lit elements sing.
Compose so that at least thirty to forty percent of your frame is deep shadow or pure black. This isn’t wasted real estate. It’s the silence that makes the noise readable. On your iPhone, this means positioning the horizon low when the sky holds no usable detail, and letting buildings rise into black. Tap to expose for the brightest point you want to keep detail in, then let everything else fall into shadow. The resulting image reads as intentional, not underexposed.
The Rule Of Thirds Is A Crutch: Applying Military Strategy To Your Shot
Asymmetric Tension Without The Grid
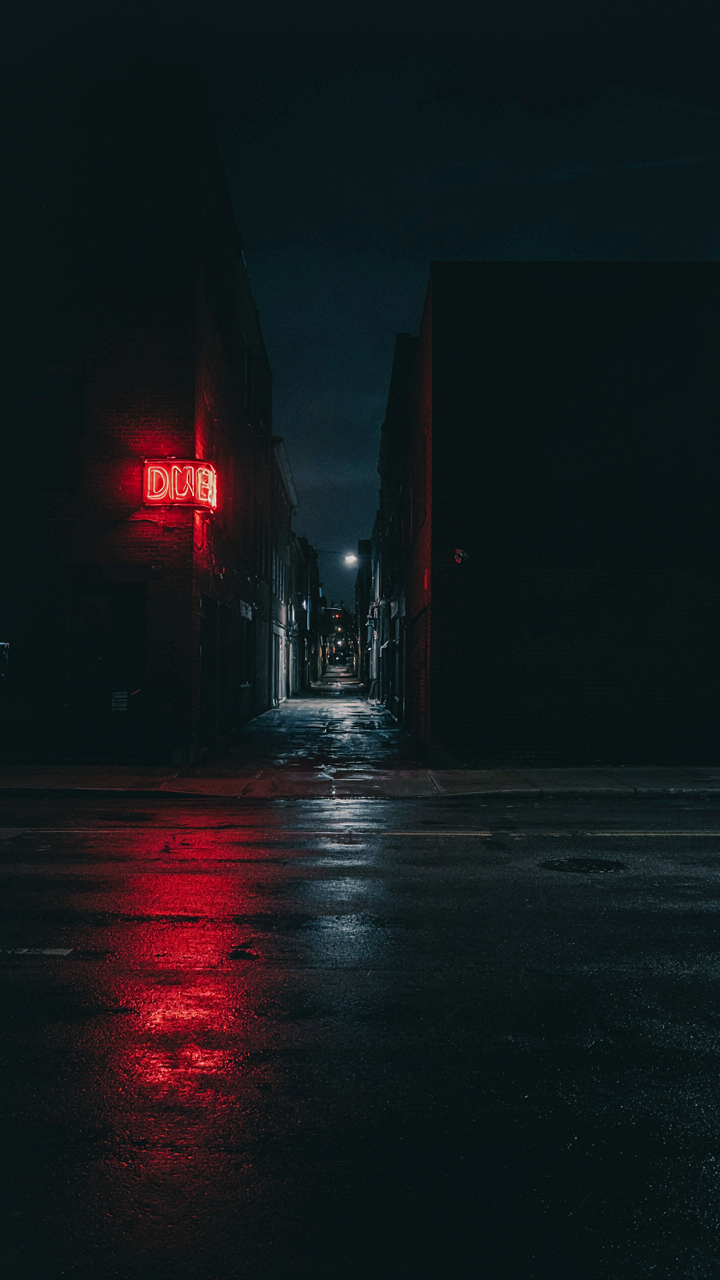
You want permission to break the rules because following them feels safe. That’s not strategy, that’s fear disguised as composition. Military strategists call this asymmetric warfare: overwhelming force applied where the enemy doesn’t expect it, not distributed evenly across the battlefield. In iPhone city night photography, this means placing your subject off-center with intent, not accident. The grid teaches balance. Real composition teaches tension.

When a neon sign sits dead center in your frame, your eye lands there and stops. Move it to the left third, then add a darker building mass on the right. Your eye now moves between them, creating narrative. The city lights in the background shouldn’t compete with your subject equally. Dominance means one element wins. Your iPhone’s exposure metering will fight you here because it averages the frame. Tap the bright sign, lock exposure, then recompose. The sign stays bright. The darkness deepens. Tension emerges from imbalance, not harmony.
Strategic Depth Layering For Impact
Three planes control attention in night city shots: what’s close, what’s middle distance, what’s far. Most photographers ignore the foreground entirely or treat it as dead space. That’s the lazy choice. A sharp storefront window in the immediate foreground, a blurred pedestrian in mid-ground, a lit skyline behind them creates visual hierarchy without you announcing it. The viewer’s brain processes layers as information depth, which reads as sophistication.
On your iPhone, you achieve this through focal length choice and positioning. Use the 1x lens, not the ultra-wide. Get closer to foreground elements than feels natural. The closer you stand, the more separation you create between planes. Tap your mid-ground subject to focus. The foreground and background blur naturally. Night scenes reward this approach because light variation between layers becomes dramatic. A lit sign blurs in front, a sharp building sits in focus, city glow fades behind. Depth becomes the mechanism that stops the scroll.
The 3 Filters Of Night Scenery: Beyond The App Store
Controlling Light With Hardware
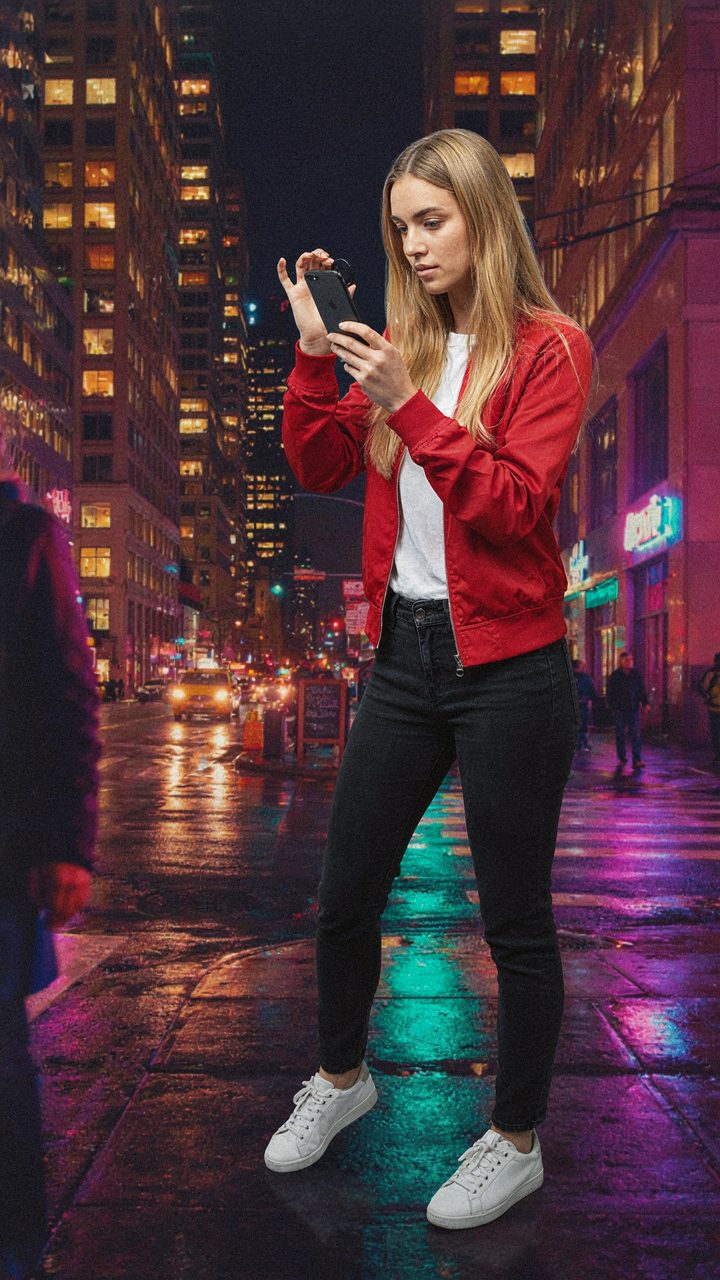
You want the shot to look professional without buying a full camera rig, so you’re hoping some magical filter exists. It doesn’t. Optical physics governs what your iPhone sensor captures, and the only way to manage that input is to physically block, redirect, or diffuse light before it hits the lens. No software fixes upstream problems.
- ND filters: Reduce incoming light intensity uniformly across the frame, letting you use slower shutter speeds in Night Mode without overexposure. Attach via threaded adapter rings to your iPhone case.
- Circular polarizers: Cut glare and reflections off wet pavement and storefront glass by blocking polarized light waves. This darkens the sky slightly and deepens color saturation in neon signs.
- Graduated ND filters: Darken only the sky portion of your frame while keeping foreground exposure neutral. Essential for balancing blown-out building lights against street-level detail.
- Diffusion filters: Soften harsh point-light sources like street lamps and neon tubes by spreading light across a wider area. Creates intentional halo effects without losing detail below.
- Macro lens attachments: Isolate small lit elements (storefront signage, car reflections) and eliminate edge distortion from ultra-wide iPhone lenses. Narrows field of view for tighter composition.

The filter stack you use depends on what you’re killing in the frame. A graduation filter handles blown skies. A polarizer handles reflections. ND handles overexposure when Night Mode won’t stop collecting light. Each one solves a specific problem. Stack them in order of optical priority: polarizer closest to lens, then ND, then diffusion. Test the combination before your shoot to catch unexpected vignetting or color casts.
Layering In Post For Visual Hierarchy
Most phone photographers treat post-processing like a final polish pass. Wrong. Post-processing is where you build the visual hierarchy that makes a night scene read as intentional instead of chaotic. The mechanism is simple: you’re separating tonal zones to create depth that the camera compressed into a flat file.
Start with exposure recovery on the shadows using your phone’s native editing app or Lightroom Mobile. Night scenes clip the blacks aggressively, so lift them first to restore detail in the dark streets and building bases. Then crush the highlights on bright signs and light sources to prevent them from washing out the composition. Once tonal separation exists, adjust saturation by color channel: boost warm tones in tungsten streetlights and cool tones in neon to exaggerate the color temperature contrast. The final step is local contrast. Apply clarity or structure selectively to lit areas to make them pop without affecting dark zones. You’re not creating a filter effect; you’re reconstructing the scene’s original dimensionality that compression destroyed.
From Snapshots To Statement: Cultivating A Cities Aesthetic
Your Visual Signature Matters More Than The Gear
You want people to recognize your work before they see your name. That’s the real driver here, and it’s the only reason consistency matters. Visual signature in photography operates like brand identity in business: you’re establishing recognition through repetition of specific choices, not through subject matter alone. Your iPhone’s computational photography engine is actually your constraint, not your limitation. Work inside it.

Your signature emerges from how you handle three variables the iPhone actually controls: color temperature bias, shadow crush depth, and exposure compensation timing. Most shooters chase different aesthetics weekly. Pick one relationship between these three and own it for thirty days of shooting. Document which night scene conditions trigger your iPhone’s warm or cool color cast. Then exploit that cast intentionally instead of fighting it. Your phone has a personality. Let it show.
Building Coherence Across Your Series
Generic advice says “shoot in the same location” or “use consistent editing.” Wrong approach. Coherence comes from constraint in your capture logic, not from matching aesthetics post-shoot. The real mechanism is this: establish a rule for how you select your frame before you press the shutter. One example: always position a single warm light source in the upper third, always let the foreground go to black, always shoot between 10 PM and 2 AM when foot traffic peaks.
That rule becomes invisible to viewers but immediately recognizable to them. They’ll sense that your images belong together without naming why. When you review your series, edit ruthlessly to remove the shots that violate your capture rule, even if they’re technically strong. Inconsistent constraint breaks coherence faster than inconsistent color grading. Your series lives or dies in the moment you decide what to exclude from the frame.
Beyond The Pixel: Your Night City Aesthetic For Wallpaper City 4K
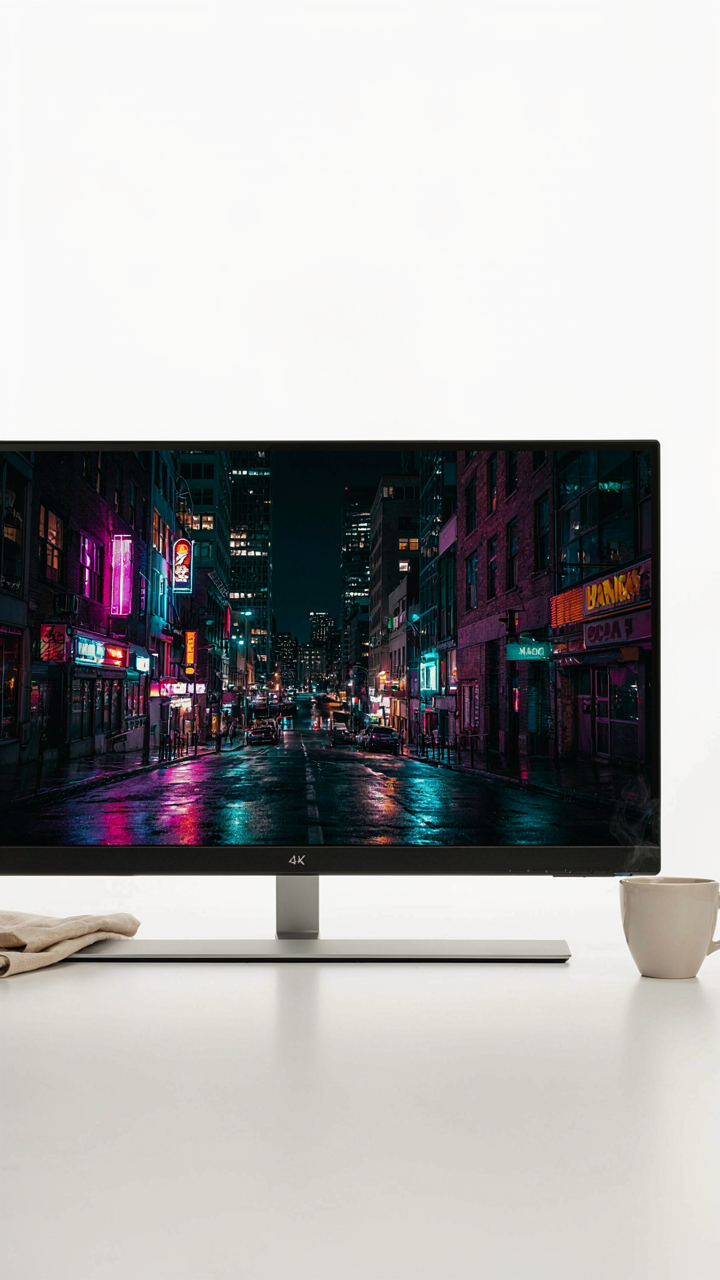
Resolution Demands Scale
You want this image to look perfect on a 4K display because a small image blown up reveals every mistake you made. That’s the real fear. Here’s the mechanism: resolution and display density are not the same thing. A 4K monitor shows 3840 by 2160 pixels. Your iPhone 14 Pro captures 12 megapixels. When you zoom that image to fill a large screen, the sensor’s actual data becomes the bottleneck, not your composition.

Shoot at the highest resolution your iPhone offers. Use ProRAW if available on your device, because it captures more tonal information than standard JPEG. This gives the post-processing pipeline room to work without introducing artifacts when the image scales. Compose knowing that noise and softness compound across screen sizes. Night city shots need technical precision first, then aesthetic intent.
Luminance Separation Wins Detail
Photography borrows from contrast theory in visual design: distinction lives in luminance value separation, not color saturation. Your night city has streetlights, building windows, car trails, and dark sky. Each needs its own brightness band. If your highlights and shadows compress into a muddy middle, the immersive detail dies regardless of resolution.
Shoot in Raw format to preserve shadow and highlight data before your iPhone’s processing pipeline flattens it. Expose for the brightest lit element in frame, then recover the shadows in post. This prevents burnout in neon signs and storefronts while maintaining legibility in street-level architecture. The detail that reads on a 4K screen emerges from tonal range, not from sharpness filters or clarity sliders alone.
The Unseen Algorithm: How To Capture A Distinct City Night Sky
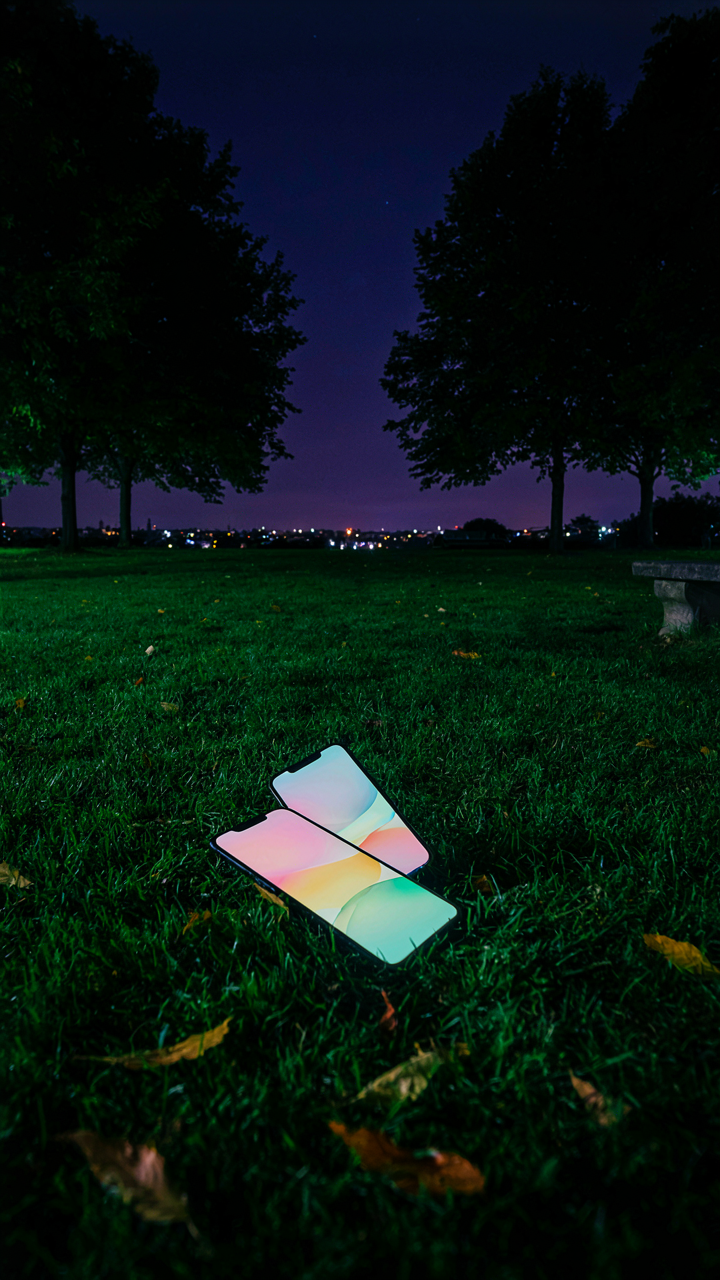
Where True Darkness Actually Lives
You want your night shots to look different from everyone else’s because you’re tired of posting generic orange glow. The mechanism is simple: light pollution isn’t evenly distributed. It clusters around commercial zones, highways, and dense residential blocks. The iPhone’s sensor sees what your eye misses—it collects every photon in a given frame, so it amplifies whatever dominance exists in that space. Find pockets of actual darkness, and your image separates immediately.
Most photographers shoot from the same tourist overlooks where ambient light is at its highest. Move perpendicular to major light sources. Rooftops on residential blocks, parks with tree cover, or streets facing away from commercial corridors create natural shadows the sensor can render as true blacks instead of murky gray. Scout your location during daylight, identify where streetlights cluster, then position yourself in the gaps. The darker your reference point, the more range your exposure can capture.
Eliminating The Wash
Light spill kills contrast. In optics, the signal-to-noise ratio determines image clarity. With night photography, spill acts as noise—it floods your frame and reduces the distinction between lit and unlit areas. The iPhone compounds this because its sensor processes everything as a composite exposure. You need active reduction, not just smart positioning.
- Use foreground objects as blockers: Position buildings, trees, or structures between your camera and major light sources to physically intercept spill before it reaches the sensor.
- Shoot from lower angles: Ground-level vantage points put taller structures between you and overhead lights, reducing sky wash specifically.
- Compose tight on skylines: Tighter framing excludes peripheral light sources that don’t contribute to your subject anyway.
- Time your shot after late-night hours: Light activity drops after 2-3 AM in most cities, reducing active spill from vehicle headlights and late-night commerce.
- Use building shadows as frames: Stand in the dark shadow cast by a large structure and shoot outward, letting the shadow edge contain spill naturally.
The iPhone’s Night mode compounds spill problems because it averages multiple exposures to boost shadows. More exposures mean more opportunity for light spill to register across frames. Shoot in standard photo mode instead, use manual exposure control to underexpose by 0.5 to 1.0 stops, then recover shadow detail in post. This preserves your blacks and prevents the washed-out gray that kills a night skyline.
The Real Limitation Isn’t Your IPhone; It’s Your Unwillingness To See Beyond The Obvious
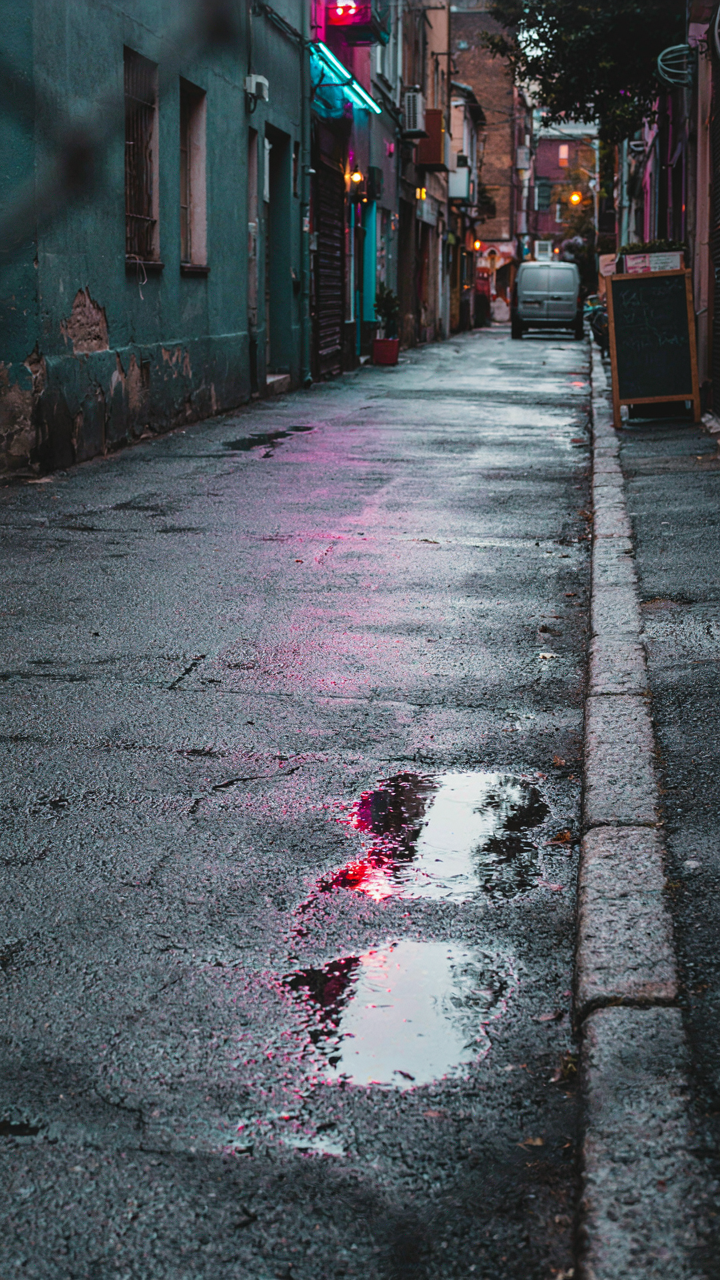
Stop waiting for the perfect phone. You don’t need it. What you need is to stop photographing what everyone else photographs. The golden hour crowd shoots the same bridge, the same corner, the same predictable angle. Your iPhone already captures light better than you compose it. Walk three blocks left. Find the neon reflection nobody else notices. Shoot the contradiction between the old building and the new glow. The camera doesn’t create vision. Your eye does. Stop blaming gear and start seeing differently, because the city only reveals its real shots to people who refuse to shoot the postcard.



