The Myth Of The Magic Filter: Why Your Warmth Looks Fake

Filters Destroy The Signal You’re Chasing
You want the filter to do the work because you don’t trust your eye or your phone’s sensor to capture what you saw. Here’s what actually happens: filters apply a uniform color cast across your entire frame, which flattens the tonal separation your iPhone already captured. The camera sensor records real luminance data. A filter obliterates specificity by treating shadows and highlights identically, turning authentic warmth into a flat orange wash that reads as processed.
Most sunset filters operate on a single curve or LUT (look-up table) designed for average conditions. Your sunset is not average. The filter can’t distinguish between the warm tones that belong in the sky and the warm tones that should stay neutral in the foreground. You get a posterized result where the phone’s built-in color science—which is actually sophisticated—gets overwritten by a blunt instrument. The damage is permanent once you commit the filter to the image.
Capture First, Refine Later
Post-processing and in-camera capture serve different purposes in optics. Think of your iPhone’s sensor like a film stock: it captures a range of color information before any manipulation. The sensor has already made decisions about white balance and tone mapping. Applying a filter before export treats the image as finished when it’s actually just begun.
Raw or standard JPEG capture preserves the original data structure. Editing in Lightroom or native iPhone tools afterward gives you granular control over specific tonal ranges. You can warm the shadows without burning the highlights. You can increase saturation only in the orange spectrum, leaving the sky’s blue intact. In-camera filters prevent this precision entirely because they’re applied to a flattened output, not the underlying capture data.
Mastering Golden Hour: Beyond Basic Sunset Photography
The Window Before The Sun Hits The Horizon
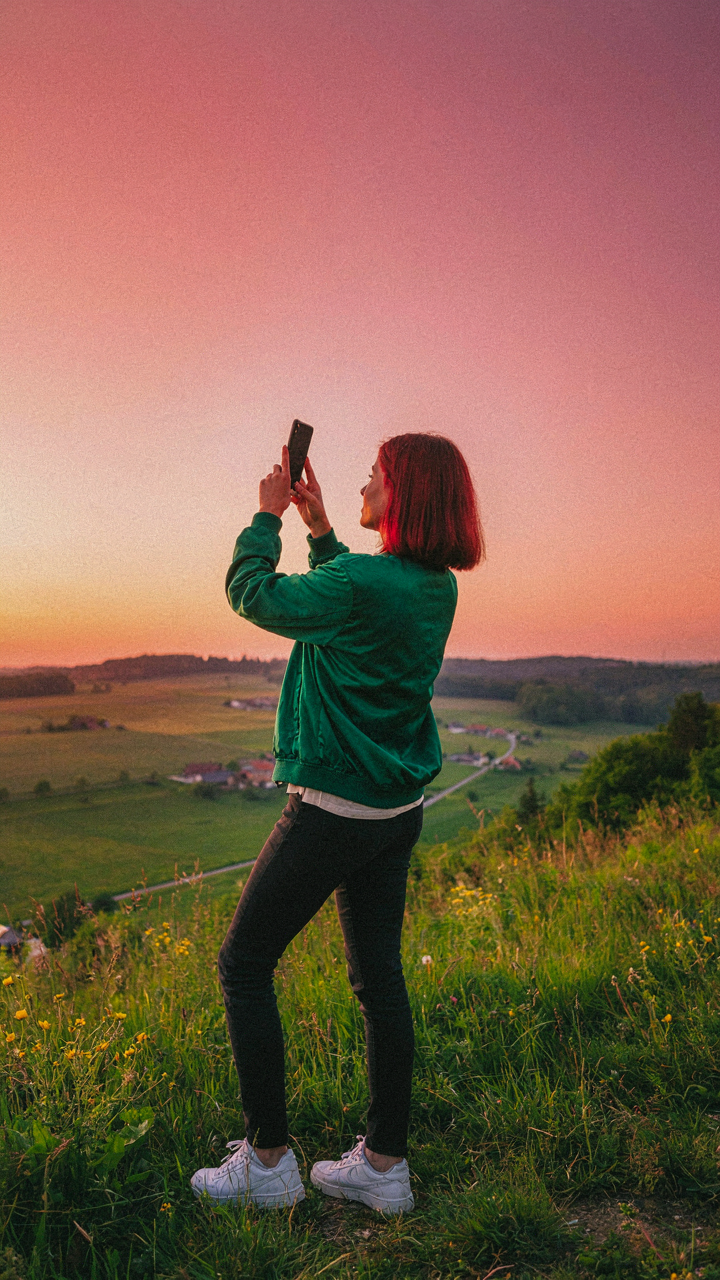
You want this section because you’ve seen those photos and felt left behind. Here’s what actually happens: the sun doesn’t create color. Scattering does. When the sun drops toward the horizon, light travels through more atmosphere. Blue wavelengths scatter out of the direct beam. Red and orange wavelengths survive the journey and hit your subject. Your iPhone’s sensor captures this shift in real time, but only if you position yourself before the peak moment arrives.

Most photographers chase the moment the sun touches the horizon. Wrong timing. The richest warm tones emerge ten to fifteen minutes before sunset, when the sun still clears the horizon but angles through maximum atmospheric depth. Start shooting twenty minutes early. Position yourself with clear western sightlines. Open the Camera app and enable exposure bracketing in settings. Take three frames at minus, zero, and plus one exposure compensation. One of these frames will hold the color range your eye sees but your phone initially underexposes.
The Glow After The Sun Disappears
The afterglow isn’t dimmer light. It’s refracted light bouncing off clouds above your position while the horizon sits in shadow. This is where amateurs stop shooting. Don’t. After the sun fully sets, high clouds still catch direct light and throw warm tones downward for eight to twelve minutes. Your iPhone captures this better than you expect because the contrast between the lit sky and dark foreground compresses into the sensor’s sweet spot.
Stay in position after the sun vanishes. Switch to manual focus by tapping the screen and holding until the focus lock appears. Reduce exposure compensation by one full stop. Clouds catch the last warmth at angles the direct sunset couldn’t reach. Shoot continuously every thirty seconds as the light fades. The frame where the sky holds pink and orange while the foreground transitions to deep blue contains your best warm tones because that contrast makes the color read as intentional rather than accidental.
The Manual Control Protocol: Unlocking IPhone Sunset Photo Ideas
Exposure Compensation For Dramatic Effect
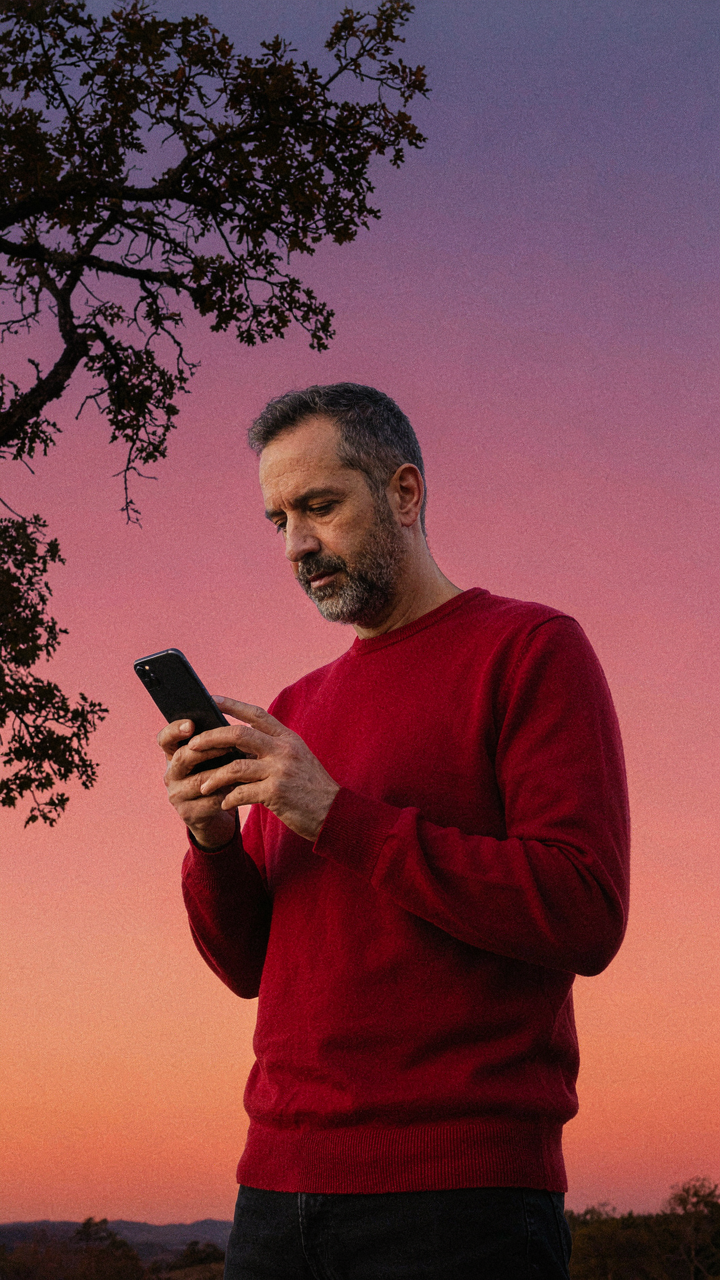
You want to look like you know what you’re doing with a camera. The mechanism most people miss is that exposure compensation isn’t about making things brighter or darker for aesthetic reasons—it’s about controlling what the phone meters on and reclaiming authority over the final image. Your iPhone’s meter defaults to averaging the entire frame, which means a bright sunset sky underexposes the foreground into silhouette. That’s rarely intentional.

Pull down the exposure slider in the native Camera app during sunset shots. Dial it up two to three stops if you’re prioritizing the warm tones in the sky and want the land below as a dark anchor. The phone recalculates exposure and locks it in. Dial it down if foreground detail matters more than sky saturation. The critical move: tap and hold on the exact area you want metered, then adjust the slider. This pins exposure to that region and holds it steady as light changes during golden hour.
Custom White Balance Over Auto
The advice to leave white balance on Auto during sunset is incomplete. Auto WB often pulls toward neutral the moment the sun drops below a certain angle, neutralizing the warmth you came for. iPhone doesn’t let you set a true custom white balance like pro cameras, but it lets you choose between preset modes and, in some cases, adjust the temperature slider in editing after capture if you shoot in a format that preserves that data.
Shoot in RAW using a third-party app like Halide or Lightroom Mobile if you want full white balance control post-capture. For native Camera app work, stick with daylight or cloudy presets instead of Auto—they preserve the warm color cast of sunset light that Auto would suppress. The protocol: open Settings, toggle to Manual Exposure in the Camera app if available, or use the native app’s white balance picker to lock in a warm preset before you frame the shot. This commits the phone to that color temperature regardless of how light shifts during the golden window.
Composition As Strategy: Framing Your Sunset Photos On Iphone

Rule Of Thirds For Visual Weight
You want this to feel effortless—like you didn’t think about it. That’s the real reason composition matters. The rule of thirds isn’t magic. It’s borrowed from visual design’s concept of visual weight distribution. Your iPhone screen divides into a grid: two horizontal lines and two vertical lines create nine equal sections. Place your horizon on the upper or lower third line, not dead center. This prevents the flat, symmetrical trap that kills most sunset shots.

Your sunset’s brightest point should sit on one of the four intersection points where grid lines cross. This pulls the viewer’s eye to the actual story instead of making them scan a blank sky. Position key elements—a silhouetted tree, a building, a person—on these intersections. The mechanism is simple: the human eye naturally stops at these coordinates before moving anywhere else. Compose this way, and your sunset reads instead of just existing.
Leading Lines And Negative Space
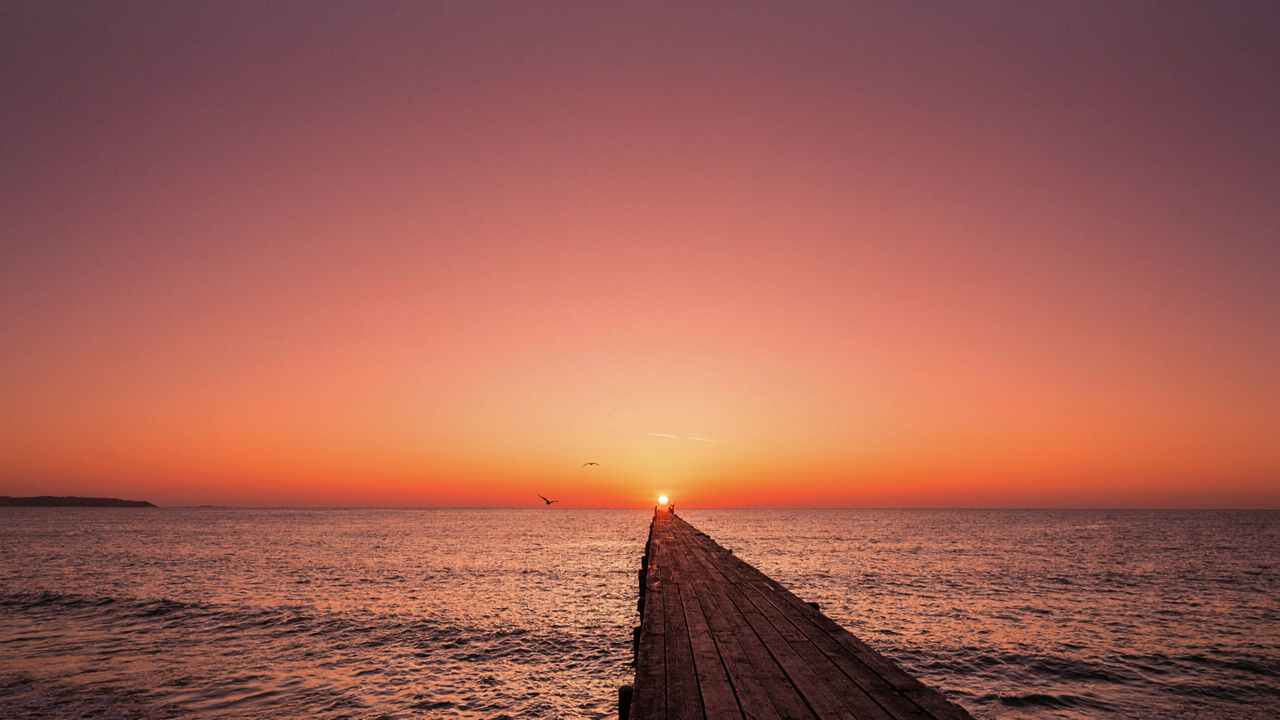
Most people think negative space means “empty.” Wrong. Negative space is the silent tool that makes your subject dominate. In sunset photography, it’s the uncluttered sky or water that gives your focal point room to breathe. Leading lines—a road, a pier, a river—pull the viewer directly into your frame and toward the sunset itself.
Identify one clear path into your shot before you frame. A dock leading toward the horizon. A shoreline cutting diagonally across your composition. These lines must converge toward your sunset, not away from it. Negative space around this line creates contrast and hierarchy. The mechanism: leading lines compress depth into a two-dimensional surface, while negative space gives that line visual authority. Build your frame around one line. Cut everything else out.
Architecting Light: The Physics Of Warmth

Why The Sky Turns Red Before It Turns Black
You want to know this because you think understanding it will make you a better photographer than people who just point and shoot. Here’s what actually happens: physics has a term called scattering, and in optical science, shorter wavelengths scatter more than longer ones. Your iPhone’s sensor sees the exact same mechanism. When the sun drops below the horizon, its light travels through more atmosphere. Blue and green wavelengths scatter away into the sky. Red and orange wavelengths, which have longer waves, punch straight through to your lens.

This is Rayleigh scattering at work, named after the physicist who explained why the sky isn’t violet instead of blue. The thickness of air between the sun and your phone determines color intensity. A sunset directly overhead produces less warm color than one on the horizon because light travels through more atmosphere at lower angles. Your iPhone’s computational photography mode doesn’t know this rule. It’s why manual exposure and white balance control matter more than the algorithm.
Particles Don’t Diffuse Light Evenly
The clean explanation of sunsets ignores the real variable: what’s actually in the air changes everything. Dust, salt particles from ocean spray, pollution, and water vapor all scatter light differently than clear air. Larger particles scatter all wavelengths more equally, which dulls the red-orange gradient and creates a washed-out effect. This isn’t theory. Cities with high particulate matter produce murky sunsets. Coastal areas with sea salt produce deeper reds.
Your iPhone’s camera performs differently depending on atmospheric composition because these particles alter light wavelength distribution before it hits the sensor. To capture warm colors, you need either minimal particle interference or enough particles to create diffusion without oversaturation. Shooting after rain works because water clears particulates. Shooting over ocean works because salt particles are consistent and predictable. Shooting in urban haze produces muddy tones no filter fixes. The mechanism: adjust your location based on what’s suspended in the air, not just time of day.
Beyond The Shot: How To Take Sunset Pictures With Iphone And Edit Them Smart

The Native Edits That Actually Work
You want the edit to look intentional, not obvious. Most people skip the iPhone’s native tools and jump to third-party apps, wasting time chasing filters instead of controlling the actual mechanics of warm color rendering. The built-in Photos app uses the same color science as the camera itself, so adjustments land cleaner.

Here’s what moves the needle on sunset warmth without breaking the image:
- Warm Up slider: Shifts color temperature toward amber without clipping highlights. Start at plus 10 to 20 and watch the threshold. Above 30, you lose sunset credibility and gain Instagram cliché.
- Saturation boost on reds and oranges: Don’t touch overall saturation. Use the Hue and Saturation tool to isolate warm tones, then increase saturation 15 to 25 points. Precision matters here.
- Highlights reduction first: Sunsets blow highlights fast. Drop highlights by 15 to 40 before touching anything else. This creates room for saturation without posterization.
- Shadows lift, minimal: Raise shadows only 5 to 10 points. Over-lifting kills contrast and flattens the gradient that makes sunsets read as dimensional.
- Vibrance over saturation: Use Vibrance instead of overall Saturation. Vibrance protects skin tones and prevents the over-processed look that kills credibility.
Apply these moves in order. The sequence matters because each adjustment changes how the next one reads. Highlights first creates the foundation. Everything else builds on restraint.
Knowing When To Stop Editing
The consensus says edit boldly and trust your vision. That’s how you wreck a sunset. Every edit you layer compounds the risk of crushing the gradient that makes the shot work in the first place. Sunsets succeed because of their natural compression of color—warm foreground, cooler sky, smooth transition between them.
Over-editing kills the transition. You push saturation too high and the oranges separate from the reds. You boost clarity and you introduce halos at the horizon line. You crank contrast and the midtone gradation disappears. The edit becomes visible, and the shot stops reading as a sunset and starts reading as a filter. Stop when the image looks like the light you saw, not better than it.
Gear Up For Glory: Essential IPhone Sunset Photography Tips
Stabilize Your Shot
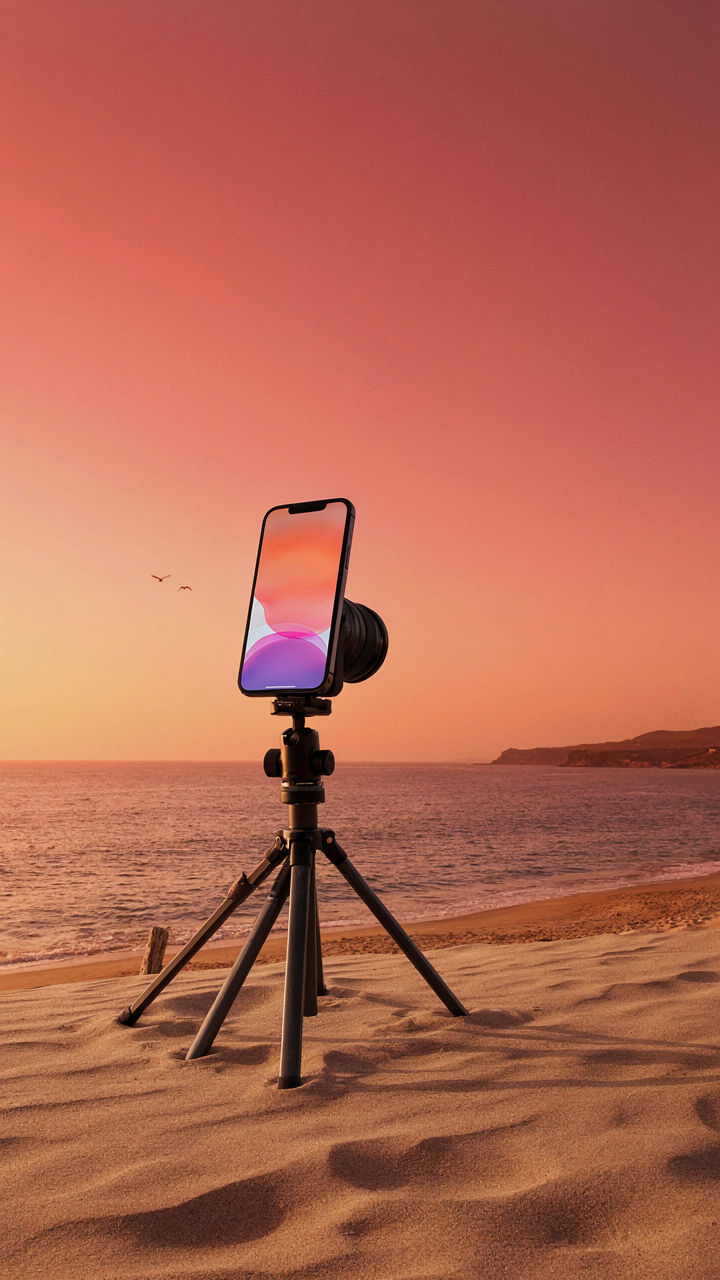
You want the gear because you think it solves the problem. It doesn’t. But stability does solve the actual one: motion blur kills detail when light drops. Tripods work through a basic mechanical principle called constraint. You remove variables. Your phone stays fixed while light changes, so exposure time extends without camera shake destroying sharpness. This matters for sunsets because the golden hour compresses fast and you need every frame usable.

A tripod lets you shoot at slower shutter speeds without degradation. iPhone computational photography relies on multiple frames stacked together. Stability lets that process work cleanly instead of fighting blur. Mount your phone at eye level, use a remote trigger or the volume button, and lock your composition before the light shifts. This removes the human element that costs you frames.
External Lenses For Range
Most advice tells you to crop in post. That’s incomplete thinking. Borrowed from optics: focal length determines angle of view, and angle of view determines what information your sensor captures at source. Wide-angle lenses expand what you see. Telephoto lenses compress the sun and foreground together, creating depth you can’t simulate by cropping later. Each lens captures different light data. You choose which one based on the story you want.
- Wide-angle lens (0.5x to 0.7x): Captures expansive sky and landscape. Sunsets feel vast and environmental. Best for including foreground elements that matter compositionally.
- Standard lens (1x optical): iPhone’s native focal length. Balanced view. Works for most sunset scenarios without distortion or compression artifacts.
- Telephoto lens (2x to 3x optical): Magnifies the sun and flattens distance. Creates drama by pushing the sun larger in frame relative to foreground. Compresses atmospheric layers for richer color saturation.
- Macro or closeup adapter: Reveals texture in clouds or water spray. Rarely used for sunset work but creates unexpected detail shots when light is directional.
- Polarizing filter: Reduces glare and deepens sky color saturation. Works mechanically by blocking certain light wavelengths. Noticeably improves warm tone depth in iPhone sunset photography.
Telephoto creates compression. Light travels through more atmosphere when your subject is further away and magnified. This adds warmth and color saturation automatically. Mount quality matters more than brand. A cheap lens introduces aberration that processing can’t fix. Attach your lens fifteen minutes before sunset and leave it until the last usable frame, then shift or remove it for follow-up shots.
Sharing Your Masterpiece: Sunset Wallpaper 4k And Beyond
Exporting For The Platform You Actually Use
You want people to see what you captured, not what compression algorithms destroy. The real motive here is control, and the mechanism is file format selection. JPEG works for social platforms because they compress aggressively anyway, so fighting it wastes bytes. PNG preserves detail but inflates file size. For iPhone wallpaper specifically, export at 1170 x 2532 pixels to match current iPhone screen dimensions exactly, then save as JPEG at 85-90% quality. This matches what your phone displays without redundant information.

Different platforms require different approaches because they process images differently. Instagram and Twitter compress uploads, so shooting for maximum quality before upload is pointless. Save as JPEG at 80% quality for social. For 4K display or cloud storage, use ProRes RAW export if your iPhone supports it, which preserves the full dynamic range and color data captured in your original shot. Google Photos and iCloud will compress anyway, so quality loss there is inevitable regardless of your export settings.
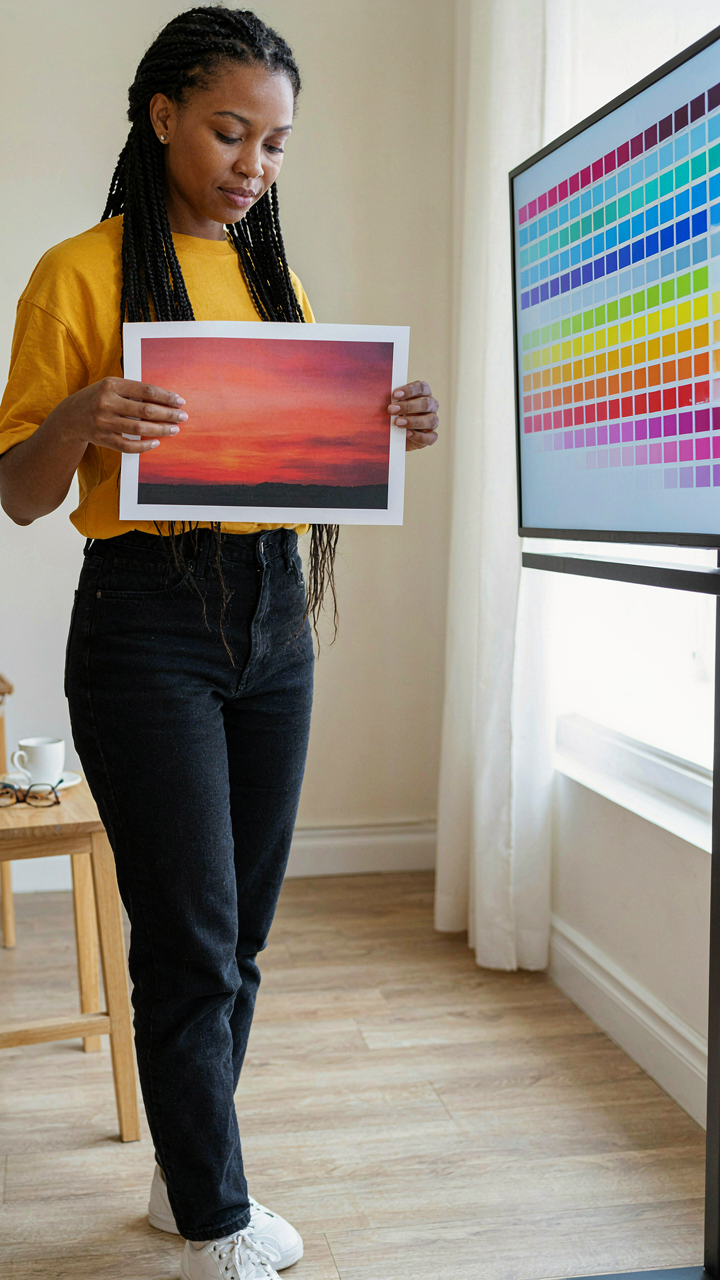
Color Accuracy When Ink Meets Paper
Print longevity depends on paper chemistry, not mythology about archival inks. This is a materials science problem: paper yellows when exposed to UV light and oxygen, while inks fade based on pigment stability and substrate interaction. Sunset colors fade fastest on cheap paper because the base degrades beneath the pigment. Use 100% cotton rag paper or museum-quality matte paper rated for 100+ year archival life. Epson and Canon produce papers engineered specifically to slow this degradation. Budget fifty to eighty cents per 8×10 print, not three cents.
Before printing, calibrate your display against a color reference or use ICC profiles specific to your paper type. Most labs provide these profiles free. Print sunset photos on matte rather than glossy surfaces because matte absorbs ink more evenly and resists UV damage better. Store finished prints in acid-free sleeves and away from direct sunlight. The print is only as permanent as the conditions you maintain around it.
The Real Obstacle To Stunning IPhone Sunset Photos Isn’t Your Camera; It’s Your Reliance On Instant Gratification
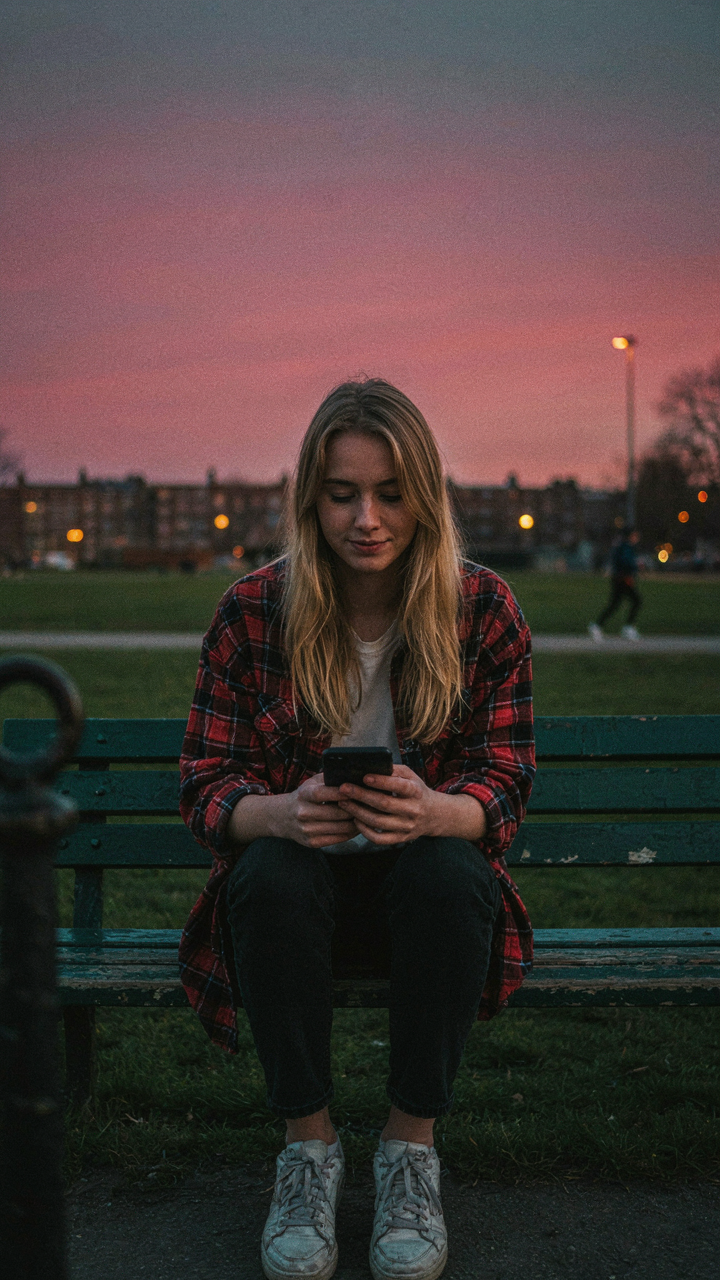
You’re scrolling through Instagram expecting sunset magic to hit you in two minutes. It won’t. The photographers crushing iphone sunset photography spend weeks scouting locations, studying light patterns, and returning to the same spot until the conditions align. Your phone’s sensor isn’t the problem. Your impatience is. Pick one location this week. Go back three times. Stop chasing the perfect shot and start chasing the understanding of how light actually moves. Master the mechanism, not the moment.