The Access First Carry On Packing Protocol
What You Actually Need Before Takeoff
You’re worried about looking unprepared in front of strangers. That fear is irrelevant. The mechanism that matters is this: TSA and gate agents control access to your bag at three separate checkpoints. Items you need before boarding must live outside your checked layers. Immediate essentials are things you touch in the first thirty minutes of travel: ID, boarding pass, phone charger, medications, wallet. In-flight essentials are what you grab once seated: headphones, entertainment, comfort items, snacks. The difference determines whether you dig through packed clothes at security or move forward clean.
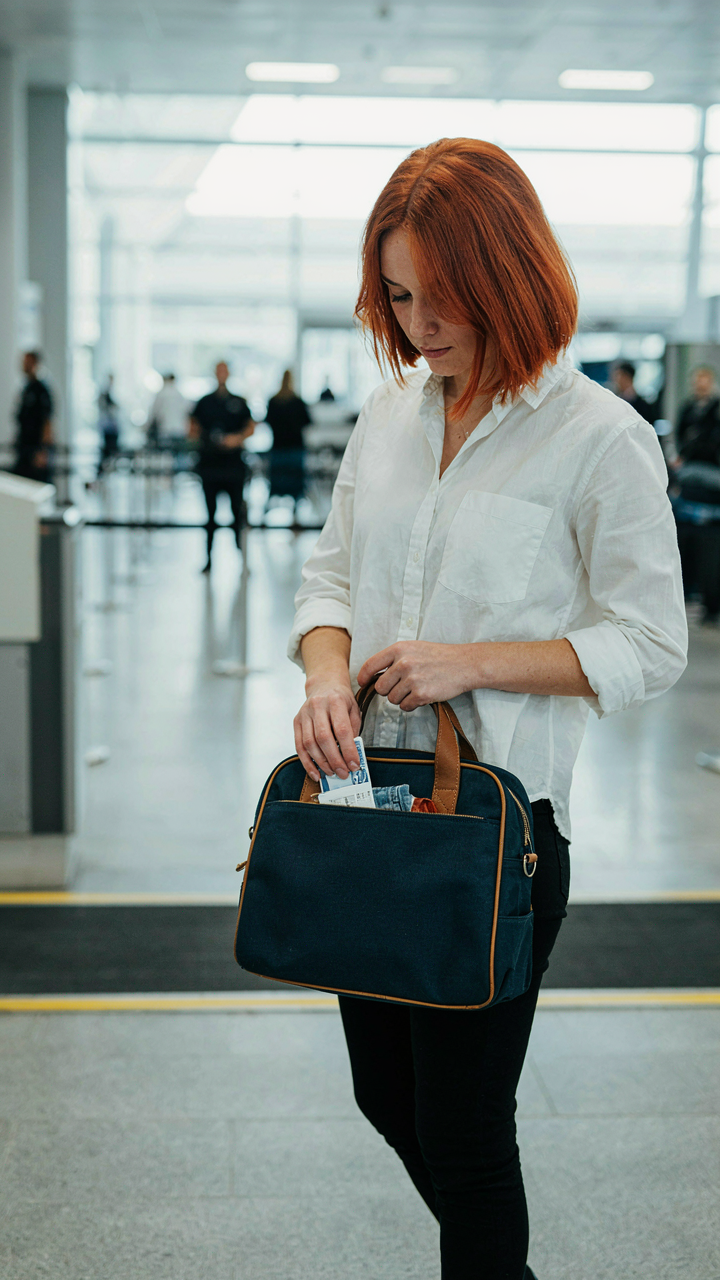
Boarding agents see carry ons opened at gates roughly fifteen percent of the time. When they do, they’re checking dimensions and weight, not your organization. But the real constraint is you. Once you’re past security, your bag is inaccessible during boarding. Once you’re seated, reaching the overhead bin takes time and friction you don’t want. The packing order you choose now eliminates decisions later. Place immediate items in the outermost pocket or front section. Place in-flight items in the secondary layer where you can access them from your seat.
Top Layer Placement Secures Fast Transitions
Security lines move fastest when you eliminate hesitation. Your top layer holds anything TSA or gate staff might need to inspect without unpacking your entire bag. This includes your shoes, belt, laptop, liquids bag, and jacket if you wear one. The principle here comes from inventory management: keep your highest-turnover items where they require zero search time. You’re applying FIFO logistics to physical space. Items leaving your bag first must sit where your hands find them first.
When you reach the gate, your carry on should look intentional to the agent scanning it. A compressed outer layer signals you know the constraints. A bulging top tells them you overpacked or packed without order. Gate agents sometimes ask to repack bags that violate overhead bin dimensions. You avoid this conversation entirely by keeping your top layer flat and organized. Place all items that touch air or inspection into one accessible zone. This becomes your buffer layer between security and boarding, and it’s where speed compounds into actual control.
Deconstructing The Security Checkpoint Choreography
Electronics Extraction: Trays And Re Packing Efficiency
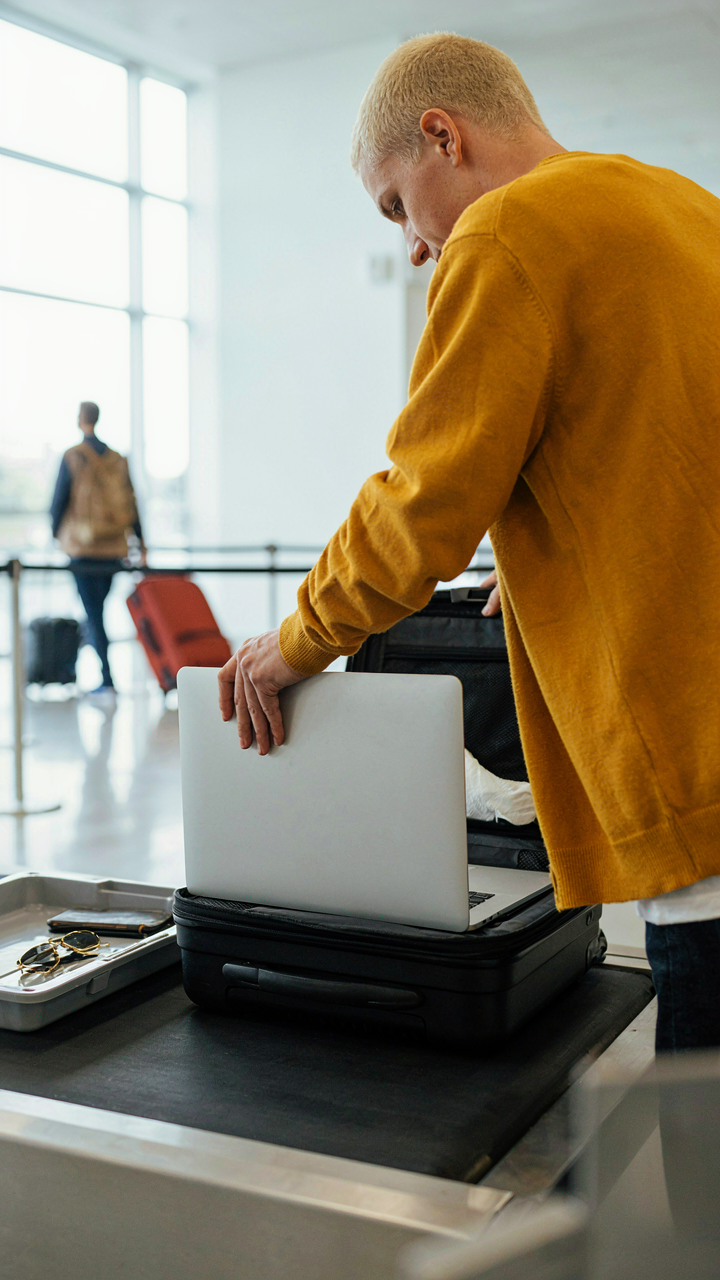
You care about this section because you’re terrified of holding up the line. The real mechanism is operational sequence: TSA screeners process bags faster when electronics sit exposed and accessible before you reach the scanner. This isn’t politeness. It’s throughput optimization. Your packing order determines whether you’re the person who fumbles for a laptop mid-checkpoint or the one who moves through in clean rhythm.
Laptops, tablets, and large electronics must sit at the top of your carry-on’s main compartment, not buried. The moment you reach the security table, remove them first and place them directly into a screening tray with nothing on top. Everything else stays packed. This prevents the most common inefficiency: the passenger who unpacks five items searching for one device while forty people wait. Your bag architecture should make the extraction a one-motion pull.
Liquids And Gels: Quick Removal And Return Strategy
The 3-1-1 rule governs liquids at checkpoints: containers of 3.4 ounces or less, all in one quart-sized clear bag, one bag per passenger. Most travelers pack this bag deep or scattered throughout their carry-on, forcing them to excavate at the scanner. Treat it like a parachute: it needs to deploy instantly. Position your liquids bag in an exterior pocket or top side compartment where you can extract it without opening the main cavity.
- Toiletries pouch placement: Use a dedicated external pocket, front-facing so TSA agents see it immediately without you pointing.
- Pre-screening preparation: Have the quart bag already separated and visible before you reach the conveyor belt.
- Medications and exceptions: Keep prescriptions and medically necessary liquids in their original containers; TSA allows them beyond the 3.4-ounce limit if declared.
- Post-security repacking location: Don’t rush. Repack liquids into your bag only after you’ve cleared the metal detector and collected all items.
- Duty-free purchases: Alcohol or liquids bought after security must go into a sealed bag; keep it separate from your original quart bag to avoid confusion on return flights.
The checkpoint moves fastest when the liquids bag emerges before the screener asks for it. This signals you’ve flown before and understand the system. Return the liquids bag to your carry-on only after you’ve passed through the metal detector and retrieved all electronics. Rushing this step creates bottlenecks and increases the chance you forget the bag entirely.
The In Flight Retrieval Architecture
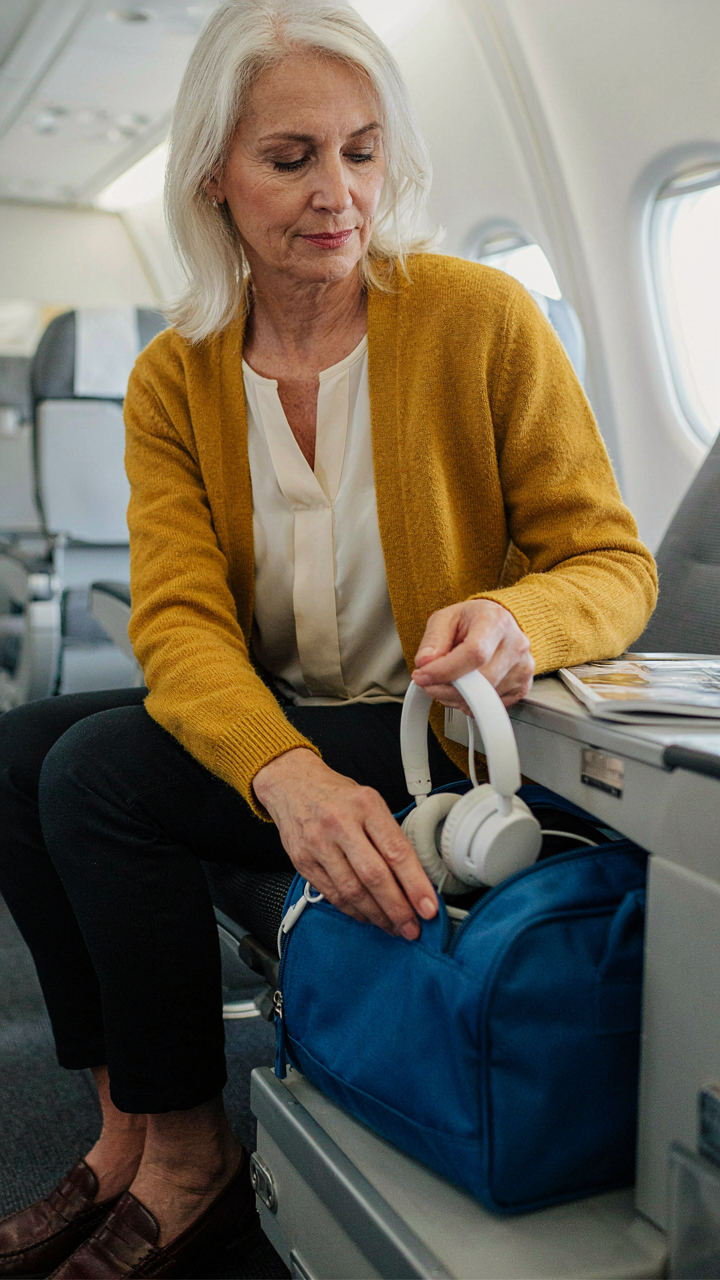
Personal Item Synergy Maximizing Under Seat Utility
You care about this because the thought of digging through your bag mid-flight while strangers watch terrifies you. The real mechanism is zones. Think in layers like airport security screening: each item has a retrieval frequency, and frequency determines depth. Your personal item sits under the seat in front of you, which means it’s your active workspace for the entire flight. Anything you touch after boarding—phone, headphones, medications, documents—lives in the top compartment or front pocket of this bag, not buried. The under-seat zone isn’t storage; it’s your control center.

Most travelers treat the personal item as a secondary dumping ground, then panic-search it every time they need something. That’s backwards. Your personal item should contain only items you’ll actually need during the flight: entertainment, snacks, water bottle, laptop if you’re working. Everything else—chargers, toiletries, extra clothes—goes into the overhead bin. The personal item operates on high-access logic. Keep it shallow, organized by use case, and never let anything settle at the bottom that you might need before landing.
Upper Bin Essentials What Needs To Be Truly Inaccessible
The advice to “pack light” misses the point entirely. You don’t minimize carry-on luggage to feel virtuous; you do it to separate the inaccessible from the accessible. The overhead bin is where items go that you won’t need until deplaning. Think in terms of retrieval cost: if accessing something requires standing up, blocking the aisle, and asking others to move, that item shouldn’t fly overhead unless you’re genuinely finished needing it. Most travelers pack their main carry-on with the assumption they might need anything, which creates decision paralysis and makes the bin feel like a black hole.
Pack your overhead bag with the rule of irrelevance: nothing goes in there that you’ll want between takeoff and landing. Jackets you won’t wear. Extra luggage. Duty-free purchases. Souvenirs. Items for your destination that don’t serve the flight itself. Place heavier items toward the back of the bin and lighter items forward. This isn’t about weight distribution as much as it is about preventing the avalanche effect when you retrieve your bag at landing. The final step: mentally close the overhead bin when you close it. Treat it as sealed until you land.
Strategic Packing Cells: Beyond Random Organization
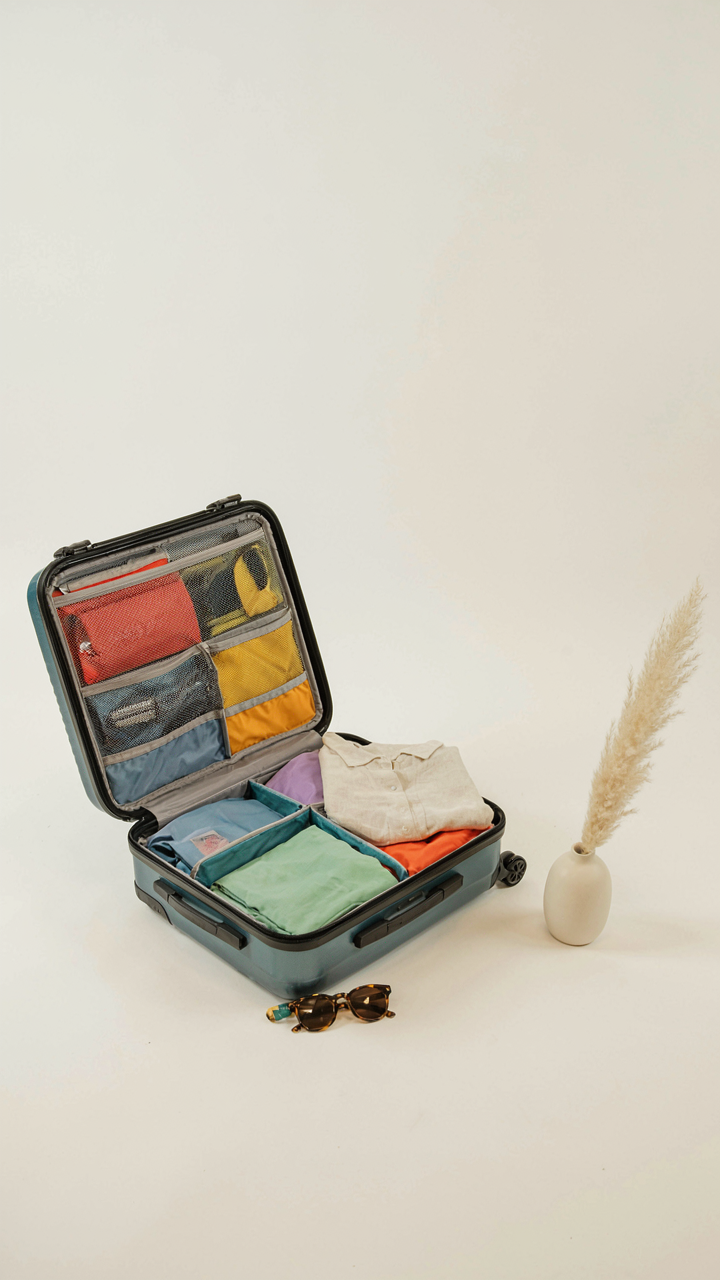
Function Over Category
You want this section to work because you’re tired of digging through your bag at the gate. The real mechanism is this: most people organize by item type—all toiletries together, all clothes together—which creates dead zones. Nothing gets used because you can’t reach it without unpacking everything else first. Borrow from logistics: treat your carry on like a warehouse with zones, not a filing cabinet with drawers. Each zone serves a specific moment in your trip, not a product category.
Pack in reverse chronological order of use. Electronics, adapters, and boarding documents go deepest. Mid-layer holds items you’ll touch once airborne. Immediate-access items stay on top or in exterior pockets. This forces you to think like a timeline, not a taxonomy. The mechanism works because access friction disappears. You move through your bag predictably because the bag mirrors how your trip actually unfolds.
Visual Lookup Over Memory
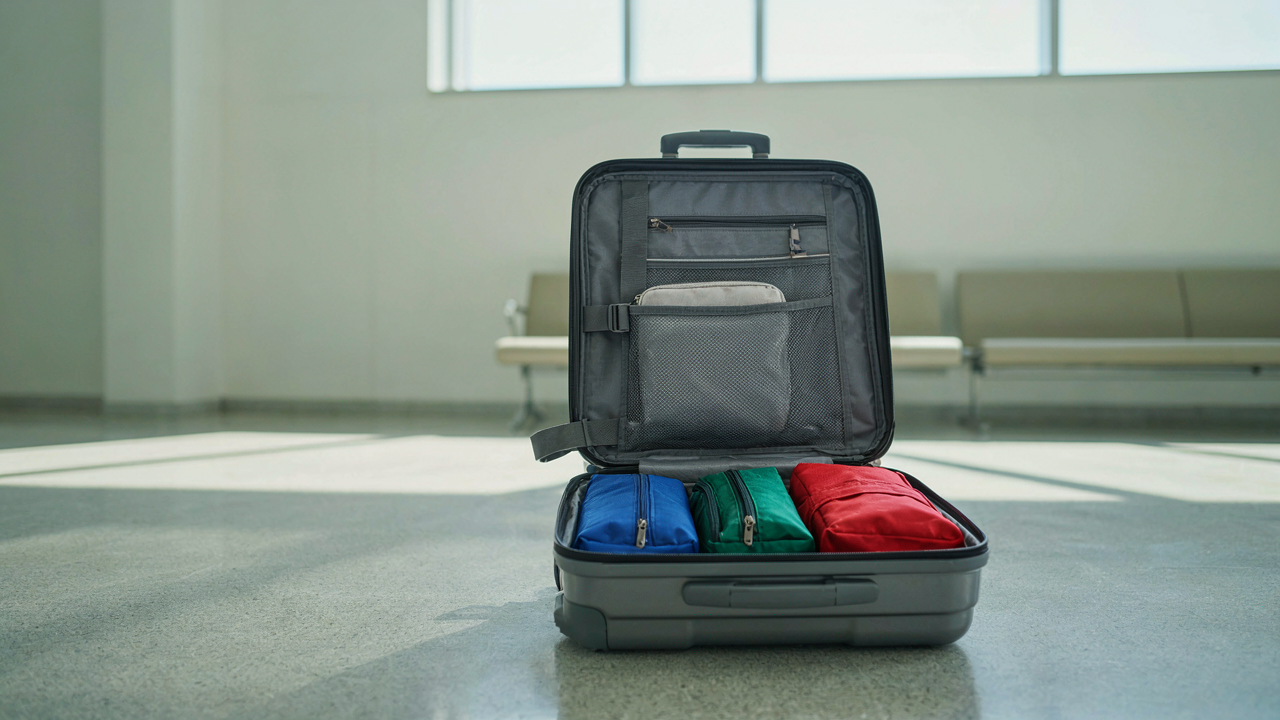
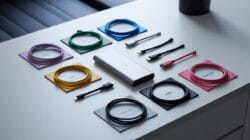
Common advice says to use packing cubes and call it done. That’s incomplete. Cubes compress well but they create search tax: you still have to open four cubes to find one item. Color and labeling cut that time to zero. Assign each functional zone a color. Red for electronics. Blue for toiletries. Green for documents. Label each cube or pouch clearly, not with cute tags but with actual text you can read from three feet away.
The system works because your brain recognizes color faster than it reads labels, and labels beat opening things blind. When you’re groggy at 6 AM before your connection, you grab the red cube without thinking. You eliminate decision-making in the moment. Apply labels to both the exterior and interior of each cell. Interior labels catch you when you’ve already opened the pouch. Exterior labels work when you’re still deciding which pouch to open first. This redundancy removes the only friction point that remains.
The “Emergency Kit” Micro System For Carryon Essentials
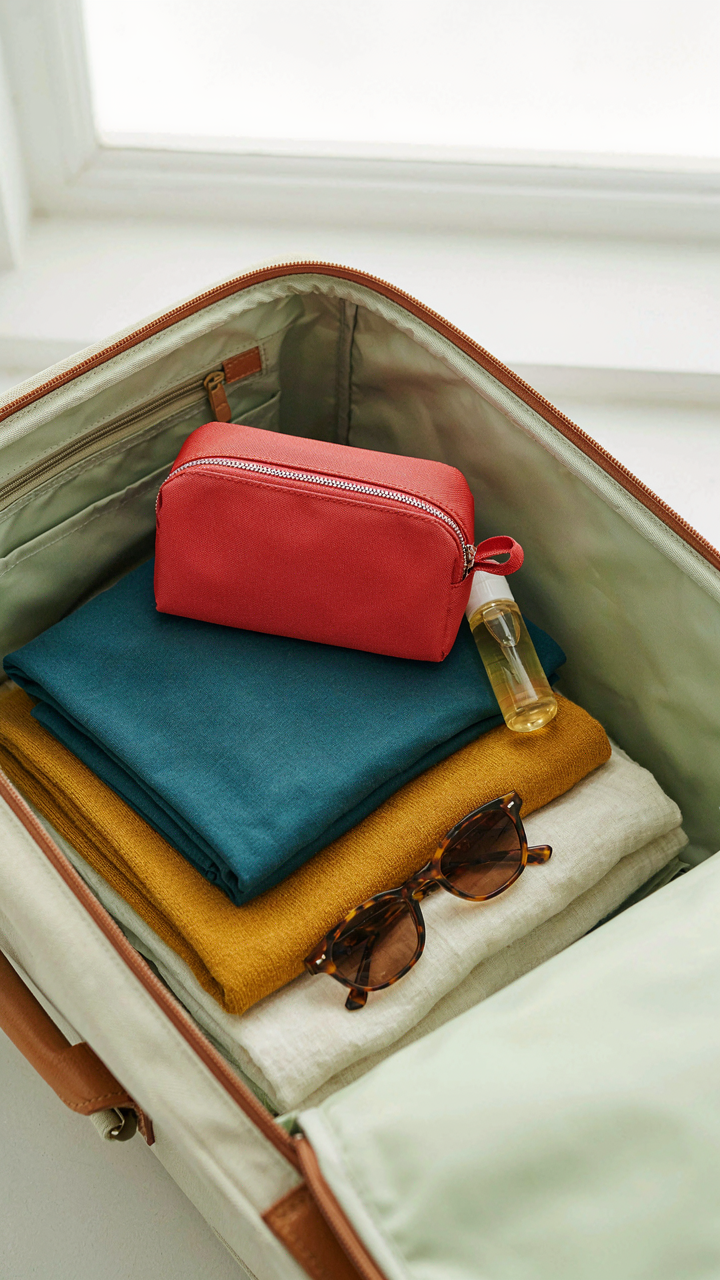
Medical, Hygiene, And Comfort Consolidated
You care about this section because you’re terrified of being stranded without your meds or looking like you don’t have your life together. The mechanism is simple: travel logistics borrows from military supply chain thinking, where the principle is “load by criticality, not by category.” Your emergency kit works the same way. Everything that keeps you functional or presentable gets compressed into one pouch, positioned for grab-and-go access without unpacking your entire bag.
- Prescription medications in original bottles: TSA requires this. Keeps documentation clear and prevents customs issues in international travel. Store in a waterproof interior pocket of your pouch.
- Blister treatment and pain relief: Blisters end trips faster than fatigue. Include moleskin, hydrocolloid bandages, and ibuprofen. Airport walking destroys feet before you board.
- Decongestant and antacid tablets: Cabin pressure and airline food trigger both. Small, light, solves two of the most common mid flight complaints.
- Travel-size deodorant and face wash: These reset your baseline comfort on arrival. Arrive looking functional, not haggard. Matters more than you admit.
- Earplugs and eye mask: Sleep quality determines whether you’re effective after landing. These weigh almost nothing and compress flight stress significantly.

This pouch lives in your personal item or jacket pocket, never buried under clothing. The rule is non negotiable: medical access takes priority over convenience in packing order because a headache at 35,000 feet stops all other planning.
Smallest Footprint, Highest Accessibility
Everything in this micro system occupies less than 6 by 4 inches because volume equals friction. You’re not packing a medic’s kit for a week long expedition. You’re solving the gap between now and when you land, usually 4 to 8 hours. The items you include must address only acute problems that derail your trip: pain, nausea, dry skin, insomnia.
Pack this pouch first, before anything else enters your bag. Position it in the top external pocket of your carryon or in the seat pocket in front of you during flight. This positioning solves the actual problem people face: they need items mid flight or at arrival, not after they’ve unpacked at their destination. Access speed determines whether you use it or suffer through discomfort. The pouch itself should be a compact zippered case, roughly the size of a deck of cards. Everything else in your carryon gets organized around this as your immovable anchor point.
Applying Military Logistics To Travel Packing Checklist

The Retrieval Sequence That Actually Works
You want to look organized and feel in control. The real mechanism is inventory flow: what you need first determines what goes in last. Military logistics calls this LIFO—last-in, first-out—and it’s the opposite of how most people pack. You’re not building a suitcase; you’re building a retrieval system. Items you need at your destination go deepest. Items you need during transit or immediately upon arrival go on top. Your phone charger, documents, and toiletries don’t belong at the bottom trapped under clothes.
The standard advice says “pack heavy items first.” Wrong. Pack by access frequency, not weight. Your carry-on isn’t storage—it’s a working tool you’ll access multiple times before landing. Put your laptop, medications, and change of clothes in the top third. Put shoes and bulky items that won’t move in the bottom. Put your second outfit and backup shoes in the middle as thermal mass. This isn’t about neatness; it’s about not standing in the aisle fishing through your bag while boarding finishes.
Deploy What You Need, Not What Might Help
The go-bag principle originated in crisis response and field operations: pack only what you’ll actually use in the first two hours off the plane. This removes decision fatigue and eliminates the temptation to overpack. Your carry-on should function as a self-contained 24-hour kit, not a insurance policy against every scenario. You’re going to a hotel with a shower and room service. You don’t need seven outfit combinations or a full pharmacy.
Identify your actual deployment moment: the airport, the flight, the taxi, checking in. What do you touch in those four hours? Wallet, phone, one pair of shoes you’re wearing, one comfort item. Everything else enters your carry-on as a disciplined second layer. A fresh shirt, socks, underwear, toothbrush, and a single book. You’re solving the real problem—arrival comfort and crisis prevention—not imagining problems that don’t exist. Your packing order reflects this: necessities accessible, contingencies layered underneath, luxury items left behind entirely.
Clothing Compression: Smart Packing For Reachability

Roll Your Clothes, Not For Space
You want to look put-together when you land, which means you need clean clothes on top, not crushed under weight. Rolling beats folding because it creates a vertical stack you can extract without disturbing the layers below. Folding forces you to unpack half the bag to reach one shirt. The mechanism is simple: rolled items stand upright like files in a drawer. You see what you have. You grab what you need. No excavation required.

Rolling also compresses fabric tighter than folding, which matters in confined overhead space. The compression happens because rolling distributes pressure evenly along the length of the garment instead of creating hard creases that take up dead space. Place rolled items with seams facing outward to prevent wrinkles from forming where the fabric bends. This approach keeps wrinkles minimal and makes each piece accessible without unrolling the entire stack.
Group By Outfit, Not By Category
Stop sorting by garment type. Grouping all shirts together means you hunt through seven options to build one complete outfit. Instead, pack outfits as units: one grouping contains the exact top, bottom, and layer you actually wear together. Bundle these with a simple rubber band or packing cube. When you open your bag, you see finished looks, not disconnected pieces.
This eliminates decision friction at 6 AM in a hotel room. You reach for one bundle, get dressed, and move forward. The second mechanism at work here is constraint: limiting choices forces faster execution. Three complete outfits take up less mental space than twenty individual pieces scattered across your bag. Stack outfit bundles vertically so the one you wear first sits on top, second outfit in the middle, third on bottom.
The Unpacked Carry On: Your Post Flight Reconnaissance

What You Actually Need First
You want to feel in control at baggage claim, like you’ve got your life together. The real mechanism is cognitive load—your brain is already taxed from travel, so you need friction-free access to the three things that matter: documents, communication device, and one change of clothes. Everything else is theater.

Pull your documents first. Passport, boarding pass, hotel confirmation, rental car details. Stack them in your lap or a designated pocket before you move anything else. This isn’t about organization—it’s about preventing the panic search that happens when customs asks for your address and you’re elbow-deep in socks.
Resetting The Bag For Return Travel
The mistake most people make is treating the return pack like a fresh start. It’s not. You’re working with a bag that’s been compressed, creased, and full of the smell of your destination. The return packing strategy mirrors military logistics—you reposition high-value assets first, then fill gaps with lower-priority items.
Separate clean from worn immediately. Worn items go to the bottom or a designated compression bag. This prevents cross-contamination and keeps your carry-on weight distributed. Your documents and electronics travel in the same configuration as your outbound trip—same pocket, same order. You’re not innovating here. You’re repeating what worked because repetition eliminates failure points on the return journey.
The Real Obstacle Isn’t Packing Efficiently; It’s Anticipating Necessity And Engineering Instant Access
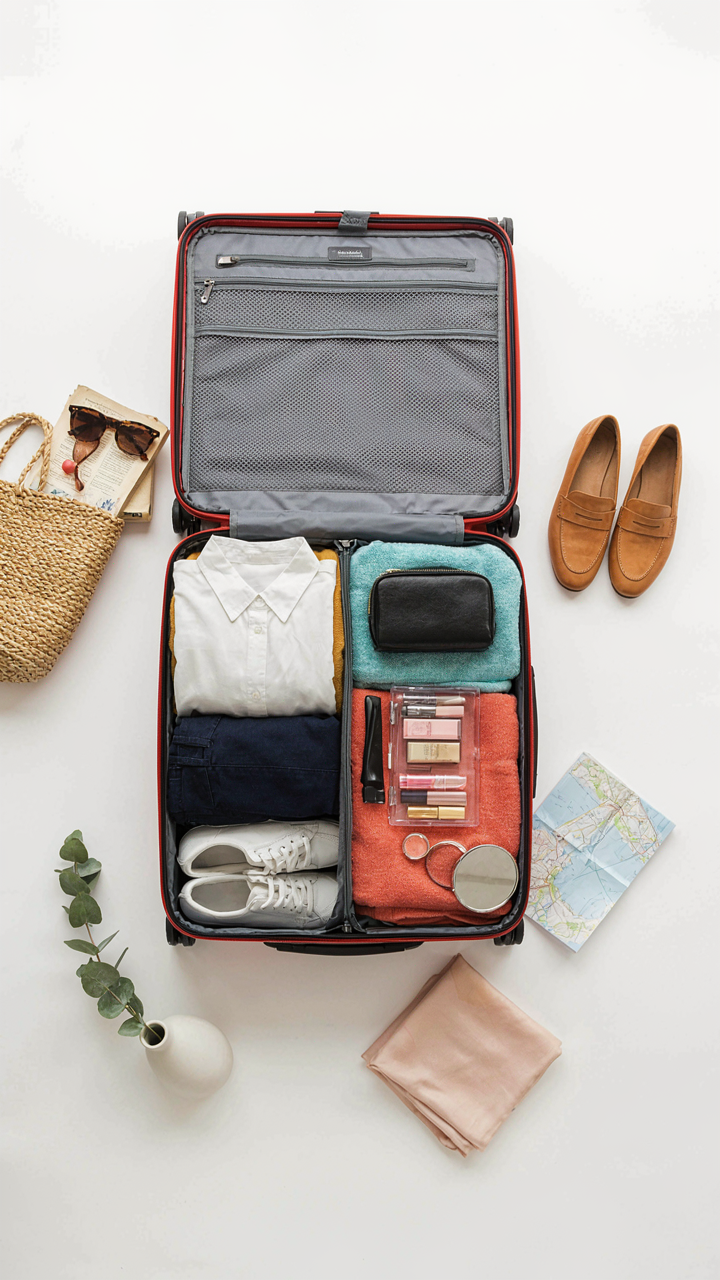
Most people pack a carry on like they’re playing Tetris. You’re not. You’re designing a system that rewards your future self with speed. Stop thinking about space. Start thinking about friction. Your packing order solves one problem: it collapses the gap between needing something and having it in hand. Pull out your carry on bag right now. Pack it backwards from how you’d naturally reach for items. That’s your baseline. You won’t optimize packing order. You’ll optimize how you move through airports without thinking.