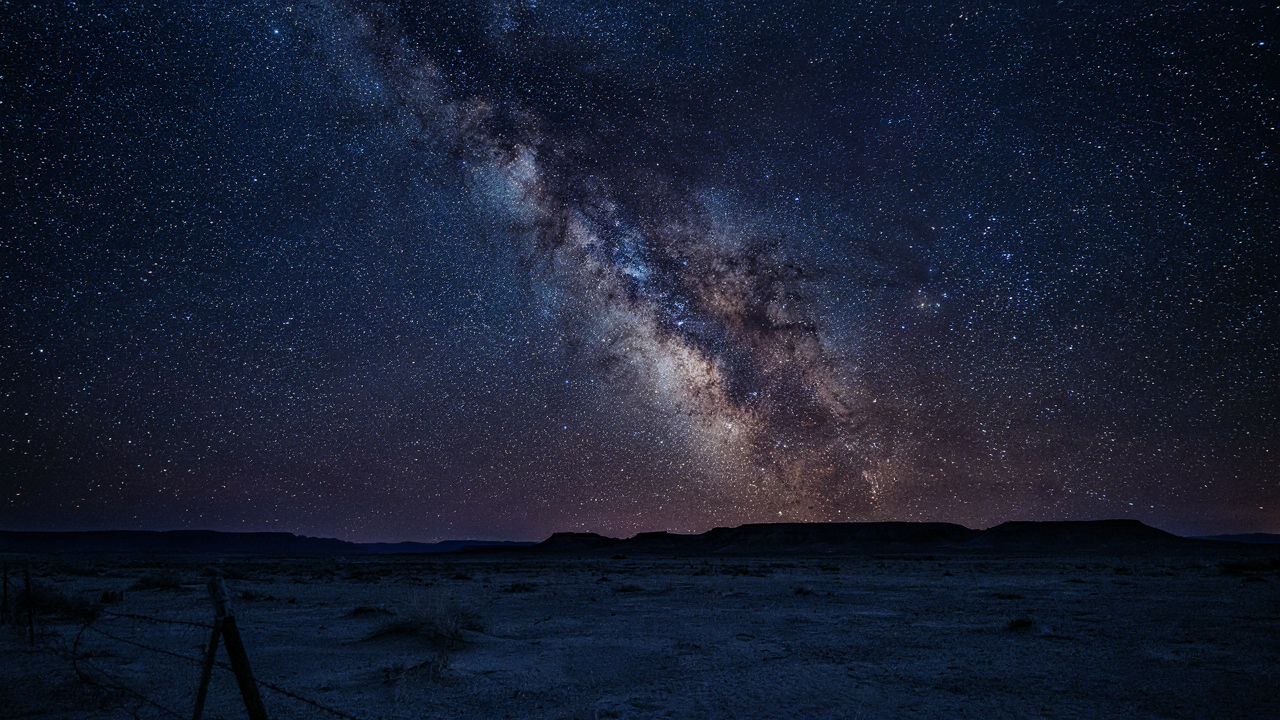
The “Computational Blind Spot” Myth: How To Capture Stars With Iphone
Night Mode Activation Beyond Basic Darkness
You want proof that your phone can do what expensive cameras do. The real mechanism lives in Night mode, but most people activate it and stop thinking. Night mode isn’t just a brightness slider masquerading as intelligence. Apple’s computational photography stacks multiple exposures automatically, holding the sensor open longer than a standard photo while correcting for hand movement in real time. This is image alignment from the signal processing field applied to handheld astronomy. The phone takes multiple frames at different exposure levels, registers them pixel-by-pixel, then merges them into one image with detail in both shadows and highlights. You don’t see this happening because it’s invisible, which makes people assume it’s magic instead of math.
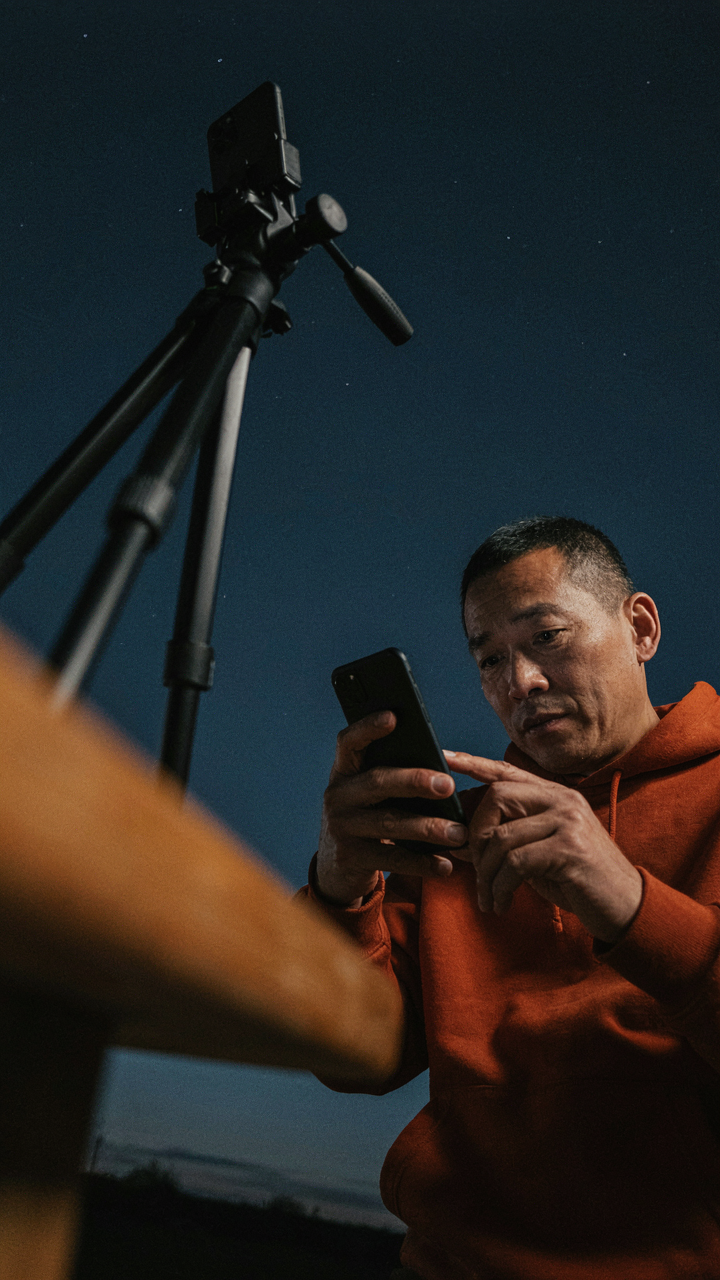
Engagement with Night mode requires one non-negotiable condition: absolute stability. A tripod isn’t optional. Even micro-movement breaks the alignment process and ruins the stack. Open Night mode, tap the screen to lock focus on a bright star or constellation, then wait for the exposure meter to max out. Apple shows you a countdown timer during capture. Don’t touch the phone. The processing happens after the shot, usually taking 3 to 5 seconds. That’s when the computational stacking produces the star definition you need.
Deep Fusion: The Silent Star Stacking Engine
Deep Fusion runs without you knowing, and that’s the problem everyone ignores. Apple introduced it as a mid-light photography feature, but it operates on every shot above certain brightness thresholds, including star photos. Deep Fusion takes nine exposures in rapid succession, analyzes texture and detail in each frame, then reconstructs the image with machine learning. It’s the closest thing an iPhone gives you to manual image stacking without manual stacking. The phone selects which pixels from which exposures contain the most useful information, preserving star detail that would otherwise compress into noise under standard processing.
You can’t turn Deep Fusion on or off in the camera app, which means it either helps you or wastes processing time depending on conditions. It activates primarily in well-lit scenes but also engages during long Night mode exposures when the sensor gathers enough data. The trade off is processing time and file size. Enable HDR mode alongside Night mode to give Deep Fusion more information to work with. Shoot in RAW if your camera app supports it, then let the computational engine do its work before you touch editing. The star definition emerges from the algorithm’s bias toward edge preservation, not from any setting you manually adjust.
Light Pollution: Your Hidden Milky Way Photography Iphone Saboteur
Where The Bortle Scale Actually Matters
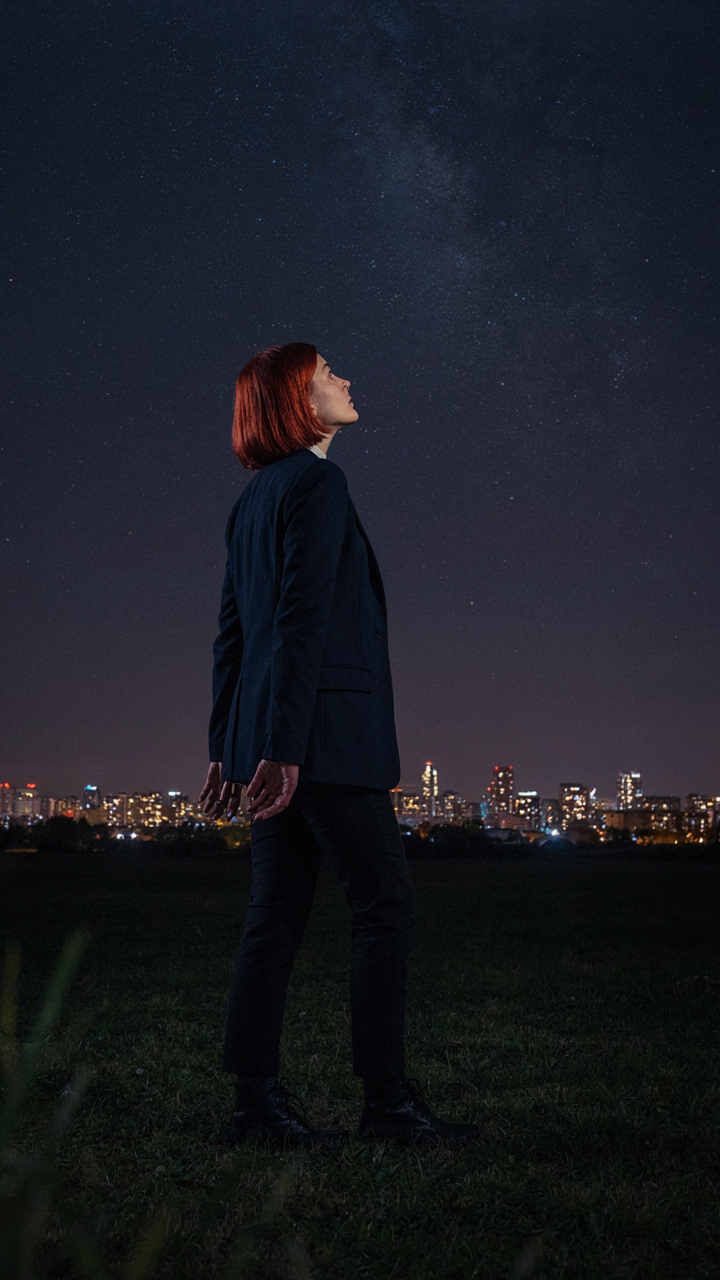
You want the Milky Way to look like it does in photos you’ve seen online, and you think location doesn’t matter that much. It does. The Bortle Scale is an astronomy classification system that ranks light pollution from 1 (pristine dark sky) to 9 (inner city). Your iPhone sensor can only extract detail from what photons actually reach it. Light pollution doesn’t just wash out stars—it reduces the signal-to-noise ratio, the foundational principle from signal processing, that determines whether your phone’s computational photography can reconstruct the Milky Way or just record glow.

Bortle 4 and darker is the practical threshold. Below that, you have enough contrast between sky and stars for the iPhone to separate real data from noise during post-processing. Bortle 5 and above, your phone’s night mode becomes a salvage operation rather than a capture. You need to know your actual location’s Bortle rating before you plan a shoot. Use Dark Sky Finder or Stellarium to map light pollution zones near you. A 30-minute drive can mean the difference between a usable image and noise that no filter fixes.
Practical Tactics For Shooting Where You Actually Live
Most advice about light pollution assumes you’ll drive hours to find perfect skies. That’s incomplete. You live somewhere specific, and you need tactics that work in that reality. Urban glow mitigation is directional—light pollution is not uniform around you. The sky directly above your city is brighter than the sky 20 degrees above the horizon toward darker land masses.
- Shoot toward the darkest edge of the sky: Identify which direction has the least city glow by checking light pollution maps. Frame your shot toward that vector, not away from it randomly.
- Use landscape elements to block lower-angle glow: A hill, tree line, or building silhouette blocks direct city light while keeping overhead sky clear. This creates natural contrast your iPhone can work with.
- Elevate your position: Rooftops, parking garages, and high ground get you above ground-level light scatter. Even 30 feet of elevation reduces low-angle pollution significantly.
- Shoot near midnight or 3-4 AM: Street lights and ambient activity drop during these windows. Even in Bortle 6 zones, pre-dawn hours have noticeably lower glow than 9 PM.
- Position yourself away from direct light sources: Don’t shoot near streetlights, parking lots, or lit buildings. Move perpendicular to them, not just away. One block of distance can halve the direct light hitting your sensor.
Light pollution mitigation is about stacking small advantages, not finding the perfect spot. Each tactic reduces glow incrementally. When you combine direction, elevation, timing, and positioning, you create a shooting environment that gives your iPhone usable data. Scout your location with these variables locked in before you shoot—your sensor can only work with what reaches it.
Atmospheric Clarity: The Unseen Variable For Night Sky Photography
When The Sky Actually Works Against You
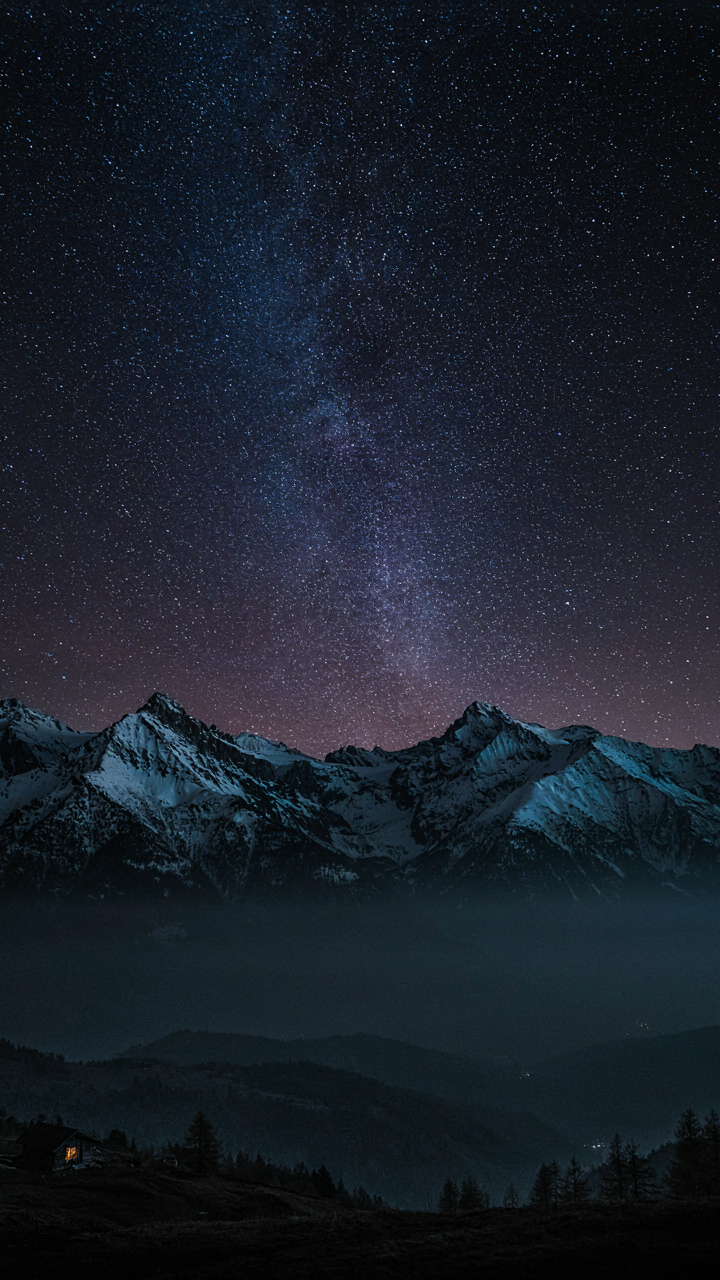
You want clear stars because you believe better conditions equal better photos. That’s half true. The real mechanism is this: atmospheric stability determines whether your iPhone sensor captures sharp stars or fuzzy blobs. Weather patterns and seeing conditions are two separate forces. Weather tells you if clouds will block your shot. Seeing tells you if the air itself is turbulent enough to blur what you’re capturing.

Astronomical seeing measures how much the atmosphere distorts light passing through it. Think of it as signal degradation in telecommunications. Bad seeing means air currents bend starlight before it reaches your sensor, creating dancing, unfocused pinpoints. You cannot fix bad seeing in post. You can only recognize it and decide whether to shoot anyway. Clear skies mean nothing if the air above you is churning.
Altitude Changes The Equation Entirely
Elevation is not just a nice variable to consider. It directly reduces the amount of atmosphere your iPhone must shoot through to capture starlight. From sea level, light travels through more air layers than from a mountain at 8,000 feet. Each additional mile of altitude removes a measurable section of turbulent air. This is why astrophotographers drive to high-elevation locations for critical shots.
Your iPhone’s sensor cannot compensate for atmospheric distortion the way a telescope with adaptive optics can. You must choose a location where less atmosphere exists between you and the stars. If you live near sea level, shooting from a rooftop is meaningless compared to driving two hours uphill. The improvement is not marginal. Check local elevation maps and identify the highest accessible point within reasonable distance. Higher ground cuts atmospheric interference. That is the entire mechanism.
The “Steady Hand” Fallacy: Tripods, Timers, And How To Photograph Stars With IPhone
Why You Need More Than A Steady Hand
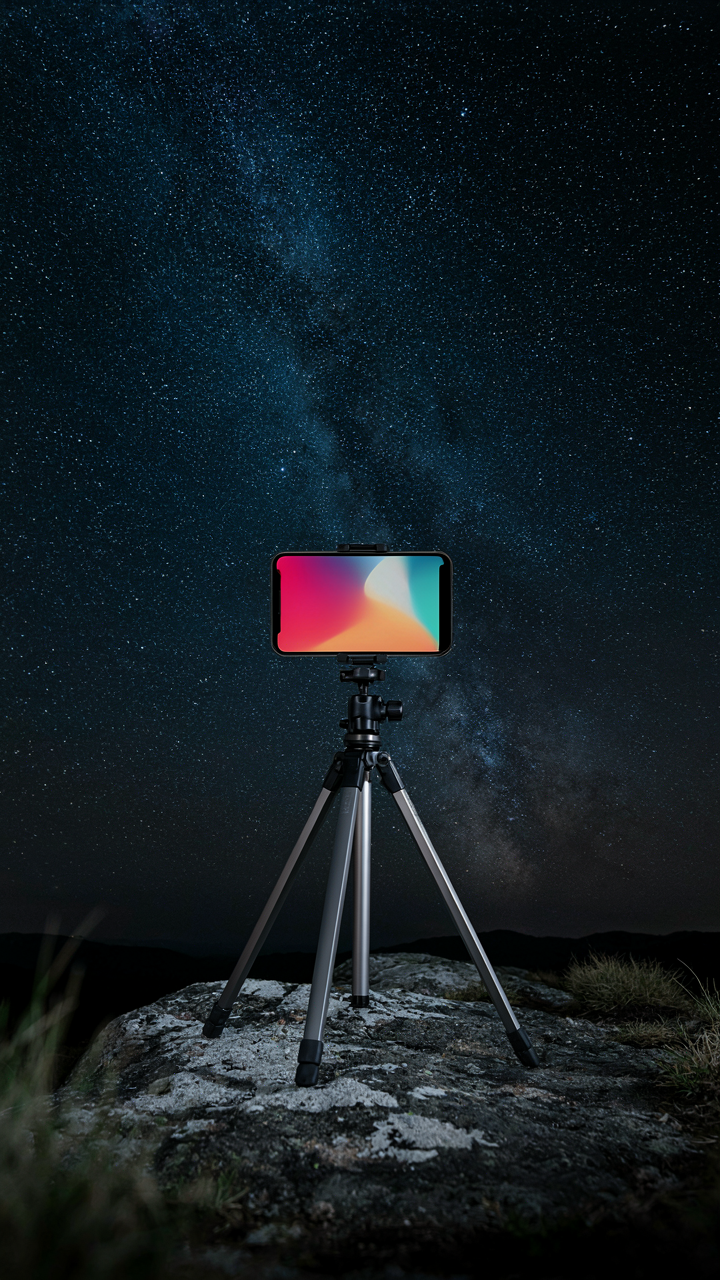
You want to believe your hand is stable enough. It isn’t. Camera shake matters because iPhone star photography requires exposures between 2 and 30 seconds to gather enough light from distant stars. Any movement during that window blurs the image into worthlessness. Your phone needs zero movement, not steady movement. A tripod or fixed mount eliminates the variable entirely. Without one, you’re guessing whether micro-tremors killed the shot, wasting time and battery on reshots you didn’t need to take.

A sturdy tripod holds the iPhone at a fixed angle while the sensor collects light continuously. Unlike handheld shooting, where you press and release, a tripod decouples your body from the exposure. The phone stays locked in position for the full duration. This is why professional astrophotography uses mounts: stability is the foundation of every other decision you make about settings, composition, and timing.
Touch Activation Defeats The Purpose
Tapping the screen to start an exposure introduces vibration at the exact moment the sensor begins capturing light. This is mechanical fact. You feel nothing because your hand is steady, but the phone’s internal mechanisms respond to your tap. The vibration doesn’t matter for daytime shots. It matters for star photography because the exposure is long enough to record that initial disturbance as blur in the frame.
Use the volume buttons as a hardware shutter instead. Press and hold either volume button to trigger the exposure without touching the screen. If your tripod setup allows, use a Bluetooth remote or your Apple Watch to start the capture from a distance. These methods keep the phone completely static from the moment the exposure begins. Test your setup by taking a 3-second exposure with the screen tap method, then repeat with the volume button. The difference is visible in the first few pixels of the image.
Manual Control’s Illusion: ProRAW And Post Processing For Night Sky Phone Camera Tips

Where Manual Actually Lives
You want ProRAW because you think it means control. It doesn’t. ProRAW is computational capture with deferred decisions. Apple processes the raw sensor data through machine learning before you even see the file, then hands you the result to refine. This is the opposite of a DSLR’s RAW. You’re not capturing light directly; you’re capturing Apple’s interpretation of light, then editing that interpretation.

The mechanism here borrows from signal processing: noise floor. Your iPhone’s sensor captures stars at a noise floor so high that underexposed JPEGs compress the faint stars into the noise. ProRAW preserves the full bit depth from the computational pipeline, so post-processing can lift those stars without amplifying as much garbage. You gain latitude, not control.
Star Enhancement Without The Guesswork
The common advice here is wrong. You don’t “enhance contrast and boost saturation.” That crushes star data. Real star editing targets the specific problem: your iPhone’s computational photography crushed shadow detail to hide noise. Recovery is the play.
- Exposure lift in shadows only: Use the shadows slider in Lightroom or Apple Photos to recover star detail without blowing highlights. Stars live in the shadow range initially.
- Reduce highlights clipping: Lower the whites or highlights slider slightly. The phone’s HDR processing often clips the brightest pixels unnecessarily.
- Texture and clarity over contrast: Apply texture instead of contrast. Contrast stretches the entire tonal range; texture emphasizes local detail where stars actually sit.
- Vibrance, not saturation: Vibrance protects already-saturated colors (like skin or landscape) while boosting muted ones. Saturation blindly amplifies everything, including sensor noise.
- Noise reduction before sharpening: Denoise first, then sharpen. Sharpening after denoising targets real edges, not noise artifacts pretending to be edges.
The workflow order matters because each step compounds. Apply recovery first, then texture, then selective sharpening on star regions only. Mask out the landscape if you’re doing a blended shot. Denoising aggressive enough to matter usually softens stars slightly, so compensate with targeted unsharp mask on the sky layer only, not the entire frame.
The “Foreground First” Protocol: Contextualizing Sky Pictures
Compositional Anchors For Depth And Scale
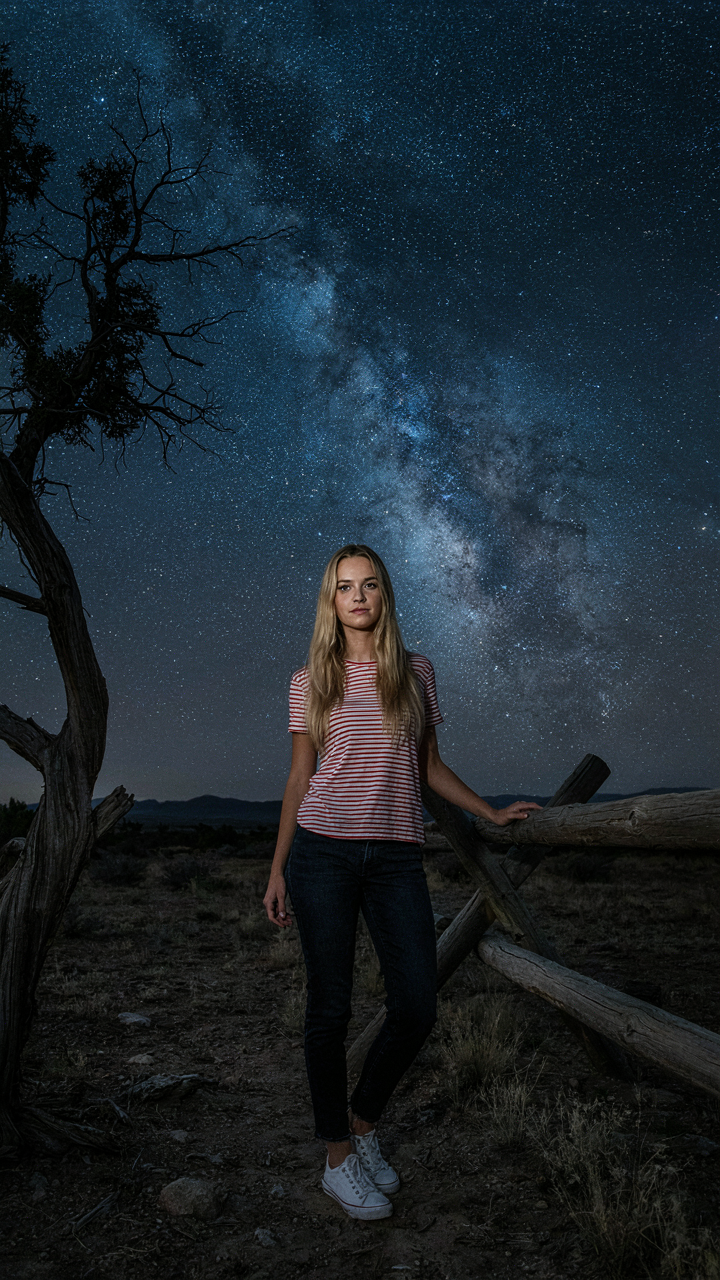
You want the stars to look impressive, which means you need something earthbound to prove they’re actually there. This isn’t decoration. Your iPhone’s sensor struggles to separate sky from ground without a reference point, so the foreground becomes your depth cue and your credibility.

Borrow the concept of “horizon line” from landscape painting, but weaponize it. In star photography, your foreground anchor is the visual argument that the sky exists at infinite distance. Trees, rock formations, or building silhouettes work because they sit in the near plane and force the iPhone’s computational photography to render the Milky Way separately. Without this anchor, your stars look flat and printed. The iPhone’s Night mode processes the scene as a unified exposure problem. A strong foreground silhouette gives the algorithm permission to preserve sky detail instead of crushing it into uniform black.
Position your foreground to occupy the lower third of the frame. The iPhone’s sensor has better dynamic range control when it can distinguish ground elevation from sky. Underexpose the foreground intentionally by 1 to 2 stops using the exposure slider. This contrast teaches the camera to preserve stars rather than blowout the ground trying to balance exposure across the frame.
Light Painting Integration For Subtle Detail
Most advice tells you to add light painting for drama. That’s wrong. You add it for information. Your iPhone’s computational photography creates strange artifacts when it tries to guess what darkness contains. Light painting solves this by giving the sensor actual photon data instead of computational guesses.
Use a handheld light source or phone flashlight set to the lowest brightness setting, swept across the foreground during the final 1 to 2 seconds of a 30-second exposure. Move slowly in one direction. The goal is texture mapping, not illumination. Your foreground needs just enough light data for Night mode to render it as a real object with dimension rather than a void. Stop before the foreground reads as daylit. The iPhone will then allocate more processing power to sky preservation and star definition. Meter your test shots after the first pass. Adjust light intensity downward if the foreground competes with the sky for exposure priority.
The Signal To Noise Ratio Doctrine: Borrowed From Electrical Engineering
Maximizing Stellar Signal Against Ambient Noise
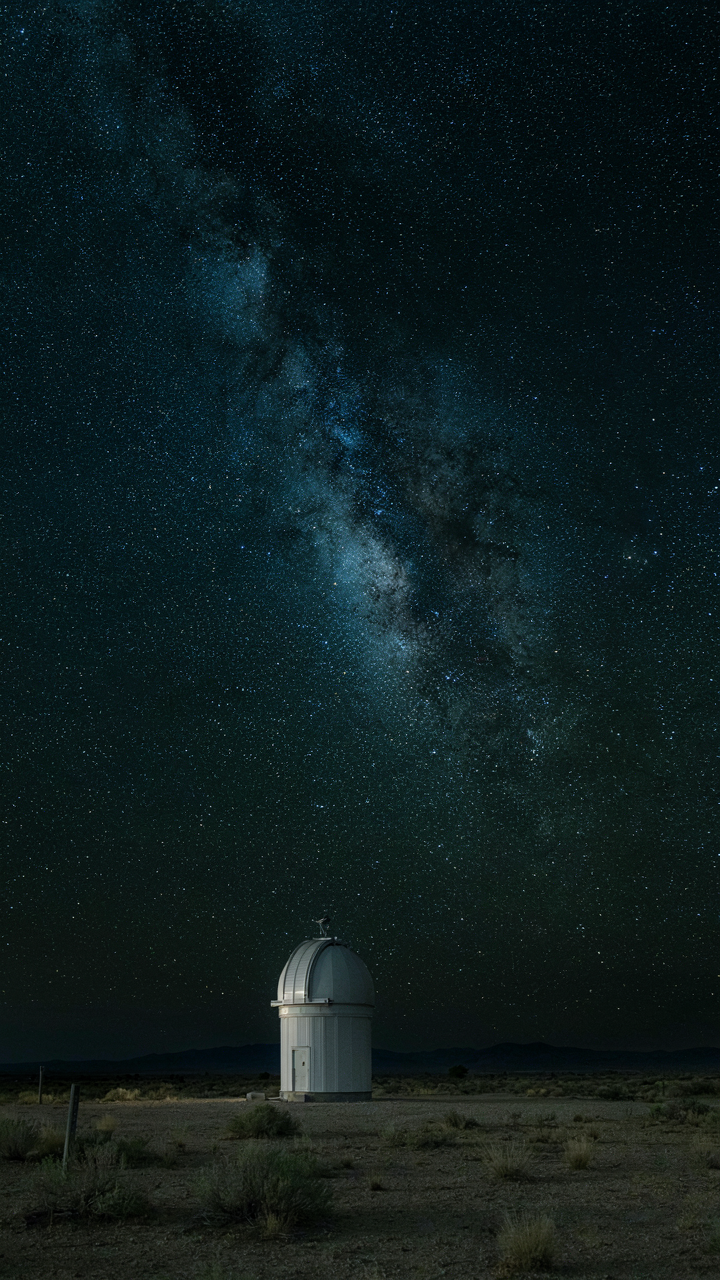
You want to believe your iPhone can compete with dedicated cameras because admitting it can’t means you wasted money on a phone marketed as a computational imaging device. The real mechanism is signal-to-noise ratio, a term from electrical engineering that applies directly here: your sensor captures both the light from stars (signal) and electrical interference plus ambient light pollution (noise). The ratio between them determines whether a star appears crisp or dissolves into murk.

iPhone sensors excel at amplifying weak signals through computational stacking, but they hit a wall when ambient noise dominates. A light-polluted sky generates constant electrical noise across every pixel, and no amount of processing recovers signal buried beneath it. Shooting from a dark location isn’t optional—it’s mechanical. The darker your sky, the lower the noise floor, and the higher your actual signal-to-noise ratio becomes regardless of phone model.
Understanding IPhone Sensor Limitations
Most star photography advice tells you to max out ISO and exposure time, as if those settings work the same on iPhones as they do on DSLRs. They don’t. iPhone sensors are smaller and generate more thermal noise at high ISO values than larger sensors, meaning you hit diminishing returns faster. Your sensor has a fixed pixel well depth—the maximum light it can capture per pixel before clipping—and pushing ISO doesn’t increase that capacity.
The computational layer is where iPhones actually win. The Night mode algorithm automatically brackets multiple exposures and aligns them, effectively increasing your signal without proportionally increasing noise. But this process fails when you override it with manual settings in apps like Halide or ProRAW. You’re replacing Apple’s noise-reduction pipeline with your own judgment, which almost always produces grainier results. Stick with Night mode for star work unless you have specific technical reasons to deviate, and even then, you’re fighting against the sensor’s design, not with it.
Beyond Exposure: The IPhone Night Sky Photography Tips For Storytelling
Timing Your Shot Around Celestial Events
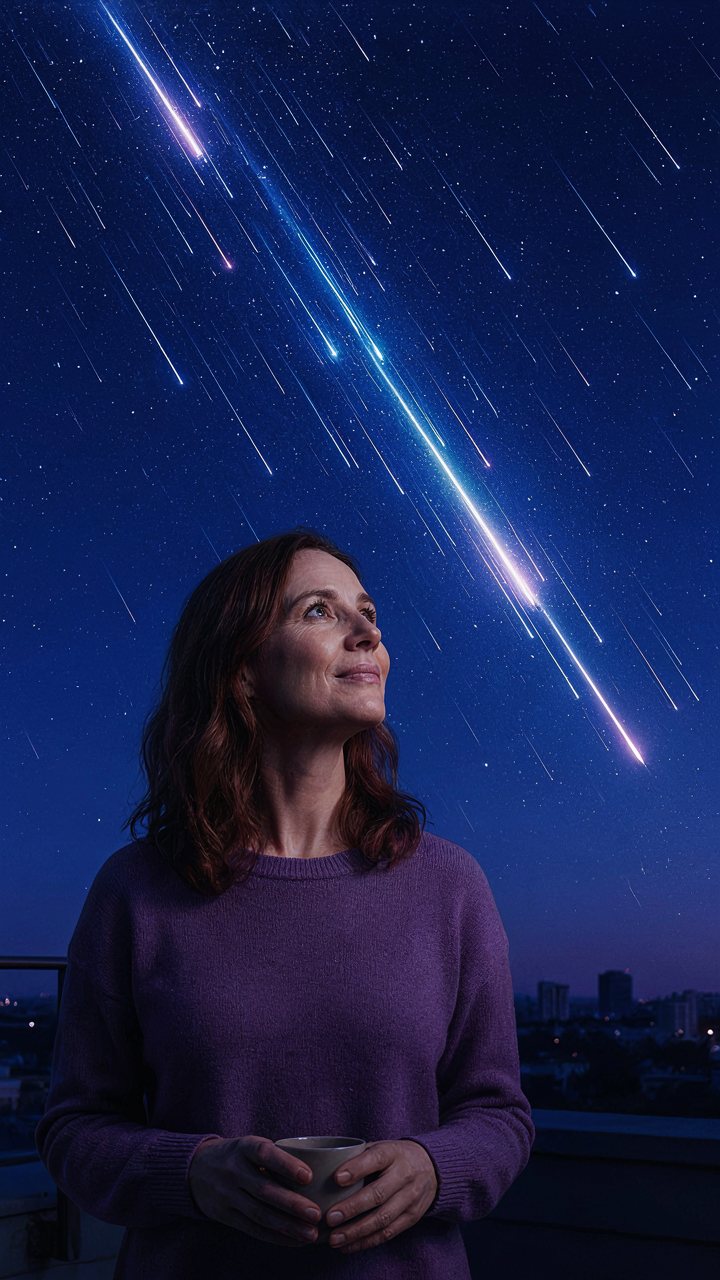
You want proof that you were there when something rare happened. That’s the real driver. The mechanism is simple: astronomical events create deadline pressure, and deadline pressure forces you to eliminate technical hesitation. Your iPhone’s Night mode works best when you know exactly what you’re shooting and why.

Meteor showers, planetary conjunctions, and lunar eclipses demand preparation weeks ahead. Download a stargazing app like Stellarium or SkySafari to identify what’s visible on your shooting date and time. Scout your location during daylight. Position yourself where light pollution is lowest and your subject clears the horizon. When the event window opens, your setup is already locked. Execute the shot instead of troubleshooting settings.
Building Recognition Through Consistent Visual Constraints
The marketing world borrowed from brand identity theory: constraints build recognition. Your iPhone star photography needs the same principle. Shooting from one location repeatedly, using the same foreground elements, maintaining consistent framing and color temperature creates a visual signature that’s instantly yours, not a random night sky image.
Choose a location with a distinctive landmark or landscape. Include it in every shot. Use the same time window each month for consistency in sky position and atmosphere. Shoot at the same exposure duration and aperture equivalent. Over twelve months, you’ve built a portfolio that tells one coherent story instead of a collection of interchangeable constellations. Viewers recognize your work before they recognize the subject.
The Real Obstacle Isn’t Your IPhone’s Camera, But Your Addiction To Visible Controls
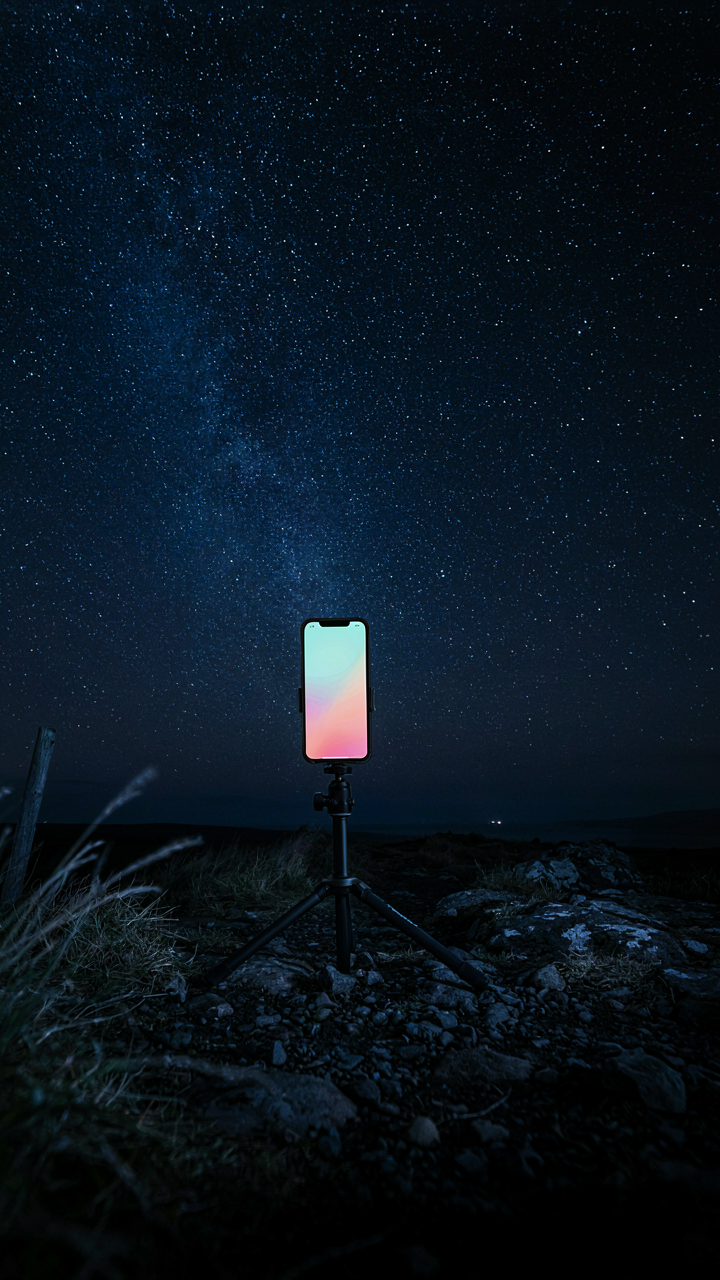
You keep touching the screen because it feels like control. You don’t have it. Stop adjusting exposure mid-shot. Stop zooming. Stop pretending your phone needs babysitting to capture stars. Lock your settings, place the device, wait. The friction you feel isn’t technical, it’s psychological. You want to tinker because tinkering feels productive. It isn’t. Your iPhone star photography improves the moment you stop interfering with it.




