Introduction
Phone photography has changed the way we capture and share moments. Your phone is not just a communication device but a powerful camera that you carry everywhere. Learning how to use it well can help you create images that grab attention on social media platforms like Pinterest.
This article dives into practical phone photography tips specifically aimed at helping you make viral Pinterest pins. From understanding your phone’s camera features to smart editing and composition techniques, you will find clear and simple advice to improve your photos and boost your Pinterest success.
Know Your Phone Camera Basics
Understanding Camera Sensors And Lenses
Have you ever wondered what really makes your phone camera tick? It all comes down to the sensor and the lens. The sensor is like the eye of your camera—it captures light and translates it into an image. Bigger sensors generally collect more light, which means clearer images, especially in low light. Many phones cram multiple small sensors into tight spaces, so sometimes more isn’t always better if the sensor is tiny and noisy.

The lens shapes the light before it hits the sensor. Different lenses have various focal lengths, apertures, and qualities. A wide lens captures more of the scene, but it can distort edges. A telephoto lens zooms closer but might lose sharpness. Many phones switch between lenses automatically, which can be great but also unpredictable. Knowing when to use the standard lens versus the ultra-wide or portrait lens can make a difference in your images.
Using Camera Modes And Settings
Modern phones come loaded with camera modes that can feel overwhelming. But a few key modes are worth mastering. Try shooting in Pro or Manual mode sometimes—it lets you tweak settings like ISO, shutter speed, and white balance. These can be tricky and frustrating at first. I often start with Auto but experiment when light is tricky or I want a specific effect.
Portrait mode is great for blurring backgrounds and making your subject pop. Night mode works wonders in dim settings, but it usually requires you to hold the phone steady longer. HDR helps balance bright and dark areas but can sometimes create unnatural results if overdone.
Adjusting exposure is another simple trick. Tap your screen to focus, then drag the slider up or down to brighten or darken your image before you even take the shot. A little adjustment can rescue a photo that feels flat. Don’t forget to explore burst mode for action shots and timer mode when you want to avoid shake.
It might feel like learning a new language, fiddling with these settings. But once you get comfortable, you’ll see more control, and your images might finally stand out on Pinterest—maybe even go viral.
Master Good Lighting Techniques

Using Natural Light To Your Advantage
Lighting shapes your photo more than almost anything else. Natural light varies throughout the day, and where you place your subject in relation to it changes the entire mood. Early morning or late afternoon light—the so-called golden hour—casts softer shadows and warmer tones. But midday sun, harsh and direct, can create strong contrasts that might or might not work, depending on your goal.
Try facing your subject toward a window or open space so the light hits evenly. Side lighting adds texture but can also cause unwanted shadows, so play around with angles. Backlighting can create a glow or lens flare, which sometimes looks great but can also wash out details if you’re not careful. I find that even small shifts—stepping left, right, or forward—can dramatically improve how natural light works for your image.
Handling Low Light Conditions
Low light usually throws off phone cameras. Graininess crops up, and details blur. Night mode is a helpful tool, but don’t expect miracles—it’s about steady hands and timing as much as software. When you can, prop your phone on something stable or lean against a wall to keep steady.
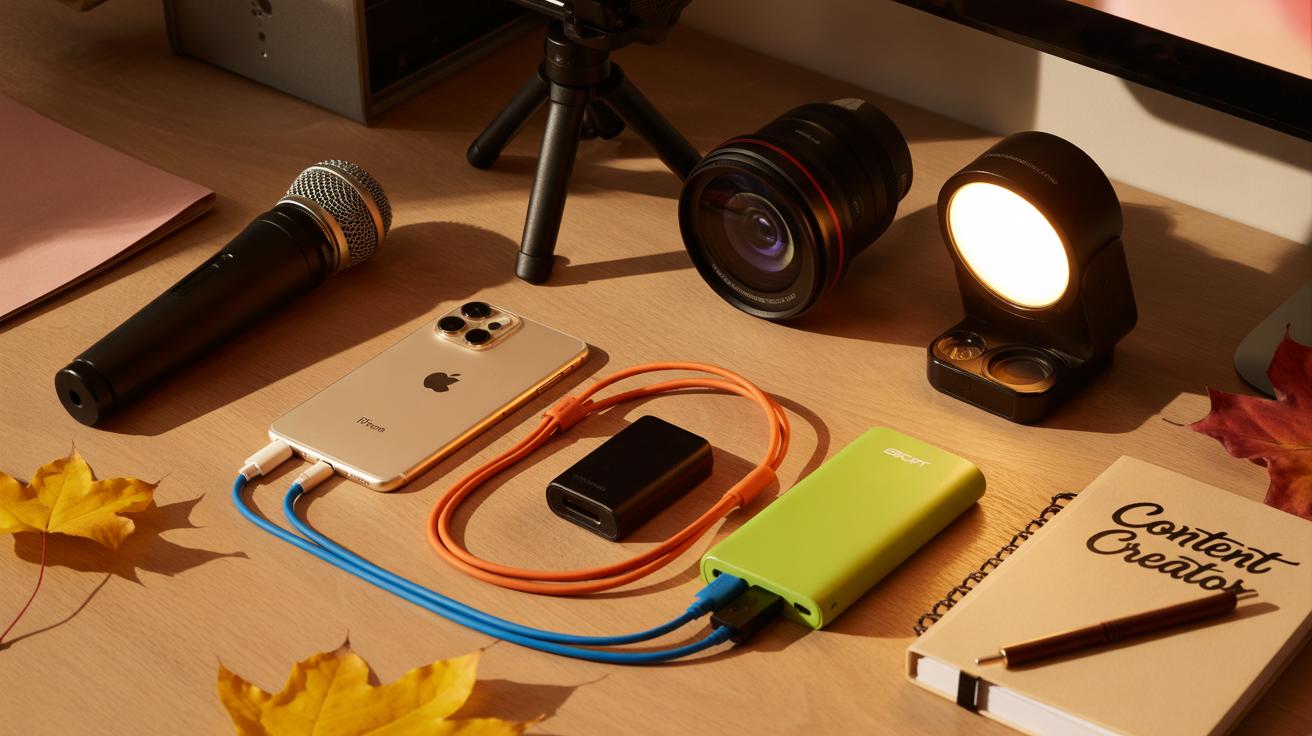
If the scene is too dark, adding an external light source—like a small LED or even another phone’s flashlight—can brighten things without overpowering. You can also increase exposure manually, though that risks noise. Sometimes, accepting a certain softness or moodier look is better than forcing brightness. It’s a bit of trial and error, and your phone won’t always capture what your eyes see.
Compose Photos For Pinterest Appeal

Rule Of Thirds And Framing
The rule of thirds is one of those photography basics that really seems simple but can change your images in subtle yet powerful ways. Imagine dividing your phone screen into a grid of nine equal parts with two lines across and two lines down. Now, placing your subject or points of interest along these lines—or better yet, at their intersections—tends to create a photo that feels more balanced and natural. I’ve noticed that when I place my subject dead center all the time, the image often feels a little static or boring.
Framing adds another layer here. You can use elements within the scene—like doorways, branches, or even shadows—to encase your subject. That kind of framing pulls the viewer’s eye right where you want it, guiding attention without needing to shout. In Pinterest images, where people quickly scroll through loads of content, this subtle guide can mean the difference between a double tap or a quick scroll past.
Using Lines, Patterns, And Colors
Lines are surprisingly powerful in photos. They can lead the viewer’s eye through the image, creating a visual path. Whether it’s a fence, a road, or the edge of a table, strong lines add structure. Patterns do something similar but can be a bit more mesmerizing—think about tiled floors or repeated textures like a stack of books. Pinterest users often stop on images with those repeating elements because they’re… calming, I guess, or just feel ordered.
Colors matter too, and not just bright, bold ones. Complementary colors—like blue and orange, or green and red—can create a subtle contrast that makes your image pop without overwhelming. Sometimes, less is more here; a clean background with a splash of complementary color can make your subject stand out surprisingly well. Don’t obsess over perfect matching, though. Slight mismatches can add character—Pinterest is full of imperfectly perfect images that feel more human.
Capture Clear And Sharp Images
Getting a sharp photo with your phone isn’t always as easy as it sounds. One of the biggest issues is simply keeping the camera steady. Even the slightest movement can cause blur, especially in lower light. You might try holding your phone with both hands, tucking your elbows close to your sides—that little tip really helped me when I started trying more creative shots.
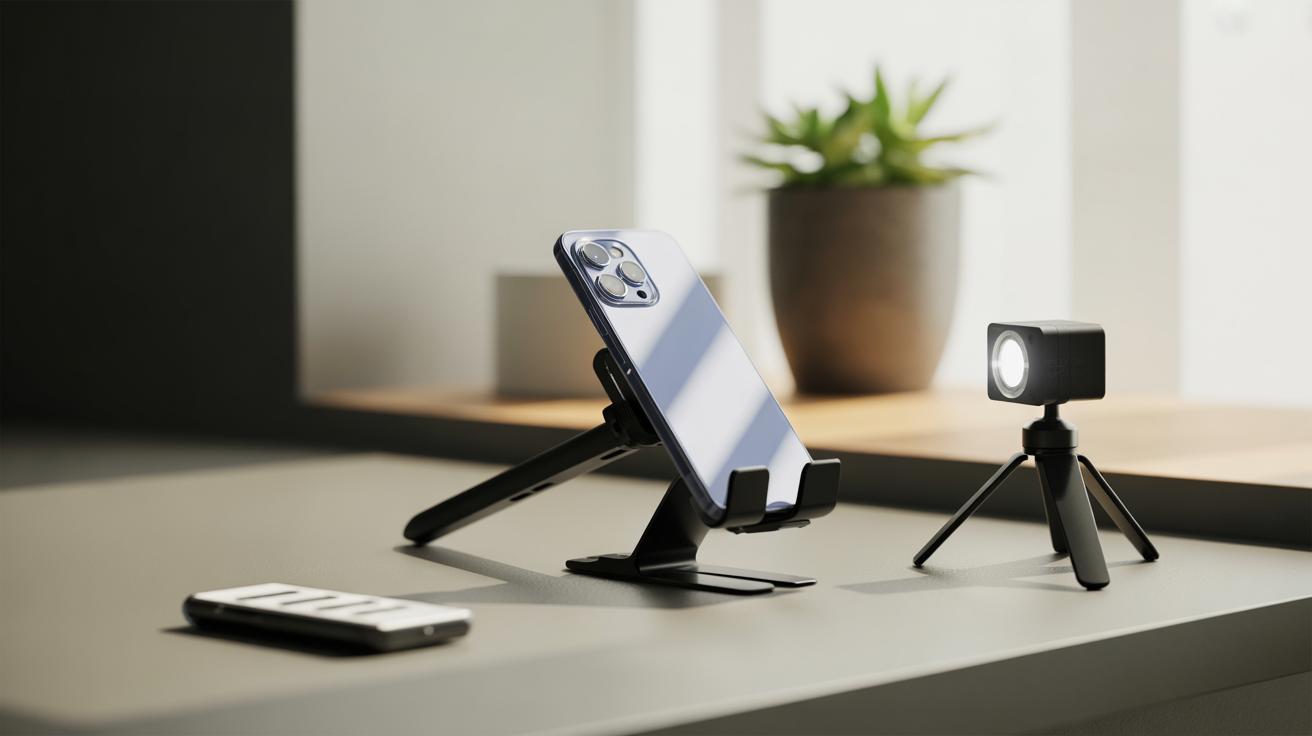
If holding steady feels tricky, consider simple tools. A small tripod or even resting your phone on a stable surface can make a notable difference. Sometimes, I just lean against a wall or a table and lean the phone on it when needing absolute sharpness.
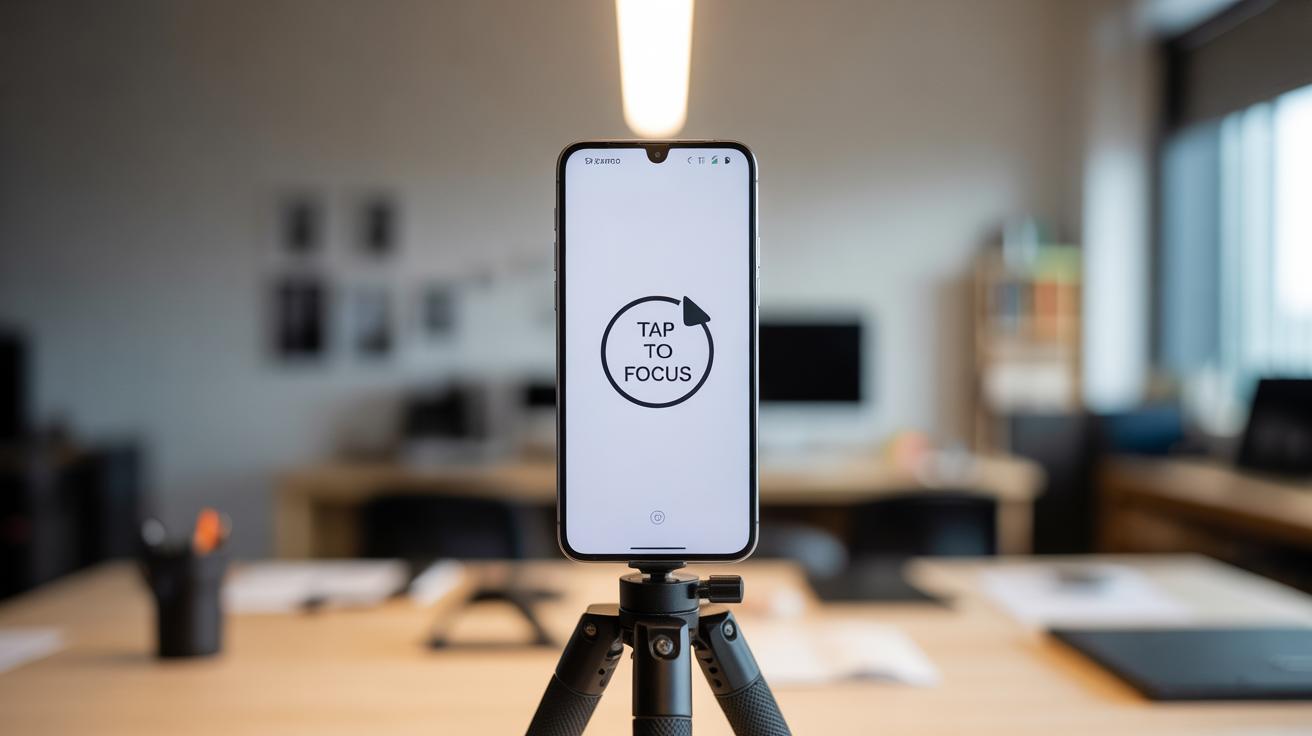
Focusing techniques also matter. Most phones have touch focus; tap the screen on your subject to make sure your camera prioritizes the right spot. Occasionally, the autofocus system misses the mark, especially with close-ups or detailed textures. Manually locking focus before taking the shot often solves this, though it takes a bit of patience.
One thing I keep coming back to: try not to rush your shot. Wait a second or two after tapping focus, breathe, and then press the shutter. Sharp photos usually follow. And remember, sometimes a slight softness adds character, but if you want your pins to pop on Pinterest, crispness is key.
Edit Smartly To Enhance Photos

Editing can make or break your photos, especially when you’re aiming for pins that stand out. The trick is to improve the image without making it look overdone or artificial. Sometimes a subtle touch is all you need.
Basic Adjustments To Try
Start with simple tweaks like brightness, contrast, and cropping. Brightness helps correct images that are too dark or too bright, but if you push it too far, details disappear. Contrast defines the separation between dark and light areas, adding depth—but too much can make things harsh. Cropping refines the composition, letting you remove distractions or balance the frame better. I often find cropping is the most underrated because it focuses attention on the subject without altering the photo’s core.
Try this: boost brightness a little, then adjust contrast just enough to bring out textures. Crop tightly to remove unnecessary space but never cut off important elements. These small edits gently lift your image quality.
Using Filters Wisely
Filters can enhance mood and style, but it’s easy to get carried away. You want your edits to fit the overall feel of your Pinterest board, so choose filters thoughtfully. Ask yourself: does this filter highlight the photo’s main subject? Does it add to the vibe you’re going for? Sometimes a subtle warm tint or slight desaturation works better than bold, saturated looks.
I usually test a few filters, then step back. If it looks too “Instagramy,” I dial it back. Remember, the best filters support your content—they don’t steal the show. Pick filters that blend with your brand’s aesthetic and don’t drown out your photo’s natural appeal.
Use Consistent Styles And Themes

When you develop a consistent visual style for your Pinterest pins, you give your audience something familiar to recognize instantly. It’s like building a small signature without signing your name. Over time, people start to associate that specific look or vibe with your content—even if they only catch a glimpse.
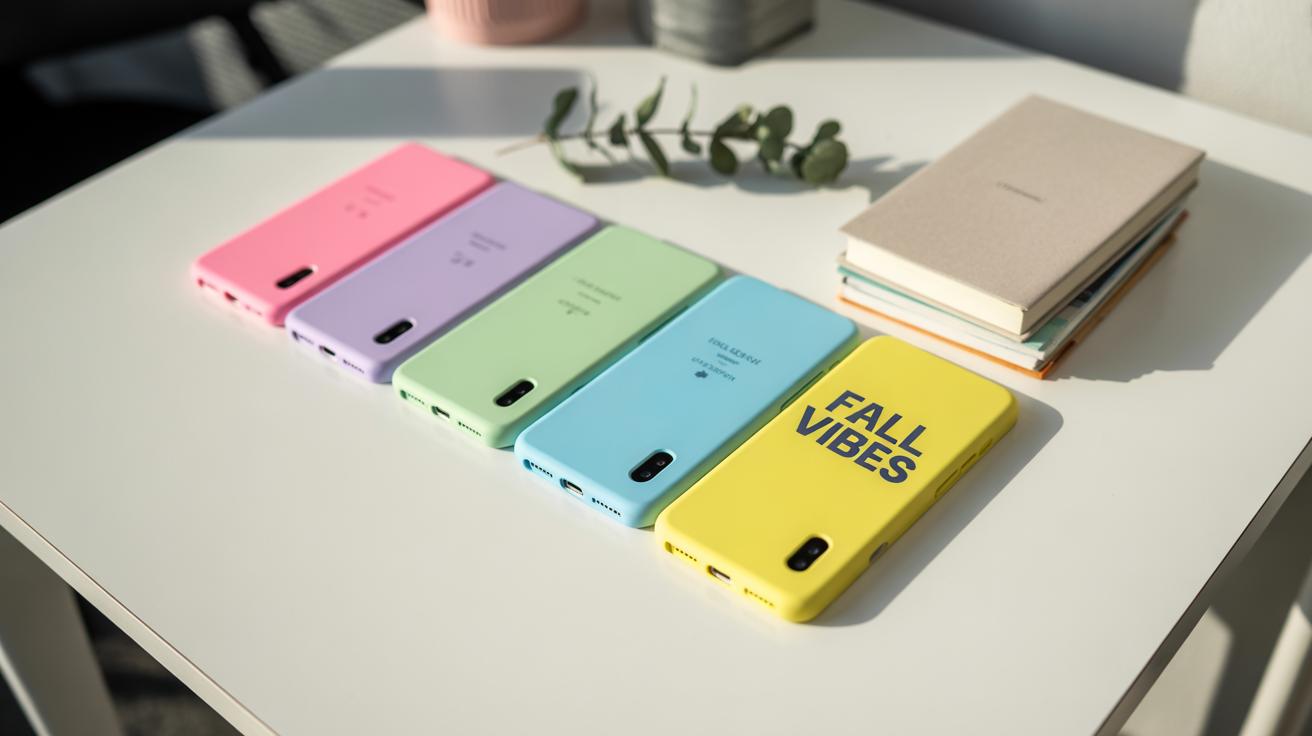
One way to nail this down with phone photos is by choosing a limited color palette. Picking two to four colors and sticking with them across your images unifies your boards. For example, if you love soft pastels, push that slightly muted tone through every shot. Or if bold, warm colors draw you in, keep them at the forefront. The trick isn’t about following trends but rather about feeling comfortable enough to repeat your choices.
Consistent editing helps maintain this style. Don’t switch wildly between bright, contrast-heavy filters and soft, faded looks. Find an editing balance that complements your subject matter and can be repeated reliably. Maybe boost warmth just a little or keep shadows slightly softened. When the edits align across your photos, even different subjects or angles start to look like part of the same story.
It’s worth asking: does your style reflect *you*? Sometimes the closest you get to a perfect look is through trial and error, revisiting old edits and tweaking until it feels right. This identity in your photography builds trust and makes your pins stand out without shouting for attention.
Tell Stories With Your Photos

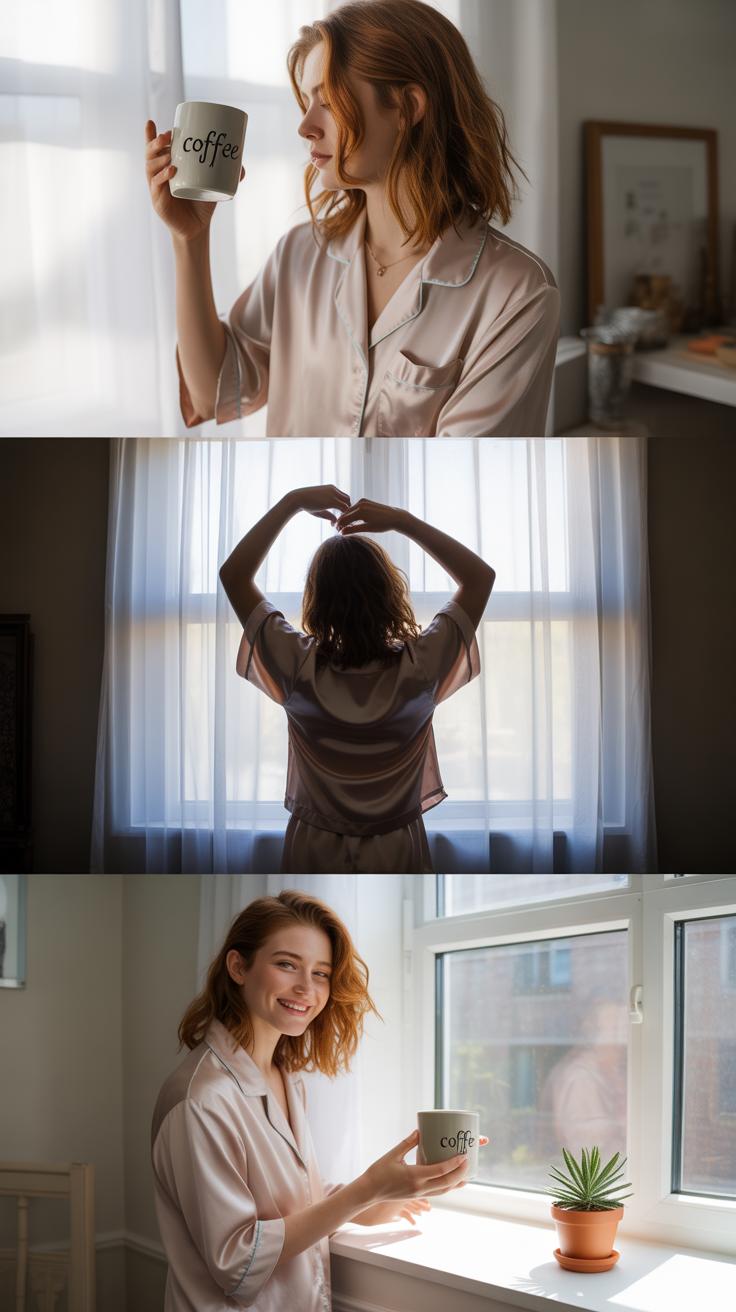
Photos on Pinterest don’t just need to look good—they should say something. When you think about your phone photography as a way to tell stories, it changes how you approach every shot. Instead of just capturing a pretty scene, focus on moments that feel personal or relatable. Maybe it’s the way morning light hits your coffee cup, or a candid smile that says more than posed portraits ever could.
Try asking yourself: what feeling or idea do I want this image to share? Look for small details that hint at a bigger story—like a worn book page or a hand reaching out. These elements invite viewers in, creating a connection that goes beyond just “nice picture.” Sometimes, it’s those imperfect or spontaneous moments that resonate most.
Capturing Moments That Connect
Finding moments that evoke emotions means paying attention and being ready. Use your phone’s quick access—they’re great for catching real-life snippets before they vanish. Focus on scenes that trigger curiosity or warmth, such as a street vendor arranging goods or sunlight filtering through leaves on a quiet afternoon.
Don’t overthink it; sometimes, what seems ordinary can spark interest if framed with intention. Play with angles, close-ups, or timing to highlight something unexpected. Ask yourself if this photo could make a viewer pause—does it tell a bit more than what’s immediately obvious?
Building Series Or Collections
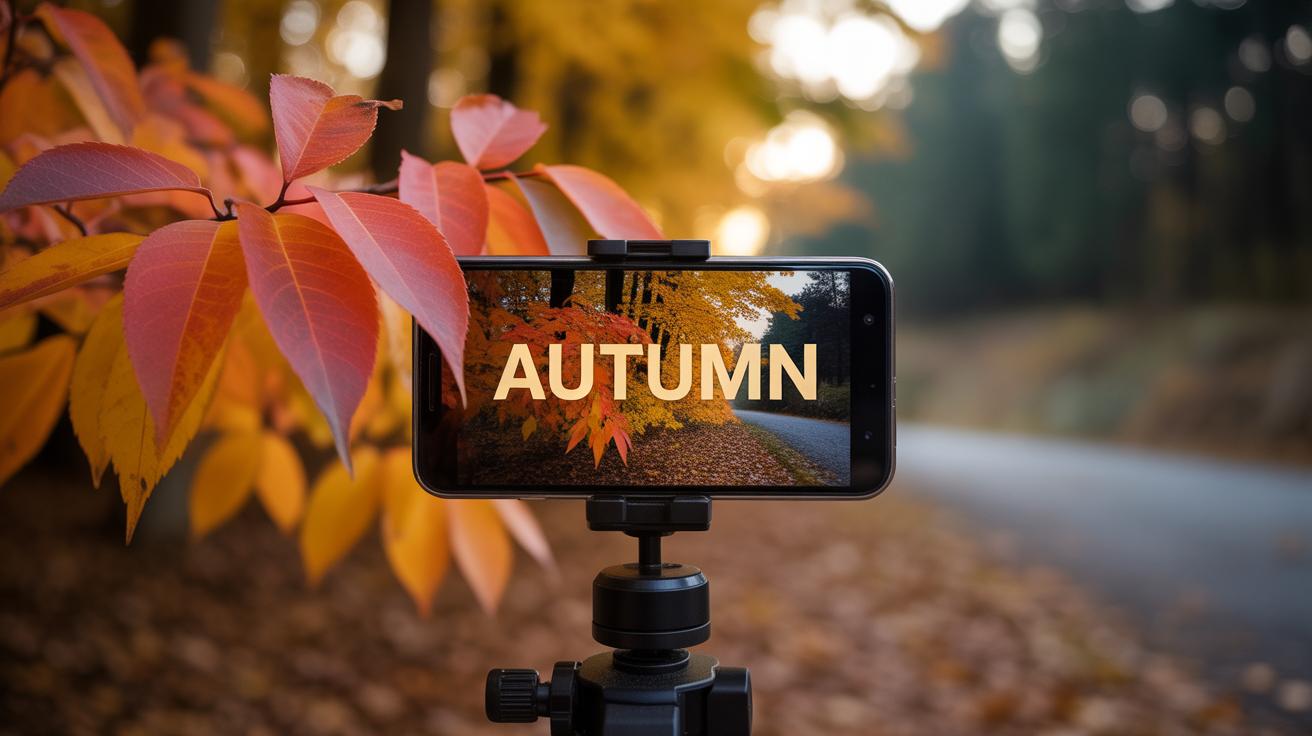
Instead of a one-off image, consider creating a series or thematic collection. For example, a set of photos showing stages of a cooking process, seasonal changes in your garden, or a day in the life at a local market. Collections give viewers a reason to explore more, increasing engagement.
This approach also helps you develop a narrative thread. Each photo complements the others, building curiosity and encouraging saves or shares. Over time, these linked images can shape your unique visual voice on Pinterest, making your pins stand out amid the noise.
Have you tried grouping your photos like that? It might feel a bit restrictive, but it often leads to surprisingly fresh stories that single shots rarely tell.
Optimize Images For Pinterest Uploads
When you’re ready to share your photos on Pinterest, the way you format and size them matters a lot. It’s not just about snapping a great picture; how that picture fits into Pinterest’s framework can affect its visibility. So, how do you pick the right dimensions?
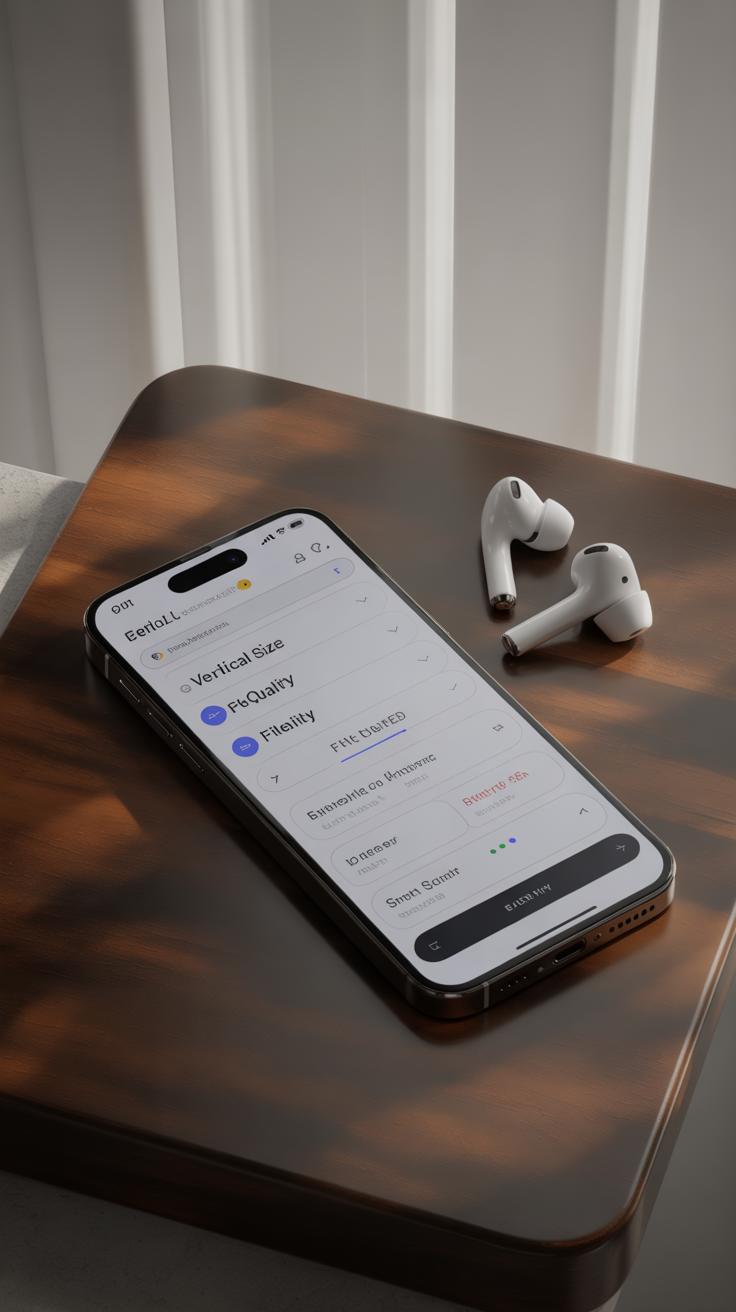
Most Pinterest users scroll vertically, so portrait-style images tend to work best. The ideal aspect ratio often recommended is around 2:3, like 1000 pixels wide by 1500 pixels tall. That size fits well in feeds without getting cropped or appearing too small. Squares and landscape shots can work but they usually don’t stand out as much. I’ve noticed pins with taller shapes often get more saves, even if they take longer to create.
Now, about file size—a big image doesn’t necessarily mean better results. Large files can slow down loading time, which might turn people away before they even see your work. But shrinking images too much can blur details and kill clarity, which is frustrating. So, the trick is compressing smartly.
You might try online tools like TinyPNG or JPEG-Optimizer. They reduce file size while keeping most detail intact. It’s a balance—sometimes you sacrifice just a little quality but gain a lot in speed and accessibility. Experiment with settings a bit and check how your images look after compression.
Think about how your pins will look on varied devices — smartphones, tablets, desktops. If you push file size too low, some details won’t show well on larger screens. Don’t settle for fuzzy or pixelated pins just for smaller files. Remember, Pinterest is all about visuals catching the eye instantly, so crispness counts.
So next time you prep a photo, pay attention not only to the story it tells but also how it fits and performs on Pinterest itself. It might feel like extra work, but these little steps can make a surprisingly big difference in how many people stop to look at your pins.
Practice And Analyze Your Results
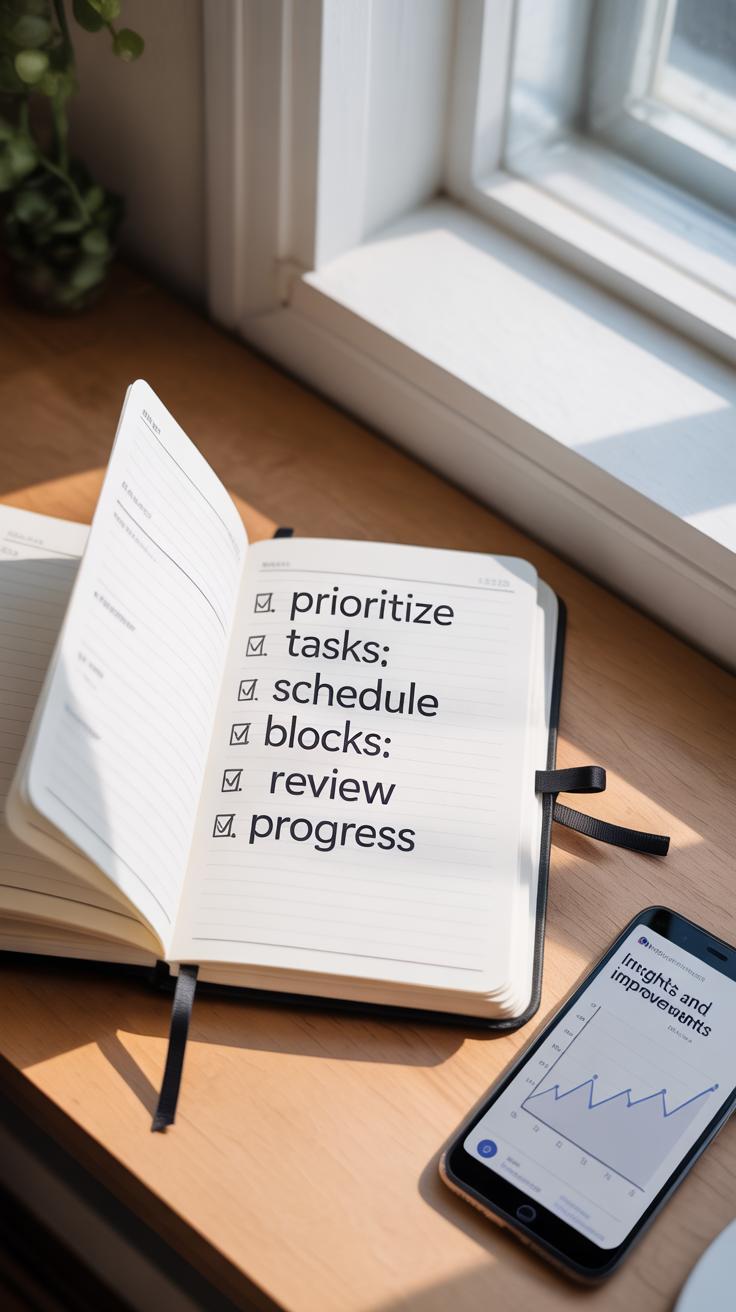
Getting better at phone photography takes time and, honestly, some trial and error. The thing is, you can’t expect to snap a few shots and suddenly crack the code for viral pins. You have to keep practicing. Take photos regularly, in different lightings and settings. Play with angles, focus points, or even try out burst mode. Over time, you’ll start to notice what feels natural to you—and what doesn’t.
Don’t just stop at taking pictures, though. Look at how your pins perform on Pinterest. There’s actual data there, showing which images draw more clicks, saves, or comments. That feedback loop is gold. Ask yourself why certain photos work better. Is it the brightness? The composition? Or maybe the subject itself? Keeping track of this helps you refine your approach.
Trying New Techniques Regularly
It’s easy to fall into a pattern—shoot the same way, edit the same way. But, if your goal is to stand out, keep pushing yourself. Maybe one day try black and white, or shoot from an unexpected angle you wouldn’t normally consider. Change your camera app settings or try manual mode if that feels doable. Sometimes, the quirkiest shots catch the eye more than the perfectly posed ones.
Even if a new method doesn’t work right away, that’s okay. Each attempt teaches you something. You might find new styles you actually enjoy—or, conversely, confirm what doesn’t fit your style at all. I remember spending an afternoon trying macro shots with my phone and while most were a mess, a couple stood out and still get good engagement.
Tracking What Works On Pinterest
Pinterest has built-in analytics that can seem overwhelming, but focusing on a few key metrics makes tracking manageable. Look at impressions to see how many people saw your pin. Then, check saves and clicks—those indicate real interest. Notice trends here. Are pins with certain colors or compositions getting more attention? Or perhaps vertical images perform better in your niche?
It’s tempting to chase every little spike in numbers, but focus on consistent patterns instead. What types of photos loved by the algorithm can you keep making? I’ve found that revisiting analytics monthly, or after posting a batch of photos, helps me stay grounded. It’s a quiet way to learn what your audience prefers without guessing—though, on some days, guessing is half the fun too. What will you try next?
Conclusions
By focusing on using your phone’s camera capabilities fully and applying thoughtful composition and editing choices, you can create eye-catching photos. These photos will attract Pinterest users and increase the chances of going viral.
Remember, practice is key. Keep experimenting with lighting, angles, and styles. Use your creativity and keep learning from your results. With determination, you can turn your phone photography into a powerful tool to share your story and grow your presence on Pinterest.