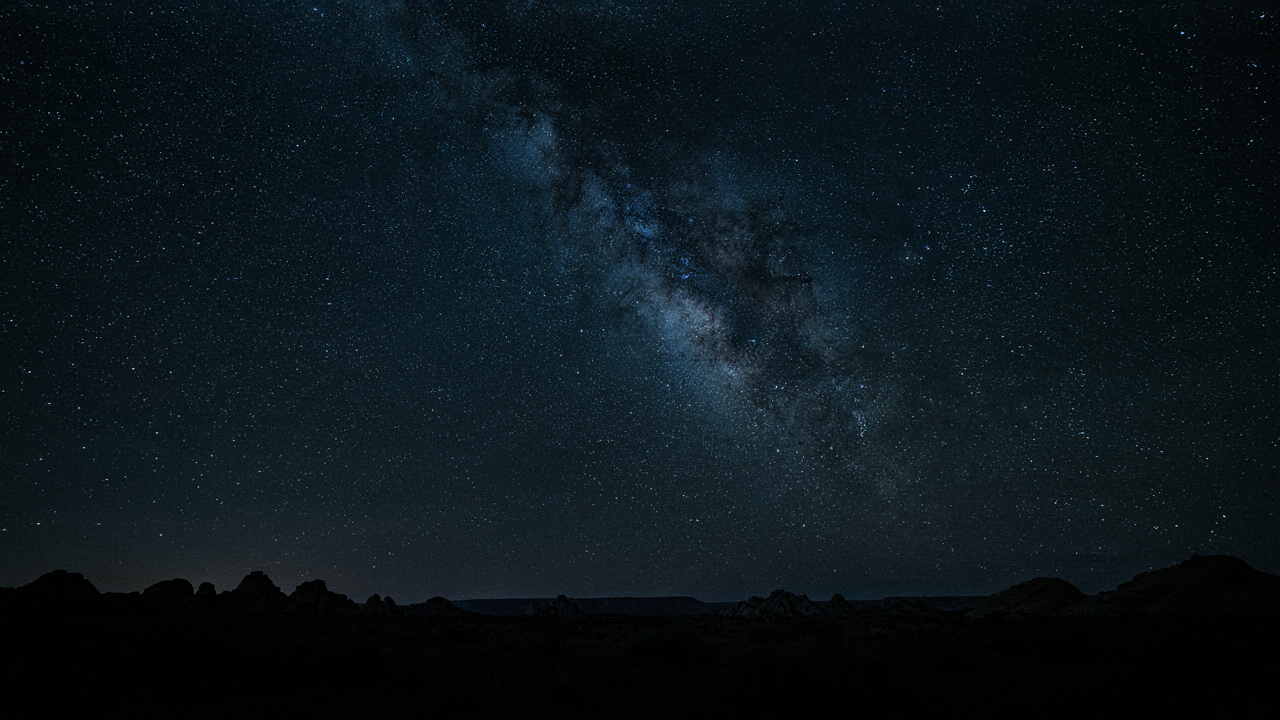
The Dark Sky Fallacy: Why Location Isn’t Enough For Milky Way Photography
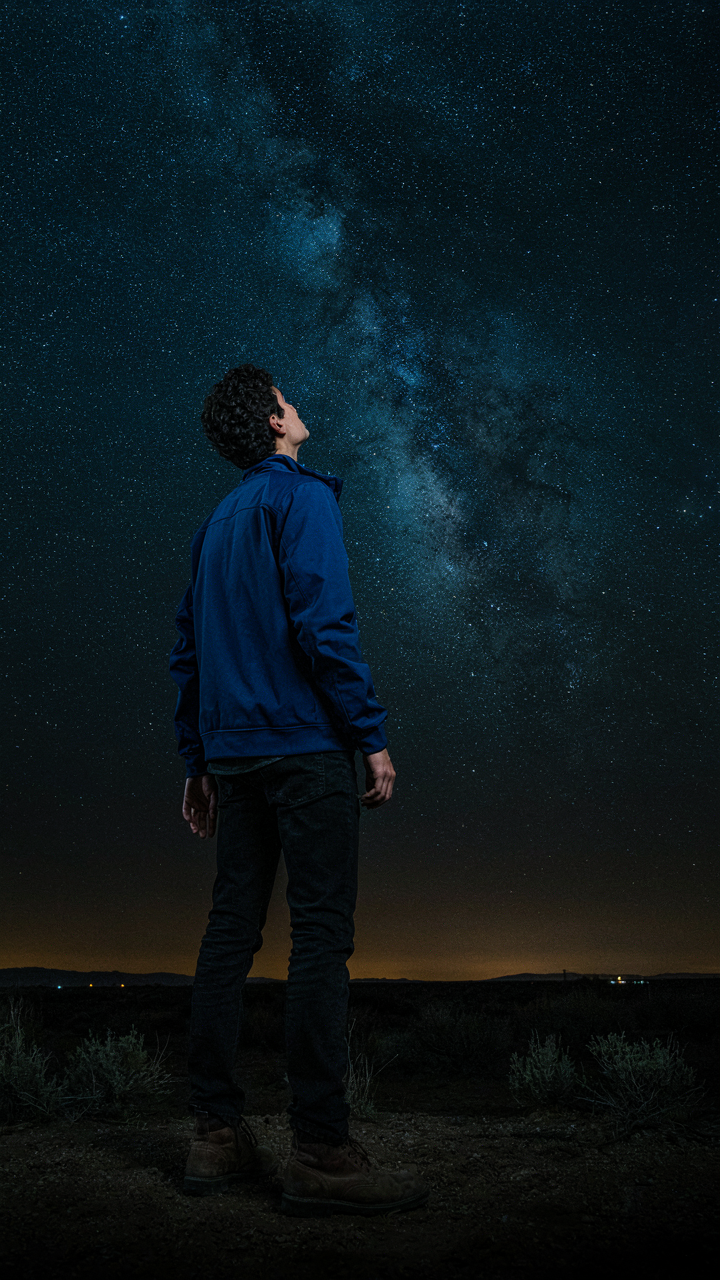
Dark Skies Solve One Problem Only
You want the proof that you did it—that you traveled somewhere remote and captured what most people can’t see from their backyard. Dark skies deliver that. But here’s the mechanism everyone glosses over: darker skies reduce light pollution, which increases the signal-to-noise ratio in your sensor. That’s physics talking. More photons from the galaxy, fewer photons from cities. The catch is that this only solves for light. It doesn’t solve for your iPhone’s actual limitations.
A dark sky location removes one variable. It doesn’t remove sensor size constraints, lens aperture caps, or the fact that your phone’s processor will crush shadow detail trying to balance exposure across frame. You can stand under pristine skies with zero light pollution and still capture a mediocre Milky Way shot if you ignore how your specific device reads and renders starlight. Location is necessary. It’s not sufficient.
Post Processing Matters More Than You Think
Most guides treat iPhone Milky Way photos as a capture problem only. They’re wrong. It’s a processing problem wearing a capture disguise. Your iPhone’s computational photography stack already intervenes during capture—noise reduction, tone mapping, color correction all happen before you touch a single slider. This means the raw data you’re working with is already compressed and interpreted. You’re not recovering lost detail. You’re remapping the detail that remains.
The advantage here is simple: what light pollution steals in the field, editing software can partially restore through contrast stacking and targeted saturation in the blue channel where most Milky Way detail lives. This doesn’t mean you ignore light pollution. It means you don’t treat a mediocre dark sky location as a dead end. Shoot tight, edit aggressive, and push the structure that exists in the data. The mechanism is inverse: worse starting conditions force you to learn processing. Better processing usually beats chasing incremental location improvements.
Your IPhone’s Hidden Arsenal: ProRAW And Night Mode Mastery For Milky Way Photos
ProRAW Gives You The Uncompressed Data You Actually Need
You want to believe your iPhone can compete with a DSLR without the work. ProRAW exists because Apple admitted standard compression destroys the information your sensor captures in low light. Think of it like signal processing in audio engineering: compression removes data assuming human ears won’t notice. With Milky Way photos, you’re working in near-total darkness where every photon matters. Standard HEIF throws away shadow detail you’ll need to recover the galactic core later.

ProRAW captures 12-bit per channel data instead of 8-bit HEIF, which means 16 times more tonal gradations in blacks and deep shadows where the Milky Way actually lives. Your raw file stays unprocessed, unoptimized, and brutally honest about what your sensor collected. This matters because post-processing Milky Way photos demands flexibility in the shadows that compressed formats simply do not preserve. Enable ProRAW in Settings, Camera, Formats, and leave it on during dark sky sessions. The file size penalty is real but non-negotiable if you want images worth editing.
Night Mode Settings: Where Manual Control Separates Results From Mistakes
Night Mode looks like it works automatically, but letting it decide exposure time is where most people sabotage their shots. Your phone’s default algorithm assumes you want a bright, usable photo of a lit subject. A dark Milky Way core looks like underexposure to the sensor, so Night Mode fights you. You need manual exposure control to override what the camera thinks is correct.
- Exposure duration: Hold the shutter button until you see the countdown reach 3, 5, or even 10 seconds depending on light pollution levels and how steady your tripod mount is.
- ISO handling: Disable automatic ISO adjustment by manually setting exposure time first; the phone will lock its ISO response to your duration choice rather than guessing.
- Focus lock before exposure: Tap the brightest star visible on your screen and lock focus by holding your finger down, then swipe to adjust exposure without losing focus.
- Tripod stability requirement: Night Mode at 10 seconds demands zero movement; even phone-holder vibration ruins the shot, so invest in a rigid mount, not a flexible gooseneck.
- Repeated captures: Take multiple 10-second exposures and stack them later in post; single long exposures show motion blur from Earth’s rotation at wide angles.
Manual control is the only way to extract what your sensor actually collected in deep darkness. Set your exposure time based on the specific light pollution at your location, not what worked elsewhere. Milky Way iPhone photos succeed when you stop trusting automation and start treating your phone like the specialized imaging tool it is in night mode.
The Stability Imperative: Tripods, Timers, And Remote Triggers For IPhone Astrophotography
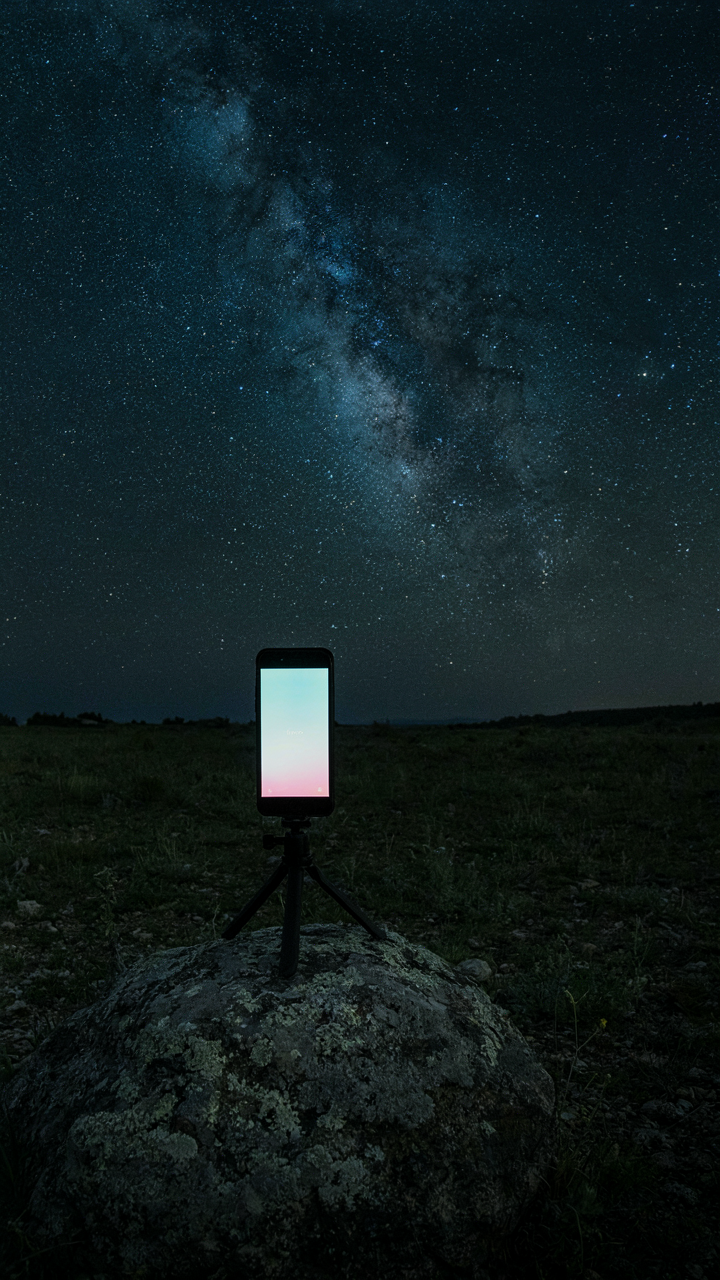
Keep Your Phone Still Or Lose The Shot
You want the photo to prove you were there, that you saw something worth sharing. That need dies the moment your hand moves. Physics governs long exposures: any motion during the exposure window translates directly into blur across the entire frame. Your iPhone’s sensor collects light over several seconds. Your hand, no matter how steady you think it is, vibrates at frequencies your eye can’t detect but your sensor records faithfully. A tripod isn’t optional here. It’s the only tool that separates a Milky Way photo from a blurry smear you’ll delete before anyone sees it.

The camera doesn’t care about your intentions. It records what light hits the sensor during exposure. If that sensor moves, the Milky Way streaks. If it stays locked in place, stars render as clean points. A basic ball head tripod or smartphone mount costs less than a coffee subscription. Aluminum or carbon fiber matters less than rigidity. What matters is eliminating the variable that ruins 90 percent of Milky Way iPhone photos taken by people who own tripods but hold them anyway.
Vibration Kill Switch: Why The Timer Actually Matters
Everyone knows about timers. Nobody understands why they matter. When you tap the shutter button, your fingertip creates a vibration that travels through the phone and into the tripod. Even on a locked-down rig, that tap introduces micro-motion during the exposure window. The solution isn’t magic. It’s mechanics: remove your hand from the equation before the sensor opens.
Set the 10-second timer or use the volume button as a remote trigger if your iPhone supports it. Better yet, buy a Bluetooth remote or use the Apple Watch remote app if you own one. The specific tool matters less than the principle: initiate the exposure without touching the device. This single protocol step improves sharpness more than any app, lens, or setting adjustment. Start using it now.
Focusing On Infinity: The Manual Override For Sharp Night Sky Phone Camera Tips
Why Your Phone Refuses To Focus
You want the frame sharp because a blurry Milky Way photo proves you wasted the drive to a dark sky site. Here’s the mechanism: your iPhone’s autofocus system hunts for contrast. At night, contrast vanishes. The camera motor spins looking for edges that don’t exist, locks onto nothing, and delivers soft frames. This isn’t a flaw. It’s physics. Low light starfields lack the luminance gradient autofocus needs to triangulate distance.

Manual focus solves this by removing the hunting phase entirely. In the native Camera app, tap and hold on a bright star or distant light until you see the focus bracket. Stop there. Don’t let autofocus recalibrate. Third-party apps like Halide or Lightroom give you a focus slider that lets you dial the lens to infinity without the phone second-guessing you. The moment you surrender autofocus, sharp frames become mechanical instead of lucky.
Hyperfocal Distance As Your Targeting System
Borrowed from optics, hyperfocal distance is the range where everything from a certain distance to infinity stays acceptably sharp without refocusing. Apply this concept to stars: set your focus manually just short of true infinity. Your iPhone lens focuses closest at roughly 4 inches, so you’re working within constraints, but the principle holds. Set focus slightly past the horizon line or at the brightest star in frame.
Most people either lock focus dead at infinity or chase autofocus endlessly. Both fail. The actual protocol is to focus on the brightest object in your frame that’s far enough away, dial it sharp, and lock it. On newer iPhones with manual focus capability in third-party apps, this takes 10 seconds. Lock the focus, reframe, shoot. One focus setting captures dozens of usable frames because the depth of field at night is forgiving when your subject matter is miles away.
The Exposure Equation: Shutter Speed, ISO, And Aperture For Milky Way Photography Iphone

How The Exposure Triangle Actually Works
You want to know this because you’re terrified of getting a black rectangle back after hiking to a dark sky site. Here’s the mechanism: three variables control how much light hits your sensor. In photography physics, this is called the exposure triangle. On your iPhone, aperture is fixed, so you’re really managing a two-point system: shutter speed and ISO. Shutter speed determines how long the sensor collects light. ISO amplifies what the sensor captures. One increases quantity, the other amplifies signal. Both create different trade-offs you need to name before you shoot.

Shutter speed on iPhone Night mode typically maxes out at 10 to 30 seconds depending on your model and iOS version. The longer the shutter stays open, the more light accumulates on the sensor. ISO on modern iPhones runs anywhere from 100 to 2000 in standard capture, but Night mode pushes it higher in post-processing. The common advice says “just use Night mode” and call it done. That’s incomplete. Night mode makes automatic choices for you, but understanding what’s happening underneath means you control the output instead of hoping for it.
The Real Settings You Actually Use
iPhone Night mode doesn’t expose like traditional cameras because there is no manual mode on stock iOS. The phone makes its own shutter speed and ISO decisions based on light conditions. The mechanism here is computational photography, not mechanical control. Your iPhone takes multiple short exposures and fuses them into one image using machine learning. This means you’re not fighting a single long exposure the way a DSLR user would. You’re working with a system that samples light repeatedly and combines it intelligently.
The practical reality: hold absolutely still for the entire Night mode capture or use a tripod. Movement ruins the alignment between frames. iPhone 15 Pro and Pro Max offer longer maximum exposures than standard models, which matters for Milky Way work in very dark locations. Exposure compensation on iPhone lets you add or subtract brightness by swiping up or down before you shoot. Subtract brightness if the foreground is too bright and washing out the stars. Add brightness if the scene remains too dark after capture. Your job is to lock the phone rigid and let the computational system work.
Post Processing Power: Unlocking Detail In Your Milky Way Photos

The Editing Workflow That Matters
You want people to think you took a better photo than you actually did. That’s fine. The real mechanism is this: mobile editing apps let you compress a multi-hour desktop workflow into minutes, but only if you follow a sequence that respects how the phone’s processor handles data. Your iPhone captured raw information in its ProRAW file. Most people skip straight to filters. That’s backwards. You need to establish exposure and white balance first, then layer in selective adjustments. Apps like Lightroom Mobile and Snapseed let you do this non-destructively, meaning each edit sits on top of the last without destroying pixels. The order matters because noise becomes visible the moment you push shadows and clarity at the same time. Work from global to local: fix the whole frame, then fix the stars.

The workflow that actually saves time is this: import, set white balance to a neutral point in the dark sky, lift shadows to reveal detail without clipping, apply a gentle S curve for contrast, then move to selective tools. Don’t touch saturation yet. This takes four minutes. Most people spend twenty minutes guessing. The difference is knowing that your phone’s display cannot show what the file actually contains, so you’re editing blind unless you trust the histogram and basic measurements instead of what looks “good” on screen.
Noise Reduction Without Losing Stars
Here’s what everyone gets wrong: noise reduction and star sharpness are not opposites. Signal processing treats them as separate problems. A star is a point source with a distinct edge. Noise is random data scattered across pixels. You reduce one without touching the other if you use luminance noise reduction instead of color noise reduction. Luminance reduction targets brightness values without affecting the crisp boundaries where stars live. Color noise reduction smooths entire regions, which erases the fine detail that makes stars pop.
Start with luminance noise reduction at 40 to 60 percent. Check the result at 100 percent zoom on your phone’s display. If stars look soft, you went too far. Then apply a small amount of unsharp mask or clarity at 15 to 25 percent to punch the star contrast back up. For color, reduce saturation noise by 30 to 50 percent only. The stars themselves need zero color correction unless your white balance was genuinely off in the first place. This sequence takes two minutes and produces stars that read sharp while the background noise fades into the dark.
The Signal To Noise Protocol: Drawing From Information Theory For Milky Way Clarity
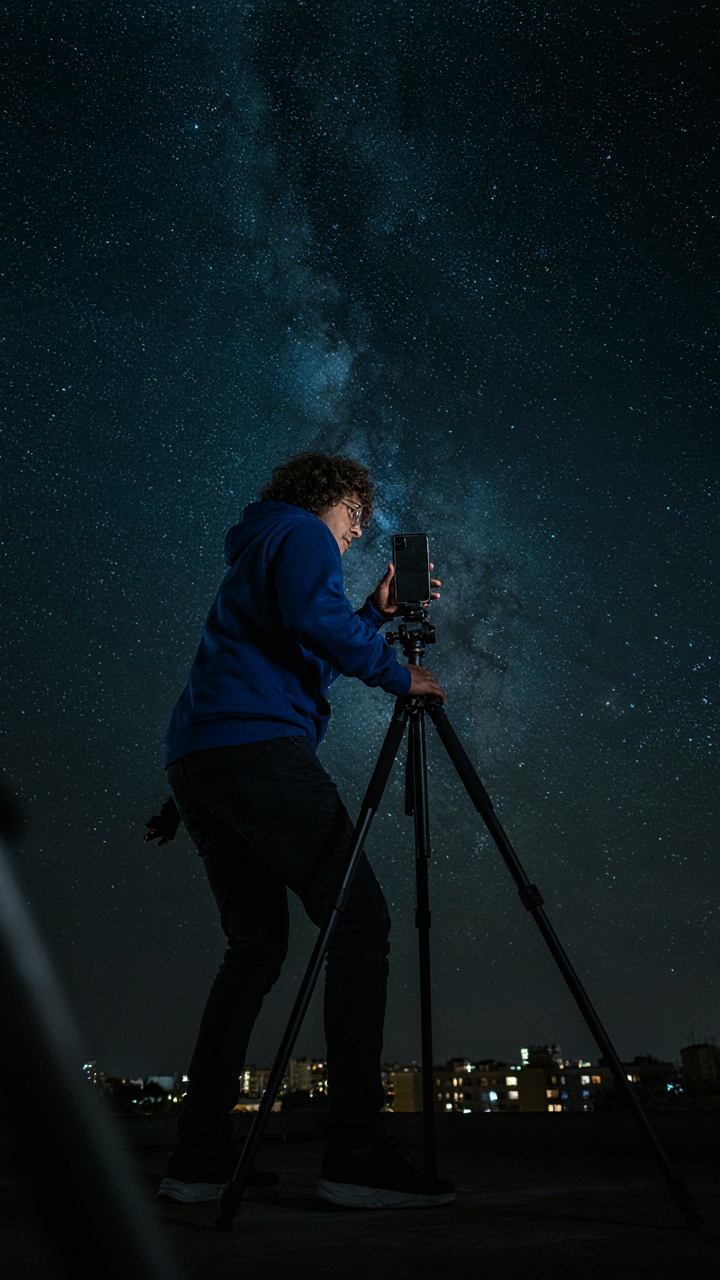
What Information Theory Actually Demands
You want clarity in your Milky Way shots because blurry stars feel like failure, and failure means you wasted a trip to a dark site. Here’s the mechanism: information theory treats your iPhone sensor like a channel receiving data. Signal is light from stars. Noise is thermal heat, read errors, and photon scatter. Your job is maximizing the ratio between them, not just collecting more light.

The common advice says shoot longer exposures. Wrong. An iPhone 14 or 15 maxes out at 30 seconds in Night Mode, and beyond that thermal noise dominates. You can’t outrun physics by holding the shutter open. Instead, you reduce noise by shooting in cooler conditions, bracing the phone absolutely still, and choosing a location where atmospheric turbulence stays low. Each variable compresses noise independently. The math compounds in your favor.
Stacking Produces What Single Shots Cannot
Your iPhone already stacks images inside Night Mode without telling you. What most people miss: you can manually stack multiple Night Mode sequences in post to extract signal that one frame buries in noise. This isn’t computational photography magic. It’s statistics. Taking ten 30-second exposures and aligning them means the true signal (stable star light) reinforces across all frames while noise (random thermal spikes) averages toward zero.
Open each raw Night Mode sequence in Lightroom or use free stacking software like Sequator or Starry Landscape Stacker. Align by stars, then blend with average or median blend mode. The Milky Way core becomes defined. The galactic dust lanes separate from background sky. You’ll resolve detail that seemed invisible in the single frame. Stack minimum five exposures to see measurable improvement; ten provides the clearest return without diminishing gains.
Pre Visualization: Planning Your Milky Way Backyard Shot For Impact
Apps For Milky Way Tracking And Alignment
You want this shot to work so you don’t waste a night in the dark looking stupid. Here’s the mechanism: the Milky Way core rotates through your sky on a fixed schedule tied to Earth’s axial tilt and orbital position. Apps don’t create that data—they simply translate astronomical positioning into your camera’s field of view, showing you where to point and when the core reaches peak altitude.

Stellarium and SkySafari map the Milky Way’s position relative to your exact latitude and longitude. You run these before leaving home, identify which direction the core occupies at your shooting time, and note the compass bearing. This eliminates guesswork at the dark sky site. The difference between shooting at the core’s peak elevation versus shooting it near the horizon is brutal—you lose contrast, detail, and the actual structure of the galactic arm.
Composing The Shot: Foreground Elements
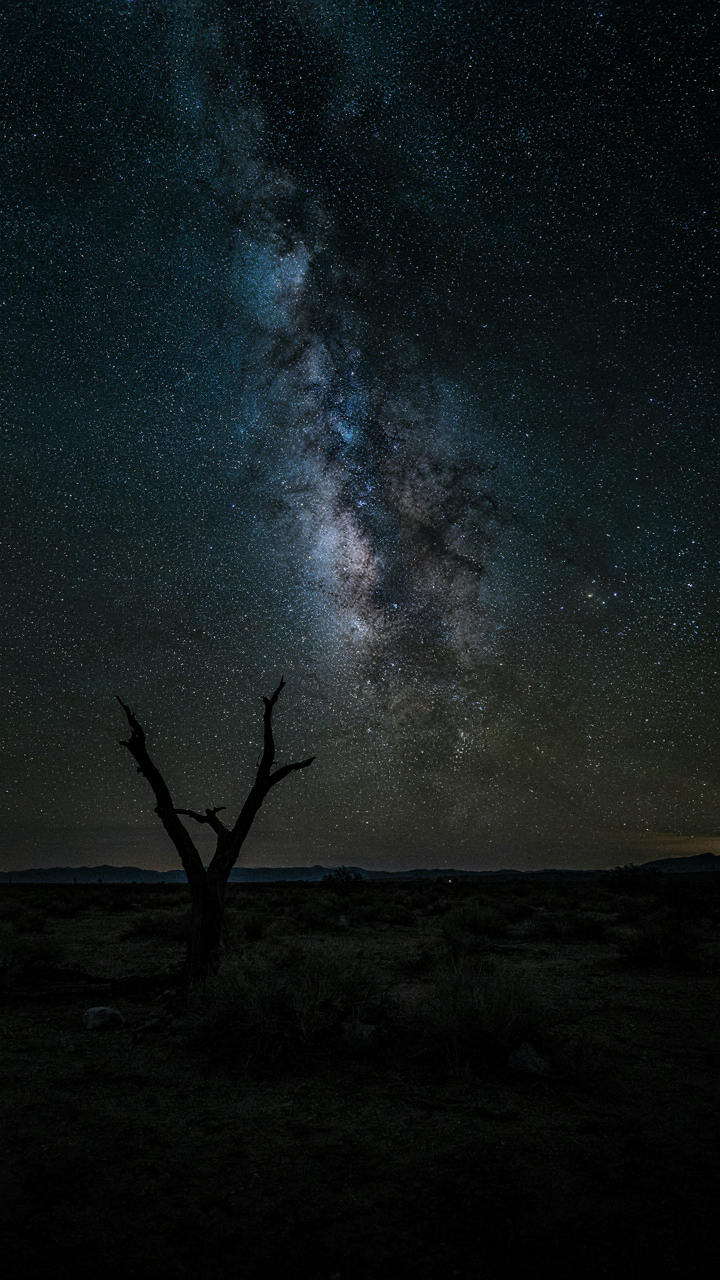
Most Milky Way iPhone advice tells you to find a foreground and frame it. That’s incomplete. Composition in landscape photography borrows from visual hierarchy—the dominant element commands attention, and secondary elements support it without competing. Your foreground is not a decoration. It’s the anchor that makes the Milky Way readable as depth rather than a flat space texture.
The iPhone’s wide lens (around 24mm equivalent) compresses distance. An object fifty yards away appears tiny against sky. Place your foreground element close to the camera—ten to fifteen feet maximum—so it occupies meaningful vertical space in the frame. A rock formation, dead tree, or fence line reads as substantial and creates a visual pathway into the Milky Way above. Without proximity, your foreground disappears into silhouette mud, and your shot becomes generic sky with nothing to hold the viewer’s eye.
Avoiding The Common Traps: What Not To Do For How To Capture Stars With Iphone
Don’t Zoom Into Garbage
You think zooming gets you closer to the stars. It doesn’t. It gets you closer to failure, and you know this but won’t admit it because admitting it means starting over with your settings.

Here’s the mechanism from optics: digital zoom is pure interpolation. Your iPhone’s sensor captures a fixed resolution. When you zoom, the processor doesn’t gather new light or detail. It stretches existing pixels and guesses what goes between them. The result is a degraded image where star definition collapses and noise multiplies. You’re not magnifying the Milky Way. You’re magnifying the limits of your sensor.
Shoot at 1x focal length every time. Framing happens in post if you need it. Your raw capture quality matters infinitely more than perceived closeness in the frame.
The Fake Looking Masterpiece Problem
Over-processing kills Milky Way iPhone photos faster than underexposing them. The current trap is making everything look like a processed render instead of something real.
Saturation cranked to 70. Clarity pushed hard. Vibrance maxed. The result looks impressive for five seconds, then wrong forever. Real Milky Way photos at dark sky sites show color restraint. The core glows faintly yellow and orange. The dust lanes sit in desaturated browns and grays. Your editing should enhance this, not invent it. Push exposure and shadows first. Leave saturation and vibrance between -5 and plus 10. If it doesn’t look like something you could see with your eyes at that location, you’ve crossed into fake. The discipline is editing less, not more.
Mastering The Moment: Beyond Gear, Beyond Darkness, For True Milky Way Photography

The Work Between Shots
You want this section to validate that one expensive trip to a dark sky site was enough. It wasn’t. The real mechanism here is feedback loops from photography, a field where each iteration compounds skill faster than theory ever will. You don’t master Milky Way iPhone photos through understanding. You master them through repetition across different conditions, seasons, and locations until your hands move without conscious thought.
Most photographers shoot once at a dark sky site, get lucky with one frame, then stop. That’s not mastery—that’s lottery thinking. The photographers who produce consistent, exceptional Milky Way images shoot dozens of times monthly, in various conditions, analyzing what changed between frames. Each shoot teaches you how your iPhone responds to cold, humidity, light pollution gradients, and different moon phases. You’re building a mental database of cause and effect that no article can hand you.
Seeing What Others Miss
Your eye isn’t objective. It’s trained by what you shoot repeatedly, which means your visual taste in Milky Way composition either evolves or stagnates based on volume. The photographers whose work stands out don’t follow composition rules from blogs. They’ve internalized the rule, broken it deliberately, and found something that works for their specific iPhone model and lens setup. Your unique photographic eye emerges only when you stop chasing generic advice and start trusting what your specific images teach you.
Stop waiting for permission to have a style. Your iPhone has physical limitations that force constraints—those constraints become your signature. A wide-angle telephoto lens might shoot the Milky Way one way. Your iPhone’s fixed focal length forces you toward different framing, different positioning, different relationships between foreground and core. That friction isn’t weakness. It’s the mechanism that separates your work from everyone else copying the same tutorial. Shoot with intention, review your own archive ruthlessly, and notice which compositional choices you return to. That pattern is your voice.
The Real Obstacle Isn’t Light Pollution, It’s Your Addiction To Automatic Settings And Avoiding The Manual Grind

You keep your iPhone in auto mode because it feels safer. You blame the camera. You blame your location. You blame the sky. But here’s what actually stops you from capturing the Milky Way: you refuse to touch manual controls. Dial in your ISO. Lock your shutter speed. Plant your phone on a tripod tonight. Stop pretending the technology limits you when your hesitation does. The Milky Way doesn’t care about your comfort zone.



