Introduction
Long exposure photography captures time in a way no other technique can. It uses a slow shutter speed to show motion over time, creating smooth water, light trails, and blurred clouds. Traditionally, a tripod is essential to keep the camera steady during these longer exposures.
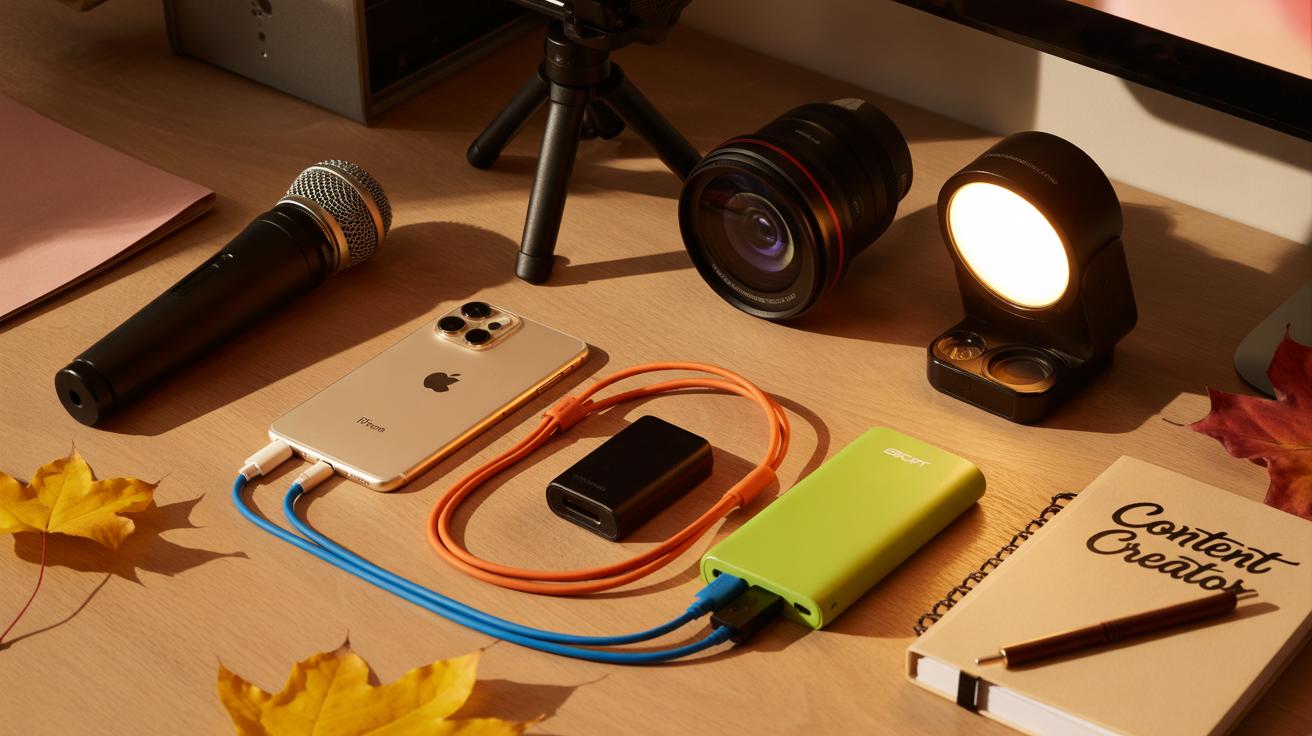
This article explores how you can achieve stunning long exposure photos on your iPhone without using a tripod. You will learn simple techniques and practical tips to keep your shots sharp and creative, even while holding your phone by hand.
What is Long Exposure Photography
Long exposure photography is a way to show motion over time by keeping the camera’s shutter open longer than usual. Instead of freezing a moment, it captures movement as a blur or streak, revealing patterns our eyes often miss.

For example, when you take a photo of a flowing river with a slow shutter, the water looks silky and smooth rather than frozen mid-splash. Or, if you capture cars driving at night, their headlights become bright trails of light winding through the frame. These effects come from the camera collecting light continuously, rather than just in a split second.
This technique is unique because it shows time passing in a single picture. It lets you see the world in a way still images don’t usually allow. Maybe you’ve seen a photo where stars create circles in the sky? That’s long exposure at work too.
How Slow Shutter Speed Works
Shutter speed is simply how long your camera’s shutter stays open when you take a photo.
If it’s fast—like a fraction of a second—the camera captures only a blink of time, freezing movements. But with a slow shutter speed, the shutter remains open for seconds, or even minutes, letting more light hit the sensor.
This longer exposure means moving things don’t stay put in the picture. They blur, stretch, or disappear, depending on how they move. Still objects stay sharp because they don’t change position. That’s how movement gets recorded as a trail or smooth flow.
Visual Effects You Can Create
Long exposure photography offers several cool effects. These are some of the basics:
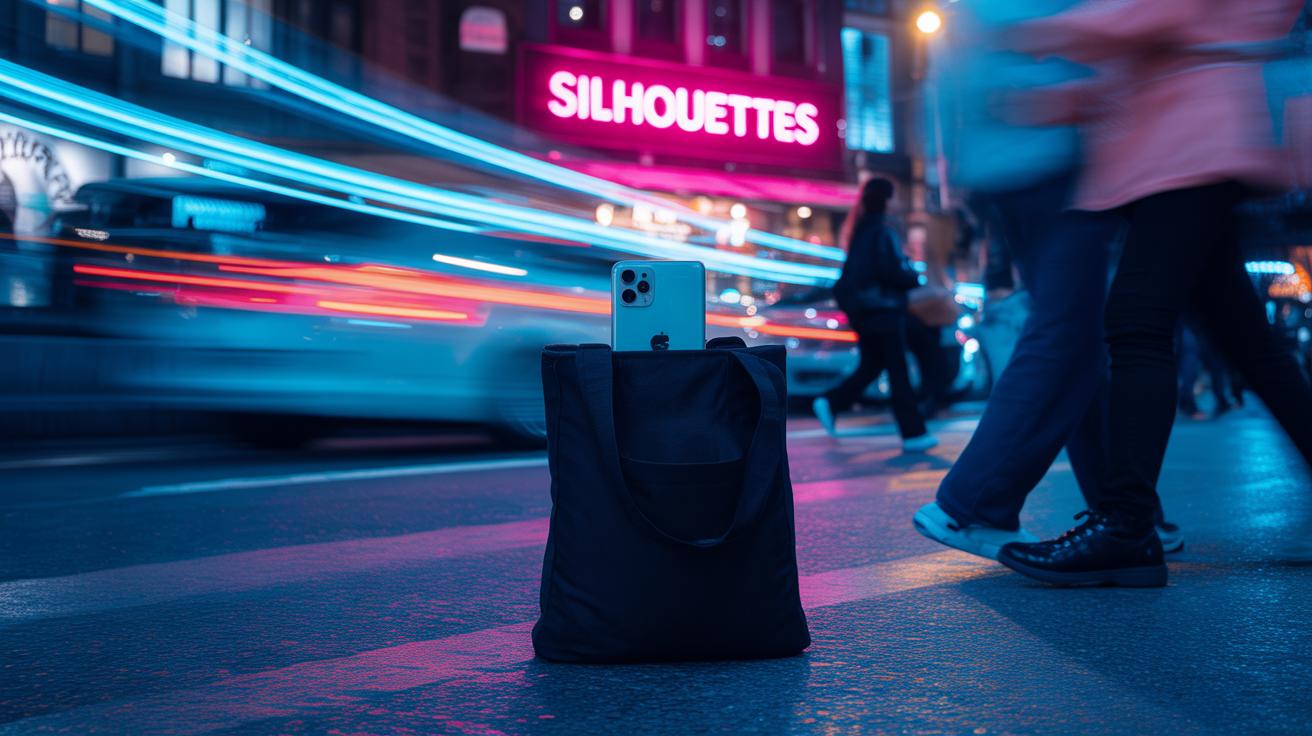
- Light streaks: Think of cars at night or fireworks. The lights turn into continuous lines, showing their path through space.
- Smooth water: Rivers, waterfalls, or ocean waves become soft, misty surfaces instead of detailed splashes.
- Star trails: Point your camera at the night sky for minutes, and stars create circular paths as Earth rotates.
Trying these out feels almost like a mini experiment. Each image you make is a little different, depending on exposure time and subject movement. It might take a few attempts before you get the effect you want—but it’s worth it.
Challenges of Long Exposure with an iPhone

Long exposure photography with an iPhone without a tripod is tricky. The biggest hurdle? Stability. When your shutter stays open longer, your hand’s tiniest tremble will show up as blur. Even if you think you’re holding steady, micro-movements happen—breathing, fingers adjusting, all that subtle stuff. It’s tough because the slower the shutter speed, the more time there is for those shakes to mess up the shot.
Then there’s the issue of camera settings. Unlike professional cameras, iPhones limit how much you can tweak shutter speed. You mostly rely on Night mode or third-party apps, but even these tools don’t give you full manual control. It’s like trying to fish with a small net instead of a big one—there’s just less precision, and sometimes the exposure times aren’t long enough to get the effect you want.

Low light comes into play too. iPhones struggle to gather enough light during long exposures without introducing noise or losing detail. The sensor is smaller, so it can’t collect light like a DSLR or mirrorless camera. You might get grainy or soft images that don’t feel quite right. It’s a balancing act between exposure length and image quality, and often you have to accept some compromises.
Stabilizing Your Phone
Why does stability matter so much? Because even the smallest shake ruins your long exposure shot. Think about it: if your phone moves even slightly, the image smears. That blurring effect wipes out those beautiful light trails or that silky water surface you’re aiming for. Stability isn’t just about a steady hand—it’s how you keep your phone absolutely still for several seconds or more.
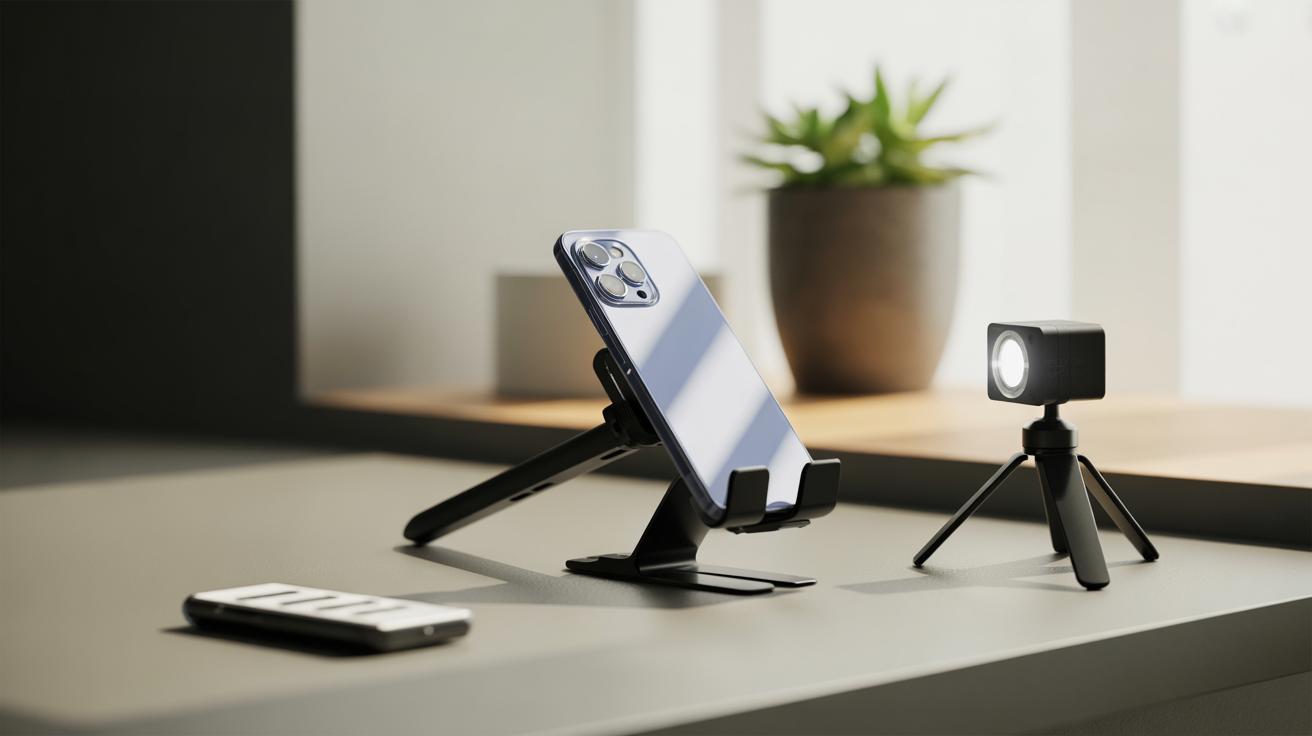
You might think holding your breath helps, and sometimes it does—briefly. But your muscles and fingers have their limits. That’s why tripods are popular, but when you don’t have one, it’s a big challenge. Sometimes people use makeshift supports: resting on a wall, propping the phone on a solid surface, or even stacking books. It’s clunky, sure, but often necessary to avoid wasted shots.
Phone Camera Limitations
iPhones have come a long way in photography, yet they aren’t professional cameras. The shutter speed range is narrow, usually maxing out around a few seconds in Night mode. Unlike DSLRs, you can’t just set really long exposures manually. Plus, the small sensor struggles in the dark, forcing software to boost ISO or apply noise reduction, which can soften details.
The software often tries to compensate automatically, deciding exposure times and processing images behind the scenes. This means you don’t have the same creative control. Sometimes, the phone decides to shorten the exposure, cutting down the dramatic effect you hoped to capture. It’s a bit frustrating if you want precise results and a creative approach tailored by you—not the algorithm.
Setting Up Your iPhone for Long Exposure
Getting your iPhone ready for long exposure shots means knowing which tools to lean on and how to tweak settings just right. Night mode is actually your built-in ally here. When you switch to Night mode, the camera automatically adjusts shutter speed and ISO based on available light—sometimes stretching exposure up to several seconds. In darker scenes, this can mimic long exposure effects without much fuss. But it doesn’t always give you full control, which can feel limiting if you want something specific.
That’s where manual control apps come in. These let you set shutter speed yourself—sometimes as slow as 1 to 30 seconds—giving you more freedom to experiment. Popular apps like ProCam, Slow Shutter Cam, and Halide offer various manual settings, letting you adjust ISO, focus, and white balance too. ProCam, for example, shows you exact shutter speeds and lets you tweak exposure compensation, which can be handy when light fluctuates. Slow Shutter Cam focuses mainly on lengthening exposure for unique blur effects. It’s a bit of trial and error figuring out what suits your style, but having these manual options feels like unlocking a bit more of your iPhone’s potential.
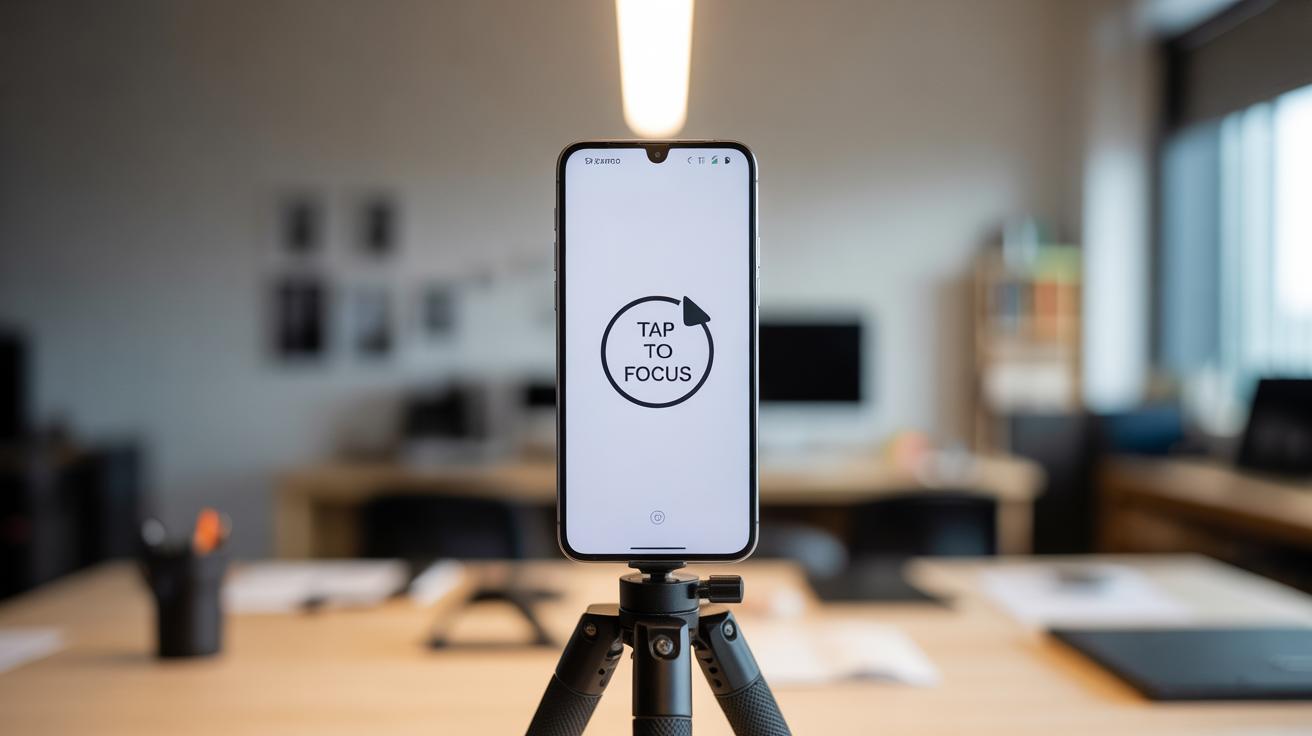
One little tip: before shooting long exposures, try locking focus and exposure manually if the app you use allows it. This stops the camera from hunting for focus or changing brightness mid-shot. It’s a subtle step, but can save you from blurry or uneven images. Coming from someone who’s been frustrated by a flickering photo mode—yes, this matters.
Techniques to Stabilize Your iPhone Without a Tripod
Keeping your iPhone steady during a long exposure is tricky without a tripod, but not impossible. The key is minimizing any movement—tiny shakes can blur your shot, especially in low light when your shutter stays open longer.
Hand-holding with Proper Grip
The simplest way—though often overlooked—is holding your phone firmly and close to your body. Use both hands, wrap your fingers tightly around the edges, and brace your elbows against your waist or chest. This gives you a steadier platform, much better than just holding it up at arm’s length. Sometimes, I find myself leaning against a wall or railing to reduce even the smallest wobble.
Also, be mindful of your breathing. It sounds odd, but a slow exhale while pressing the shutter reduces shake. You might feel a bit self-conscious doing this, but it does help.
Using Surfaces or Objects
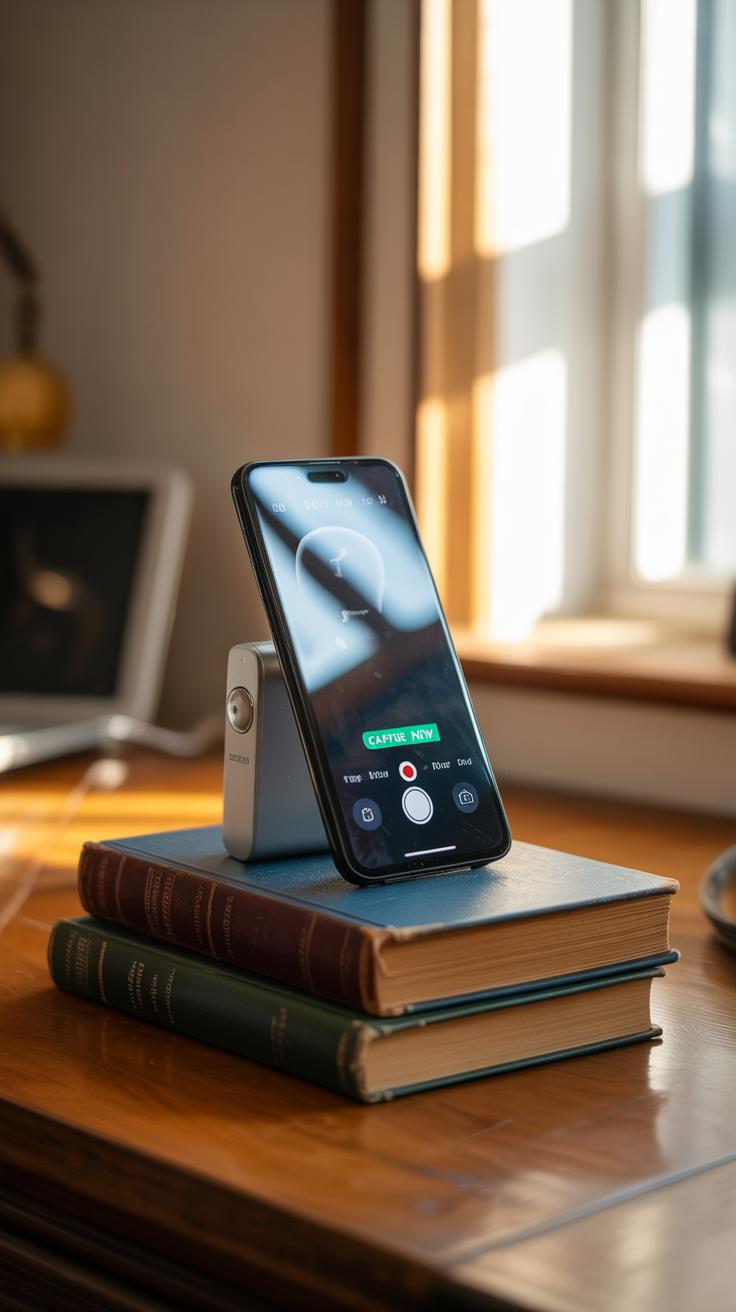
When possible, place your iPhone on a stable surface. Tables, window sills, or even the ground can provide steady bases. I remember once balancing my phone against a book on a park bench to get a smooth shot of a fountain—worked better than I expected.
Household items like stacks of books, sturdy boxes, or even a cup filled with rice or beans can act as makeshift supports. Just rest your phone against them and angle carefully. You might have to experiment a bit. It’s a bit of trial and error, but surprisingly effective.
Have you tried leaning your phone against a tree trunk or a lamp post? Sometimes natural supports work just fine and feel less awkward than balancing on slippery surfaces.
Choosing the Best Lighting Conditions
Lighting plays a crucial role in long exposure photography, especially when you’re working with an iPhone and no tripod. The amount and quality of light can make or break your shot. You need to balance letting in enough light for detail, while avoiding washing out the image. It’s a tricky dance, honestly.
Long exposures rely on slower shutter speeds, which means the camera sensor is exposed to light for a longer time. When you have less light, the camera can afford to keep the shutter open longer without overexposing. That’s why low light settings are usually your best friends here.
Low Light Situations
Places with less light let you experiment with longer shutter times. Evening, night, and heavily shaded areas often provide these conditions naturally. Think about shooting just after sunset—the sky is still visible, but the brightness isn’t overwhelming.
For example, a quiet street at dusk or a park hidden under thick tree canopies can offer nice, soft light. These environments let your iPhone capture motion blur or smooth water effects without harsh spots or blown highlights. You’ll notice the shutter can stay open longer, which helps when you want those silky streaks or gentle trails.
Avoiding Excessive Brightness
Bright light is less forgiving for long exposures. When the scene is too well-lit, your camera’s sensor gets overloaded quickly. The result? Overexposed areas that look washed out or just plain white. That’s the last thing you want.

Daytime, especially under direct sunlight, can make long exposure shots tricky or even impossible without neutral density filters—which aren’t practical on an iPhone without extra gear. So, avoid shooting in bright midday light if you don’t want to ruin your shot.
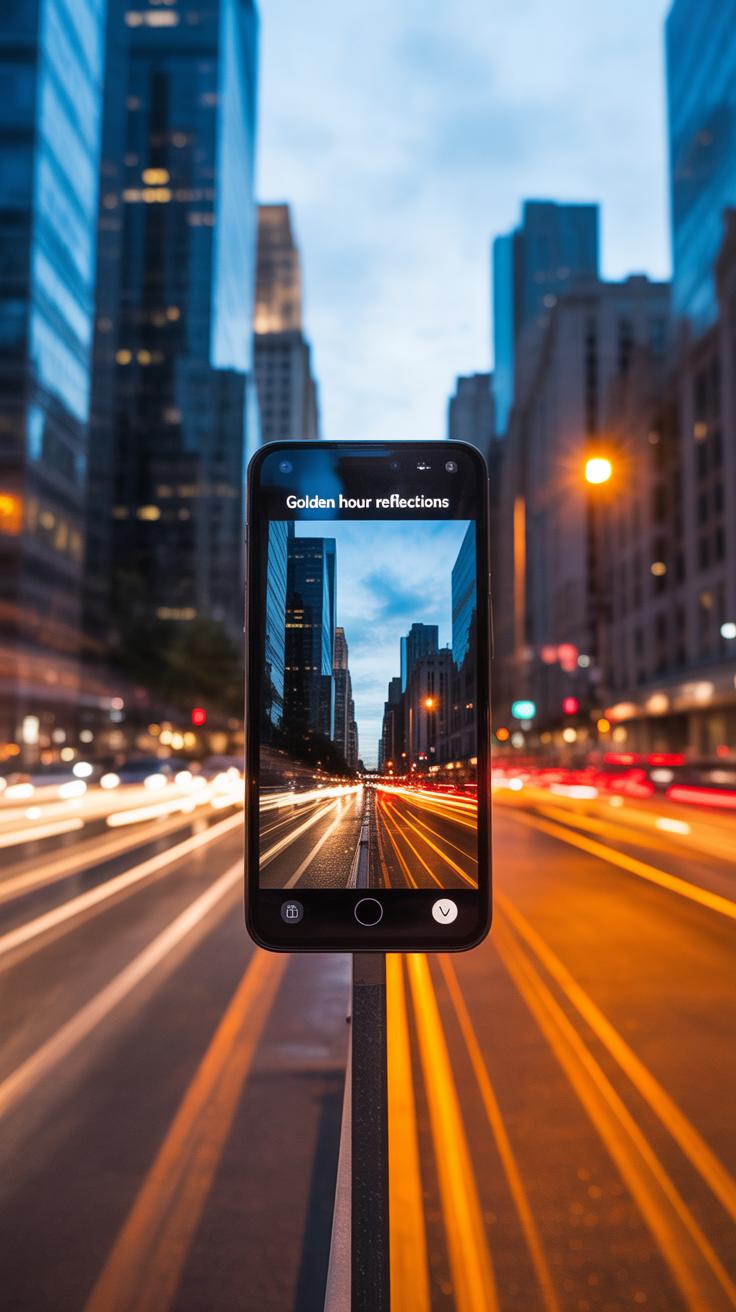
Instead, look for the “golden hour” or shoot in places with natural shading. Overcast days can work too—clouds act like a giant diffuser, softening the light. That softer lighting gives you more room to play with longer shutter speeds without fearing blowouts.
Choosing where and when to shoot might feel limiting at first. But with a little patience, you’ll find that these conditions offer subtle and often unexpected results that can surprise you.
Capturing Light Trails and Moving Lights
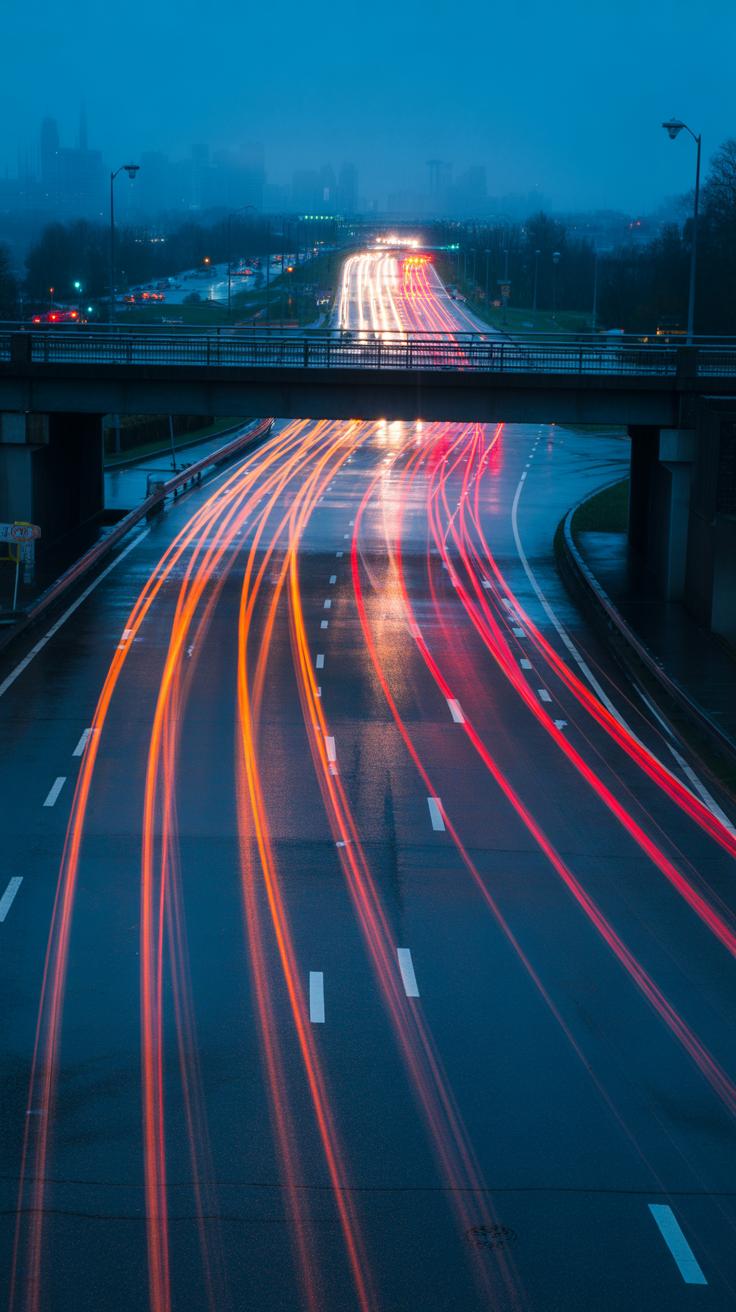
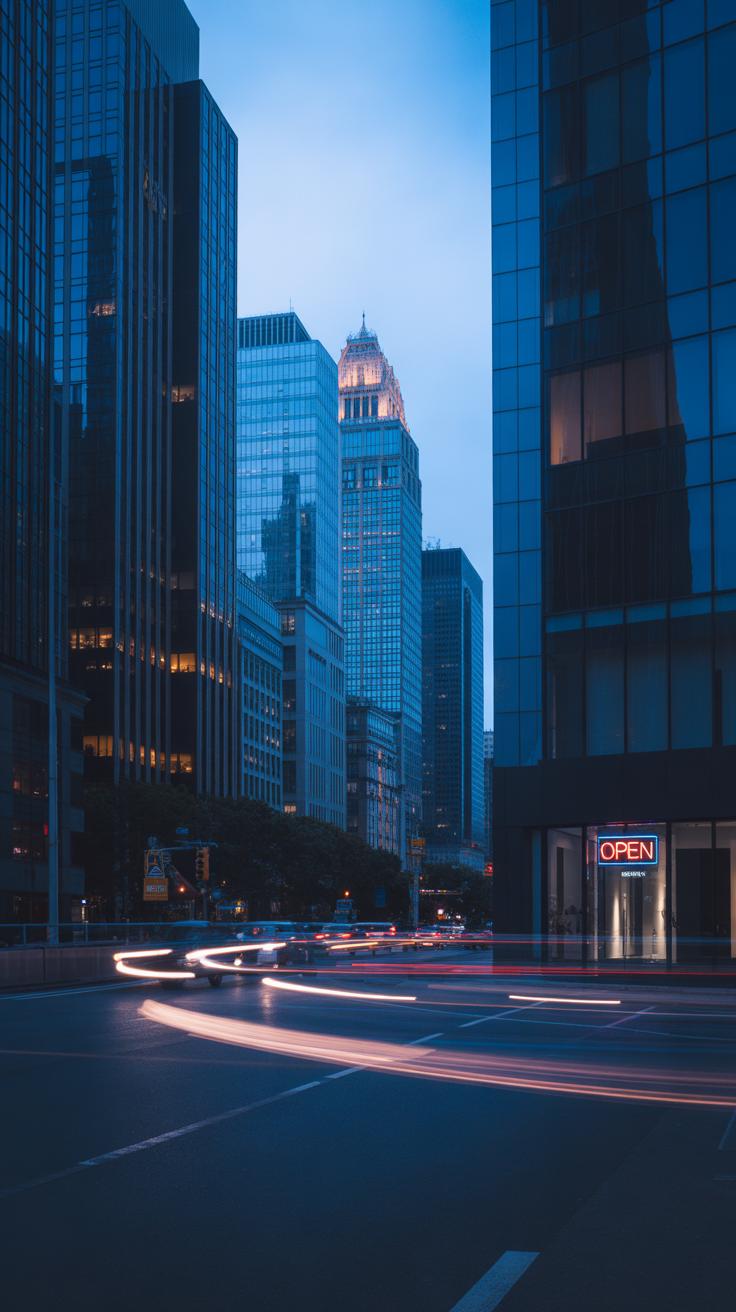
Long exposure photography on your iPhone can turn ordinary lights into streaks across the frame—cars driving by, cycling lights faintly glowing, or even someone waving a flashlight. These are typical moving light sources you want to find for light trails. You might find cars on busy city streets at night, or bikes on quiet paths if you’re lucky. Flashlights work well in darker, more isolated spots, like parks or even your backyard if you want to experiment.
When you’re out shooting, framing these shots takes a bit of patience. The key is to set your scene so the moving lights have room to flow across your frame. Don’t cram everything too close; let the light trails lead the eye or fill a good portion of the image. Sometimes, placing the source of the light at one edge, so it sweeps in towards the center, creates a nice effect. At other times, centering the light movement gives a feeling of symmetry, but that may get boring.
Focus on the static parts of the scene before taking the shot. On your iPhone, tap on a point in the frame and hold to lock focus and exposure. This keeps your subject sharp, while the moving lights blur artistically. You can also try manual focus by using third-party camera apps if the built-in one feels tricky. It takes trial and error, honestly, but locking focus prevents the camera from hunting as the lights move, which ruins the smooth effect.
Creating Smooth Water and Cloud Effects
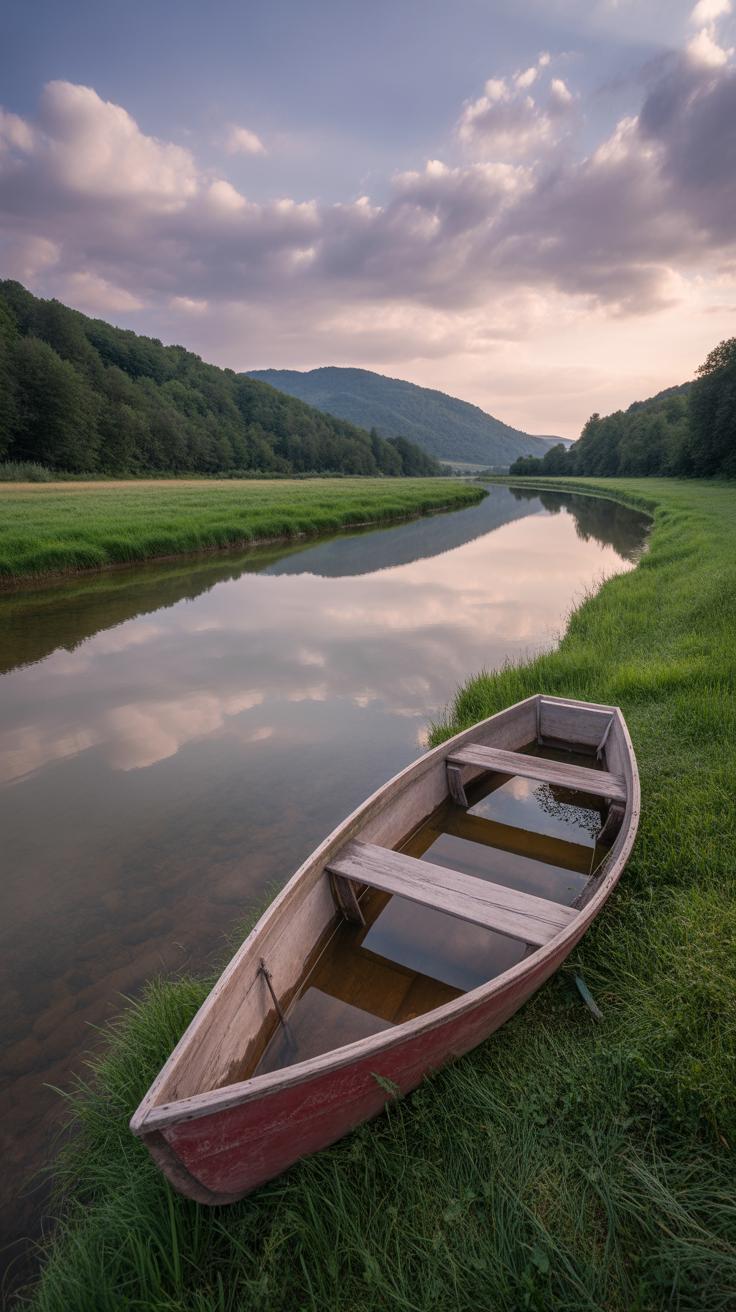
Capturing smooth water or blurred clouds with your iPhone feels almost magical once you get the hang of it. You want a slow shutter speed to create that soft, flowing look—usually somewhere between 1 and 5 seconds works well for water scenes. Using the iPhone’s Live Photo mode combined with a long exposure effect can pull this off, even without a tripod, although keeping your phone as steady as possible really helps.
When shooting rivers, waterfalls, or the ocean, aim for softer movement in the water. Too fast a shutter speed and you’ll freeze the flow; too slow and everything gets mushy. I find around 2 to 3 seconds gives that silky effect without losing detail. Try to shoot during overcast days or in low light—early morning or just before dusk—so your phone can handle longer exposures without overexposing the image.
Capturing clouds is a bit trickier. The key is to pick a windy day with fast-moving clouds. Longer exposures, say between 5 and 15 seconds, will reveal the motion clearly, blurring the clouds into streaks that add drama to your shot. Timing matters—a partly cloudy sky often works best, so you get patterns of light and shadow that don’t turn entirely gray or washed out.
Here are a few quick tips:
- Use Live Photo’s long exposure on your iPhone and keep the device as steady as you can.
- For water, try shorter long exposure times (1–3 seconds); for clouds, longer times (5–15 seconds) often look better.
- Shooting during low light helps prevent overexposure and allows longer shutter speeds.
- Experiment with different times of day and weather—sometimes slightly less wind works better, but don’t be afraid of high winds either.
Have you noticed how sometimes water looks almost plastic in these shots? Sometimes I wonder if it’s too smooth, maybe losing something of the natural texture. But then again, that’s part of the artistic choice you get with long exposures. It’s your photo, after all.
Editing Your Long Exposure Photos
Once you’ve captured your long exposure shot on iPhone, the next step is to gently enhance it without losing its natural feel. Editing can make a huge difference, but it’s easy to go too far and spoil the subtle movements and soft details.
Start with apps like Snapseed, Lightroom Mobile, or even the built-in Photos editor on your iPhone. These let you tweak brightness and contrast quickly, which is usually enough to bring out hidden textures and improve clarity.
Adjusting Brightness and Contrast
Think about brightness as the overall light level in your photo, while contrast controls the difference between lights and darks. By raising brightness slightly, you can make shadow areas visible. Lowering it might help preserve mood but risk losing details.
Contrast helps sharpen your image—too much, and your smooth water or cloud trails might appear harsh; too little, and the scene looks flat. I’ve found small, careful adjustments work best. Try sliding contrast up just a touch; sometimes it highlights motion in unexpected ways.
Adding Filters and Effects
Filters can enhance those dreamy motions or rich colors but use them sparingly. Apps like VSCO or Afterlight offer subtle color boosts or gentle vignettes that emphasize your subject without overpowering the natural flow.
Sometimes a black-and-white filter helps focus on shapes and movement. Other times, a slight warmth or coolness shift adds mood. Stick to lighter touches, though. Overdoing effects can ruin the nuances that make long exposure shots special.
Common Mistakes to Avoid
Blurry and Shaky Images
Blur often creeps in because your hands can’t stay perfectly still during the long exposure. Even the slightest movement can spoil the shot. Phones are small and light, which makes them easy to shake without realizing it. Sometimes, I’ve thought I was steady, but the photo told another story.
To reduce blur, try resting your phone on a stable surface, like a wall or a bench, rather than holding it. If you don’t have a tripod, setting a timer or using the volume button to trigger the shutter can help avoid jostling the phone when you tap the screen. It might feel awkward at first but it really makes a difference.
Also, consider leaning into your own body to create an extra bit of support. If you’re outdoors, a backpack or a rock can act as a makeshift stand. Steady breath and slow, deliberate movements do help too, but honestly, slight shakes can still happen and that’s frustrating.
Overexposure and Washed Out Colors
Overexposure is a sneaky problem in long exposure shots because the sensor collects light for so long you might not notice until after the fact. Photos end up looking flat or washed out, losing their depth and detail, especially in the highlights.
A quick way to tell is by looking at your photo’s histogram or simply checking if bright areas appear completely white without texture. On iPhone, adjusting exposure before shooting is key. You can tap the screen and slide your finger down to lower brightness. Sometimes, lowering exposure by even a stop makes a big difference.
Choosing the right time of day matters too. Bright midday sun can easily cause overexposure during long exposure. Early morning or late afternoon light tends to be softer and works better without much adjustment.
Sometimes you have to experiment with shorter exposure times or brighter scenes to avoid this. It’s a balancing act — letting in enough light for motion blur but not so much that details vanish. You might want to take multiple shots with different exposure settings and pick your favorite after reviewing them.
Practicing and Experimenting with Your iPhone
To get better at long exposure photography with your iPhone, practicing often is key. You don’t need fancy gear, just a bit of patience and curiosity. Try shooting the same subject at different times of day—light changes can completely alter the mood of your shot.
Explore both urban and natural spots. Cities offer motion with cars and crowds, while nature gives you water flows or moving clouds. Each setting challenges you differently and pushes your creativity.
Testing various settings on your phone and within apps can be revealing. Adjust shutter speed and ISO manually if you can, or experiment with new apps that let you control exposure duration. Sometimes, a slight change in how long the shutter stays open makes all the difference.
Ask yourself what effect you want—silky water or ghost-like people in motion? Different apps will respond differently and so will your iPhone’s native camera. Trying different combinations teaches you what works best, even if the result isn’t perfect every time.
Keep in mind, trial and error is part of the process. One shot might look overexposed; the next, too dark. Don’t hesitate to tweak and repeat. Over time, your eye will get sharper. You might find a particular style you prefer or a technique that feels easier and more natural.
Conclusions
Long exposure photography on an iPhone without a tripod is possible with patience and the right techniques. Using steady hands, leveraging phone features like Night mode, and innovating with props or surfaces can help you capture beautiful, time-blurred images.
As you practice, you will notice better control over motion effects and sharper photos. With these tips, your iPhone becomes a powerful tool to craft unique long exposure shots anytime and anywhere.