The “Scrap Heap” Start: Why Free Lessons Are A Trap

The Illusion Of Comprehensive Learning
You want proof you’re not wasting time. That’s the real fear here. Free lessons promise coverage, so you consume them hunting for completeness that never arrives. You end up with scattered fragments instead of functional knowledge because YouTube tutorials optimize for views, not mastery. They jump between topics, assume different prerequisites, and leave gaps you don’t notice until you try to build something real.
The mechanism is simple: free content creators don’t owe you a learning path. They owe the algorithm engagement. A well-structured education requires someone to decide what you don’t need to know first, what builds on what, and where to stop before introducing complexity that derails beginners. Free lessons aggregate around what’s flashy or trendy, not what transfers into real problem-solving. You accumulate information without developing the mental models that connect it.
Curated Projects Trump Random Tutorials
Common advice says “just build things.” That’s incomplete. Building random projects without deliberate sequencing teaches you to memorize specific steps, not understand circuits. Think of circuit design like writing: knowing individual vocabulary words doesn’t teach you syntax, structure, or how to compose meaning. A curated project sequence builds your mental syntax first, then complexity.
Real learning happens when each project teaches one mechanism you’ll use in the next one. Early projects teach voltage dividers, current limiting, and component identification. Medium projects layer in timing and feedback. Advanced projects combine them into systems. Random tutorials skip the connective tissue. You need a guide that knows the dependency chain. Pick a structured path with 8-12 sequential projects, not a playlist of fifty unrelated builds.
Electronics Projects For Beginners: The “Problem First” Protocol

Start With A Real Problem You Want Solved
You want proof that you’re learning something real, not just another skill that sits dormant in your brain. Here’s the mechanism: people don’t retain information from abstract exercises. They retain it from solving friction in their own lives. Pick a tangible outcome first—something you’ll actually use or build. A broken amplifier you want to fix. A LED notification system for your room. A power supply that does what you need. The specificity matters because it creates the only real motivation: finishing something.

The outcome must exist independent of learning. You’re not learning electronics to learn electronics. You’re learning electronics because the outcome is worth the time. This distinction kills tutorial hell. When you chase the outcome, you naturally discover which components matter, which tools you need, and which concepts actually apply. Your brain stops treating knowledge as arbitrary and starts treating it as a tool for that specific result. That’s when retention happens.
Reverse Engineer From The Outcome
Working backwards from the outcome is the opposite of how school teaches electronics, which is why school doesn’t work. Physics calls this method “inverse problem solving”—you know the endpoint and work through the variables that created it. In electronics, this means: name your outcome, then ask what has to be true for that outcome to exist. If you’re building a LED indicator, what voltage does it need? What current? How do you deliver that safely? What component protects it from overcurrent?
Each answer becomes a skill checkpoint, not a random lesson. You learn Ohm’s Law because you need it to size a resistor, not because a textbook said so. You learn soldering because your outcome requires a connection, not because you’re supposed to. The sequence becomes self-evident. You move through components and concepts in the order your project demands them, which is the only order that sticks. Stop following lesson plans. Follow the dependency chain from outcome to first principle instead.
Beyond “Basic Electronic Circuits”: The Feedback Loop Method

How Pilots Debug Better Than Engineers
You want a framework that makes you look competent faster. Here’s the mechanism: military aviation borrowed a decision model from strategy that works for circuit troubleshooting because both systems require fast iteration under uncertainty. The OODA Loop—Observe, Orient, Decide, Act—compresses the debugging cycle. Most hobbyists guess randomly or follow datasheets blindly. Pilots cycle through observation and reorientation continuously, staying ahead of failure.

The loop breaks the myth that electronics demands perfect knowledge upfront. You don’t need to memorize every component behavior. You need a repeatable process that tightens each cycle. Each rotation through the loop eliminates one variable, narrows the problem space, and builds actual competence instead of fragile memorization. The speed of your cycles determines how fast you learn.
Observe, Orient, Decide, Act On Your Bench
Start with observation: what happens when you power the circuit? Does the LED light? Does the voltage read where the schematic says it should? Most beginners skip this and jump to “maybe the resistor is wrong.” Record what you actually see, not what should happen. Orientation means comparing observed behavior against the design intent. Decide whether you need component replacement, layout changes, or deeper investigation. Act on one hypothesis only, then loop back to observe the result.
The friction point most people miss: they act on multiple hypotheses at once, then can’t isolate which change mattered. This guarantees slow learning. Instead, change one thing, observe, then decide the next move. If the LED stays dark after swapping the resistor, reorient before acting again. Maybe the power supply voltage is low, not the resistor. This method forces you to actually understand what’s happening instead of randomly replacing parts until something works by accident.
Simple Circuit Mastery: Deconstructing Complexity
Start With One Component, Not The Whole Thing
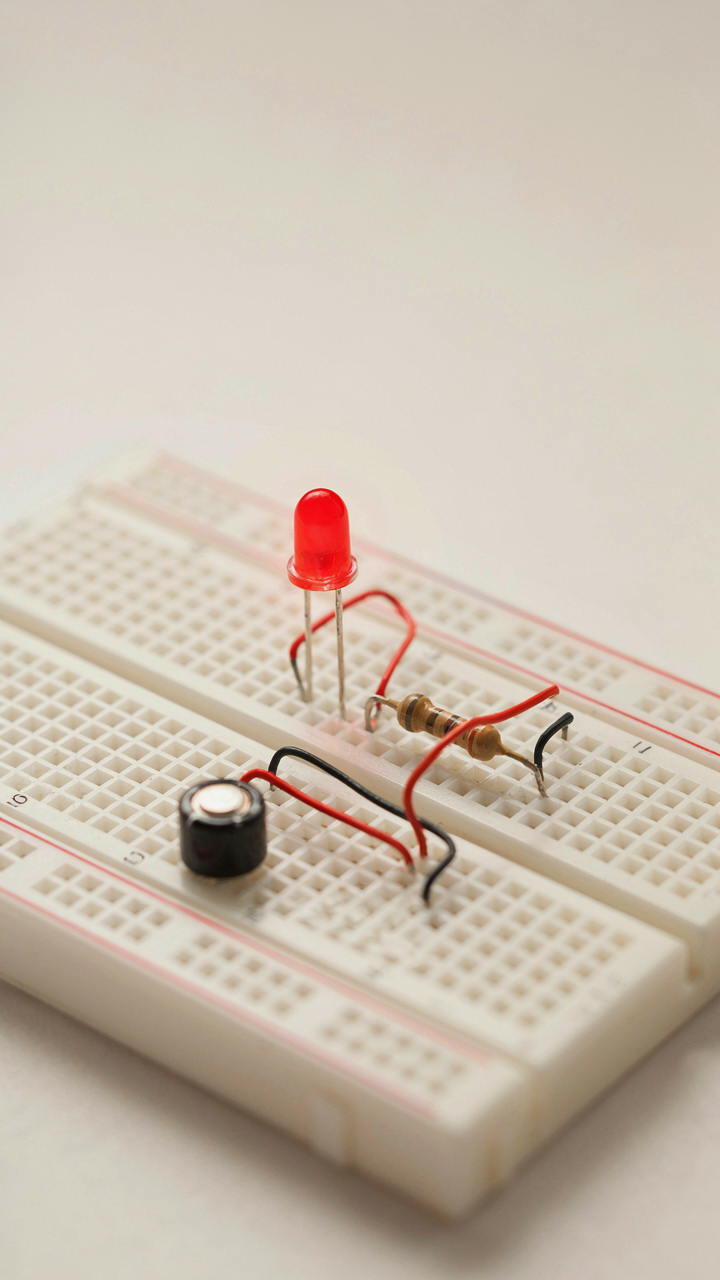
You want to feel like you understand electronics without actually having to sit with confusion for weeks. The mechanism that stops most people is scope creep disguised as ambition. You build a complete project on day one, hit resistance, and quit by day three. The real path is inverse: start with a single resistor, then a resistor and LED, then add a battery constraint. Each step teaches you one rule. One rule sticks. Ten rules at once creates cognitive fog that looks like a personal limitation but isn’t.

The Arduino projects marketed as “beginner-friendly” prove this point. They bundle resistors, capacitors, microcontrollers, and code into one bundle. Beginners follow a diagram without understanding why the resistor value matters or what the capacitor does. They get a working circuit but zero transferable knowledge. Compare that to building a simple series circuit with a battery, resistor, and LED. You see voltage drop directly. You measure it with a multimeter. You change the resistor and observe the outcome. That single loop—hypothesis, build, measure, adjust—becomes the foundation for everything after it.
Building Blocks Stack Reliability Into Design
Systems design borrowed from software engineering teaches us modularity: the practice of building independent units that connect cleanly. In hardware terms, this means designing sub-circuits that work in isolation before you integrate them. A power supply circuit, a sensor input circuit, and an output circuit each function independently, then connect through defined interfaces. You test each block alone. You know exactly where failure lives when integration breaks.
Most hobbyists wire components point-to-point and hope. Modular design flips this: you build a known-good unit, document it, and reuse it across projects. A simple LED driver circuit becomes a module you can drop into five different applications without redesign. You protect that module from the rest of your circuit through proper input impedance and output buffering. When you add complexity later, you’re not debugging everything at once. You’re adding one tested module and checking the interface. This is how professional hardware scales from prototype to product without cascading failures at integration time.
Hobby Electronics: The Tools You Actually Need (and Don’t)
Start With What Lets You Touch Things
You’re worried you’ll buy the wrong stuff and waste money. The real mechanism is this: you need tools that let you build and break things fast, because failure is your feedback loop. In electronics, that means immediate tactile interaction—not theoretical preparation. You learn by doing, not by collecting equipment that sits in a drawer.
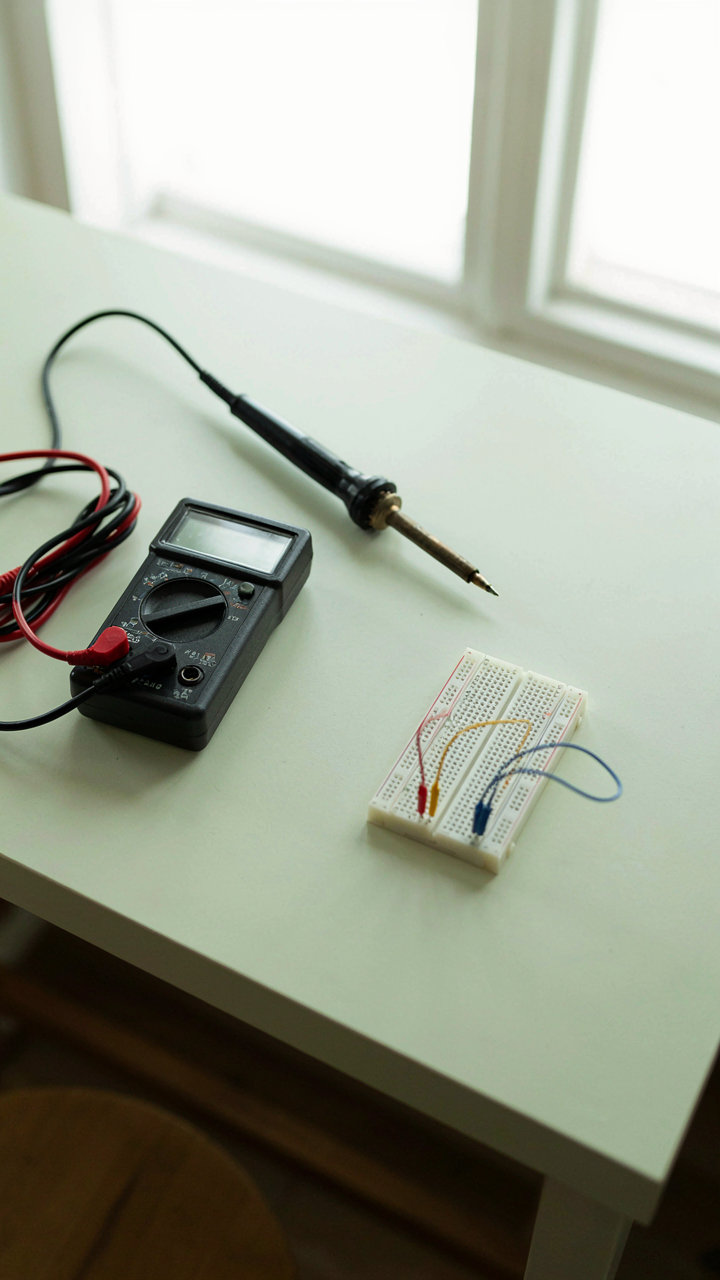
- Multimeter (analog or digital): Measures voltage, current, and resistance. A basic $15-25 model works for 95% of hobby circuits. You need this to troubleshoot when something doesn’t work.
- Soldering iron (25-40 watts): Joins components to circuits. A cheap one from any electronics supplier gets the job done. Temperature control matters less than consistency when you’re starting out.
- Breadboard: Lets you connect components without soldering. You build, test, modify, and rebuild in minutes. This is your learning accelerator because iteration speed compounds your understanding.
- Resistor and capacitor assortment: Pre-sorted kits cost $10-20 and cover most beginner projects. You don’t need to understand every value yet. You’ll use the common ones repeatedly and learn their behavior through application.
- Wire strippers and needle-nose pliers: Strip insulation and bend leads into breadboards. These two tools cost under $10 combined and prevent frustration on every single build.

That’s the stack. Everything else is optimization downstream. You can source these within a week, spend under $100 total, and start building actual circuits by day one. The constraint forces you to learn fast because you can’t hide behind equipment shopping.
The Equipment Trap Masquerading As Preparation
The common advice says “invest in quality tools upfront” and “don’t cheap out on oscilloscopes.” This is incomplete because it ignores velocity. You don’t need an oscilloscope when you’re still learning what voltage means. You don’t need a precision power supply when a battery teaches you the same concept.
Analysis paralysis kills more electronics learners than bad tools. You buy a $300 oscilloscope before you’ve built your first LED circuit. You read 40 reviews on soldering irons instead of picking one and starting. The mechanism is simple: every hour spent researching equipment is an hour you’re not building, and building is where learning lives. Your first projects won’t demand precision equipment. They’ll demand consistency and iteration. Buy the tools that let you move, not the tools that promise future readiness.
Arduino Projects: Rapid Prototyping, Not Rote Learning

Skip The Tutorials, Build First
You want to feel like you know what you’re doing without actually risking failure. Arduino kills that fantasy fast because it forces immediate output. A microcontroller is borrowed from systems engineering: it’s the feedback loop that turns intent into measurable result. You write code, it runs on hardware, something happens or doesn’t. No theory buffer between you and reality.

Most people waste months on tutorials because tutorials feel like progress. You watch someone blink an LED and think you’ve learned something. You haven’t. You’ve watched someone else solve a problem. Start with a constraint instead: make a circuit that does one specific thing you actually want to exist. Not a blink pattern. Not a temperature sensor nobody cares about. Something that solves a minor problem in your life right now.
From Idea To Working Prototype, Three Steps
The mechanism is compression: remove everything between thought and test. You need power, a microcontroller board (Arduino Uno or clone), one or two components, and code you don’t have to write from scratch. Copy existing code, change one variable, upload it. See what breaks. That’s your education. Most people think they need to understand everything before building. That’s backwards. You understand by watching your mistake run in real time.
Your protocol is this: define the single output you want first. Does a buzzer sound? Does an LED turn on? Does a motor spin? Lock that down. Then identify the input that triggers it. A button press. A temperature threshold. A light level. Wire those two things to the board, find similar code online, modify it, test it. One cycle takes thirty minutes to two hours. Repeat this ten times and you’ve learned more than a semester of electronics theory.
Electronics Projects DIY: Sourcing Components Like A Pro

Where To Find Parts Beyond The Usual Suspects
You want to feel like you know what you’re doing, and buying from the same three sites as everyone else doesn’t cut it. The mechanism is simple: scarcity creates pricing power, and the sites everyone knows have already priced in that demand. Local electronics distributors, industrial surplus outlets, and manufacturer direct channels exist specifically because bulk buyers bypass consumer marketplaces. These aren’t hidden. You just haven’t looked.

Start with local industrial suppliers in your area. Search “electronics distributor near me” or “electrical supply wholesale.” Call them. Most will sell to individuals, though minimums vary. Mouser and Digi-Key operate at scale but aren’t local. Local shops move slower inventory and negotiate margins differently. You’ll also find obsolete parts—resistors, capacitors, ICs from older equipment—that cost pennies because they’re not in production anymore. That’s your edge.
Strategic Acquisition For Real Availability
Economics teaches us about supply elasticity: how price responds to scarcity over time. Component sourcing works the same way. Buy when parts are abundant, not when you need them urgently. The common advice says “order what you need for your project.” Wrong. That guarantees you’ll chase leads on single units at retail markup while the market shifts.
Build a parts bin before you start projects. Buy in quantity—ten resistor assortments, multiple breadboards, spare microcontroller units. Stock common capacitors and diodes in bulk from distributors. Check stock status on sites like Octopart, which aggregates availability across vendors instantly. When a part shows low stock everywhere, order from secondary markets like AliExpress or local resellers weeks in advance. You source components as inventory strategy, not reactive purchasing.
Electric Circuit Projects Ideas: The “Failure Is Data” Mindset
When Your Circuit Breaks, You Win
You want to feel like you’re making progress without actually breaking anything expensive. That’s the real fear. But here’s the mechanism: every malfunction in a circuit is direct feedback about how electricity actually behaves, not how you think it behaves. Blowing an LED teaches you more about current limits than reading specs. A short circuit shows you voltage behavior instantly. The moment you stop treating failures as setbacks and start treating them as calibration events, your learning velocity doubles.

Most people hide from failures because they’ve been trained to avoid mistakes. Electronics demands the opposite. You need a circuit to fail so you can see exactly what went wrong and why. Document what you built, note what happened, and adjust one variable. That’s the data loop. The cost of learning through failure at home is pennies. The cost of avoiding it is months of abstract confusion.
Isolate Variables, Then Test Them
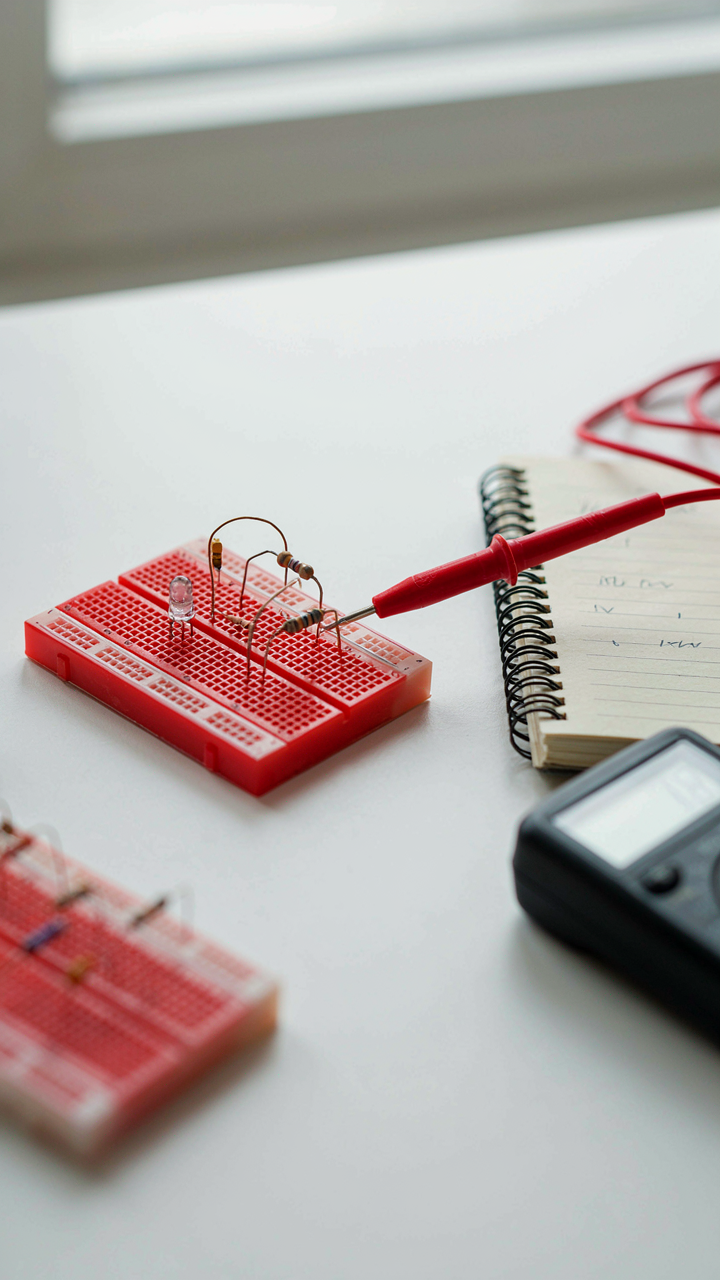
Random troubleshooting is just expensive guessing. Electronics borrows from the scientific method: you change one thing and observe the result, nothing else. Most people poke at circuits with no plan, which burns out components and teaches nothing. Instead, identify the suspected problem area first. Is it the power source? The component? The connection? Make a hypothesis, test it, document the outcome.
Use a multimeter to measure voltage at each point in your circuit before and after the failure. Start at the power source, work forward. If voltage drops where it shouldn’t, you’ve found your problem. If a resistor burns out, it’s telling you current is too high at that point, so you need a larger resistor value. Every failed component leaves evidence. Read it systematically, not frantically.
The “Beyond The Blueprint” Principle: True Electronics Basics
Why Physics Matters More Than Memorizing Circuits
You want to feel competent without actually understanding the substrate. That’s the real reason most people memorize Ohm’s Law and call themselves done. Physics is the operating system of electronics—thermodynamics, electromagnetism, and material science are the actual mechanisms that make a resistor resist or a transistor switch. Without the physics layer, you’re reading instructions in a language you don’t speak. You’re guessing, not thinking.

Start with this frame: in physics, we study energy transfer and conversion. In electronics, every component is a tool for controlling how energy moves through a circuit. A resistor doesn’t just “drop voltage”—it converts electrical energy into heat through molecular friction. A capacitor doesn’t just “store charge”—it creates an electric field between two conductors. Once you see the component as a physics mechanism, not a symbol, the math and the breadboard both make sense. Build one rectifier circuit by understanding what a diode actually does to electron flow, and you’ve learned something portable. Build ten by copying a diagram, and you’ve learned nothing.
Electrons Move Because Of Difference, Not Because They Want To
The common version of circuit theory treats voltage, current, and resistance as abstract mathematical relationships. That’s incomplete. Electrons don’t move because of formulas. They move because of potential difference—a real asymmetry in the electromagnetic field that makes the path of least resistance the path they take. Voltage is literally the measure of that difference. Current is the result of electrons responding to it. Resistance is any material property that fights that motion.
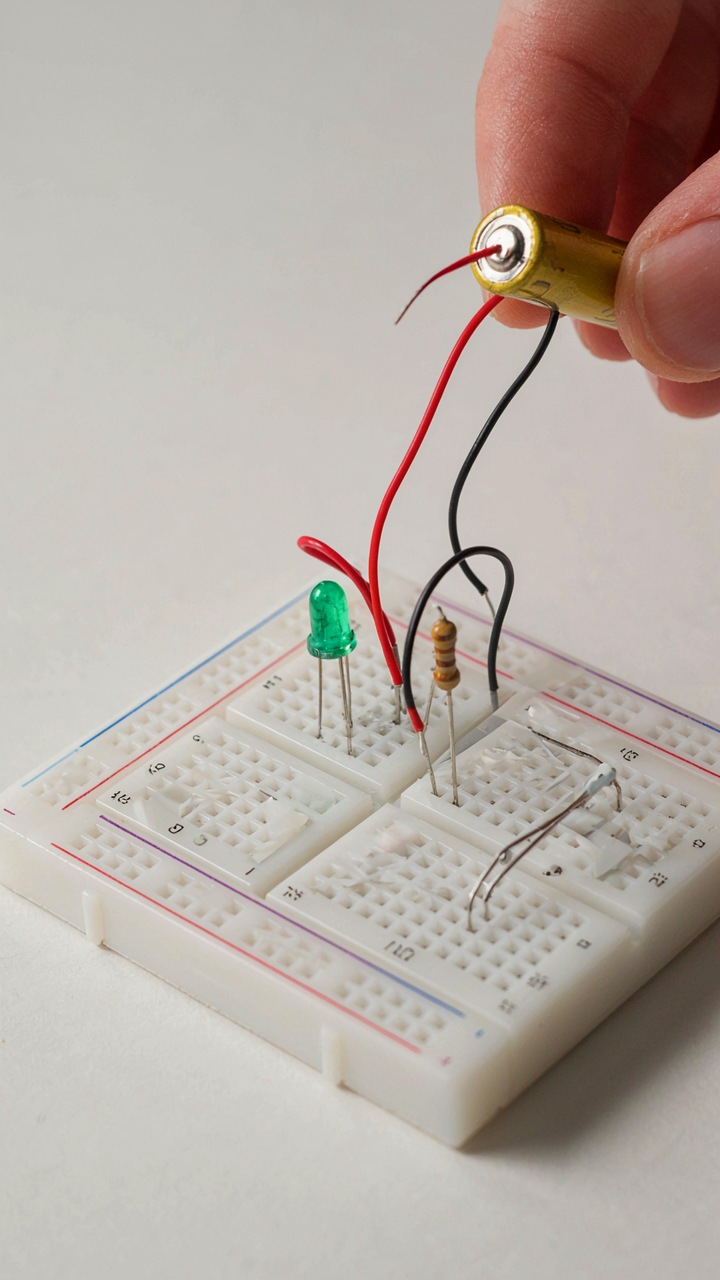
When you build a simple LED circuit, you’re not “applying voltage.” You’re creating an energy gradient that pushes electrons through the diode’s junction, forcing them to release energy as photons. Understanding that mechanism changes how you troubleshoot and design. Instead of asking “Is my voltage right?”, you ask “Is my potential difference sufficient to overcome the barrier?” It’s the same circuit, but you now see the cause instead of just the symptom. Start every build by naming the energy state at each node of your circuit before you touch the soldering iron.
The Real Obstacle Isn’t Complex Circuits; It’s Your Fear Of The Unknown That Paralyzes Action
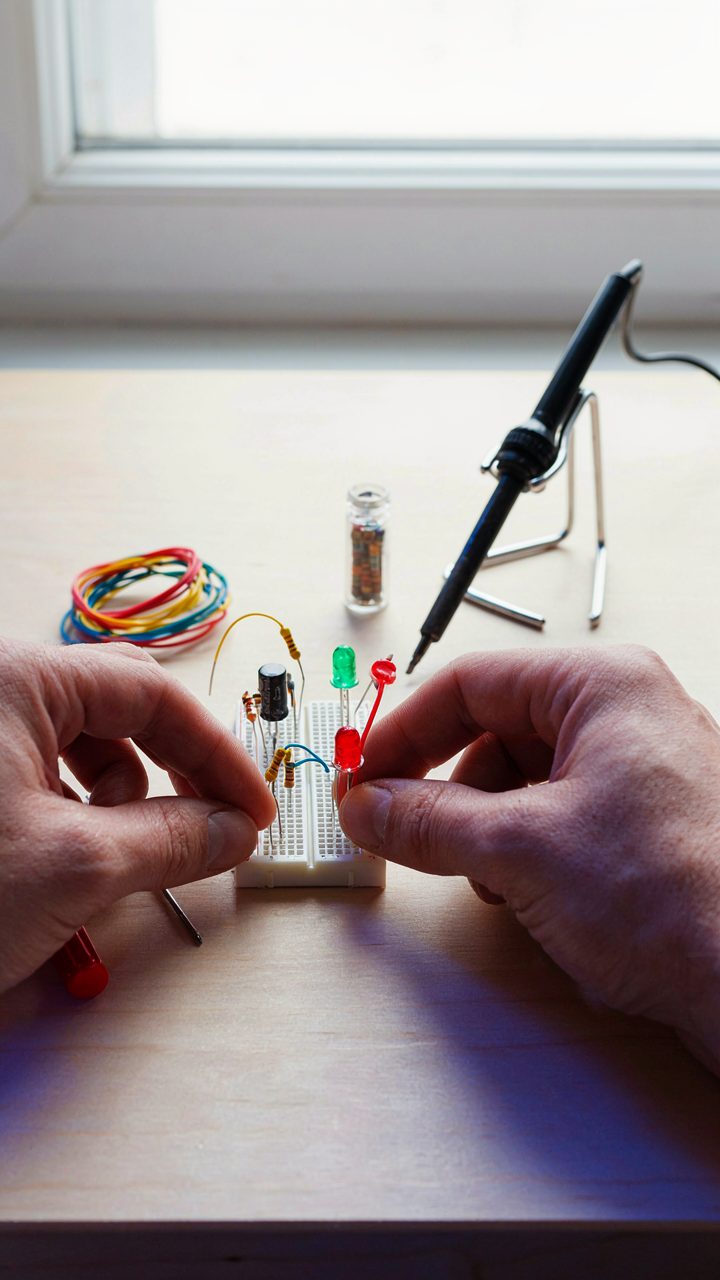
You don’t need permission to start. You don’t need the perfect kit or the ideal setup. You need to buy a breadboard and three components today, plug them in, and break something. That’s it. Every expert electronics person you admire started exactly here: confused, hands dirty, learning through failure instead of waiting for confidence to arrive. Stop watching tutorials and start touching wire. Your fear dissolves the moment you realize nothing will explode.



