Introduction
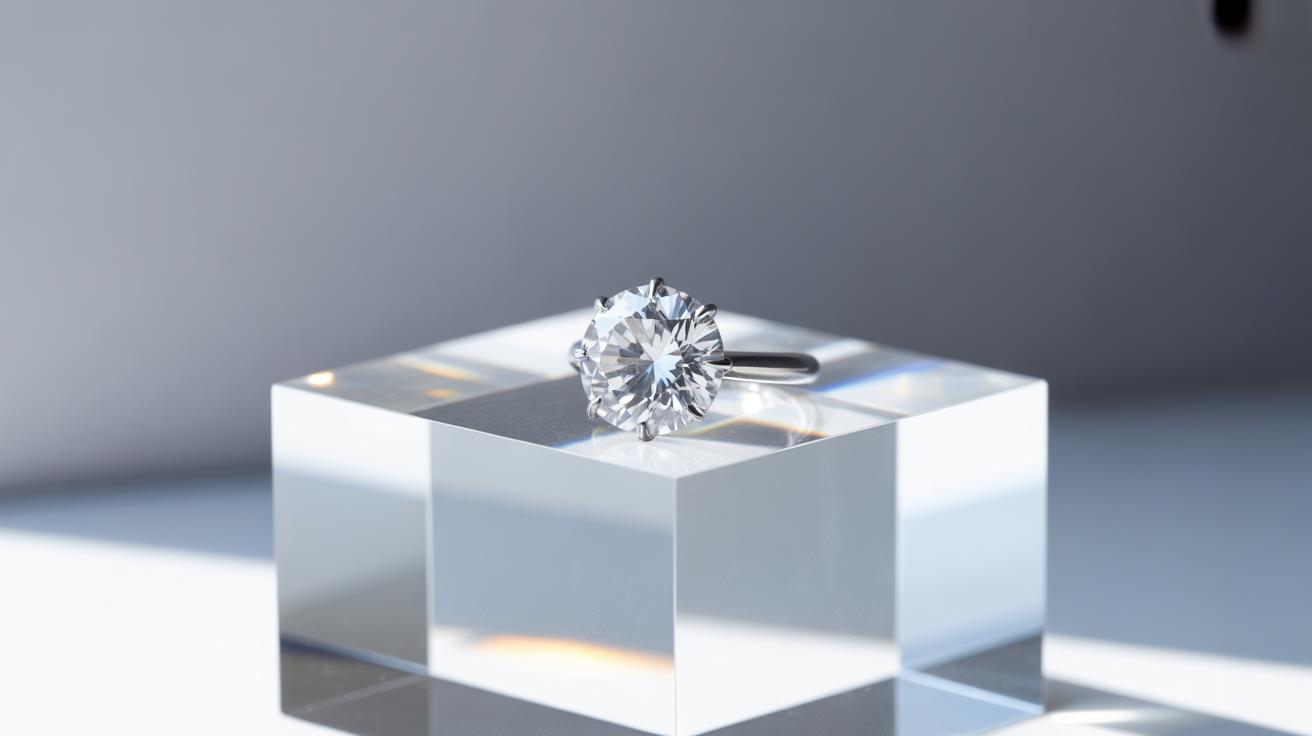
Jewelry photography is an art that reveals the beauty and details of pieces through the lens. With advancements in mobile phone technology, capturing stunning photos of jewelry has become more accessible. Mobile phone macro lenses allow you to photograph the smallest details of rings, necklaces, earrings, and more. These lenses work by magnifying the subject, bringing out fine designs and textures you might otherwise miss.
In this article, you will explore practical jewelry photography ideas using mobile phone macro lenses. We cover tips for lighting, focus, background, and creative compositions. Whether you want to showcase your jewelry for online selling or simply capture memories of treasured items, these ideas will help you take sharp, eye-catching photos with just your phone and a macro lens.
Understanding Mobile Phone Macro Lenses
What Are Mobile Phone Macro Lenses and How They Work for Jewelry Photography
Mobile phone macro lenses are small, attachable lenses designed to help your phone’s camera focus on subjects that are very close. They bring tiny objects, like jewelry details, into sharp relief that a standard phone lens can’t quite capture. What’s interesting is how they alter the camera’s focal length, allowing you to get so close that even the smallest gemstone facets become visible.

For jewelry photography, this means you can reveal textures, cuts, and finishes that might easily be missed. It’s almost like your phone’s camera becomes a mini microscope. While the phone itself doesn’t change, the macro lens acts like a shortcut, letting you see and capture things more clearly without needing bulky equipment. If you’ve ever tried photographing rings or intricate pendants and found them blurry or out of focus up close, you’ll get why these lenses matter.
How Macro Lenses Magnify Detail
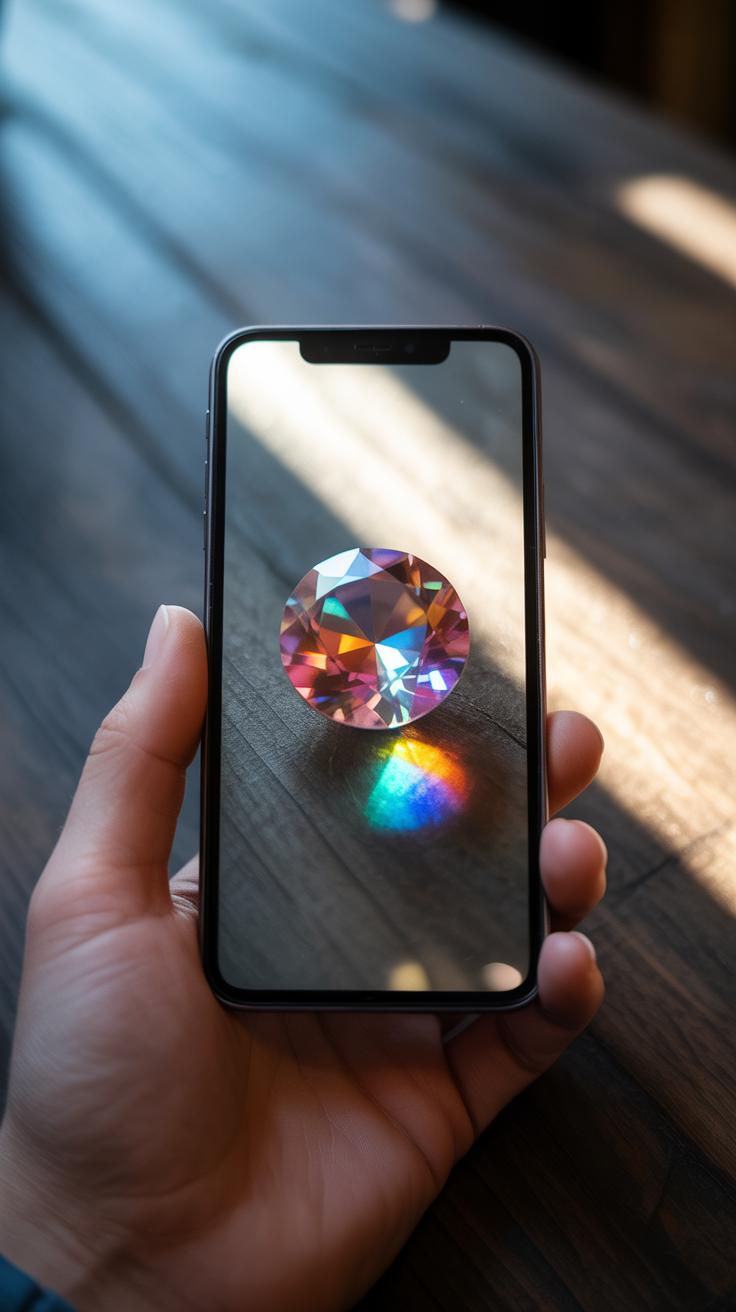
Macro lenses increase magnification, sometimes up to 10x or more, which helps zoom into tiny details without losing clarity. When you use a macro lens, the camera captures fine elements—the brush strokes of a hand-painted enamel, the subtle prongs holding a stone, even minute scratches or reflections. This magnification isn’t just about size; it’s about depth and texture.
The advantage? You deliver images that feel far more intimate and revealing. Instead of a general shot, you capture the character of each piece. That makes the jewelry more appealing and trustworthy to viewers, especially if you sell online. Yet, remember that not every detail will appear perfect—sometimes imperfections stand out as well, which can be a double-edged sword depending on your goal.
Choosing the Right Macro Lens for Your Phone
Picking a macro lens is about compatibility and quality, not just price or marketing claims. Here are some points to consider:
- Check if the lens attaches securely to your phone model—clip-ons work for many phones, but some require specific mounts.
- Look for lenses with multiple elements to reduce distortion and improve sharpness—simple glass tends to do better than plastic.
- Magnification level varies; choose according to how close and detailed you want your shots. Higher isn’t always better if it makes focusing harder.
- Consider lens coatings that reduce glare, especially useful when photographing reflective surfaces like polished metals.
- Test user reviews or sample images for your specific phone to see real performance, since sensor and lens quality differ across devices.
Once you have a lens that fits and gives you clear, sharp close-ups, you’ll feel more confident exploring all the tiny wonders hidden in your jewelry pieces. That’s when mobile jewelry photography becomes genuinely rewarding.
Setting Up Proper Lighting for Jewelry Shots

Using Natural Light to Highlight Shine
Natural light can do wonders for jewelry photos, especially when you’re working with a mobile macro lens. Try placing your jewelry near a window where soft daylight flows in. The key is to avoid direct sunlight—it often causes harsh shadows and unwanted glare that can obscure details.
Position the piece so the light grazes its surface at an angle. This helps emphasize the shine and texture without reflecting too much light directly into your lens, which, frankly, is sometimes tricky to control. Sometimes I find myself moving the jewelry around a bit, trying different spots on the windowsill before the lighting feels right. Don’t be afraid to experiment here.
If the light outdoors is too bright, a thin white curtain or a piece of white paper can act as a diffuser. This softens the light, making it easier to capture the sparkle in stones or the fine texture of metal. Shadows will be gentler, thus revealing details you might have thought were lost.
Adding Artificial Light and Reflectors
When natural light isn’t an option, or you need more control, artificial lighting comes into play. Desk lamps and small LED lights can help you create a steady light source. Position lights thoughtfully—usually, placing one or two lamps at different angles reduces harsh shadows and highlights the jewelry’s facets clearly.

Reflectors are surprisingly useful here. A simple white card or a piece of aluminum foil works well to bounce light back onto the jewelry’s surfaces. This trick brightens up darker areas and makes the photo pop, without needing fancy equipment. I sometimes tape a small reflector just behind the jewelry to fill in shadows without overexposing other parts.
Balancing these light sources takes patience and a bit of trial. Lighting can flatten your shot if it’s too direct, or fail to show off the sparkle if it misses the right angle. So, keep adjusting until the jewelry catches light just right—sometimes subtle shifts make all the difference. You might find yourself getting caught up in chasing the perfect glow, which I don’t blame you for; it’s oddly satisfying once you get there.
Mastering Focus and Stability
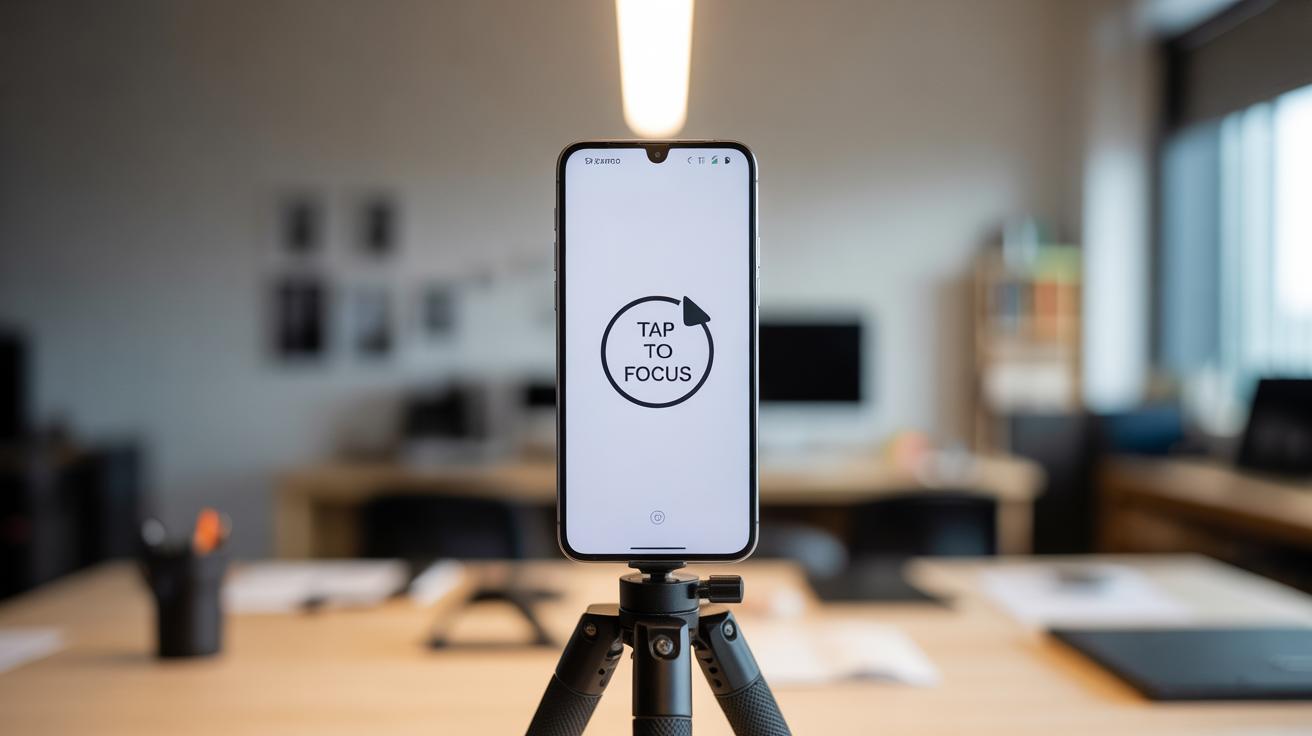
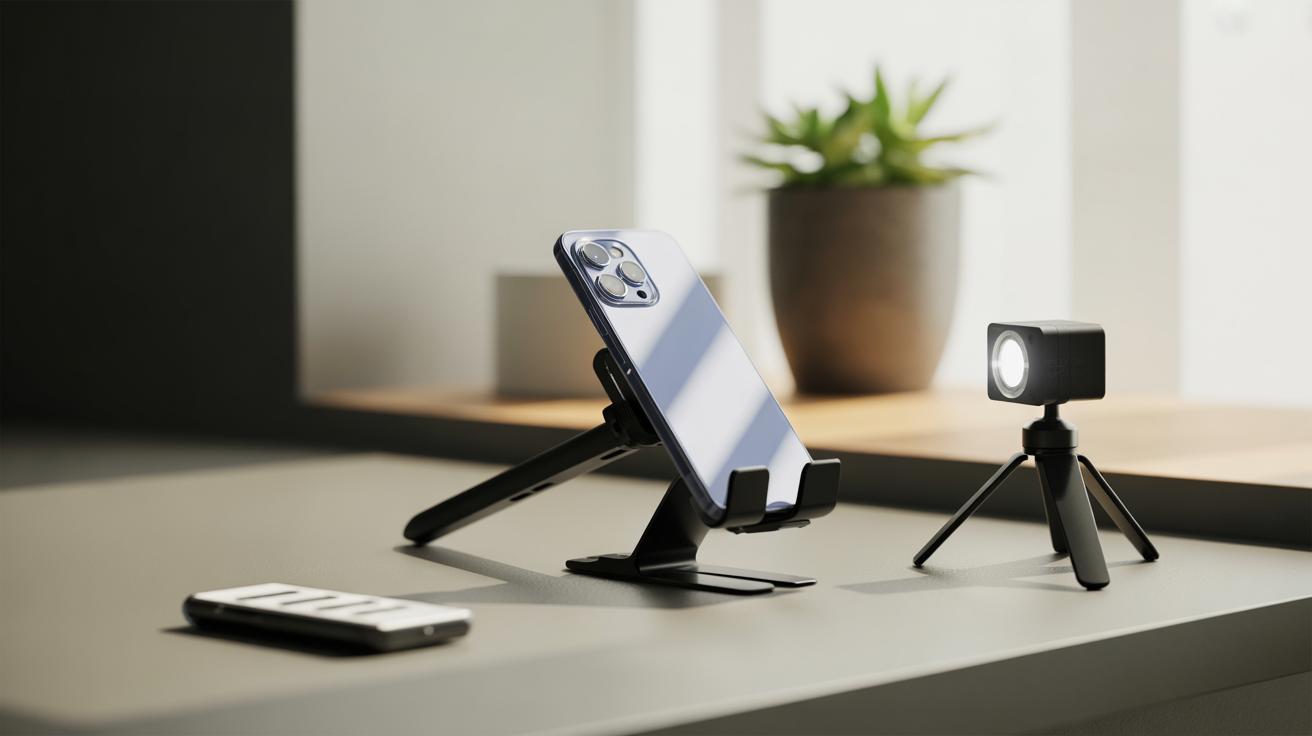
When working with mobile phone macro lenses, sharp focus is crucial. Jewelry pieces are small, and even a slight shift in focus can blur the fine details you want to capture. Many phones let you control focus manually or lock it in place, which can make a big difference. On your phone, try tapping and holding on the screen over the jewelry to engage focus lock. This ensures your camera won’t refocus with every tiny movement or change in lighting. Manual focus options, though sometimes hidden in camera app menus, give you even more control—allowing you to fine-tune focus exactly where you want it.
Keeping the phone steady is just as important as focus. Even the slightest shake can ruin what would otherwise be a stunning shot. Using a tripod designed for phones is an obvious solution, but sometimes a simple stack of books or a stable surface can work in a pinch. I’ve found that resting your elbows on a table or leaning against a wall also helps minimize movement. It might sound tedious, but hold the phone still for a few extra seconds—usually, a steady hand is what keeps your jewelry crisp and detailed.
Try asking yourself while shooting: is the phone perfectly still? Is the focus locked on the most intricate part of the piece? This awareness often improves photos significantly—sometimes more than adjusting lighting or exposure. For jewelry, it’s those tiny, sharp details that tell the story. Don’t rush past them.
Selecting Backgrounds That Complement Jewelry
Choosing the right background for your jewelry shots can be tricky, but it’s a crucial step to make your pieces pop. I often find that simple, clean backgrounds really work best. They don’t compete with the jewelry and allow all the details to stand out. Busy or cluttered backgrounds might catch the eye, but not in a way you want. To keep things clear, going plain often saves time and frustration.
Using Solid Colors and Minimal Patterns
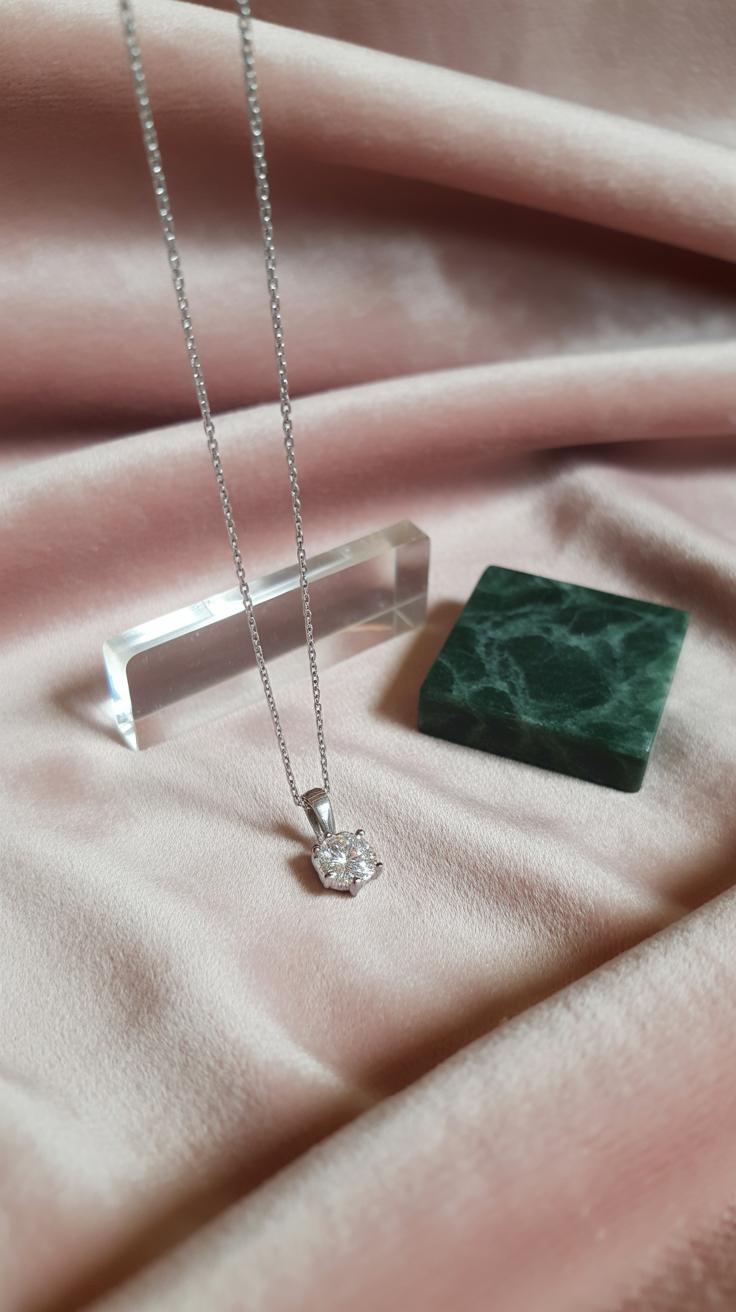
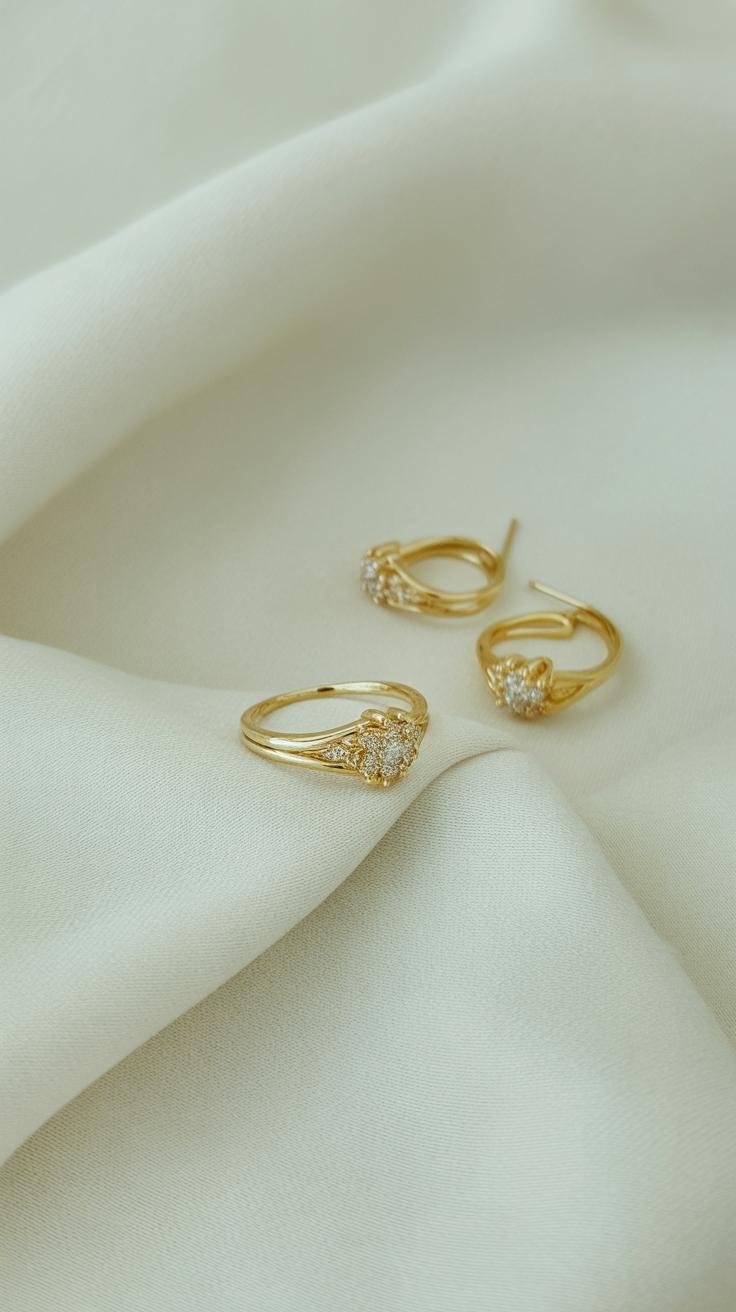
Plain backgrounds tend to highlight jewelry much better because they don’t distract. Think about the color contrast between your jewelry and the backdrop. For instance, silver rings shine against darker tones like navy or black, while gold pieces benefit from softer, lighter hues. You might experiment with pastel shades for delicate items, but try to avoid anything too bright or patterned. Minimal patterns can work but only if they don’t steal focus.
Creative Background Ideas to Add Style
That said, plain doesn’t mean boring. Sometimes adding subtle textures like linen fabric or soft leather can elevate the mood without overwhelming your subject. Natural elements like wood or even a touch of greenery offer an organic feel, especially for boho or earthy jewelry. I remember trying a rough stone surface once — it brought out the raw edge of a handcrafted necklace really well. These small details can add personality to your photos, just don’t let them overpower the main attraction: the jewelry itself.
Composing Your Jewelry Photos
When it comes to framing your jewelry shots, composition really shapes the story your photo tells. One classic approach that tends to work well is the rule of thirds. Placing your piece just off-center—around one of the grid intersections—often feels more natural and balanced than a perfectly centered shot. It invites the eye to wander around the image, making the photo a bit more engaging. But, honestly, sometimes centering your jewelry works better, especially if the design is symmetrical or you want a bold, straightforward statement. It’s worth experimenting.
Close-ups, especially with a macro lens, bring out details that might otherwise go unnoticed. Zooming in on a subtle engraving, the sparkle of a gemstone, or the texture of the metal can transform a simple picture into something that feels almost tactile. You might find that these extreme close-ups highlight craftsmanship and personality, adding layers to your image. On the other hand, not every detail needs that level of focus. Sometimes, zooming in too much loses the context and the piece’s overall shape.
Try thinking about your composition like a conversation. What part of the jewelry do you want to emphasize? How do you want the viewer to feel? Do you want them to notice the brilliance of a diamond, the fine links in a chain, or maybe the curve of a bracelet? These questions help guide whether to place your jewelry off to the side, dead center, or captured in a tight crop. It’s a bit of trial and error, but that’s part of the fun.
Experimenting with Angles and Perspectives
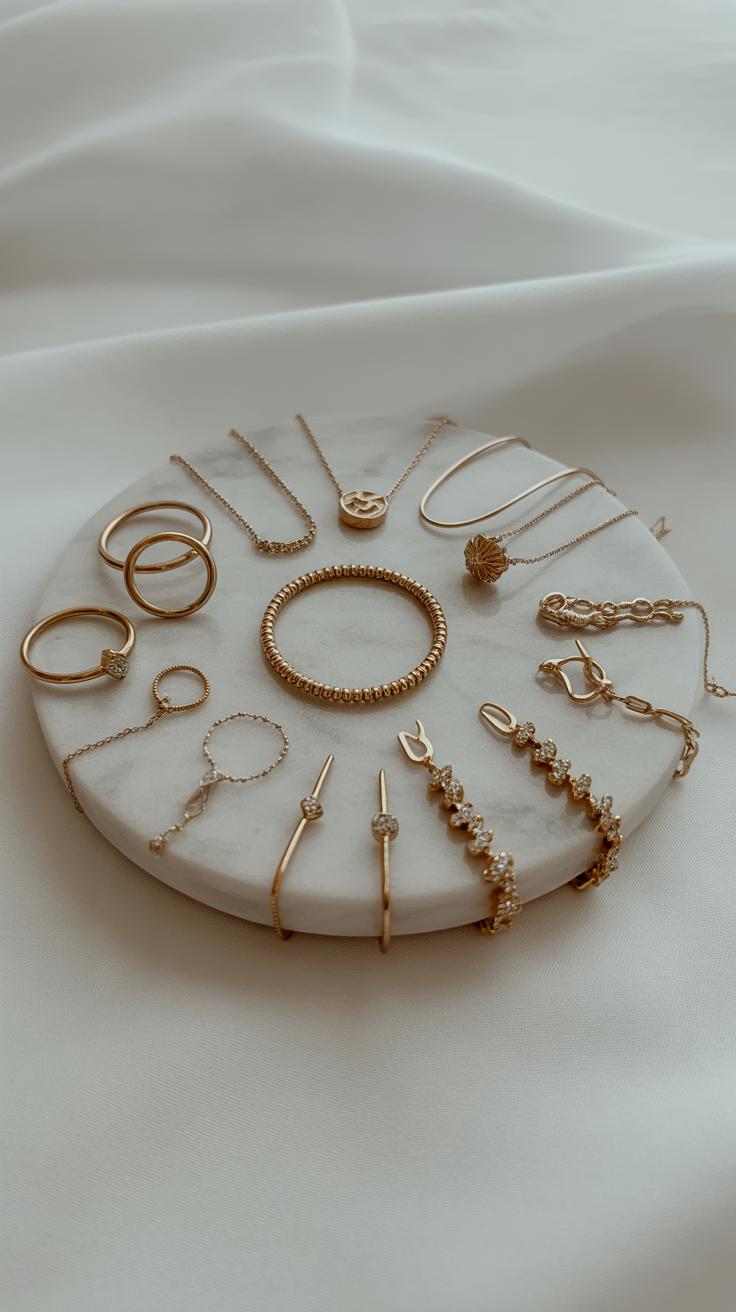
Trying out different angles when photographing jewelry can completely change the story your photo tells. A top-down shot, for example, often makes sense for flat pieces like pendants or bracelets laid out on a surface. It reveals the overall shape and pattern clearly. Yet, sometimes I find that a side view brings out the depth and texture of a ring or earring much better—those tiny details almost pop. You might catch light on facets or metal curves that stay hidden in straight-on shots.
Eye level and overhead shots both work but in different ways. Shooting straight at a piece can capture intricate designs head-on; it feels direct, often sharp. From above, you get a broader look at the entire arrangement, which can be useful when you’re dealing with grouped jewelry or want to showcase a background. Think about what detail you want to highlight, then pick an angle to match.
Adding a tilt or diagonal line to your composition breaks up predictability. Diagonal angles inject movement and tension into what could be a flat image. They guide the viewer’s eye across the frame in a way that feels more natural than just horizontal or vertical lines. Sometimes I tilted my phone slightly just to make something more interesting—even if the difference was subtle. Don’t shy away from this; the non-straight approach often adds a touch of life and dimension.
So, next time you photograph jewelry, don’t settle on the first position. Rotate, lean in, step back, tilt your phone. You might find a perspective that suddenly makes the piece speak louder. What details do you want the viewer to notice? Perhaps a small engraving is best caught from the side under soft light, or a gemstone’s brilliance shines brightest in a slightly tilted frame. Experiment and see what you uncover.
Enhancing Jewelry Colors and Shine
Getting the true colors and sparkle of jewelry right on your phone can be a bit tricky, but it’s doable once you know what settings to adjust. One key thing is white balance—this controls the overall color tone in your photo. If your piece looks too warm or cold, tweaking the white balance in your camera app can bring it closer to how you see it in real life. Try shifting it a little; sometimes, a tiny nudge makes the colors pop just right.
Exposure is another setting worth playing with. Too bright, and the shine washes out. Too dark, and you lose detail. I often find myself adjusting exposure manually rather than relying on auto, especially when shooting shiny metals or stones. That glare can fool your phone’s sensor. A slightly underexposed shot might keep those highlights from blowing out, preserving the sparkle better.

After capturing your photo, use simple editing apps to give your jewelry some extra life. Apps like Snapseed or Lightroom Mobile are pretty user-friendly and offer tools to sharpen details without going overboard. Brightness and contrast adjustments help too, but I’m careful not to brighten so much that the colors look fake. Sometimes, a gentle boost in clarity or structure brings out engraving or facets that were barely visible before.
On occasion, adding a subtle vignette focuses the eye on the jewelry and enhances its shine subtly. It’s tempting to over-edit, so I try to ask myself—does this still look natural? Does it reflect the piece’s real charm? Enhancing colors and sparkle is a balance, and it’s worth experimenting until your photos seem to capture something close to what you appreciate when you hold the piece yourself.
Creating Simple DIY Jewelry Photography Setups
Making professional-looking jewelry photos doesn’t mean you need expensive gear. You can create setups at home with things you already have, and I think that’s kind of the charm of DIY photography. It’s about creativity, not cost.
One of the easiest projects is building a lightbox. Try using a cardboard box—any size really—and cut out big windows on three sides. Then, cover those openings with white tissue paper or a thin white cloth. This softens the light coming through, reducing harsh shadows and reflections on your jewelry. It’s simple but surprisingly effective.
Place the box near a window or under a lamp for steady, diffused light. You might have to fiddle with angles a bit. Don’t expect perfection right away. Just keep adjusting until the shadows fall gently, not in distracting ways.
As for holding and posing pieces, everyday items work well. Books with elegant covers can elevate necklaces or bracelets by giving some structure. A folded scarf or a piece of velvet fabric adds texture and depth. And sometimes, a clean cup or a small wooden stand can support rings or earrings nicely, preventing them from rolling away.
The best part? These setups make you think about composition and lighting more deeply. It’s almost like solving a small puzzle each time. If you’re willing to experiment, you might find yourself surprised by the quality—and the satisfaction—of these handmade arrangements.
Tips for Photographing Different Types of Jewelry
When you’re shooting rings and earrings, you want to zero in on the tiny details that often get missed. Those small facets, intricate engravings, or the way a gem catches the light—these deserve your focused attention. Using your macro lens, try to capture the texture and reflections up close. Sometimes, shifting the angle slightly reveals hidden sparkle or depth you didn’t notice at first.
Shoot multiple frames to find the best one where the reflective surfaces don’t glare or blur. For example, a ring with a polished metal band might need a softer light to avoid harsh hotspots, while an earring with stones might benefit from a touch of directional light that emphasizes its shape.
Necklaces and bracelets need a different kind of eye. These longer pieces aren’t just about the details; they have a flow, a sense of movement and length. You might want to arrange a necklace in a gentle curve or let a bracelet drape naturally to highlight their texture and how they catch light along their length.
Placing a necklace on a smooth background that contrasts with its color helps show off its shape. Don’t hesitate to experiment by hanging it at slight angles or letting it spiral. This adds a subtle dynamism to the shot and draws attention to the craftsmanship rather than just the stones or metal.
It’s tempting to pile more on, but sometimes less is more—especially with jewelry. Think about what you want the viewer to see. Is it the sparkle? The texture? Or the design as a whole? This focus guides how you position and light each piece.
Sharing and Using Your Jewelry Photos
Once you’ve captured those sharp, detailed shots with your mobile phone macro lens, the next step is sharing them in ways that really count. Whether you’re selling, showing off on social media, or just keeping a personal archive, how you present your photos can make a surprising difference.
Optimizing Photos for Online Listings
When posting jewelry photos for sale, size and clarity matter a lot. Your images should be clear enough to reveal small details—think about subtle marks, texture, or the play of light on a gemstone. I often aim for a resolution that keeps these details crisp but isn’t so large that it slows down page loading.
Angles also come into play. Buyers want to see multiple views: a straight-on shot to observe shape, a close-up to check craftsmanship, maybe a side angle to catch depth. Try to cover the piece well, but avoid overwhelming the listing with too many near-identical shots. Keep it purposeful.
Posting Jewelry Photos on Social Media
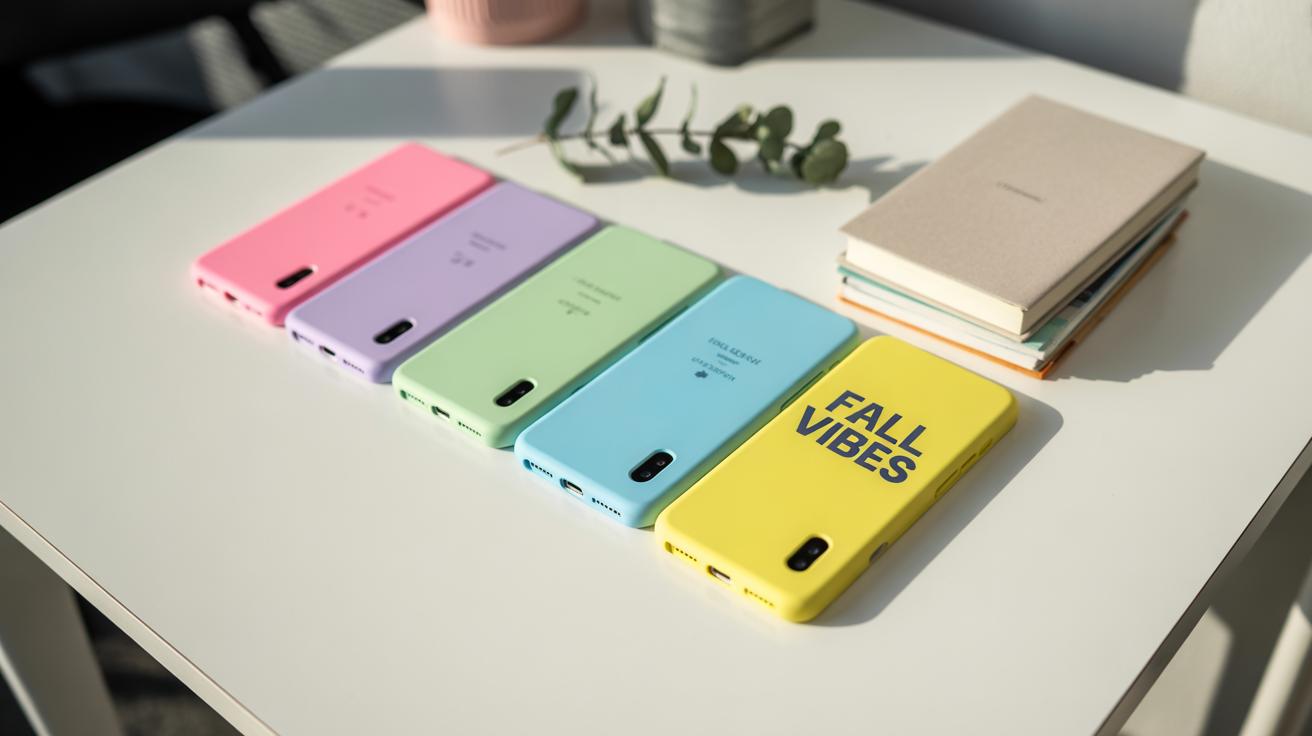
Social media calls for a different approach. It’s less about pure detail and more about style and engagement. I find that mixing macro shots with lifestyle images—like jewelry worn casually or paired with other items—draws more attention.
Think about captions that invite followers into your process or story behind the piece. Even a simple question like “Which angle shows this ring best?” encourages interaction. Also, keep your uploads consistent in tone and lighting. It helps build your visual identity, even if your styles vary a bit from time to time.
Do you ever wonder if you’re sharing too much or too little? It’s tricky. Sometimes, I lean towards personal collections, just saving the photos in albums for reference or inspiration. It’s a quiet way to appreciate your own work without any pressure.
Conclusions
Using a mobile phone with a macro lens opens new doors for jewelry photography. You can capture striking close-ups that highlight every detail and texture of your pieces. The key is to manage light carefully, focus precisely, and choose backgrounds that make the jewelry pop.
With these practical ideas, your mobile phone can become a powerful tool for jewelry photography. Keep experimenting with different angles and settings to find what works best for your style. You will be surprised how much detail you can bring out with simple tools and thoughtful techniques.