Introduction
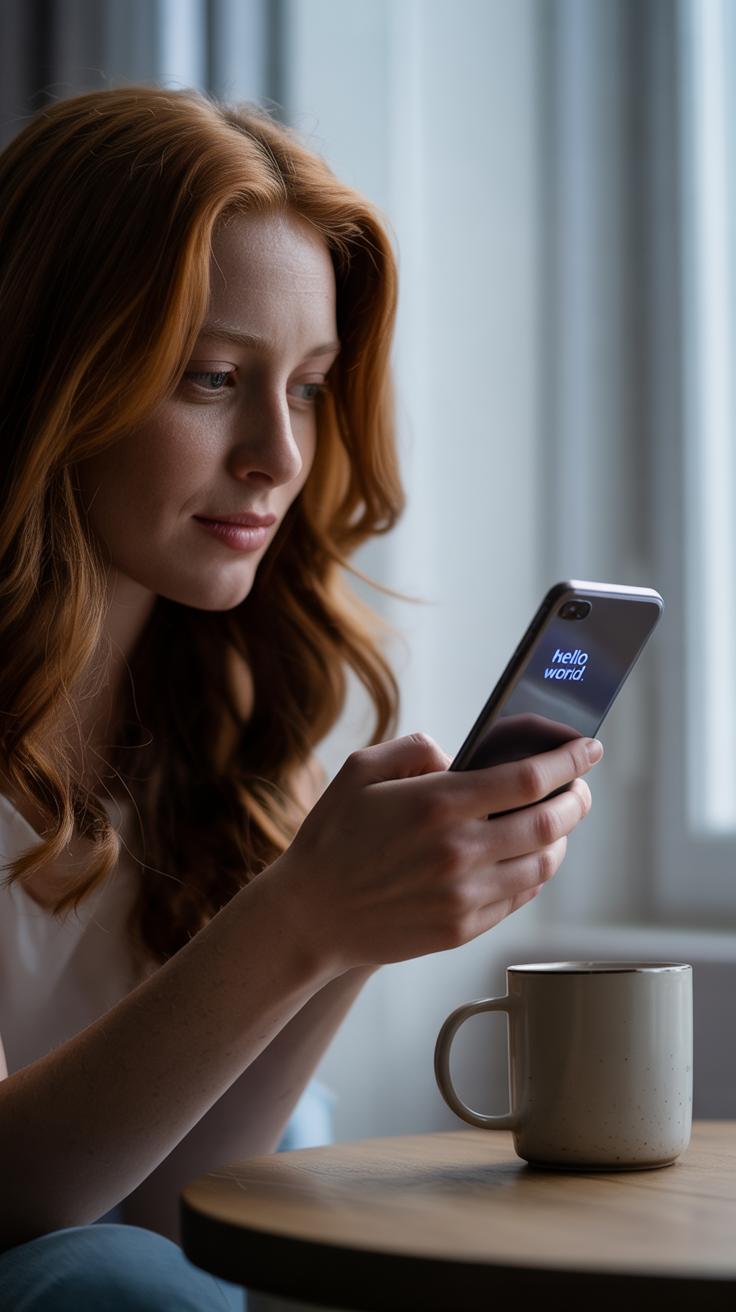
Taking great photos with your iPhone is easier than you might think. You don’t need expensive cameras or complicated setups. Just a few simple tweaks can make your photos look professional and clear. This article explores easy ways to improve your iPhone photos step by step.
You will learn how to use your iPhone’s camera features well and how to edit your photos to make them pop. These practical tips will help you capture better light, sharper images, and more interesting shots. Your photos will look like they were taken by a pro.
Understanding Your iPhone Camera Features
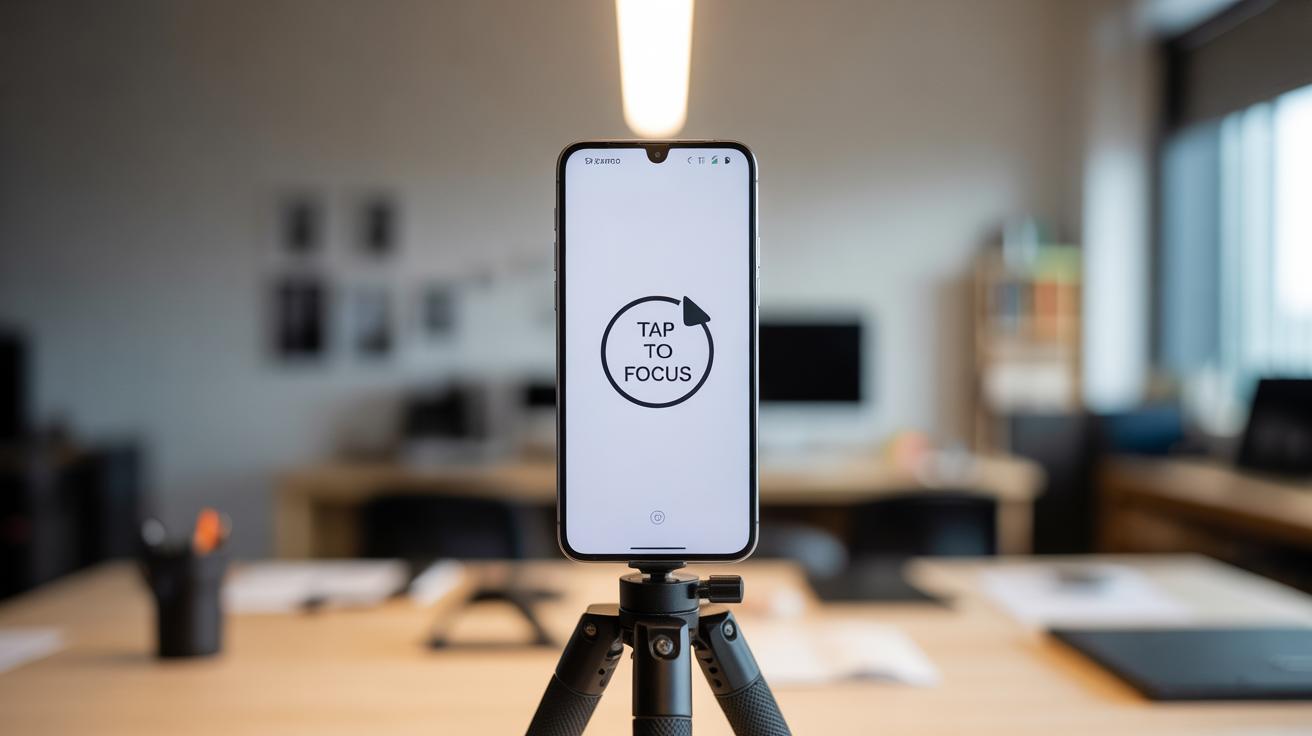
Your iPhone camera has a few key features that really shape how your photos come out. Autofocus is one of the most important. When you tap the screen, the camera locks onto that spot, making sure it’s sharp and clear. It seems simple, but it changes everything. If your subject is out of focus, even the most vibrant colors won’t save the picture.

Exposure works alongside autofocus. After you tap to focus, you can actually slide your finger up or down to brighten or darken the image. This manual tweak gives control over light and shadows, which often makes a flat photo come alive.
Resolution matters too, though it’s sometimes overlooked. Newer iPhones shoot in higher megapixels, which means more detail and the ability to crop without losing clarity. It’s this combination—autofocus locking detail, exposure adjusting brightness, and high resolution capturing fine textures—that lets you create photos that feel more real.
Using Autofocus and Exposure Controls
To get started, just open your iPhone camera app and tap the screen where you want sharpness. You’ll see a yellow box appear—that’s your focus locked in. But don’t stop there. A little sun icon appears next to the box. Slide it up to brighten or down to darken. It’s so simple, yet it gives your shot personality.
I remember once taking a sunset photo but it looked dull. Just adjusting exposure by sliding up made the colors pop naturally.
Choosing the Right Camera Mode
iPhones offer several modes that can change your approach entirely. Portrait mode blurs the background, ideal for people or objects to stand out. Panorama fits wide scenes like city skylines, though it takes some patience moving slowly. Night mode is a newer addition that gathers more light in dark settings, perfect when the scene feels too dim for a normal shot.
Each mode anticipates a different scenario. If you don’t choose, you might miss the chance to get a much better photo without extra effort.
Improving Composition and Framing
Framing and composition are key to making your iPhone photos look more professional. They shape how viewers perceive your images, guiding their eyes to what really matters. Without good composition, even the clearest photo can feel flat or awkward. It’s not just about snapping quickly; it’s about thinking where your subject sits within the frame.
The rule of thirds is a simple yet powerful tool. Imagine dividing your screen into nine equal parts with two horizontal and two vertical lines. Placing your subject along these lines—or at their intersections—often makes photos feel balanced and engaging. I’ve found that you don’t always have to be rigid about it, but it’s a great starting point when you’re unsure.
Leading lines can also improve your shots dramatically. These are natural or man-made lines that direct the viewer’s gaze toward the focal point. Think of roads, fences, railings, or even shadows. When used thoughtfully, these lines add depth and make images feel more dynamic without any heavy editing.
Applying the Rule of Thirds Grid
On your iPhone, enabling the grid makes applying the rule of thirds straightforward. Go to Settings, then Camera, and toggle on the “Grid” option. Suddenly, you’ll see the lines while framing your shot.

Try to place your main subject along one of these lines or where two lines cross. For example, if you’re shooting a portrait, position the eyes on the top horizontal line instead of smack in the middle. This creates space and balance, making your images easier on the eyes. Sometimes, you might break this rule for effect—but most times, sticking with it helps.
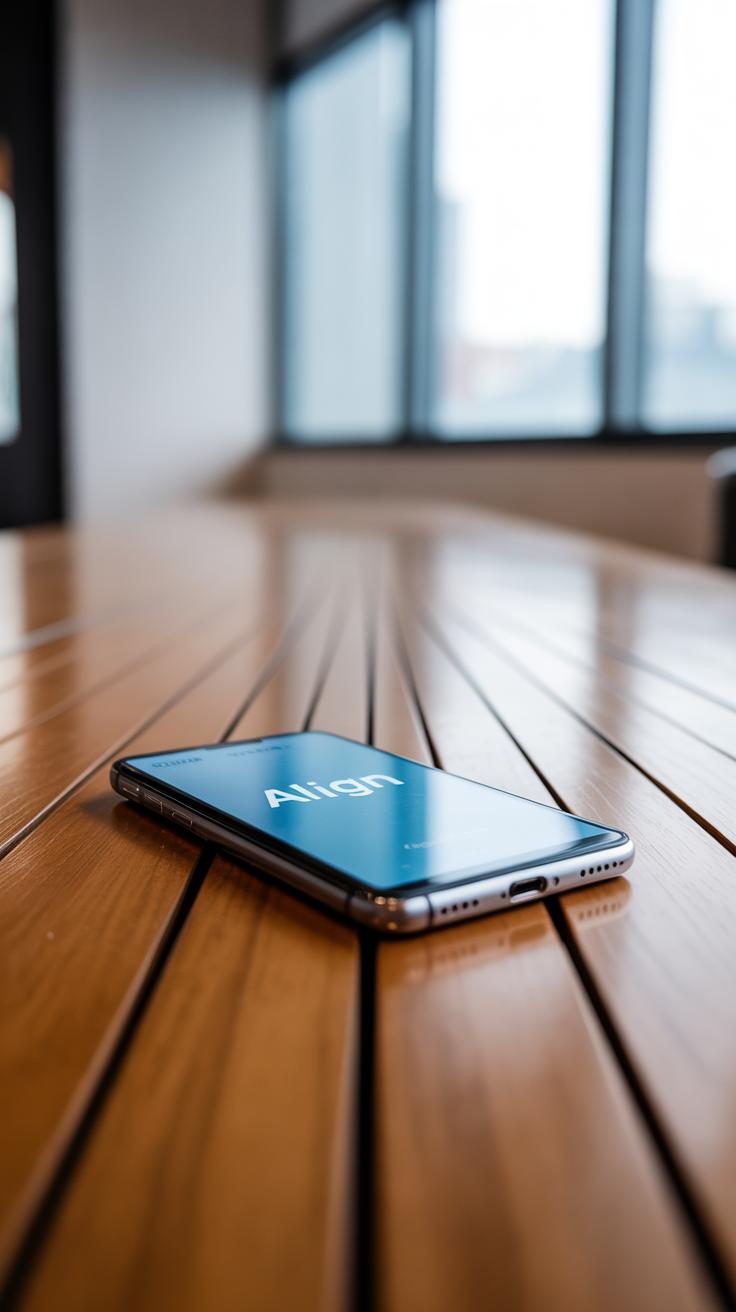
Using Leading Lines to Guide the Eye
Look for natural lines in your environment when taking pictures. Streets stretching into the distance, fences running diagonally, or even rows of trees can serve as guides.
When you align these lines to lead toward your subject, it pulls the viewer’s attention right where you want it. I’ve noticed even subtle lines like shadows or rows of tiles can work, if you pay attention. It’s a matter of spotting these elements and framing them so they create a path through your photo.
This technique makes photos feel less static. Instead of just looking at a frozen scene, your viewer’s eye explores the image purposefully. It might take some practice, but once you start seeing those lines, your whole approach to composition shifts a bit—and that’s when photos really improve.
Using Lighting to Your Advantage
Shooting in Natural Light
Light changes everything in a photo, and your iPhone is no exception. Natural light, especially during the golden hour—about an hour after sunrise or before sunset—gives you that soft, warm glow that flatters nearly any subject. It’s not just about the color but how gentle the shadows become, revealing details without harsh contrasts.
Positioning your subject so that the light falls on them at a slight angle usually works best. Front lighting can be too flat, and backlighting might create silhouettes, which might be cool but not always what you want. Try moving around or asking your subject to turn slightly until the shadows sculpt their features softly. You might be surprised how a small tilt makes your shot feel more natural, more alive.
Using Shadows and Highlights
Shadows don’t have to be the enemy in photography. In fact, they can add depth and drama if you let them. When using your iPhone, look for where shadows fall and think about how they shape the scene. Shadows can guide the eye or highlight textures, creating layers that turn a simple snap into something more interesting.
Just be careful not to blow out the highlights, especially in bright sunlight. Overexposed areas lose detail quickly on phone cameras, and it’s tough to fix later. If you spot glaring whites, try adjusting your position or tap on the screen to set exposure manually on your iPhone. Experiment with shadows; sometimes letting a part of your image fade into darkness adds more mood than an evenly lit frame.
Stabilizing Your iPhone for Clear Shots
Keeping your iPhone steady makes a surprisingly big difference in the sharpness of your photos. If you hold your phone too loosely or move even slightly during the shot, your picture can end up blurry, especially in dim lighting. It’s not just about avoiding disappointment; it’s about giving your camera the best chance to capture detail.
One straightforward way to reduce camera shake is by gripping your iPhone with both hands. This simple move provides much better control than holding it in one hand. Rest your elbows against your body or a solid object. This kind of small support makes your phone less prone to jitter.
You might also find it helpful to rest your phone on a steady surface like a table, ledge, or even a wall. It feels a bit odd sometimes, especially when you want to be spontaneous, but stabilizing your phone like this really pays off with clearer images.
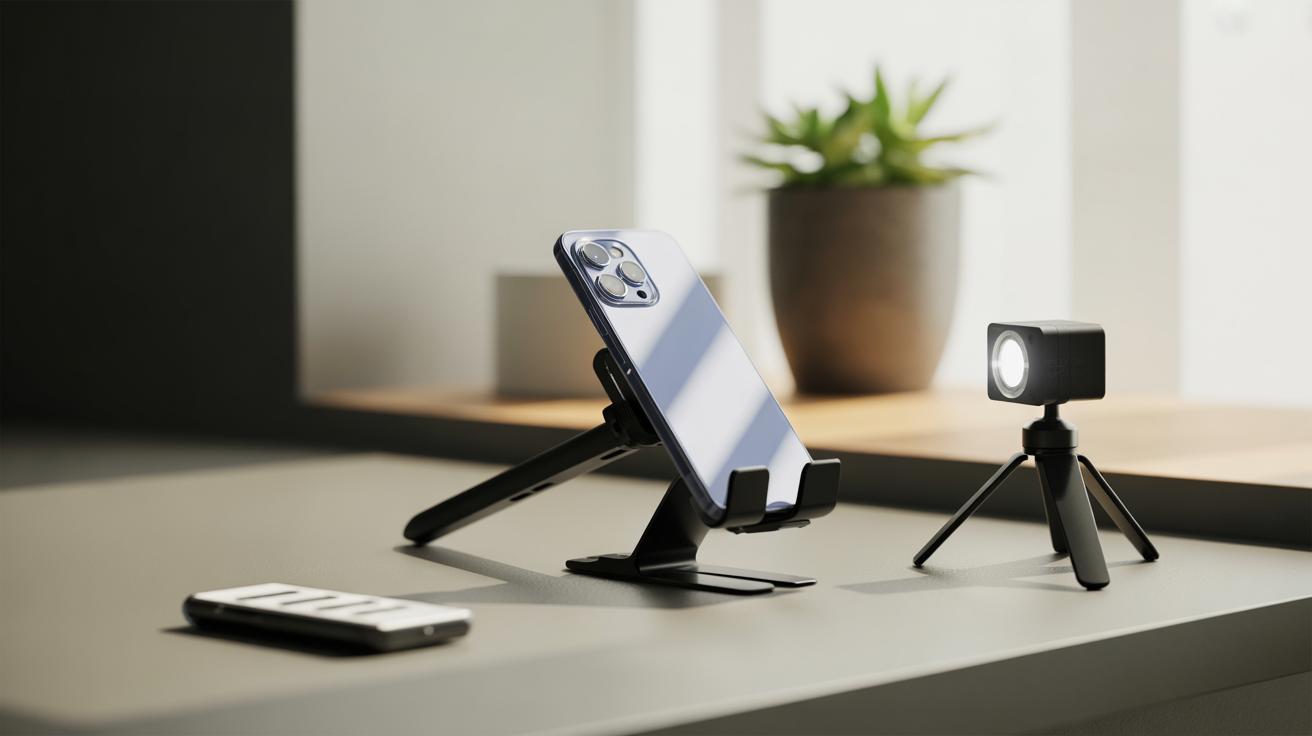
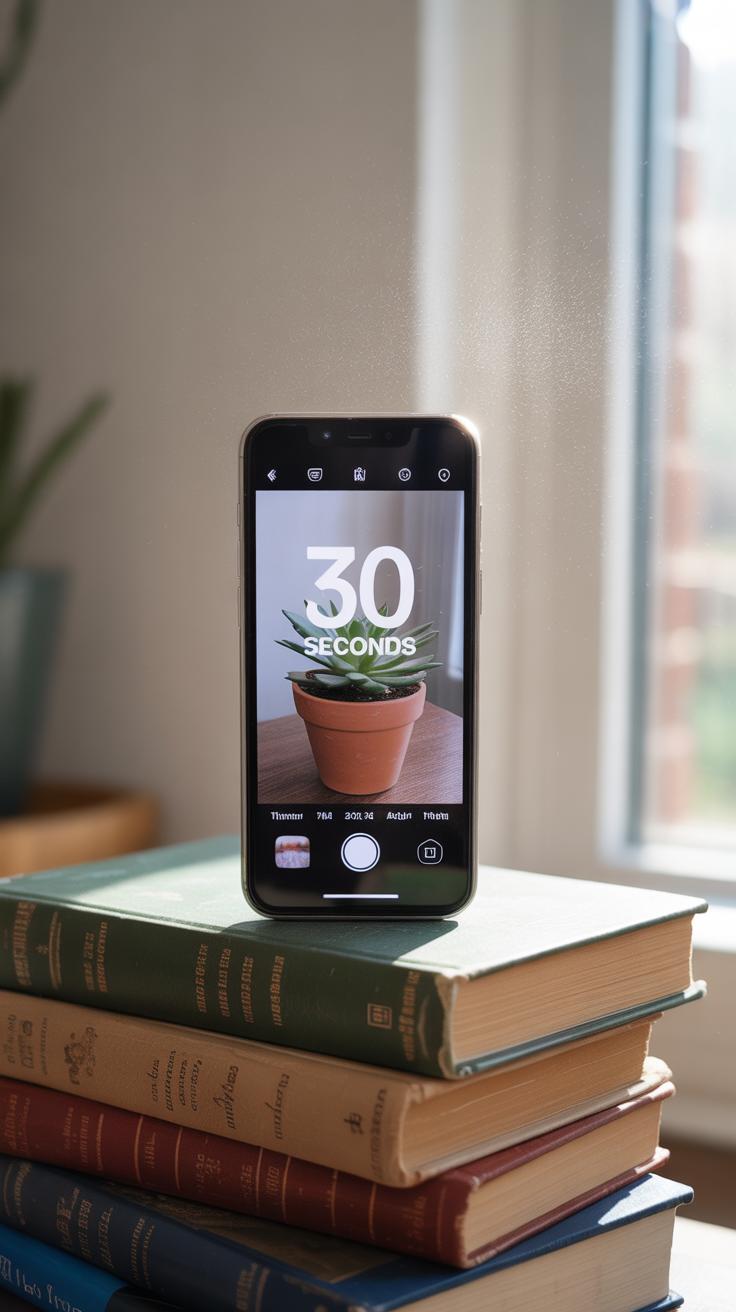
For something more reliable, small tripods made for smartphones can be surprisingly handy. They don’t take up much space and can hold your phone rock steady. Pair a tripod with the timer feature on your iPhone’s camera. By delaying the shutter, the photo is taken without the shake caused by your tapping the screen. This combo works wonders when the light is low and you need extra stability.
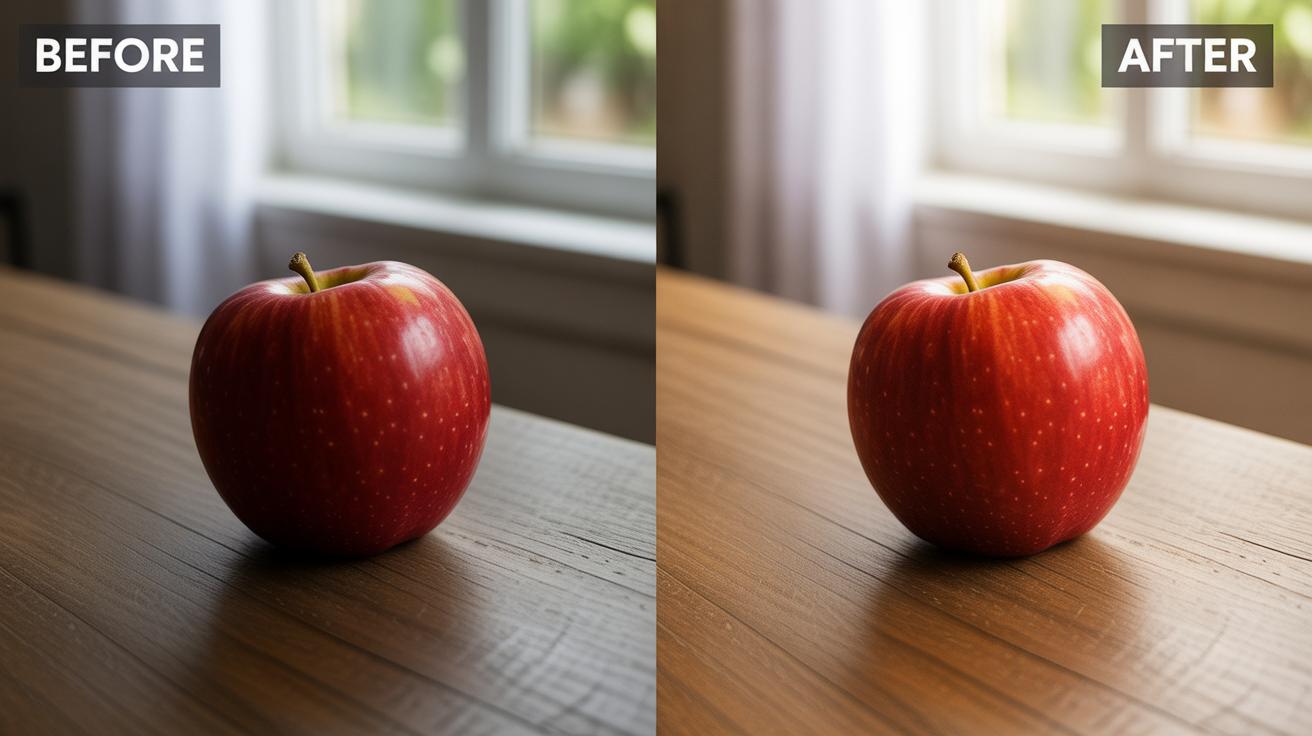
Editing Photos on Your iPhone
Your iPhone comes with some surprisingly capable editing tools built right into the Photos app. These aren’t just for quick fixes; if you spend a bit of time, you can really pull more life out of your shots. I often find myself tweaking brightness or cropping to tighten the composition, and it makes a noticeable difference without needing another app.
Basic Adjustments in the Photos App
Within the Photos app, you have easy access to crop and straighten your images—sometimes just a slight reframe changes everything. You can adjust brightness to bring out details lost in shadows or reduce harsh highlights that distract. Contrast tweaks can make the photo pop or soften it, depending on your mood. Don’t overlook saturation either; a subtle boost might give colors that extra punch, but too much can just look fake.
Here’s a quick rundown of the basic tools you should try:
- Crop and straighten: improve framing and remove distractions
- Brightness: lighten or darken the entire image
- Contrast: enhance or soften the difference between light and dark
- Saturation: bring out or tone down colors
Experimenting with these often leads to photos that feel more intentional. I’ve sometimes been surprised how a slight crop or small lift in brightness made a vague picture into something worth sharing.
Using Filters and Advanced Apps
The Photos app also offers filters that can change the mood of your image instantly. Some add warmth, others cool tones. It’s tempting to use these straight away, but I think applying a filter without adjusting the basics first can feel lazy—or just off. Still, they’re a useful starting point, and sometimes you find one that matches what you want.
For more control, consider apps like Snapseed or VSCO. They let you work in layers, target specific areas for edits, or apply advanced effects like selective sharpening and healing spots. I’ve played around with these when a photo requires more than quick tweaks, and the difference can be subtle but meaningful.

Have you ever spent time with an app and felt your photos actually improved rather than just looked “edited”? It’s worth trying out a few to see what suits your style.
Taking Advantage of iPhones Advanced Features
Using Portrait Mode for Depth
Portrait mode on your iPhone is a simple way to make photos look a bit more professional by emphasizing your subject. It blurs the background naturally, which can really help draw attention to what you want people to focus on. You just need to get close enough to your subject and make sure the lighting isn’t too harsh. Still, sometimes the blur doesn’t work perfectly, especially with complex backgrounds, so you might need to try a couple of shots.
One thing I noticed is how Portrait mode can change the whole mood of a photo. For example, when taking a picture of a person in front of a cluttered wall, the blurred background almost removes distractions. But with pets or smaller objects, it can struggle a bit with the edges, so be patient. Try moving around your subject to find the best angle where the effect looks natural.
Exploring Cinematic Mode
Cinematic mode is a newer feature that adds a kind of moving focus effect to your videos, and I think it’s also useful for still shots in some cases. It mimics how real cameras shift focus from one subject to another, leading your viewer’s eye where you want it. This can bring a storytelling element to everyday moments. But it does take some practice to get timing and focus right, and sometimes the phone’s choices can surprise you—like suddenly focusing on the background when you expected the subject to stay sharp.
What’s interesting is the depth effect Cinematic mode adds, which makes scenes feel less flat. It can be a neat way to highlight emotions or create suspense in a clip. Experiment with moving closer or farther from your subject while recording—it changes how strong the effect looks. Watching your footage right after shooting helps, because you might find moments where the focus shift worked better than you expected, and others where it missed the mark.
Creating Interesting Perspectives
Looking at your subject from a new angle can change everything. With your iPhone, you can easily shift your viewpoint to add depth or surprise to even the simplest shot. Try shooting from above—maybe standing on a chair or holding your phone overhead. This often makes familiar scenes feel fresh. For example, a plate of food might suddenly appear more artistic or a crowded street more orderly. Going low, near the ground, flips the perspective again. It can make small objects appear larger or give ordinary scenes a dramatic twist. Sometimes, shooting up at a person or building creates a sense of power or grandeur that you wouldn’t get at eye level.
Close-ups invite your viewer to slow down. Instead of the whole scene, focus on tiny details—think the pattern on a leaf, the texture of denim, or the curve of a petal. The iPhone’s camera is surprisingly good at capturing these textures and intimate moments. Use the zoom or just move really close. Either way, you’ll probably notice things you missed before. Macro-style shots might feel limiting sometimes because it’s just one detail, but that focus can make your photo more thoughtful. It turns everyday objects into something worth staring at. Trying both wide and tight angles, back and forth, keeps shooting interesting and helps develop your eye for what’s unique in your surroundings.
Sharing and Storing Your Best Photos
Organizing Photos on Your iPhone
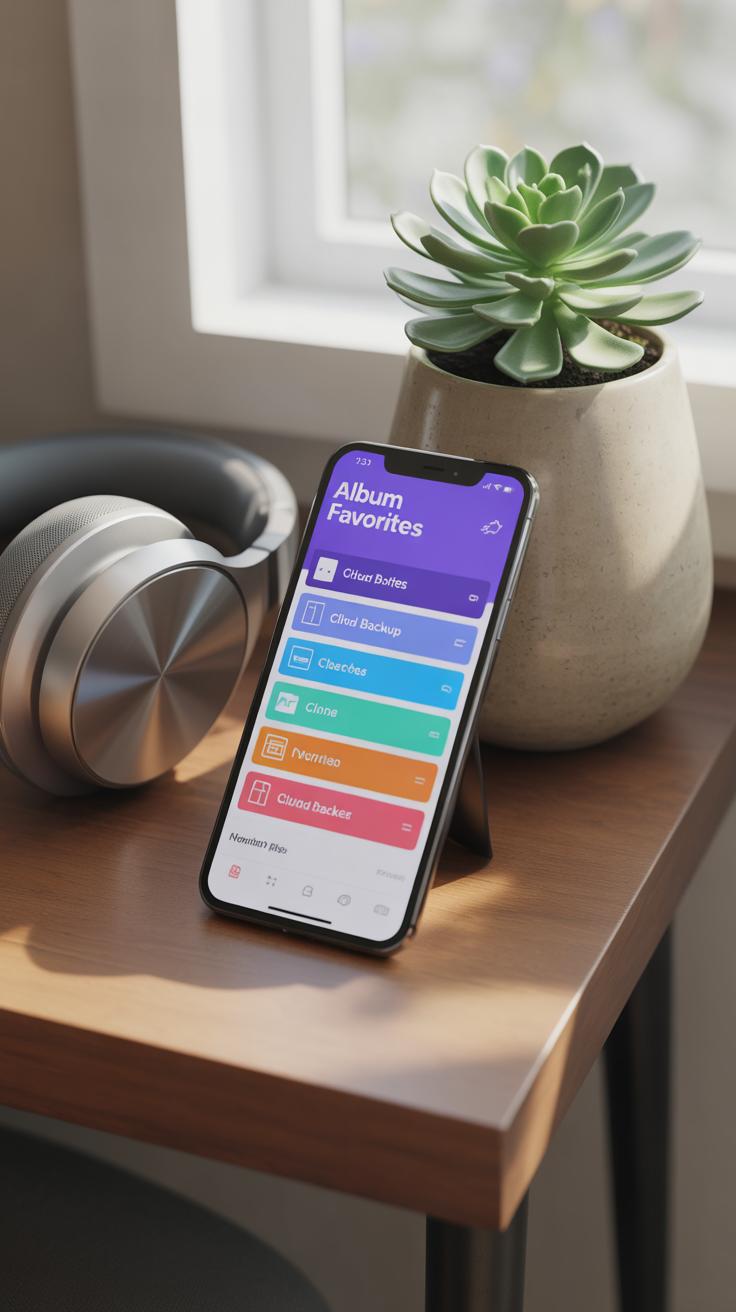
Keeping your photos organized makes a huge difference when you want to find that perfect shot quickly. On the iPhone, creating albums is straightforward. You can group photos by events, themes, or even moods—it’s flexible. I find it useful to name albums specifically, like “Sunsets” or “Family Trips,” to avoid hunting endlessly.
Also, don’t just rely on the iPhone’s local storage. Using cloud storage is a solid backup. iCloud Photo Library syncs your images across devices automatically, so even if your phone gets lost or damaged, the photos stay safe. Other options like Google Photos or Dropbox can work too, especially if you want more space or features. Just remember, keeping backups in more than one place never hurts—because sometimes tech doesn’t cooperate the way you’d expect.
Sharing Photos Without Losing Quality
When it’s time to share, the quick way isn’t always best. Messaging apps often compress photos, which hurts detail. So, if you want the picture to look just like it does on your phone, you need to be selective. One option is AirDrop—if your friends use iPhones too. It sends full-resolution files fast and without messing with quality.
Alternatively, sharing through services like Google Drive, Dropbox, or OneDrive keeps your photo’s resolution intact, though it requires a bit more effort. Sending a direct link to a folder is usually the best bet if you’re sharing with multiple people. You might wonder if this is worth it for casual shots. Maybe not. But when you have those moments you want to preserve perfectly—say, a well-timed silhouette or a sharp portrait—it’s worth the extra step.
Conclusions
Using your iPhone to take professional-looking photos is all about knowing what your camera can do. Small changes like adjusting lighting, focus, and angle make a big difference. Editing photos afterward helps bring out the best in your images. Practice these steps and see how your photography improves.
Remember, good photos tell a story. Pay attention to what you shoot and how you shoot it. With your iPhone and these simple tweaks, you can create images that stand out and capture moments beautifully.