The Sensor Vs. The Brain: Why Specs Don’t Deliver Moon Pictures On Iphone
Small Sensor Physics Kills Optical Zoom
You want to believe your iPhone sensor is capable of delivering moon detail because admitting it can’t means the $1,200 device isn’t built for what you actually want to photograph. Physics doesn’t care about your purchase justification. Smartphone sensors measure roughly 1/1.3 inches—call it the size of a shirt button. The moon occupies about 0.5 degrees of sky. On a small sensor, that translates to roughly 100 to 200 pixels of actual moon data, even with digital processing helping. That’s not detail. That’s a suggestion.
Optical zoom requires longer focal lengths, which demands physical space inside the phone. Apple’s telephoto lens in Pro models reaches 3x or 12x zoom through actual glass elements, not cropping. But glass that reaches true lunar magnification would require a barrel longer than the device itself. The tradeoff is hard physics, not design philosophy. At maximum telephoto with current iPhone hardware, you’re pushing sensor limits before you even point at the moon.
Computational Photography Does The Heavy Lifting
The real work happens in software, not the lens. Computational photography is digital signal processing applied to image capture in real time—the field borrowed from radar and medical imaging, where engineers amplified weak signals into usable data for decades. iPhones don’t just take a photo. They take multiple exposures at different settings, align them, extract detail from shadows, suppress noise, and reconstruct what a larger sensor would naturally capture.
Night mode and Photonic Engine (Apple’s term for their latest computational stacking) solve one specific problem: gathering enough photons from a dim subject. The moon reflects sunlight, so it’s bright enough that standard exposure works. But moon detail requires contrast resolution the phone must manufacture. The software sharpens edges, boosts micro-contrast, and applies learned patterns about what lunar surface texture looks like. When you see crisp craters in an iPhone moon shot, you’re looking at algorithmic reconstruction, not raw sensor capture. The mechanism is real-time image synthesis guided by physics models and training data.
External Magnification: The Only Way To Get Real Iphone Moon Photography
Telescope Adapters: Choosing The Right Focal Length
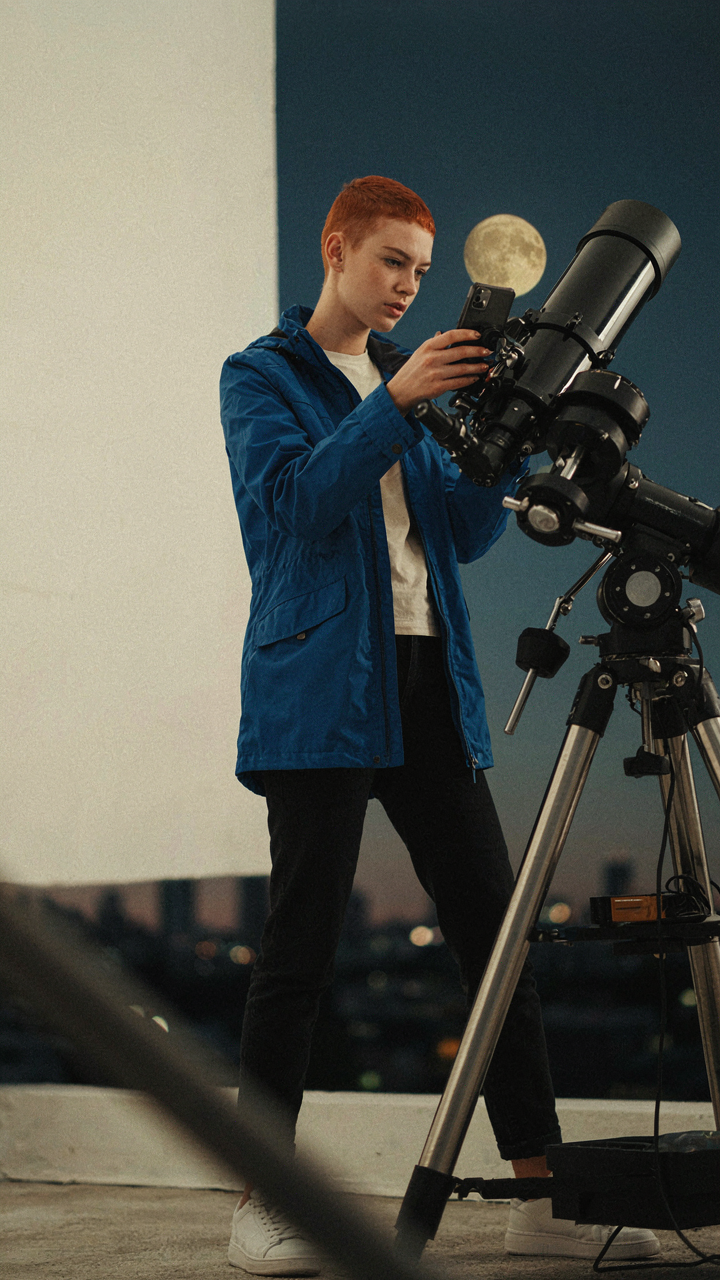
You want proof that your iPhone can do what expensive cameras do. That’s the real reason you’re here. The mechanism is simple: your iPhone’s native lens has a fixed field of view around 28mm equivalent. To capture moon detail, you need external magnification. A telescope adapter couples your phone’s sensor to a telescope or spotting scope’s eyepiece, converting that magnification into usable focal length. Without this, you’re shooting at the phone’s native angle, which renders the moon as a bright disk with minimal surface texture.

Focal length determines how large the moon appears in your frame. A 1000mm Newtonian reflector paired with a 25mm eyepiece yields roughly 40x magnification, which translates to a moon image spanning most of your iPhone screen with visible craters and shadows. Shorter focal lengths produce smaller moon images but require less precision during alignment. Most digiscoping rigs use 800mm to 1200mm telescopes with 20mm to 25mm eyepieces as the practical sweet spot. The adapter itself is a mechanical ring that threads onto your eyepiece and locks your iPhone’s lens housing in optical alignment. Focal length alone doesn’t guarantee detail; your telescope’s optical quality matters more than magnification.
Digiscoping: Technique For Aligning External Optics
The common advice says “center your phone and press the shutter fast.” That’s incomplete. Optics requires precision alignment—call it “collimation” from the optical physics field. Your iPhone’s lens must sit coaxially with the eyepiece’s optical axis. Any misalignment introduces coma and aberration, blurring detail even when magnification is high. Most digiscopers fail because they rush the alignment step, assuming friction-fit adapters are “close enough.”
Use this protocol: mount your telescope on a solid tripod first. Align to the moon’s visible edge, not the bright center—the terminator line gives you a hard reference point. Insert your adapter into the eyepiece and thread it hand-tight, leaving 2-3mm of clearance. Place your iPhone into the adapter but do not lock it down. Use live view mode and slide the phone slowly until the moon’s image fills the screen uniformly. Once centered, lock the adapter’s retention ring. Take one test shot at full resolution, then review at 100 percent crop to confirm craters show sharp edges. Adjust only if edge blur appears. This takes five to ten minutes per session and is non-negotiable for repeatability.
The Stability Protocol: Eradicating Shake For Crisp Moon Photos
Mount Your Phone On Rigid Support
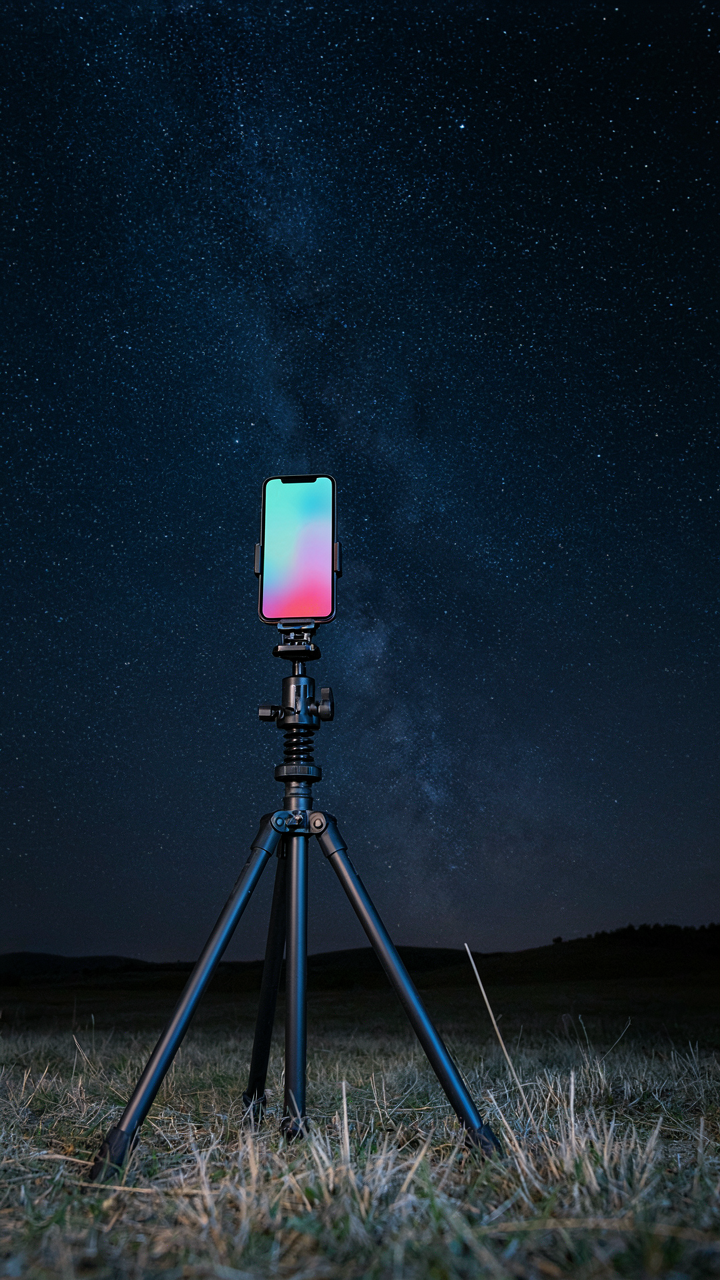
You want the photo without admitting you need equipment. The physics term is “damping”—eliminating oscillation before it ruins the frame. A tripod doesn’t just hold your iPhone steady; it decouples the phone from your body’s micro-movements, which become magnified at the moon’s scale. Hand-holding at 10x or higher zoom introduces vibration that softens every lunar crater and ridge. The moment you press the shutter, your finger creates force vectors that travel through the device.

A basic tripod with a ball head costs forty to eighty dollars and does the work. Clamp the phone securely so zero play exists between mount and device. The tripod’s weight matters: heavier bases resist wind and minor vibrations better than lightweight aluminum. Position it on stable ground, never on a surface that can shift. This single choice separates recoverable detail from blurred waste.
Trigger Without Touching The Phone
The common advice says use the volume button or tap the screen. Both are wrong because your finger delivers force to the device at the moment capture happens. The remote trigger or timer delay removes that contact entirely. Bluetooth remote clickers work, or use your iPhone’s built-in timer set to ten seconds. The delay gives vibrations time to settle after you step away.
Ten seconds is the standard interval because it accounts for vibration dissipation in most tripod setups. Press the button, move your hands away from the tripod, wait the countdown, and the shutter fires on a stable frame. No finger touch. No pressure applied to the phone at the critical moment. This mechanism is the difference between a usable image and a soft one that looks unfocused at full resolution.
Exposure Manipulation: Controlling Light For Detail In Moon Photos
Manual Camera Apps: Where Control Starts
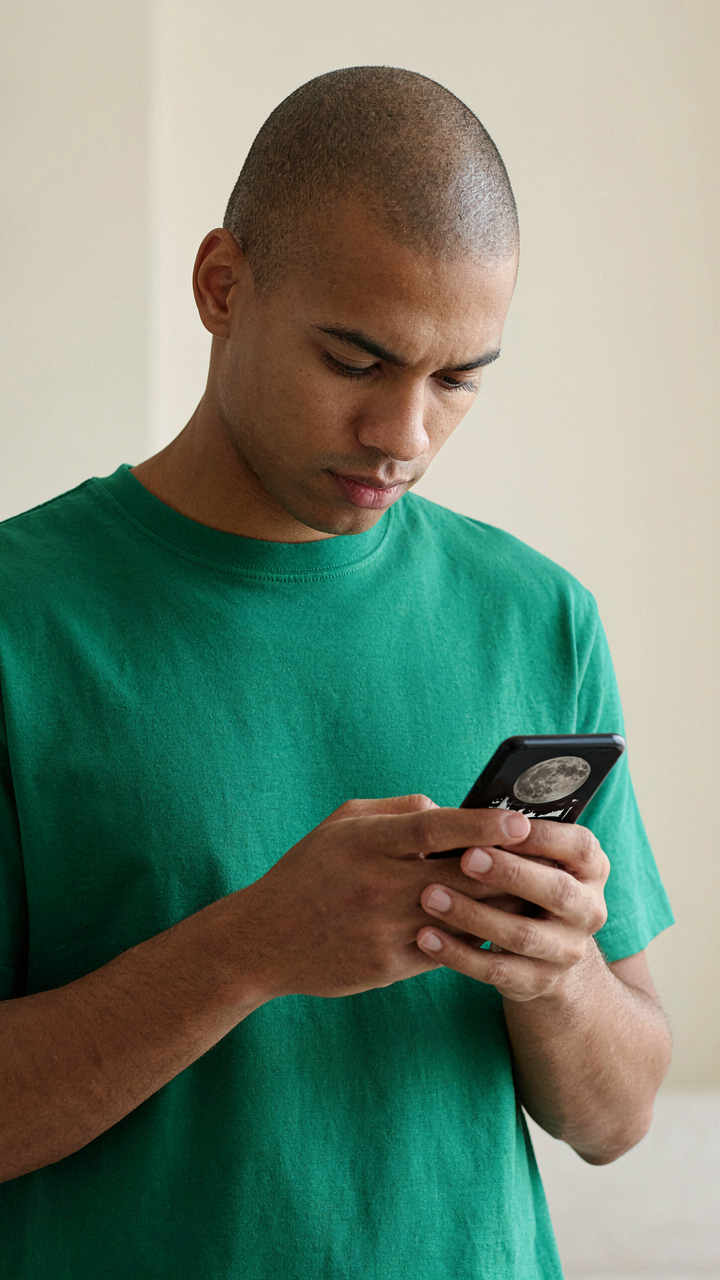
You want proof your phone can do what expensive cameras do. That desire is backwards. Your phone already captures more light data than you extract from it. The default camera app throws away most of it. Manual camera apps like Halide or ProCamera expose that waste by giving you direct control over ISO, shutter speed, and focus. These three variables determine whether the moon appears as a blown-out white disc or reveals surface texture.

The moon is bright. Sunlight reflects off its surface at roughly the same intensity as a sunlit landscape on Earth. Your phone’s auto-exposure assumes you want to meter the entire frame, so it crushes the moon into overexposure while trying to balance the dark sky. Manual control inverts this. Set ISO low (100 to 400). Use a fast shutter speed (1/500th or faster). Lock focus to infinity. The app lets you see the histogram in real time, which shows whether you’re clipping highlights or losing shadow detail in the lunar surface. Adjust until the histogram clusters left but doesn’t touch the right wall.
Exposure Bracketing: Layering The Data
Common advice says take multiple shots and pick the best one. That’s not bracketing. Bracketing is a mechanical process from film photography where you expose the same frame at different exposure values to capture the full tonal range. Modern phones can automate this, but only certain manual apps support it properly. The mechanism is simple: one frame underexposed to preserve the brightest parts of the moon, one at your target exposure, one overexposed to lift shadow detail. Professional photo software like Lightroom or Affinity Photo merges these frames into a single image with detail across the entire tonal range.
The moon’s surface has real contrast. Bright highlands sit adjacent to darker maria. Single-frame capture loses one or the other. When you bracket and merge, you preserve both. Apps like Snapseed or the native iOS Photos app can blend layers manually, but dedicated exposure fusion tools work faster. The process stacks the three exposures, aligns them pixel-perfect, then selects the sharpest detail from each zone. Shoot your bracketed series, import into desktop software, merge using exposure fusion mode, and the result shows crater definition and surface texture that a single exposure cannot hold.
Post Processing Leverage: Unlocking Hidden Moon Detail
Noise Reduction: Cleaning Up Digital Artifacts
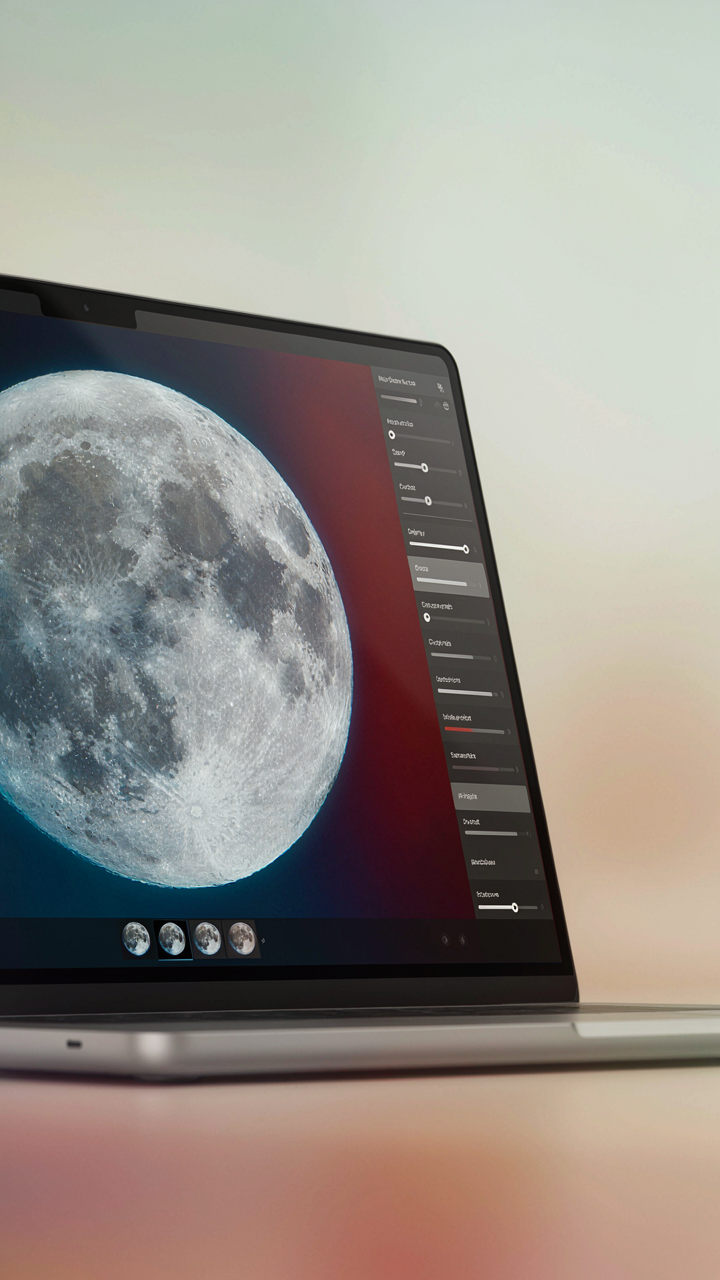
You want the moon photo to look like you captured something nobody else could. The real mechanism is this: your iPhone’s sensor records everything—light, heat, random electrical noise from the chip itself. Noise reduction is a signal-to-noise problem borrowed from signal processing. The iPhone stacks multiple frames and averages them, which kills random noise while preserving the actual moon detail that appears in the same spot across frames. This is why your single handheld moon shot looks grainy, but a stacked burst mode image cleans up dramatically.

Most editing apps offer noise reduction sliders, but they work differently. Some reduce luminance noise (brightness variation) while leaving color noise alone. Others do the opposite. The move is to reduce only what degrades moon craters and surface texture. Use Lightroom’s detail panel and drop the luminance slider to 30-50 first, then check if craters vanish or sharpen. If they vanish, you overshot. Crater detail requires restraint, not aggression.
Sharpening And Contrast: Revealing Surface Textures
Sharpening doesn’t add detail that wasn’t there. It increases edge contrast—the boundary between dark craters and bright lunar highlands. Your iPhone’s processing already applies sharpening in-camera, so the raw file contains less edge definition than what you see on screen. Post-processing sharpening must reverse-engineer what was compressed away.
Start with clarity or texture sliders before touching unsharp mask or high-pass filters. Clarity adds local contrast across mid-tones where most moon surface detail lives. Push it to 15-25 and watch craters pop. Increase overall contrast next, then move to targeted sharpening if craters still lack definition. The protocol: clarity first, then global contrast, then local sharpening. Never skip steps or you crush the image into an artificial mess.
Atmospheric Interference: Why Clear Skies Matter For Take Picture Of Moon Iphone

Seeing Conditions And Air Turbulence
You want the shot to look sharp because you’re betting your phone can compete with real cameras, and atmospheric turbulence is the actual reason it can’t. Astronomy borrows the term “seeing” to describe air stability, and your iPhone encounters the same problem: turbulent air bends light randomly as it enters the lens, scrambling detail before the sensor ever captures it. This isn’t about clouds blocking the view. Clear skies mean nothing if the air itself is moving.

Turbulence peaks during the day when ground heat rises, and improves after midnight when the atmosphere settles. Humidity and wind speed matter more than you think. Shooting through layers of warm and cool air creates the shimmer effect you see through binoculars on hot days. The moon moves fast enough that even slight vibration compounds the blur. Shoot during stable weather windows: low wind, consistent temperature, high atmospheric pressure readings from a weather app.
Light Pollution And Urban Glow
The advice to “just move away from the city” is useless. You need to understand what light pollution actually does: it scatters wavelengths into the sky, reducing contrast between the moon and background. Your iPhone’s sensor can’t separate signal from noise the way human eyes do, so urban glow crushes detail directly in the image.
Proximity matters less than angle. Shooting from a city park with the moon positioned away from streetlights and building light works better than driving to darkness but shooting toward town. The key mechanism is blocking direct light scatter. Position yourself so ambient light sources sit below your horizon line or behind obstacles. Use structures, trees, or terrain as shields. This reduces stray photons hitting your lens and gives your sensor actual contrast to record moon surface features.
The Capture Flow: Step By Step For Best Iphone Moon Photos
What You Actually Need Before Shooting
You want proof that your phone can do what expensive gear does, and that matters more to you than the actual photo. Here’s the mechanism: iPhone moon detail comes down to signal-to-noise ratio, which is a concept borrowed from electrical engineering. The moon is a high-contrast light source in total darkness, so your signal-to-noise ratio improves when you eliminate variables that add visual noise. This means your setup phase determines 70 percent of your result before you ever tap the shutter.
- iPhone model with Night mode: iPhone 11 and newer have computational photography built for low-light capture. Older models struggle with moon detail because their sensors lack the processing pipeline to recover highlight detail.
- Tripod or stable mounting surface: Camera shake kills moon photos faster than any settings change. Even a one-degree wobble blurs lunar craters into mush. Use a tripod, bean bag, or wall-mounted phone holder.
- Clear night sky with low humidity: Atmospheric moisture scatters light and reduces contrast. Shoot on dry nights after a cold front passes. Check local humidity before committing time.
- Apps for focus assistance: Stock Camera app lacks manual focus control on the moon. Use Focus Meter Pro, Halide, or ProCam to lock focus precisely on lunar detail and disable autofocus hunting.
- Peak moon phase timing: Shoot when the moon is higher than 30 degrees above the horizon. Lower angles force light through more atmosphere. Avoid the full moon if possible; the terminator line shows crater depth better.

The common advice says “shoot in low light” or “use Night mode,” but that misses the real constraint. iPhone moon photography is exposure-limited, not aperture-limited. Your phone’s aperture is fixed, so exposure duration and sensor gain are your only controls. You cannot change f-stop, so you stop wasting time thinking about it and focus on the two variables that actually move the needle.
Execution Sequence That Locks The Shot
The order of operations matters because autofocus will destroy your frame if you trigger it after framing. Lock focus first, then compose, then expose. Every step feeds the next without restarting the camera’s decision-making cycle. The moment you tap to focus on the moon itself, the camera meters the bright lunar surface and underexposes everything. Instead, tap the moon, immediately swipe down to reduce exposure compensation by 1 to 2 stops, wait for focus confirmation, then shoot without moving the phone.
Night mode is your default, but turn it off for the moon specifically. Night mode extends exposure time to 3 to 10 seconds, which introduces wobble and atmospheric distortion on a static, bright subject. Switch to standard photo mode, tap the moon to lock focus and meter, reduce exposure by 2 stops using the brightness slider, and fire the shot. The sequence is focus-expose-capture, always in that order, never autofocus mid-composition. Lock the controls before you touch the frame again.
Debunking IPhone Camera Myths: What Won’t Get You Real Moon Pictures
AI Scene Detection Misses The Moon
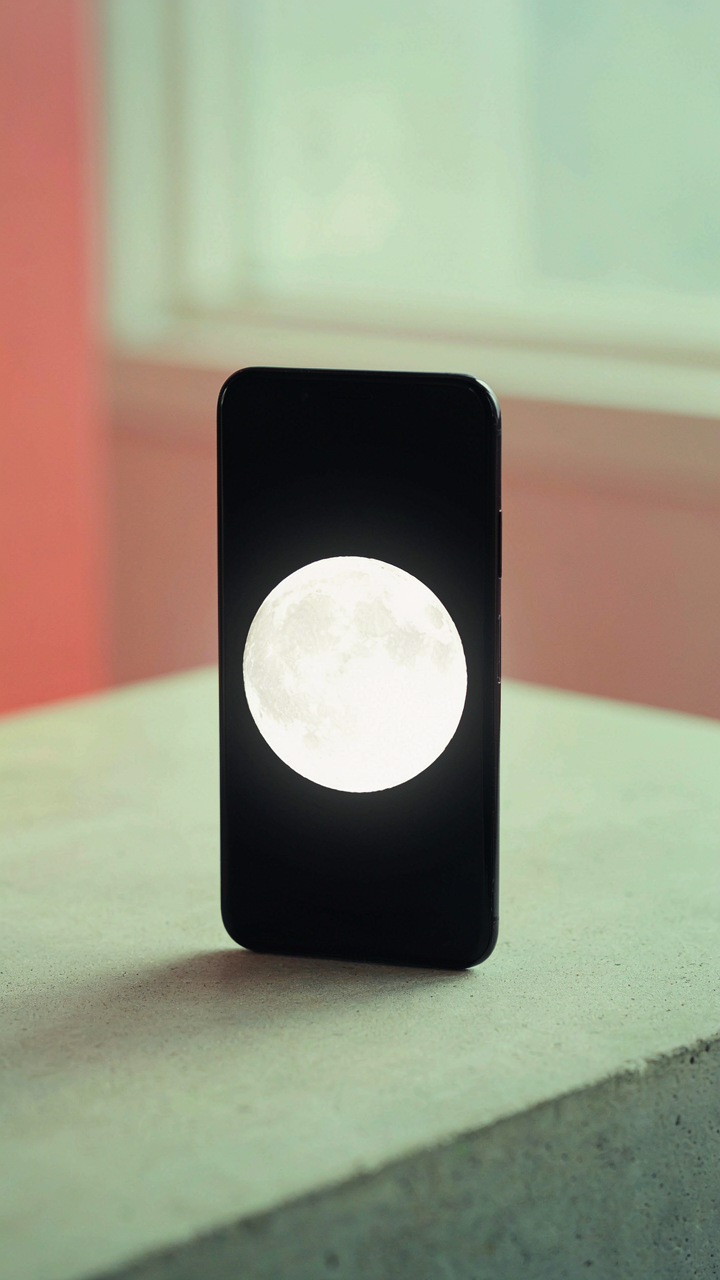
You want to believe your phone is smarter than it is because admitting it isn’t means you wasted time hoping. Here’s the mechanism: computational photography relies on machine learning trained on millions of common scenes—faces, landscapes, food, pets. The moon is rare training data. Your iPhone’s AI tries to brighten the dark sky and suppress the bright lunar surface simultaneously, crushing detail in both directions. Scene detection fails because the moon violates the normal exposure hierarchy every earthbound scene follows.

The neural engine inside your iPhone makes real-time predictions about what a “correct” image should look like. It applies algorithms designed for human subjects and buildings. When it encounters a celestial object with extreme contrast ratios and no contextual reference point, it panics into compromise. You end up with a blown-out white disk or an underexposed void. Turning off Night mode and locking exposure manually bypasses this entire failure mode, which is why it works.
Digital Zoom Stretches Pixels, Not Reality
The common advice says use zoom for moon shots. That’s incomplete and misleading. Here’s the physics parallel: digital zoom is interpolation, not magnification. A microscope uses actual optical resolution to reveal detail. Digital zoom uses math to guess what pixels between existing pixels should be. You’re not gaining information, you’re redistributing the pixels you already captured across a larger screen space.
Your iPhone’s 3x optical telephoto or Pro Max 5x optical zoom genuinely enlarges the moon’s image on the sensor before processing. Anything beyond those limits becomes mathematical invention. A 10x digital zoom on a standard iPhone takes your existing pixel data and stretches it into nothing. The moon appears larger, but you’ve added zero new detail. Crop in post-processing after shooting at optical limits, then export at native resolution to preserve what you actually captured.
Beyond The Pixel: Understanding Astronomical Scale
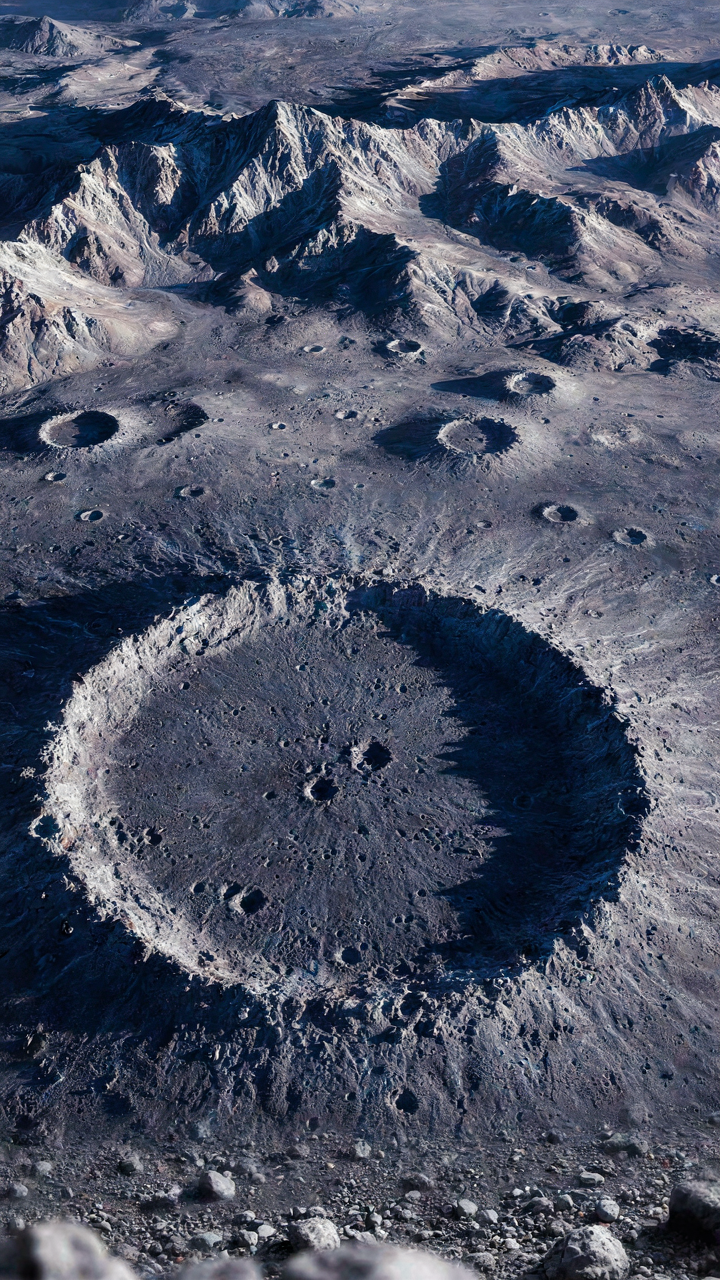
How Your Phone Actually Resolves The Moon
You want proof your iPhone captures real detail because accepting digital limitation feels like admitting you wasted money on a camera that cost more than your first laptop. Here’s what actually matters: angular resolution, borrowed from optics and astronomy, measures how close two points can be before they blur into one. Your iPhone’s sensor has a fixed angular resolution limit determined by sensor size, lens focal length, and wavelength of light. The Moon is far enough away that this matters more than megapixels ever will.

Angular resolution follows a hard physical law, not a marketing spec. The iPhone’s telephoto lens—typically 12 megapixels with a 77-millimeter focal length equivalent—can resolve lunar detail down to roughly 1 to 1.5 kilometers on the surface. That’s not opinion. That’s diffraction limits hitting a sensor array. No software, no Night Mode, no computational photography changes this floor. You see craters and valleys not because your phone is exceptional, but because the Moon is enormous and close enough that even mediocre optics catch real structure.
What Detail Actually Means On The Lunar Surface
Everyone conflates sharpness with accuracy, then feels betrayed when their moon photo looks “fake.” Stop there. Detail on the Moon means distinguishing features separated by distance, not recreating satellite imagery in your hand. Your iPhone shows real topography—shadows revealing crater walls, maria presenting as flat expanses, mountains breaking the horizon. This is genuine astronomical observation, not computational illusion. The distinction matters because it changes what you’re actually looking at.
The Moon reflects sunlight at specific angles based on your location and time. Your phone captures the light that reaches its sensor from those reflected rays. That captured light reveals lunar geography with resolution limited by physics, not ambition. Zoom crops and digital magnification expose this limit fast. Real detail holds up to scrutiny because it’s derived from actual optical data, not interpolated pixels pretending to be information. Expect to resolve major crater systems, mountain ranges, and large formations. Expect to fail at texture detail smaller than your angular resolution threshold.
The Real Obstacle To Capturing The Moon Is Not Your IPhone, But Your Refusal To Master The Invisible Variables
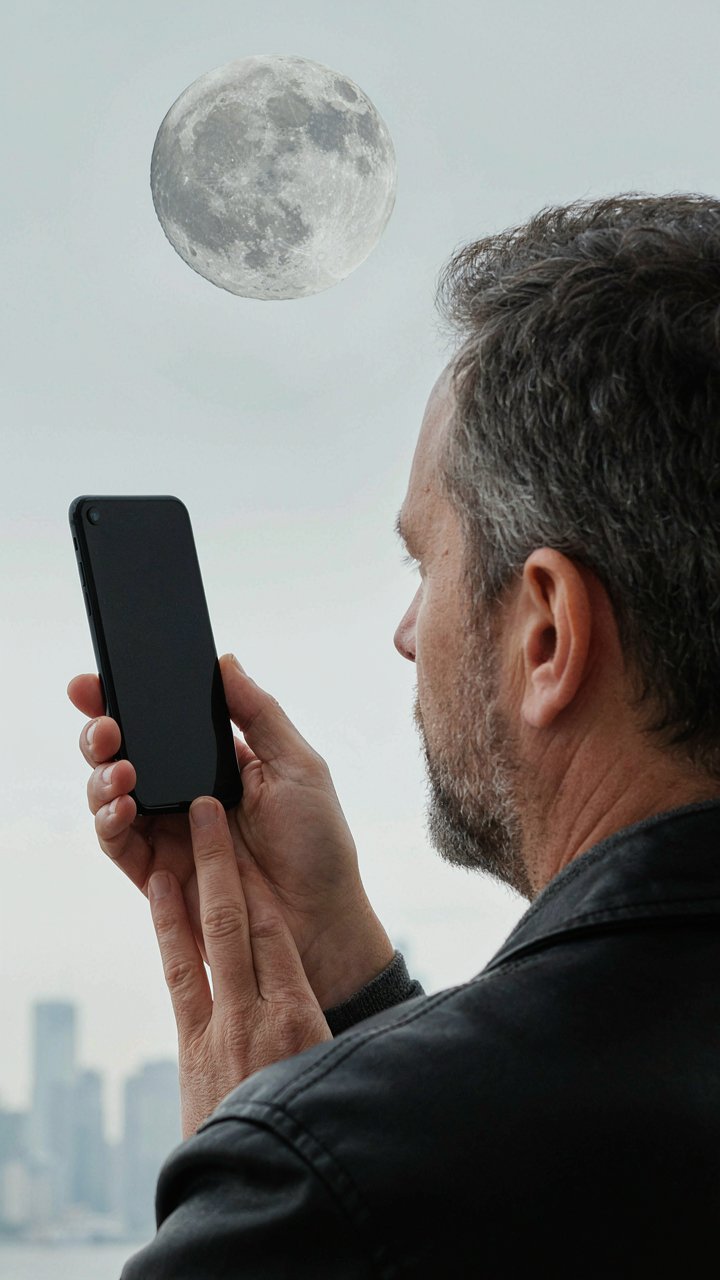
Your phone can capture the moon. Your hands can’t hold still. Your settings sit on auto. Your timing ignores the lunar cycle. You blame the camera. Smart people blame themselves. Open your camera app right now. Switch to manual mode. Zoom to 10x. Find the moon. Lock your focus. Take one shot. You’ll see what you’ve been missing the entire time: the moon was never the problem, your laziness was.



