The Autofocus Delusion: Why Your IPhone Lies
Autofocus Is A Convenience Tax, Not A Feature
You want to believe your iPhone knows where to focus so you don’t have to think about it. That’s the real appeal here, and it’s exactly why autofocus fails you when it matters most. Your phone’s autofocus system uses contrast detection to find edges and lock onto them, but contrast exists everywhere in a frame. The camera doesn’t know what you’re actually trying to photograph, only what’s closest or highest contrast. It’s guessing.
The mechanism is simple: your iPhone’s autofocus sensor reads the entire frame, finds areas of high contrast, then sends focus commands to the lens. It prioritizes speed over accuracy because the engineering goal was responsiveness, not precision. When you tap to lock focus, you’re interrupting this constant guessing with a single instruction. Without that tap, the camera keeps hunting, reacquiring focus between every shot. This hunting phase is where sharpness dies.
When Autofocus Becomes Your Enemy
The common advice says autofocus works great for general shooting. That’s incomplete. Autofocus actively sabotages backlit subjects, low-contrast scenes, moving subjects you’re tracking manually, and anything behind glass or reflective surfaces. In these situations, the camera either locks onto the wrong plane entirely or cycles through multiple focus points before settling on something useless. You’ve already missed the shot.
Here’s the real cost: autofocus latency. Even when it locks correctly, there’s a processing delay between your tap and actual focus acquisition. In situations where your subject is moving toward or away from the camera, that delay means your follow-focus is always trailing reality. Focus lock eliminates this variable by removing the algorithm from the equation. Tap once, lock the focus plane, and shoot everything at that depth until you deliberately change it.
Unlocking The AE/AF Lock: The One Tap Power Move
How Tap And Hold Works
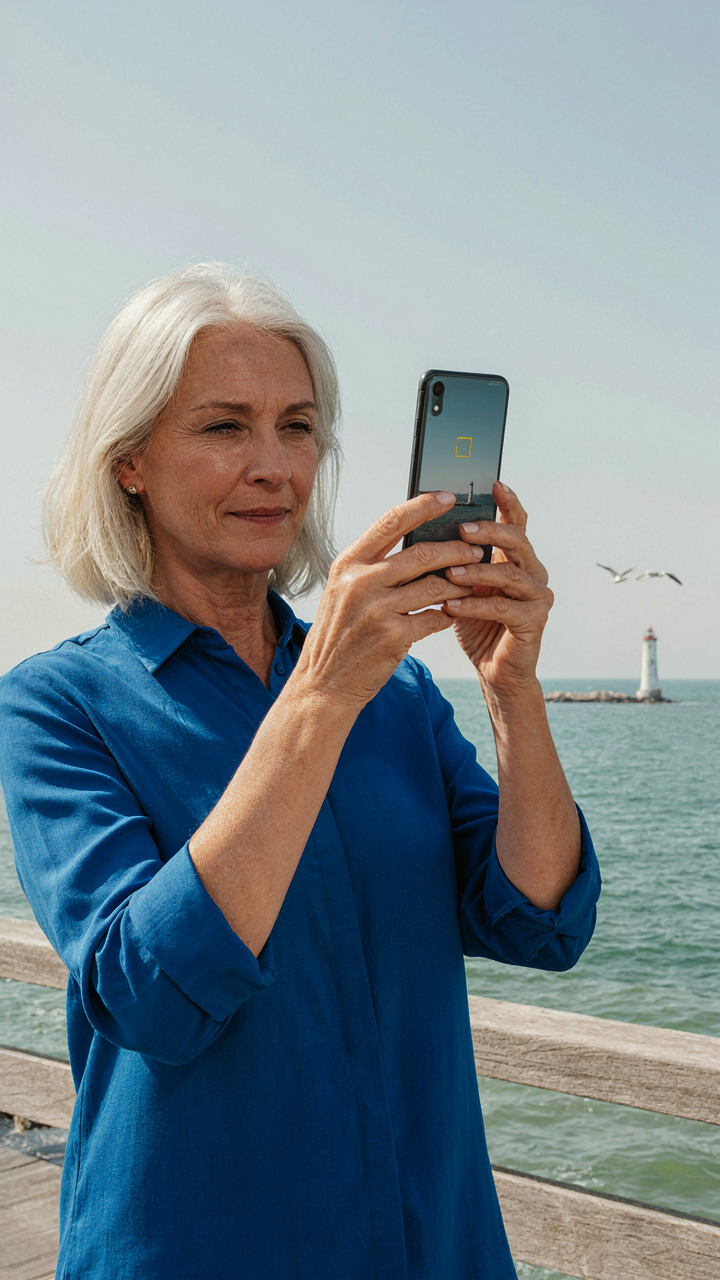
You want sharp shots because blurry photos feel like failure, and failure feels like a waste of the moment you paid attention to capture. Here’s what actually matters: tap and hold on your subject for one second. Your phone locks both exposure (AE) and autofocus (AF) simultaneously. The camera stops hunting for focus. It stops recalculating light. Everything freezes. This is not a setting you turn on. This is a physical gesture that overrides the default behavior where your phone refocuses every time you move the frame slightly.

The tap-and-hold action creates a mechanical anchor point. Without it, your phone’s autofocus system treats each frame change as a new problem to solve, constantly adjusting. The lock disables that search. You control when focus updates happen instead of letting the camera chase movement or reflections. This matters because most phone cameras default to continuous autofocus, which produces soft images when subjects move or when you recompose mid-shot.
Visual Confirmation Prevents The Amateur Mistake
The common advice says “just tap to focus” and stops there. That’s incomplete. Tapping alone does not guarantee the lock holds. You need to see the confirmation. After your tap-and-hold, look for a yellow or white box around your subject with “AE/AF Lock” text appearing at the top of the screen, usually near the exposure slider. Some phones also show a small lock icon. If you don’t see this, the lock did not engage. You tapped but did not hold long enough. The difference between a locked frame and an unlocked one is invisible until you shoot and find soft focus where you expected sharpness.
The lock persists until you tap somewhere else or swipe to adjust exposure. This is the protocol: tap and hold for full lock confirmation, frame your shot, then shoot. If you recompose by moving your phone without tapping again, focus and exposure stay locked on your original subject. The amateur mistake is tapping and assuming the lock is active when the visual confirmation never appeared. Verify the lock icon every time before you take the shot.
The Depth Discipline: What Focus Lock Actually Controls

Depth Of Field Is The Real Lever
You want sharp photos because you’re terrified of looking like an amateur, and focus lock is the tool that separates intentional from accidental. But the mechanism isn’t just “keeping things sharp”—it’s controlling depth of field, the zone of acceptable sharpness in front of and behind your focus point. Borrow the physics concept of depth of field from lens design: your iPhone’s sensor and lens create a plane of sharpness, and focus lock anchors that plane exactly where you decide.

When you tap to focus on your subject, you’re not just sharpening that spot. You’re establishing a depth field that extends roughly one-third in front of your focus point and two-thirds behind it. That ratio shifts based on distance and light. Focus lock freezes this calculation so your phone doesn’t hunt for a new focus point as your subject or light changes. The tighter your iPhone’s lens aperture (the smaller the opening), the deeper that field of acceptable sharpness becomes, which is why indoor shots need more precision than outdoor ones.
Background Blur Requires Strategic Focus Points
The common advice says “tap on your subject to focus.” That’s incomplete. You need to understand that where you focus directly determines how much your background blurs or stays sharp. Focus lock on your main subject pushes the background out of the depth field, creating blur. Focus lock on something behind your subject keeps the background sharp. The tool isn’t about sharpness—it’s about architectural control of what stays visible and what disappears.
Close subjects with focus lock create more background blur because the depth field shrinks as you move closer to your lens. Far subjects create less blur because the depth field expands. To maximize blur for a portrait, tap on your subject’s face, lock focus there, then recompose your shot. The focus remains locked on that distance, so the background stays appropriately blurred. This is deliberate visual hierarchy, not luck.
The Exposure Equation: Why Focus Lock Affects Light
Automatic Exposure Links To Your Focus Point
You care about this because you think focus lock is just about sharpness. It isn’t. The iPhone’s exposure meter is tethered to your focus point like a physics problem where the dependent variable shifts based on where you’re looking. When you tap to lock focus, you’re simultaneously telling the camera where to meter light from. The two systems are architecturally connected, not separate.

This is why your image gets brighter or darker the moment you shift your focus tap across the frame. The camera isn’t just locking focus. It’s sampling light from that region and adjusting the exposure algorithm accordingly. Most phone photographers miss this entirely and wonder why their subject goes dark when they focus on it. The meter moved with your tap.
Adjust Brightness After Focus, Not Before
The common advice is backwards: lock exposure first, then focus. Wrong. Lock focus first, accept the exposure the meter gives you at that focus point, then fine-tune brightness independently using the exposure slider. This order works because it separates the two decisions instead of chasing your tail trying to hit both at once.
After you’ve tapped to lock focus, swipe up or down on the right side of the screen to adjust exposure compensation. This slider works independently of the focus point and lets you brighten or darken the frame without resetting your focus lock. The mechanism is simple: focus lock freezes both focus and the meter’s sampling region, then exposure adjustment operates on top of that locked baseline.
The Aesthetic Focus Iphone: Intentional Composition Protocol
See The Shot Before You Take It
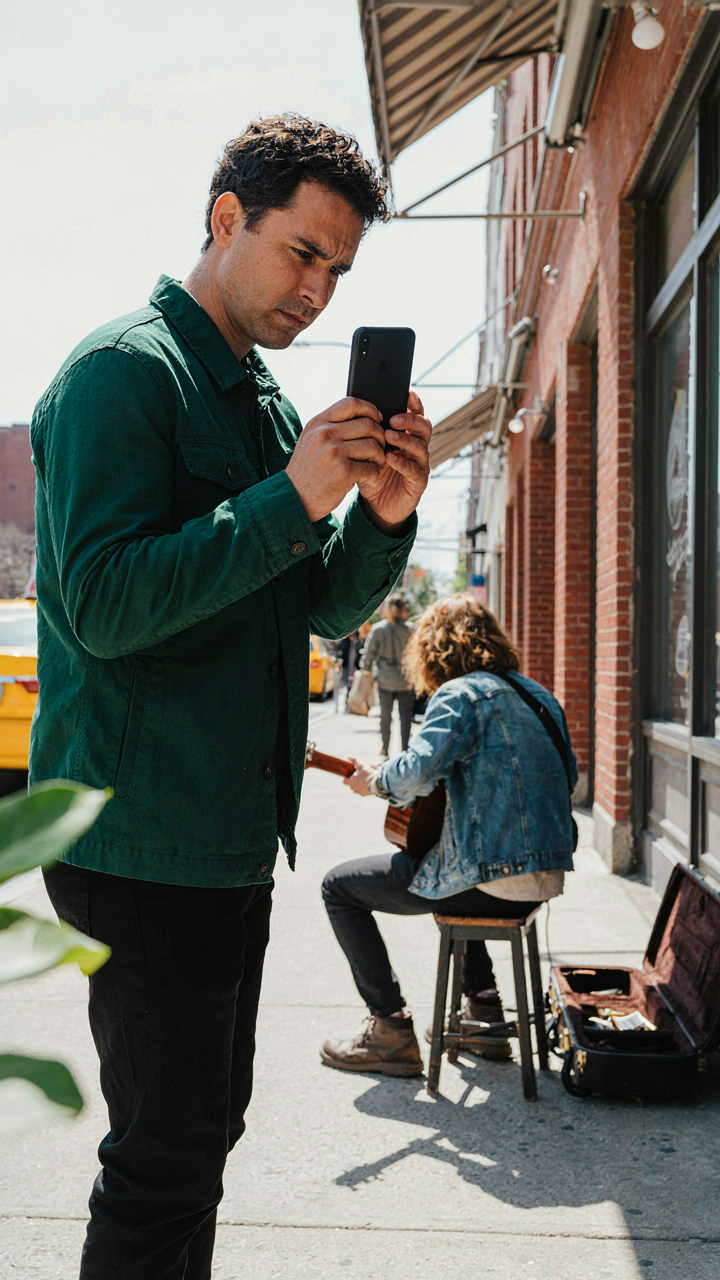
You want the photo to look intentional because you’re afraid it looks like you don’t know what you’re doing. Here’s the mechanism: focus lock is a commitment device. It forces you to decide what matters before you press the shutter. Most people tap randomly and hope the camera guesses. That’s not composition. That’s gambling.

Pre-visualization is borrowed from film cinematography, where “blocking” meant placing actors and cameras with purpose before rolling. On iPhone, focus lock is your blocking tool. You identify the subject, tap it to lock focus, then frame around that decision. The camera stops hunting for what you want because you told it explicitly. This transforms a reaction into a statement.
Point The Camera With Intention
Framing without focus lock is amateur work. You point, the phone searches for contrast or motion, and whatever gets sharpest wins. Your subject gets soft. The background pops. The photo tells the wrong story. Focus lock kills this accident.
Tap the element you’re prioritizing. Lock it. Then compose the rest of the frame knowing that element stays sharp. The phone no longer competes with your eye over what matters. You own the decision. This is where casual shooting becomes deliberate. Execute the frame knowing every sharp pixel is yours to control.
Focus Mode IPhone Ideas: Situational Mastery Framework
When Motion Demands Lock
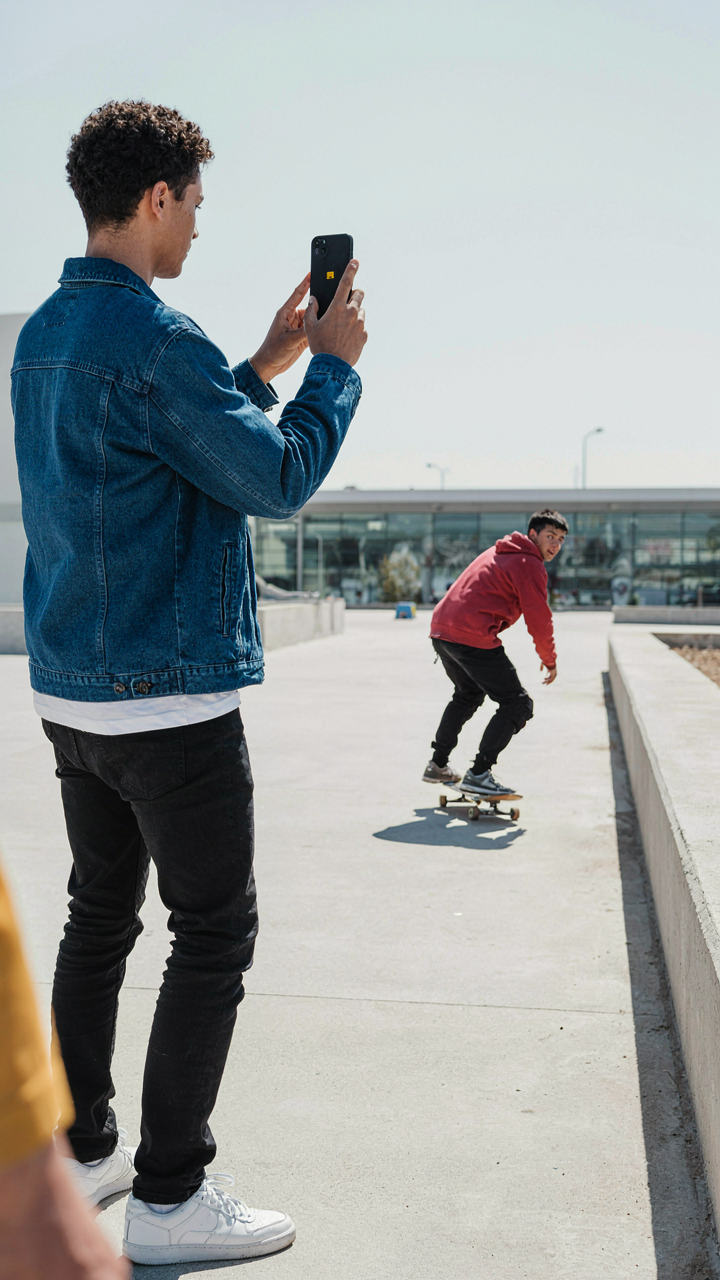
You want to look like you know what you’re doing. Here’s the real mechanism: tracking focus and locking it are two separate actions. Borrow from ballistics—your phone has a “lead” problem. Moving subjects need you to predict position, tap ahead of the action, and lock before you shoot. Most people tap on the subject mid-motion, which guarantees missed focus. Tap where the subject is going, not where it is.
- Tap ahead of the trajectory: Place your focus point in front of a runner or cyclist, not on them. Your phone processes focus lock slower than movement happens. Lead the subject the way a hunter leads a moving target.
- Hold to lock immediately: After tapping ahead, press and hold the screen until the yellow box appears with “AF/AE Lock” text. This prevents the camera from re-hunting focus once you’ve committed to your point.
- Shoot the sequence fast: Once locked, take 3-5 shots in quick succession using volume button or tap shutter. The lock window closes after a few seconds if nothing moves, but active holding keeps it alive.
- Reset between subjects: If the subject leaves your locked zone, tap a new point. Don’t assume the lock follows motion—it doesn’t. Each new target position requires a new lock point.
- Use portrait mode for depth: In low light with moving subjects, portrait mode’s depth processing actually helps isolate focus to your lock point more reliably than standard mode.

The sequence matters more than the individual shot. Tap, hold, shoot three times, move on. Most people tap once and expect the phone to track. It won’t. You control the lock.
Stillness Requires Precision Timing
Static subjects let you build focus depth instead of defending it. The common advice is “just tap and shoot.” That’s incomplete. Static scenes demand a three-step protocol: lock your focus, verify your exposure matches your intent, then refine both before you fire.
Tap your subject in the brightest part of your frame first. Your phone locks focus and exposure together. Now swipe up or down on the right side of the screen to adjust exposure without breaking the lock. Your focus point stays locked; only the exposure slider moves. Once the histogram or preview looks right, tap the shutter. This workflow separates the mechanics nobody teaches: focus lock and exposure adjustment are independent controls, but people treat them as one action.
Beyond The Basics: Advanced Focus Lock Tactics
Recomposing After Lock: The Subtle Shift For Impact
You want to know this because it makes your shots look intentional, not like you got lucky with autofocus. Here’s the mechanism: focus lock decouples where you focus from where you frame. Most photographers waste this separation. They lock focus on a subject, then reframe and shoot the same composition. That’s not a tactic, that’s just using the tool correctly by accident.

The real move is locking focus on a near object, then reframing to place that object off-center or in the frame’s edge. This forces shallow depth of field to work geometrically. Your background falls out of focus faster because the plane of sharp focus stays anchored to your initial point, not the final frame. Tap to lock, physically move your phone without breaking the lock, then compose. The subject you locked on becomes a sharp anchor point while everything else degrades predictably.
Deliberate Bokeh Control Through Focus Lock
Focus lock borrows from optical depth of field theory: your aperture is fixed, but your distance relationship to subjects can shift. Lock focus on a far background element, then move your phone closer to a near foreground object without unlocking. The background stays sharp, the foreground blurs. Most people think bokeh is automatic. It isn’t. You engineer it by controlling what distance you’ve anchored sharpness to, then changing your vantage point.
This works because the iPhone’s sensor doesn’t recalculate focus as you move. You’ve essentially frozen the focal plane in space. Move toward your subject after locking on something behind it, and the separation becomes extreme. Move away from your subject after locking on it, and the background gains sharpness. Lock, then move. Don’t move, then lock. The sequence matters because reframing after lock is how you weaponize a fixed focal plane.
The OODA Loop Of IPhone Photography: Focus, Observe, Decide, Act
Rapid Assessment And Focus Adjustment
You want to look like you know what you’re doing with a camera. The mechanism is simple: military strategist John Boyd’s OODA loop maps directly onto focus lock. Orient means setting your focus point. Observe means watching what shifts in the frame. Decide means choosing to lock or track. Act means capturing. The speed of this loop separates sharp shots from missed moments.

Most iPhone users treat focus as a one-time tap and forget. Wrong. Focus is a decision you remake per shot. Lock focus when your subject distance is stable. Unlock and retap when distance changes. The frame rate of your decision-making determines your keeper rate. Boyd’s insight wasn’t about being faster in general—it was about cycling through orient-observe-decide-act before your opponent completes one cycle. Your opponent here is motion and changing light.
Dynamic Shooting Without Hesitation
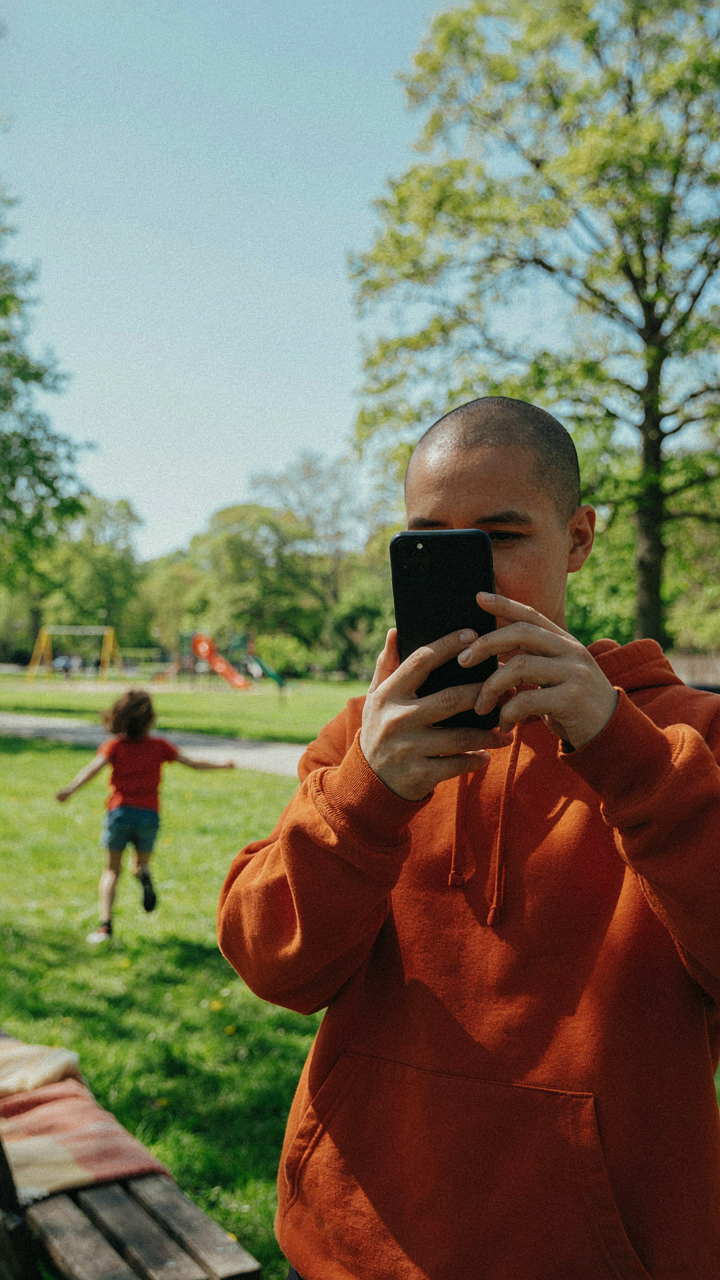
When your subject moves unpredictably, the common advice is to use face detection or tracking. That works for some scenarios and fails for others. Face detection loses lock if the subject turns sideways or moves behind an obstacle. The real mechanism is knowing when to sacrifice focus automation for manual control. Tap and hold on your subject to lock focus, then move your phone to reframe. This keeps focus rigid while you compose.
Continuous autofocus drains battery and creates micro-adjustments that soften your image. Lock focus, then shoot a sequence. This is what professionals do. The protocol is tap-hold for two seconds on your subject, watch the yellow box confirm the lock, then shoot three to five frames without moving your phone. Your focus doesn’t hunt. Your exposure doesn’t shift between frames. Your keeper rate climbs.
Common Blunders: Focus Lock Mistakes That Ruin Shots
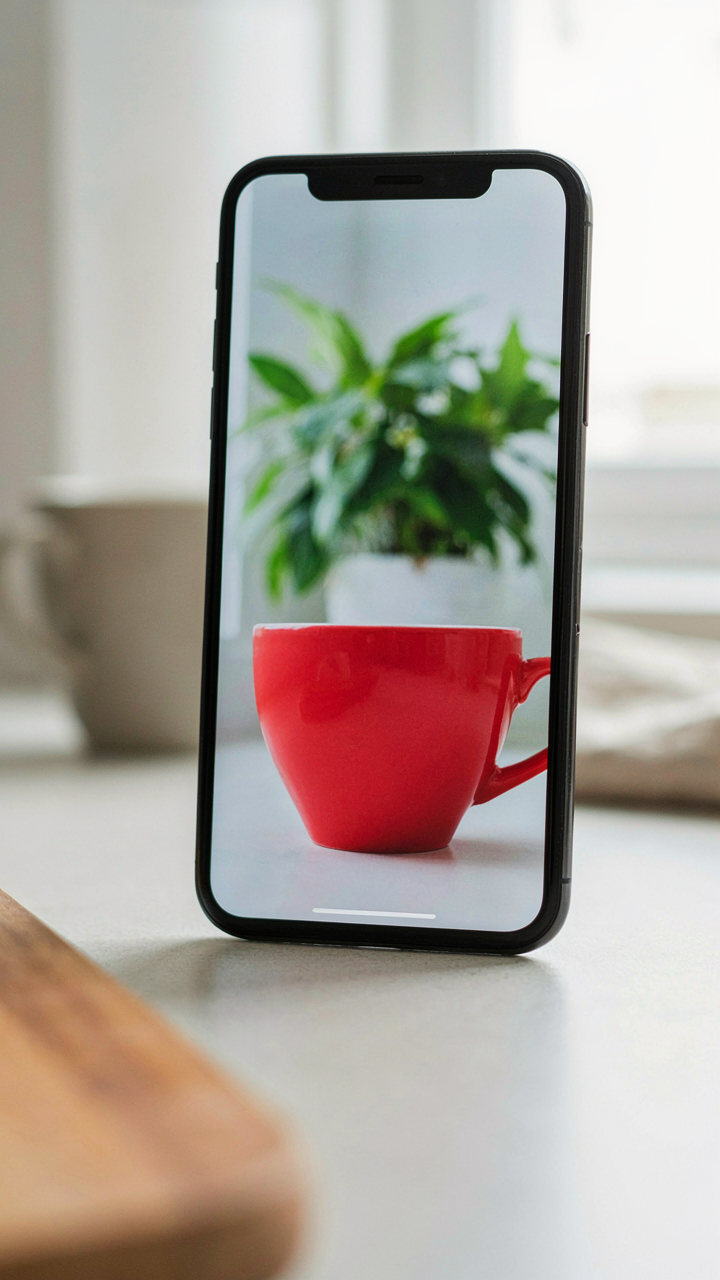
Locking On The Wrong Subject
You’re afraid you’ll miss the shot, so you lock focus on whatever’s nearest instead of what actually matters. The mechanism here mirrors target acquisition in military strategy: you’re committing your resources to the wrong objective. Your camera’s autofocus system has finite processing power. Once you tap to lock, it stops hunting and commits to that plane of focus. If you lock on a foreground element when your subject sits behind it, everything you cared about goes soft.

Most people think focus lock is binary: locked or unlocked. It’s not. You can tap any point on screen to shift where focus locks before you shoot. The costly mistake isn’t tapping—it’s tapping without intention. Before you lock, identify the single most important plane of depth in your frame. Eyes on a face. The nearest edge of a product. The blade of grass you want sharp. Lock there. Everything else becomes secondary.
Forgetting To Re Lock For New Compositions
You lock focus, nail three shots, then shift your camera six inches and keep shooting without re-locking because momentum killed your attention. Focus lock holds steady until you manually change it or your camera’s scene mode resets. The problem: distance between camera and subject changed. Your locked plane of focus didn’t follow. The result is shots that should be sharp but aren’t, and you won’t notice until review.
This happens because focus lock feels permanent once you commit to it. It’s not. It’s a static anchor point that only stays valid for one specific camera position and distance. Move. Recompose. Re-lock. Make this a protocol: tap to lock, shoot once or twice, check your frame, move, tap again. The discipline of re-locking takes five seconds and eliminates the entire category of out-of-focus mistakes caused by lazy repositioning.
Iphone Focus Ideas Aesthetic: The Intentional Blur Paradox
Blur As Design, Not Accident
You want people to think your photos are technically flawless, but the real power move is using blur to direct attention. The common advice treats focus lock like a binary—sharp or ruined. Wrong. Optical physics calls this principle “depth of field,” and iPhone focus lock lets you weaponize it. When you lock focus on a subject, everything outside that plane falls into graduated blur. That blur isn’t a failure. It’s the frame telling your viewer where to look.
The mechanism works because human eyes track contrast and sharpness before anything else. Lock focus on a face, and the background dissolves into tone. Lock on an object, and the person holding it becomes context. This isn’t aesthetic theory. It’s how visual hierarchy functions. Tap your subject, hold until the yellow square locks, and you’ve controlled what matters in the frame before you ever press the shutter.
Guide Eyes With Strategic Softness
Most photographers fear blur. They chase sharpness everywhere, flattening the image into visual noise. This approach wastes iPhone focus lock entirely. The tool exists to separate layers of information, forcing the viewer’s eye into a deliberate path. When you leave sharp what matters and soften what doesn’t, you remove cognitive friction. The viewer doesn’t have to parse the image. The image reads itself.
Position yourself so your subject sits in the foreground and background elements fall away from the focus plane. Lock focus on the primary subject, recompose your shot without breaking the lock, and fire. The background blur creates depth and removes distraction in the same gesture. This technique compounds with movement. Subjects moving toward or away from you naturally enhance the blur effect because the focus plane remains locked while distance shifts. That’s your protocol: lock, position, compose, shoot.
Your Fear Of Missing The Moment Is A Greater Blur Than Any Shaky Hand

Most photographers miss shots because they chase every moment instead of controlling one. Focus lock stops the panic. It forces you to choose your subject before you shoot. Open your camera app right now. Tap and hold on something close to you. Feel how that single decision removes the chaos. You don’t get sharper photos by moving faster. You get them by moving less and deciding more.



