The Myth Of The Quick Tap: Why Speed Kills Your Shot

Instant Wins Versus Deliberate Frames
You want the photo done fast because you think speed means less awkwardness. It doesn’t. The mechanism here is psychological: your brain treats the timer countdown as permission to relax composition until the last second, then panic-adjust when the shutter fires. Physics calls this “lag compensation”—your body anticipates the moment and overcorrects. On camera, that looks like a shoulder twitch, a half-blink, or a smile that hasn’t settled into your face yet. The timer isn’t a starting gun. It’s a deliberate pause built into the device specifically to force you to commit to a position before the shot happens. Stop treating the countdown like dead time. Use it.
When you tap the iPhone camera timer, you trigger a 3, 10-second countdown depending on your selection. Most people use this window to fidget, adjust clothing, or reposition one more time. That last-second movement registers as motion blur or a fractionally misaligned composition. Your subject’s expression hasn’t stabilized. Your framing has shifted half an inch. These aren’t technical failures. They’re the direct result of treating the timer as a grace period instead of a commitment device. Set it and stop moving. Let the countdown finish its work.
Blur Tells The Story Of Impatience
Blurry shots rarely come from camera malfunction. They come from the shooter or subject moving during exposure, and that movement is almost always caused by last-moment adjustments made while waiting for the shutter to fire. The timer is supposed to lock you in place mentally before the shot. Most people do the opposite. They use the countdown as extra time to keep tweaking. The iPhone’s sensor captures motion faster than your eye perceives it. A small adjustment you think is finished actually continues through half the exposure window, and the result reads as intentional softness or awkward positioning that no editing fix restores cleanly.
The evidence of haste isn’t always visible blur. Sometimes it’s a posture that looks tense or unnatural because the person held an uncomfortable position during setup and never relaxed into it before the timer fired. Sometimes it’s a composition where one person is slightly out of frame or positioned with uneven weight distribution. These flaws feel like authenticity failures, but they’re structural failures born from speed. Set the timer for 10 seconds if you’re in a group. Use the full countdown to position everyone, check sightlines, and let expressions settle naturally. Then stop adjusting. The shutter will fire when it fires. Your job ends when you press the timer.
Unlocking The Hidden Power Of Iphone Camera Setting Delays

How To Access The Timer Feature
You want the timer because you’re tired of blurry selfies and looking awkward while holding the phone. The real mechanism at work is simple: the timer removes the variable of human reaction time. Open Camera on your iPhone. Tap the timer icon—it looks like a clock with an arrow. You’ll see it in the top menu next to the flash and HDR toggles. Select your delay. The icon changes to show your choice. That’s it. No settings menu required. The timer is already built into every iPhone camera app since iOS launched the feature years ago.

The timer sits permanently in your viewfinder controls once activated. It stays there until you manually turn it off by tapping the icon again and selecting “Off.” This means you can shoot multiple frames in sequence without resetting. Frame composition stays locked. Lighting stays constant. You get repeatable results instead of scrambling through twelve photos to find one where nobody blinked. The mechanism is constraint-based photography—you lose the freedom to tap and gain consistency instead.
When To Use Three Seconds Versus Ten
The 3-second delay is physics applied to human movement. Think of it like friction in a mechanical system—you’re reducing unwanted motion before exposure. Use 3 seconds when you’re already holding the phone steady or when it’s mounted. Your hand stays in position. The camera fires before tremor sets in. Use 10 seconds when you need to step away from the device, get into frame, or settle a group into position. The extra time lets you move without rushing.
Common advice says “always give yourself enough time.” That’s incomplete. The real metric is distance from the camera. If you’re three feet away, 3 seconds works. If you’re ten feet away or corralling multiple people, you need 10 seconds. The delay exists to eliminate decision-making mid-shot. You choose the window, then commit to it. Tap timer. Step back or pose. Fire happens automatically. No second-guessing between setup and exposure.
The “Decisive Moment” Protocol: Solo Portrait Mastery

Pre Visualizing The Pose And Frame
You want the shot to look effortless, which means you’re terrified of looking awkward during those ten seconds of waiting. The real mechanism here is borrowed from photography’s decisive moment theory: the instant when all elements align. On iPhone, this means deciding your pose, frame, and lighting before you press the timer. You eliminate the panic that kills authenticity.

Set your phone on a stable surface at eye level. Frame the shot first. Check the background. Notice the shadows. Adjust your position until the composition feels locked. Only then hit the timer. This pre-visualization cuts decision-making time during the countdown, which means your face and body stay natural instead of frozen in thought. The shot captures intention, not confusion.
Burst Mode With Timer For Options
Everyone tells you to take one shot and move on. That’s wrong. The iPhone timer pairs with burst mode to generate multiple frames in a single ten-second window, giving you actual selection power instead of hoping one frame works.
Here’s the mechanism: hold down the shutter button during the timer countdown. The camera captures frames rapidly while your expression and body language shift naturally. You move through micro-iterations of the pose without resetting. Stop holding after three to five seconds of the countdown. You’ll have fifteen to thirty frames to choose from, each slightly different. This abundance removes the false pressure of nailing it in one take.
Review your frames after. You’ll spot the moment where your expression shifted from tense to genuine. That’s your shot. The timer gave you the window. Burst mode gave you the options. Combining them removes luck from solo portraits.
Group Dynamics: Orchestrating The Perfect IPhone Camera Group Shot

Positioning Subjects For Balance And Hierarchy
You want the group shot where everyone looks intentional, not like you all just stood there. The real mechanism is visual weight distribution—borrowed from composition theory in painting, where artists use the rule of thirds and figure placement to guide the viewer’s eye. The iPhone timer doesn’t change composition rules, but it removes the pressure that makes people panic and bunch together.

Position your tallest subjects slightly back or to the sides, never dead center unless they’re the focal point. Shorter people forward. Stagger depth by having some stand and others sit or crouch. The frame reads as intentional, not random. Set the timer for 10 seconds so you have time to move into position without rushing. Rushed positioning collapses hierarchy and reads as chaos on camera.
Natural Expressions Without The Countdown Tension
Everyone knows the timer creates fake smiling because people tense up waiting for the shutter. The real problem is anticipation kills authenticity. The ten-second timer solves this not by hiding the countdown but by giving your brain time to reset after you tap the button. You move into frame, settle your face, then the shutter fires while you’re already thinking about something else.
Tell your group what to do after the shot fires, not before. “Look at this funny video on my phone” works. “Everyone think of something that happened last week that made you laugh” works. Engage them thirty seconds before you even start the timer. When you tap the ten-second timer and move into position, they’re already in the right mental state. The camera fires while their expressions are real, not performed.
Beyond The Basic Tripod: Creative Stabilizations
Objects Around You Work Better Than You Think
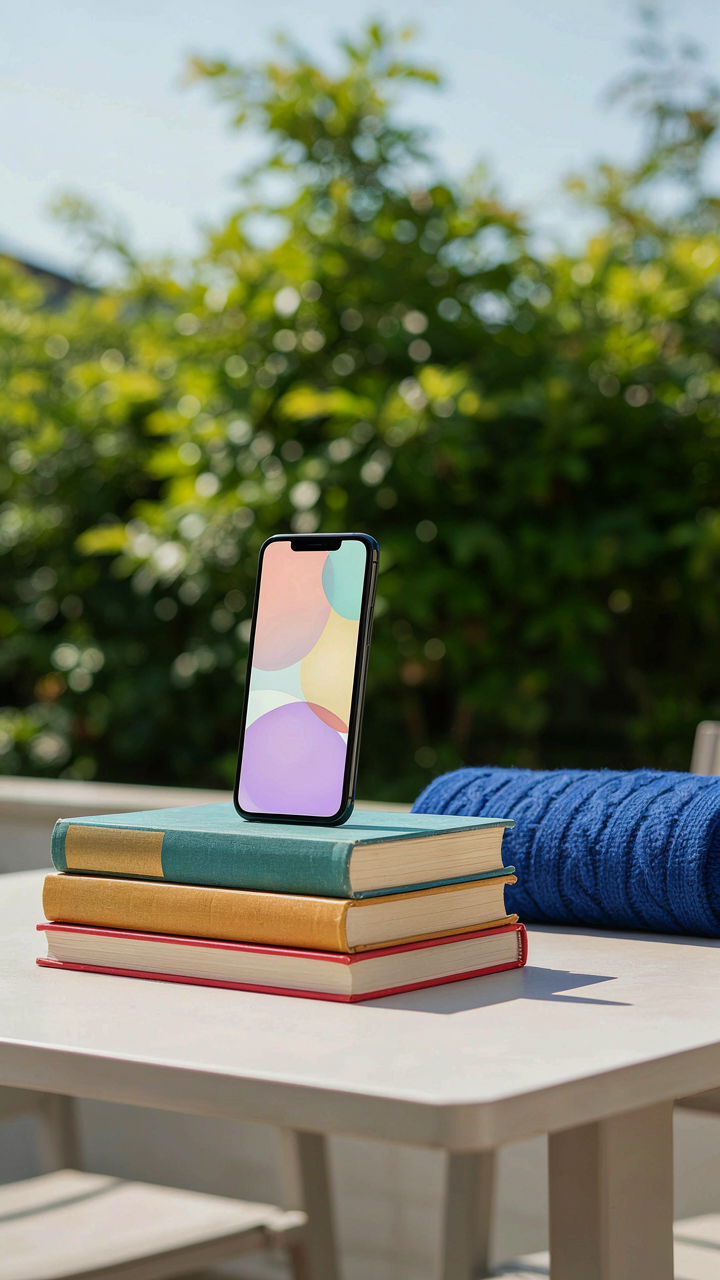
You want the shot to look intentional, not DIY. That’s the real fear. You don’t want people seeing the duct-taped phone setup and thinking you’re desperate. The mechanism is simple: any object that holds your phone at eye level and doesn’t move when you tap the timer button works. Books stacked to height. A water bottle wedged against something stable. A shoe propping the phone at an angle. The iPhone camera timer doesn’t care what holds it steady, only that nothing moves between when you hit the button and when the exposure ends.

The common advice here is worthless—people tell you to buy a tripod, which costs money and takes space. Skip that. Test what you already have. A rolled-up sweater against a chair leg. A cup holding the phone at 45 degrees. A pile of books at varying heights for angle adjustment. The key is testing before you need it. Tap the timer, walk through your intended frame, and see if the phone shifts. If it doesn’t, you have a working stand. If it does, add mass or change the angle. This is pure empirical work, not theory.
Leverage And Center Of Gravity Win Every Time
Physics calls this moment arm. A small force applied far from the pivot point creates more rotational effect than the same force near it. Flip this when stabilizing your phone: position the contact point directly under the camera lens, not under the phone’s center. This kills the wobble that kills your shots. When you use a tripod, the physics works for you automatically. When you improvise, you must think about it.
The shake you see in timer shots comes from imbalance, not the timer itself. Your phone rocks because its weight distribution shifts. Move your contact point closer to where the camera sits. If your phone leans on one edge while the opposite corner hovers, vibration travels straight to the sensor. Test this by placing your phone on a stack of books, then shifting where the stack sits underneath. You’ll feel the difference in stability instantly. The moment the support moves under the phone’s center of mass, micro-motions stop. Lock this position before you press the timer button.
Advanced IPhone 15 Pro Camera Settings For Timer Shots
ProRes Recording With Delayed Capture
You want to look like you have a production setup, but what you really need is control over motion without losing image quality. Think of cinematography’s core mechanic: frame rate determines how movement reads to the viewer. iPhone 15 Pro’s timer pairs with ProRes to lock that frame rate while you position yourself.

Activate the timer in camera, switch to ProRes in settings, then hit record. The delay gives you 10 seconds to move into frame while the codec preserves every gradation of color and motion data. ProRes doesn’t compress the way standard video does, so your movement reads smooth and intentional instead of posterized. The trade is file size, but sequences shot this way cut together without the janky feel of rushed positioning.
Smart HDR And Deep Fusion Timing Strategy
The typical advice says to use Smart HDR for stills and Deep Fusion for low light, then pick one. That misses the actual lever: both systems need motion to be locked down before they process. The iPhone 15 Pro’s timer becomes the stabilization tool your software needs to work properly.
Set your delay to 3 seconds minimum when Deep Fusion is active. Smart HDR processes multiple exposures and Deep Fusion merges nine frames to reduce noise, but both require your subject stationary during capture. If you move during the burst window, the alignment fails and you get ghosting or flat detail. Use the delay not as convenience but as the constraint that lets computational photography do its job without fighting motion blur or misaligned frames.
The “Feedback Loop” Method: Iterative Improvement

Shoot, Review, Adjust
You want one perfect shot without looking like you tried. That’s the real motive here. But one-and-done doesn’t work with iPhone timer shots because you can’t see the result until after the shutter fires. This is systems thinking applied to photography: input, output, measurement, correction.

Set the timer to 10 seconds. Shoot. Review the frame immediately. Note what failed: composition, timing, focus point, lighting angle, or subject positioning. Don’t vague it. Identify the specific variable. Adjust one thing. Shoot again. This cycle compresses what used to take professionals multiple rolls of film into ten minutes on your phone.
Where The Work Actually Happens
You’ve been told to “practice more” or “keep trying.” That’s incomplete advice. Deliberate practice means isolating the variable that broke the shot and testing only that variable in the next take. Random shooting teaches nothing.
- Timer Length Mismatch: Test if 10 seconds gives you enough time to position yourself or if 3 seconds forces rushed movement. One choice creates blur, the other creates stillness.
- Focus Point Drift: Review where the camera locked focus versus where you ended up. Adjust your position to match the pre-focus point, not the other way around.
- Lighting Shift During Countdown: Notice if your shadow moves as you walk into frame. Adjust your approach angle to keep consistent light on your face.
- Group Alignment Timing: Identify which person moves first or last in group shots. Coach them to freeze at the beep, not before or after.
- Depth Of Field Placement: Review which people sit in the sharp zone versus blur. Reposition the phone or group to exploit the camera’s focal depth.
Each adjustment targets one mechanism. After five deliberate cycles, you’ve eliminated most failure points. After ten, you own the shot. Stop when your success rate hits 80 percent on the same setup.
IPhone 16 Camera Settings: Anticipating Future Timer Enhancements
When AI Reads The Room Before You Press Capture
You want to believe Apple will solve the composition problem for you because framing a group shot where everyone looks intentional is actually hard. The real mechanism at work here is computer vision trained on millions of portrait datasets, capable of detecting face position, body angle, and hand placement in real time. Apple’s existing Portrait Mode already uses neural processing to isolate subjects. Extending that logic to timer sequences means the software could analyze each frame as it counts down and flag when poses drift outside optimal parameters.

Current timer modes on iPhone give you no feedback between the moment you tap the button and when the shutter fires. A pose-detection layer would run silently in the background, watching the composition shift as people adjust themselves during the countdown. When someone’s head tilts too far or a hand enters the dead zone of the frame, the timer could subtly nudge the count or alert you before the final shot fires. This isn’t speculative. Apple already ships on-device machine learning for face detection. Expanding it to posture analysis is engineering work, not science fiction.
Low Light Timing Without The Blur Tax
Everyone assumes timer performance degrades in dim conditions because the camera slows its shutter speed to gather more light. That’s incomplete. The real problem is motion blur compounds during the timer countdown when people hold stillness longer than they naturally would. Under low light, holding a pose for three to ten seconds while the phone counts down creates micro-movements that the slower shutter speed then captures as blur, not the timer itself failing.
Future iPhone models could deploy computational photography during the countdown phase itself, stacking frames in real time as the timer runs. When you hit capture, the phone has already collected multiple overlapping exposures during the waiting period. The final image then merges those frames, eliminating motion blur while maintaining light-gathering capability. This requires no new hardware, only software that prioritizes frame capture during countdown intervals instead of waiting until the final second. The mechanism transforms the timer from a passive counter into an active image collection tool.
The Professional Edge: Integrating Timer Into Workflow
Batch Processing Timer Shots For Efficiency
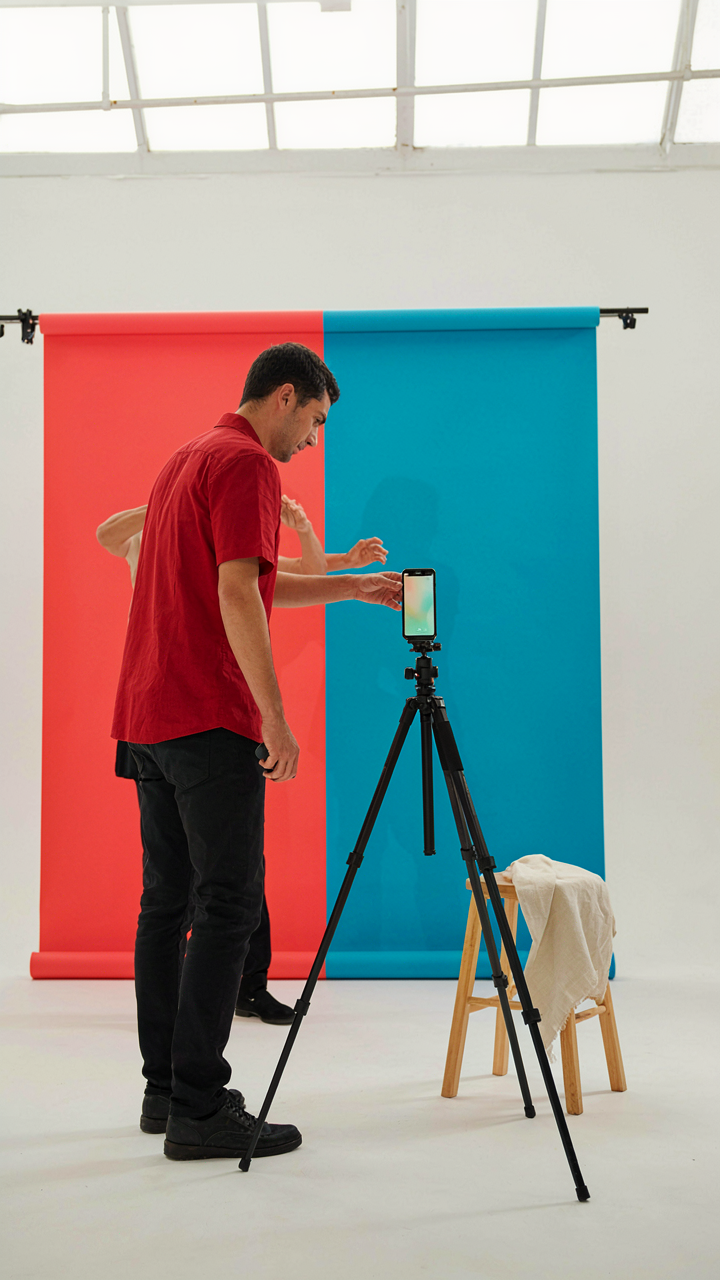
You want to look like you’ve mastered something without actually mastering it. That’s the real reason you’re reading this. The mechanism is simple: the iPhone timer removes the friction between intention and execution, which means you can run multiple capture cycles in the time it takes to manually trigger one shot per setup.

Set your timer to ten seconds. Take one shot. Immediately reset and take another from a slightly different angle or with a micro-adjustment to posture. Repeat this five times in sequence. You’ve now built optionality into a single setup without moving to a new location or reconfiguring lighting. One position yields ten viable frames instead of one frame per deliberate effort.
Reducing Post Production Effort With Precise Capture
The standard advice says “just take more photos.” That’s incomplete. What matters is capturing the exact moment you need in-camera so post-production becomes editing, not salvage work. The timer forces you to anticipate the peak moment rather than spray-and-pray with burst mode.
When you know the timer is counting down, you can time your expression, hand placement, or subject movement to peak during the window you’re waiting for. This shrinks the number of unusable frames dramatically. You stop deleting 40 photos to find one good one. Instead you delete two photos to find one excellent one. That reduction in post work compounds across a year of shooting. Set your timer. Count silently. Peak at frame 8 or 9, not frame 3.
The Real Obstacle Isn’t The IPhone’s Settings; It’s Your Impatience To Master Its Deliberate Power
Most people skip the timer because they want instant results. They tap, they shoot, they move on. But the timer forces you to think about composition, lighting, and intention before you press anything. That friction is the feature. Stop treating it like a workaround and start treating it like a tool that separates lazy shots from deliberate ones. Set your next selfie with a ten-second timer and actually position yourself instead of guessing. The camera timer rewards the people who slow down.



