Astronomy Photography Tips For Beginners Preparing Your Gear
Essential Equipment For Night Skies
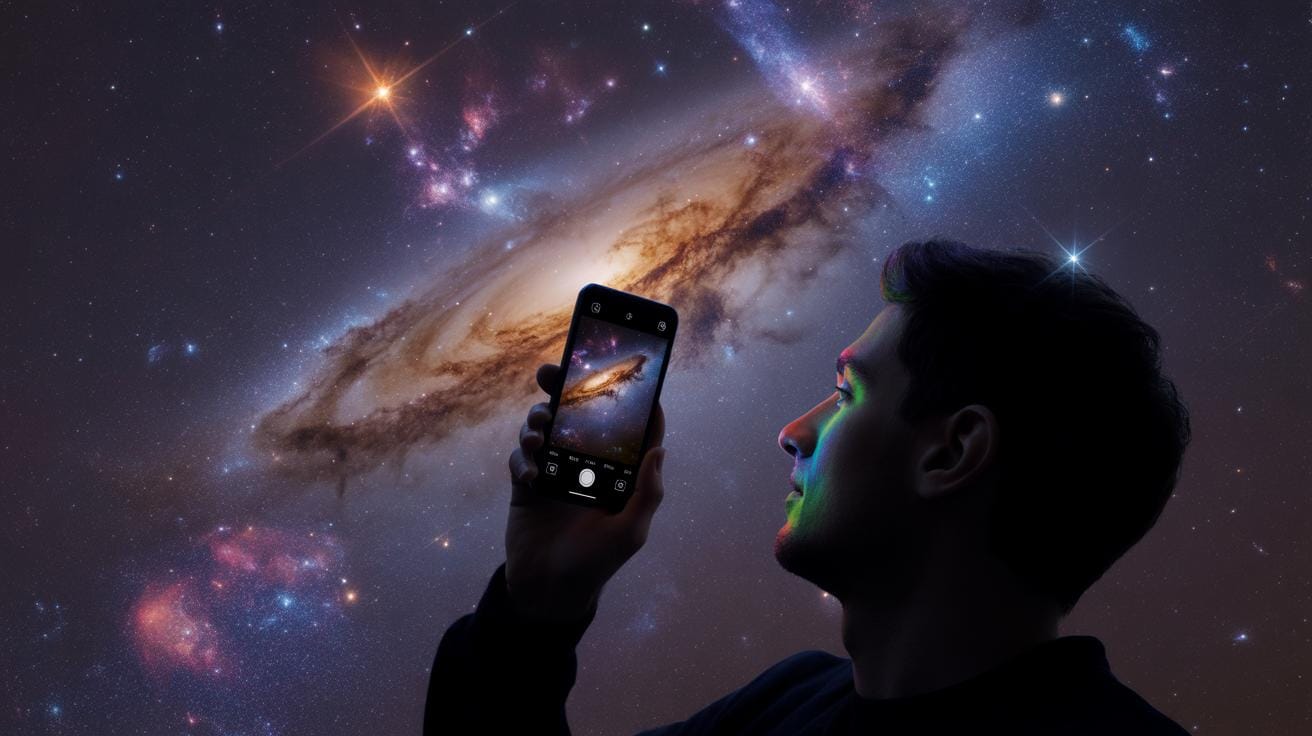
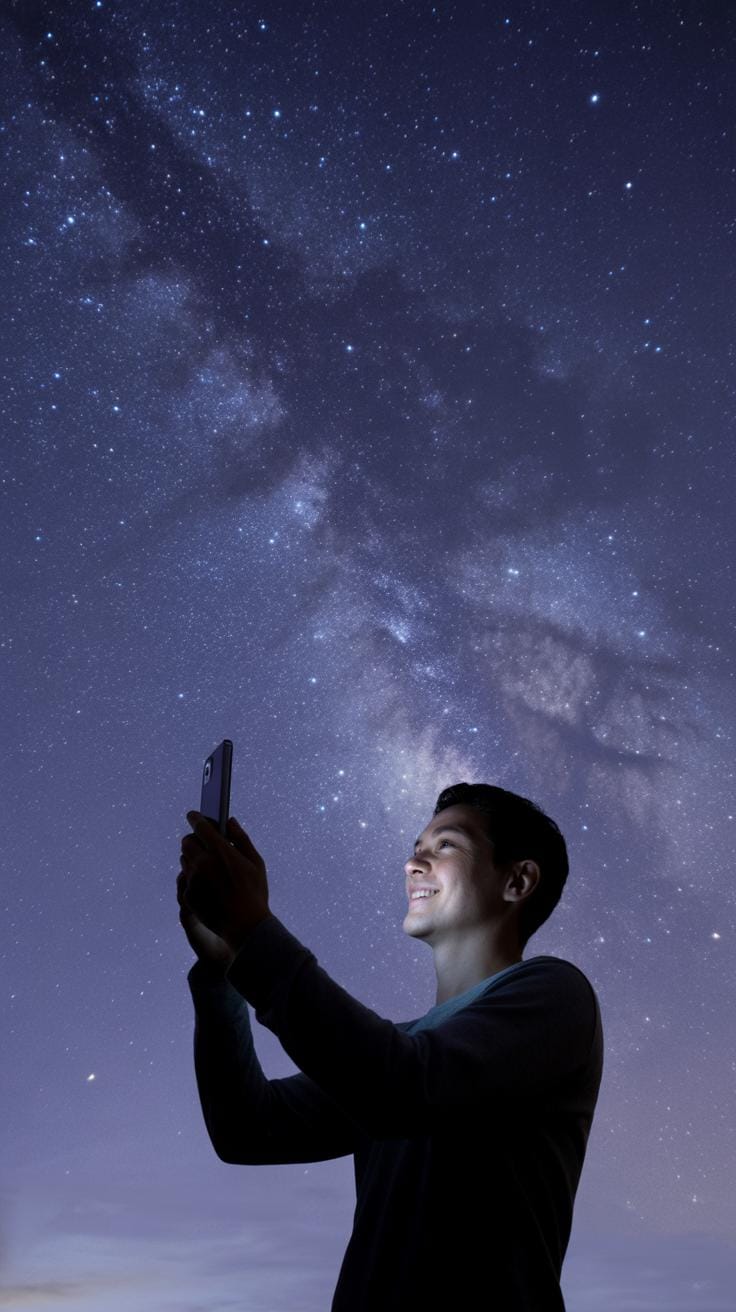
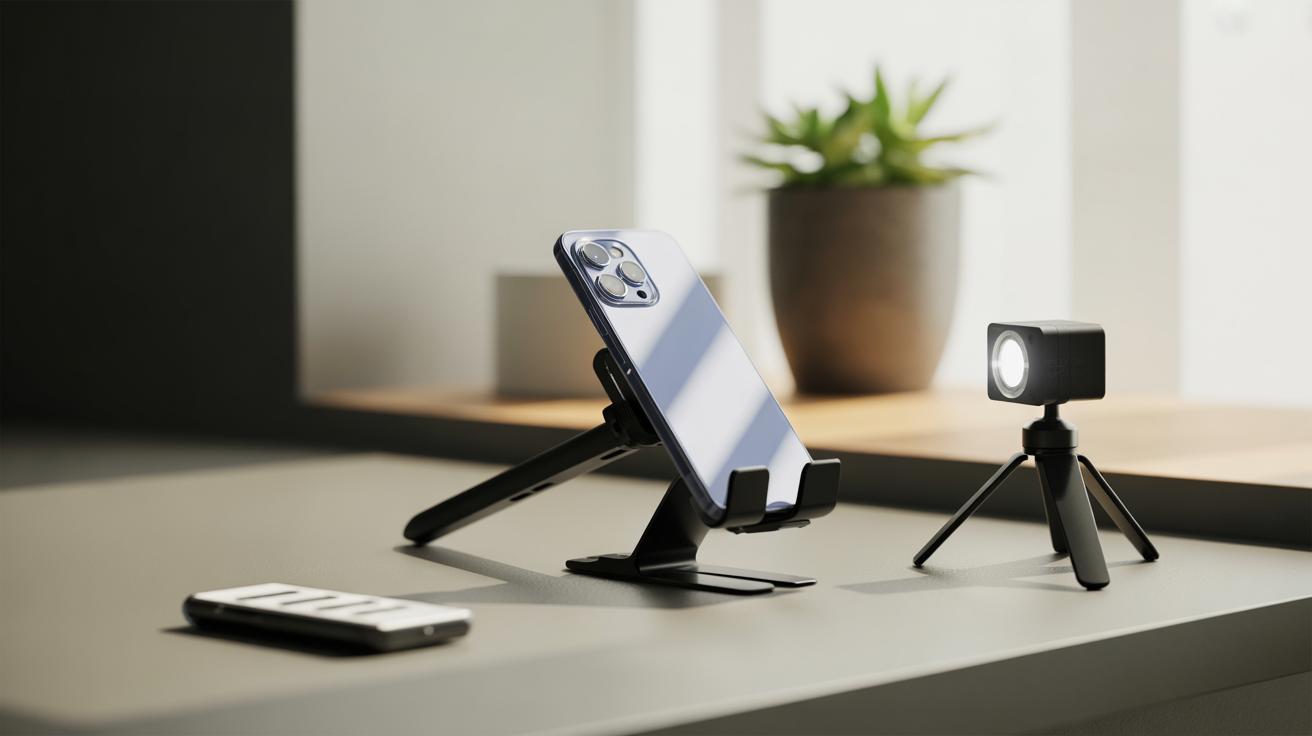
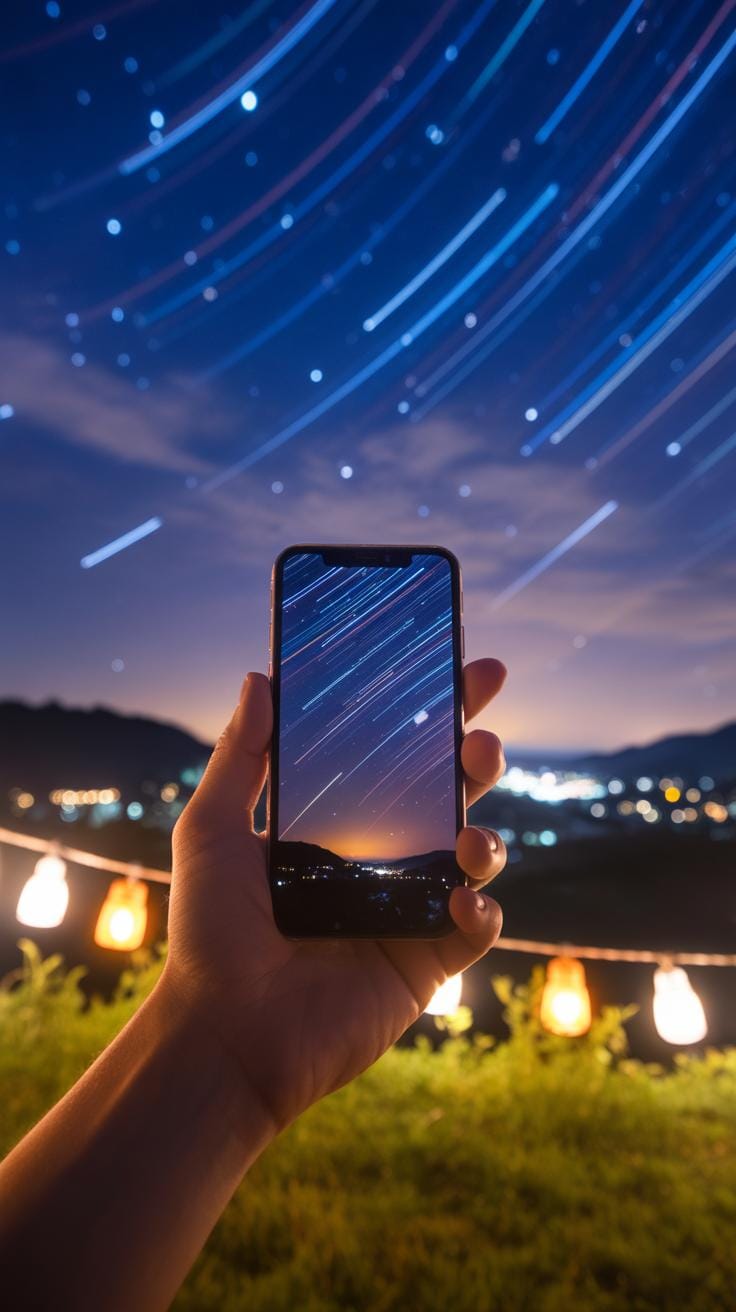
Successful astronomy photography tips for beginners start with a steady base. You must use a sturdy tripod to keep your device perfectly still. Even tiny movements can ruin your view of the Milky Way. Using an Apple Watch or a remote shutter button prevents any shaking when you hit the record button. These tools are the best ways for how to do astrophotography with iPhone effectively.
Good night sky phone camera tips help you capture clear images without blur. Setting your device on a flat surface is a great first step in how to do astrophotography on a phone. The goal is to keep the lens from moving for many seconds. Proper mounting helps with how to capture stars with iPhone during deep night sessions. Stable gear makes your astronomy photography tips much more useful.
Cleaning Your Lens For Clarity
Clear glass is vital for how to photograph stars with iPhone. Small finger oils or dust particles cause light to streak across your screen. You should wipe your sapphire glass lens with a clean microfiber cloth. This action ensures that every distant sun looks like a sharp point of light. It is a simple part of how to take a photo of the stars on iPhone.
Dirty lenses create hazy glows that hide the beauty of the cosmos. Following these astronomy photography tips makes your images look professional and bright. Clean gear is a secret for how to take a picture of the stars with high detail. You want your night sky phone camera tips to work every time you go outside. Keeping the glass spotless is the easiest way for how to take a picture of the stars.

How To Do Astrophotography On A Phone The Foundation
Understanding Sensor Limitations
The small size of mobile sensors means they gather less light than professional cameras. To fix this, your device uses computational photography to stack many short exposures into one bright image. Learning how to do astrophotography on a phone starts with patience while the software works. This process reduces digital grain and helps you achieve a high signal-to-noise ratio for much clearer results.
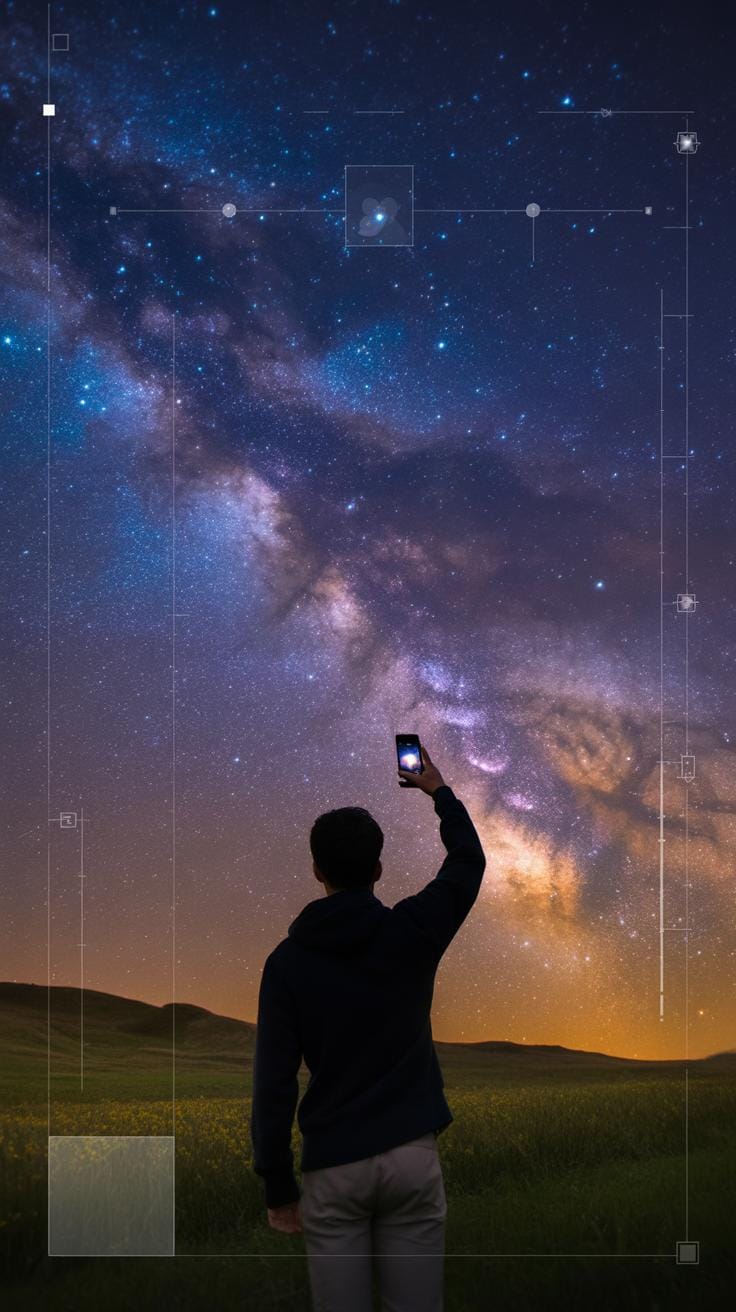
Night Mode interacts with the physical sensor by keeping the shutter open for longer periods. When you learn how to take a picture of the stars, you must keep the phone perfectly still. This allows the sensor to capture subtle light from distant galaxies without blurring the image. These astronomy photography tips for beginners help you master the balance between hardware limits and smart software processing power.
Optimizing Storage And Power
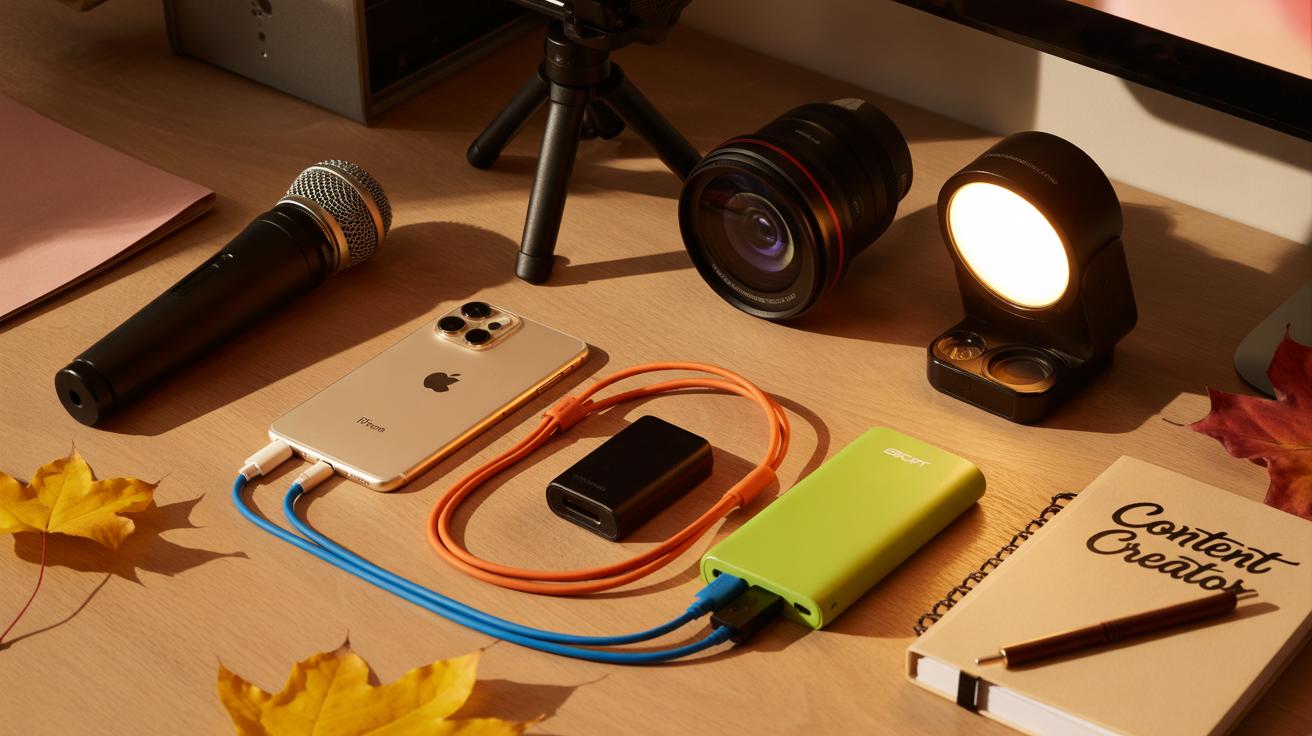
Capturing the night sky drains your battery faster than normal use. The phone works hard to process every pixel while the screen stays on in the cold air. Before you learn how to take a photo of the stars on iPhone, charge your device to one hundred percent. Bring a portable power bank to ensure your session does not end early because of a dead battery.
High-quality images use massive amounts of storage space on your device. Knowing how to do astrophotography with iPhone requires saving files in RAW format for the best editing results. These files are much larger than standard JPEGs. Clear out old videos and apps to make room for your new work. Follow these astronomy photography tips to keep your phone ready for a long night of shooting.
Mastering Night Sky Phone Camera Tips For Success
Quick Tips For Better Night Shots
Learning Night Sky Phone Camera Tips helps you capture the quiet beauty of the dark. You need a sturdy surface to keep your device still while the shutter stays open. Shaking ruins the clarity of the planets and constellations you want to see. These Astronomy Photography Tips For Beginners ensure your lens gathers enough light to produce a clear and glowing image.
- Use A Tripod: Stability is the most important factor for clear shots. Any small hand movement creates blurry streaks in your photo. A tripod keeps the frame locked so the sensor collects light without any shifts.
- Turn Off Flash: The built-in flash only reaches a few feet and ruins your night vision. It washes out the foreground while doing nothing for the distant stars. Keeping it off allows the camera to focus on faint light.
- Set A Timer: Pressing the screen button often causes a tiny vibration. Use the three or ten second timer to let the phone settle before the shot starts. This leads to much sharper results for every single exposure.
- Avoid Zoom: Digital zoom crops the image and lowers the overall quality of the stars. It makes the final picture look grainy and pixelated instead of crisp. Move closer or accept a wider view for the best resolution.
- Clean The Lens: Dust and fingerprints create smudges that turn stars into blurry globs. Use a soft cloth to gently wipe the glass before you start your session. A clean lens produces much tighter and brighter points of light.
Small habits change how to take a picture of the stars. You should manually lower the exposure brightness to keep the black sky looking deep and rich. This prevents the software from trying to turn night into day. Following these Astronomy Photography Tips makes the glowing details of the cosmos stand out against the dark backdrop of the natural world.
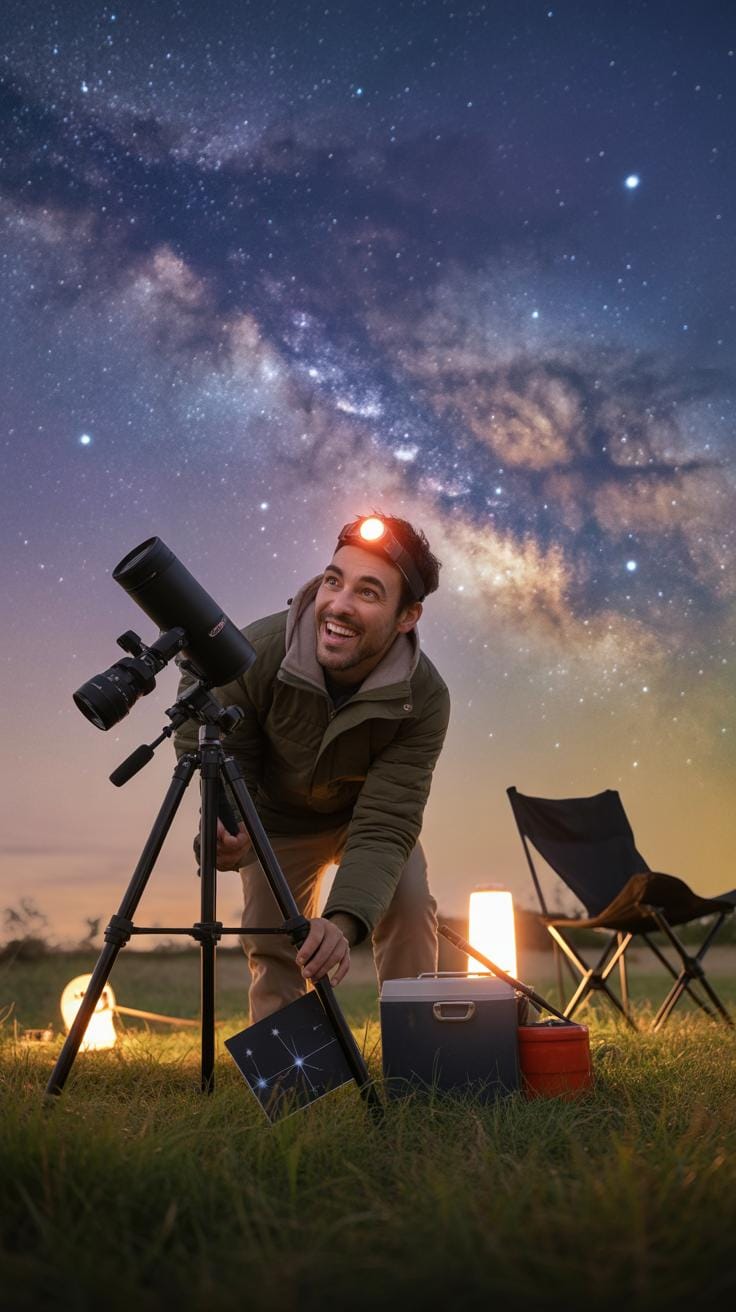
Finding Dark Sky Locations
Searching for the perfect spot is part of how to photograph stars with iPhone. You must leave the bright glow of streetlights and neighbors to see the dim light of distant galaxies. Dark sites with low Bortle Scale ratings offer the clearest views of the Milky Way. These places provide the contrast needed for how to capture stars with iPhone without dealing with orange atmospheric haze.

The best locations often sit far away from major highways and tall buildings. You can use maps to identify areas where the sky remains naturally black. Learning how to take a photo of the stars on iPhone becomes easier when the air is dry and clear. This strategy is a core part of how to do astrophotography with iPhone or how to do astrophotography on a phone successfully.
How To Take A Photo Of The Stars On Iphone Using ProRAW
The Benefits Of Apple ProRAW
Standard photos often hide the true beauty of the night sky because the phone fixes the image automatically. Apple ProRAW gives you a 12-bit file that holds much more light information than a normal picture. This file keeps the dark shadows and bright stars separate. You get the real data from the camera sensor. Using this tool is the best way how to take a photo of the stars on iPhone.
Shooting in this format stops the phone from using harsh sharpening tools on your sky pictures. These filters often make tiny stars look like digital noise or blurry dots. When you learn how to photograph stars with iPhone using ProRAW, you keep every small detail sharp. These high quality files provide the best starting point for anyone seeking astronomy photography tips for beginners. This method preserves the natural glow of the Milky Way.
Enabling High Resolution Settings
To start, open your camera settings and select the formats menu to turn on the ProRAW toggle. Set the resolution to the highest option like 48MP on newer devices. High resolution gives you many more pixels to work with later. This remains a top tip for how to do astrophotography on a phone. The extra clarity helps you see distant planets and faint star clusters clearly in your final image.
Large files allow you to crop your photo without losing the crisp quality of the night sky. You can zoom in on a specific constellation during editing while keeping the image sharp. This step is vital for collectors of astronomy photography tips. It shows you how to do astrophotography with iPhone like a professional. Following these night sky phone camera tips makes it simple to understand how to capture stars with iPhone today.
How To Photograph Stars With Iphone Night Mode Secrets
Extending Exposure To 30 Seconds
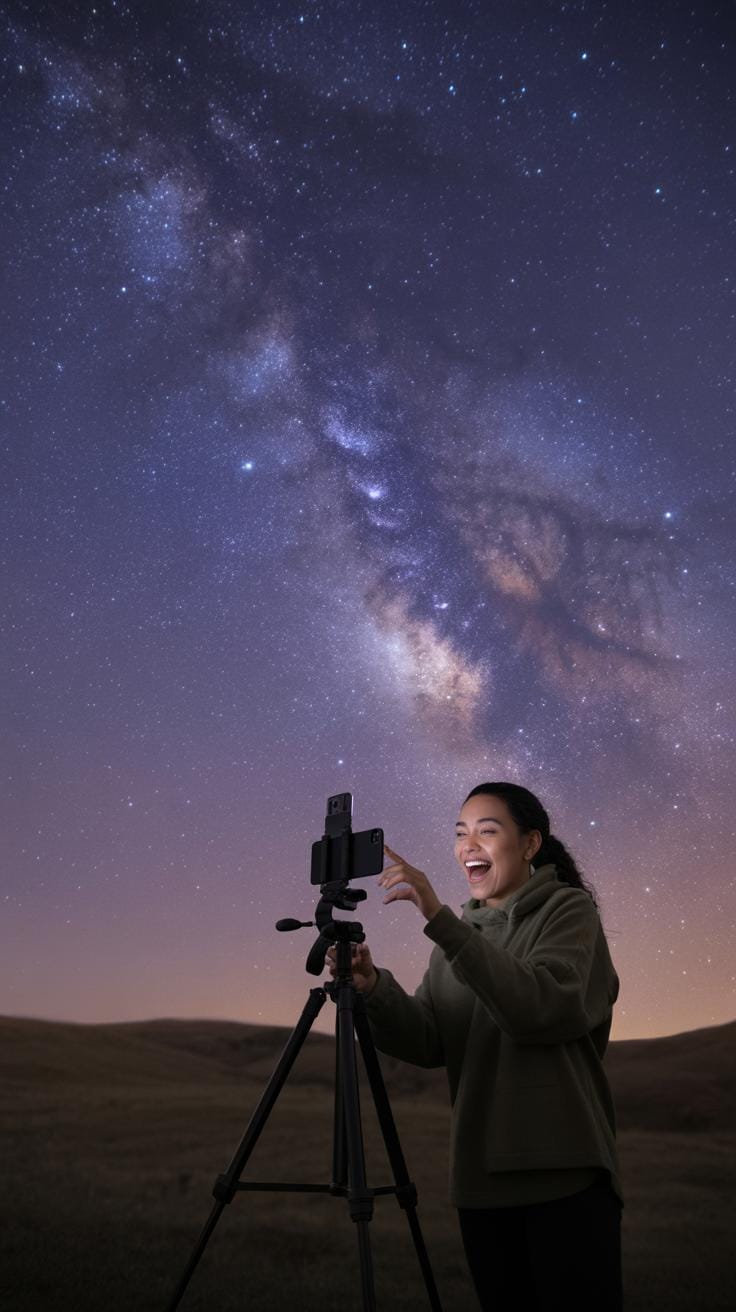
The secret to how to do astrophotography with iphone lies in keeping the device perfectly still. Standard handheld shots usually limit the sensor to 10 seconds of light. However, when you secure your phone on a tripod or a steady rock, the internal gyroscope senses the lack of vibration. This stillness allows the night mode slider to move beyond the usual limits for your astronomy photography tips for beginners.
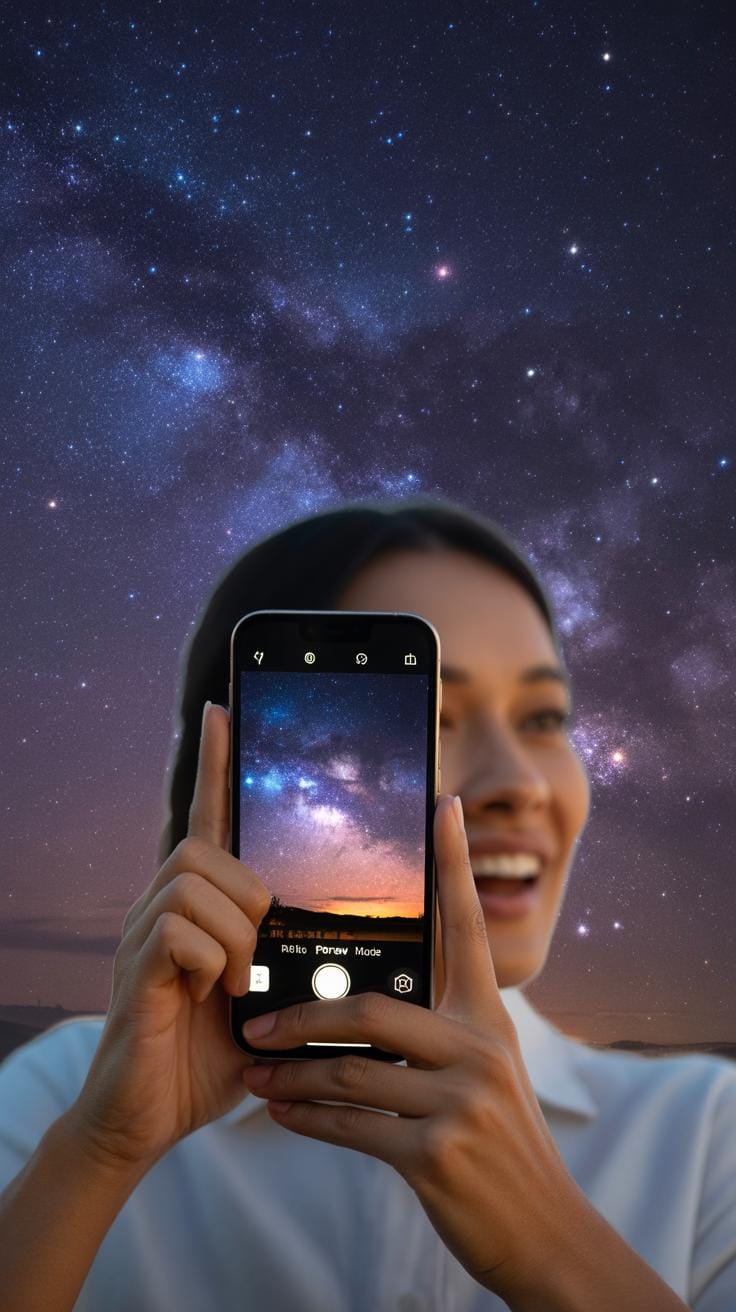
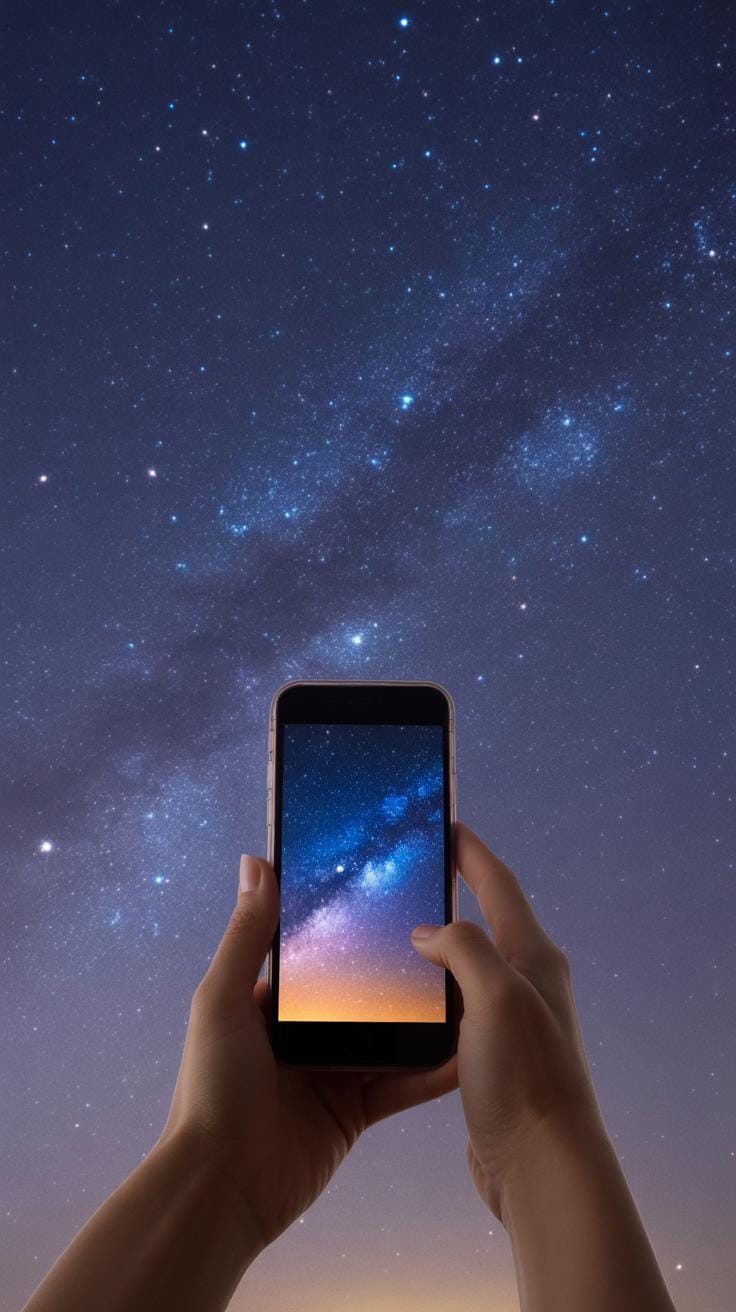
Once the phone stays motionless, manually drag the timer slider to the right to hit 30 seconds. This longer duration is vital for how to capture stars with iphone because it gathers enough light to show the milky way. Learning how to photograph stars with iphone 15 or newer models ensures deep space details appear clearly. This simple change helps you master how to do astrophotography on a phone tonight.
Locking Focus And Exposure

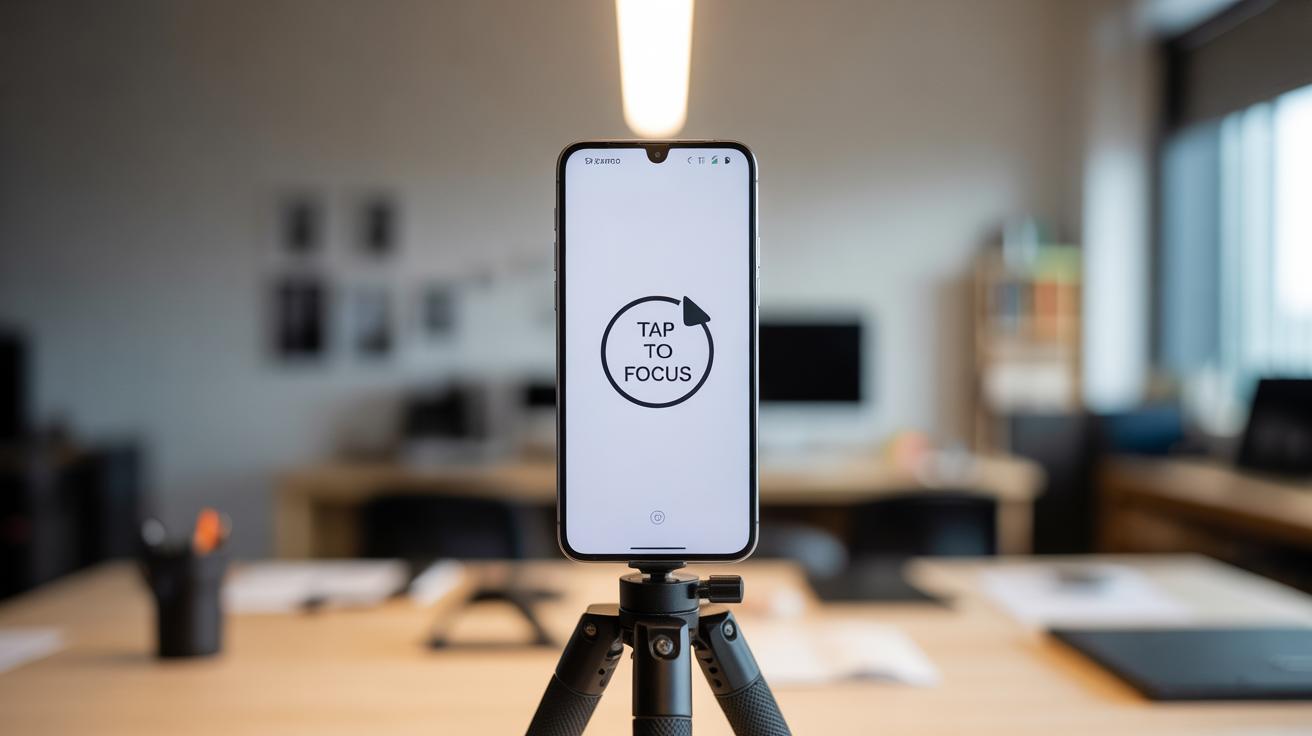
Proper focus is a major challenge for anyone learning how to take a picture of the stars. In total darkness, your lens might struggle and create blurry images. To fix this, find a very bright star or a distant street lamp on your screen. Use a long press on that light source until you see the yellow box and the ae/af lock label. This step follows professional astronomy photography tips.
After locking the focus, tap the yellow arrow to open more settings. Slide the exposure value down slightly to make the sky look deep black. This technique is one of the best night sky phone camera tips for reducing digital noise and grain. It explains how to take a photo of the stars on iphone with professional clarity. You now know the best way for how to take a photo of the stars.
How To Capture Stars With Iphone Focusing Techniques
Manual Focus Vs Auto Focus
Learning How To Do Astrophotography With Iphone requires mastering focus in low light. The standard auto-focus system often searches for a subject in the dark and fails to lock onto tiny lights. This results in blurry blobs rather than crisp stars. You can solve this by using third-party apps that allow a manual focus slider. Simply move the slider to the infinity setting to ensure the distant sky stays sharp and clear.
Manual control is one of the best Night Sky Phone Camera Tips for enthusiasts. When you choose a manual path, you prevent the lens from hunting during a long exposure. These Astronomy Photography Tips For Beginners help you avoid the frustration of soft images. Set your focus before you start the timer for your shot. Sharp focus allows you to see the individual pinpoints of light across the vast black sky.
The universe is not outside you, it is right in your pocket waiting to be unveiled. Look at the stars and let your little device capture the infinite wonder that has watched over us for eons.
— Rumi
Using The Moon For Calibration
If you want to know How To Capture Stars With Iphone when the sky is dark, look for the moon first. The moon provides a bright target that the camera sensor can easily recognize. Point your device at the moon and tap the screen to lock the focus. This creates a solid baseline for the distance. These Astronomy Photography Tips ensure your lens stays set for objects that are very far away.
Once the focus locks on the moon, you can move the camera to How To Take A Photo Of The Stars On Iphone in darker areas. The lens will stay at the correct distance even if you move the frame away from the bright moon. This trick helps people learning How To Do Astrophotography On A Phone. It is one of the most effective ways to How To Photograph Stars With Iphone without professional gear.
Astronomy Photography Tips Composition And Timing
The Rule Of Thirds In The Cosmos
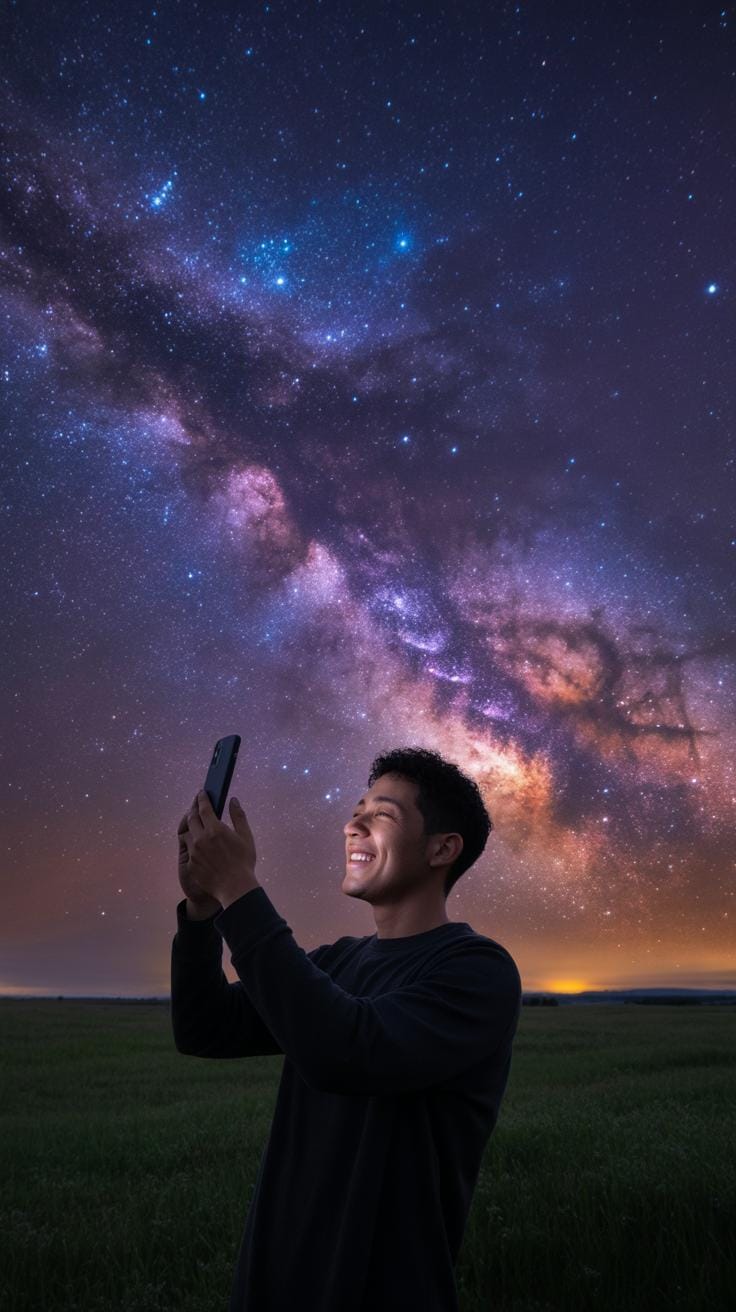
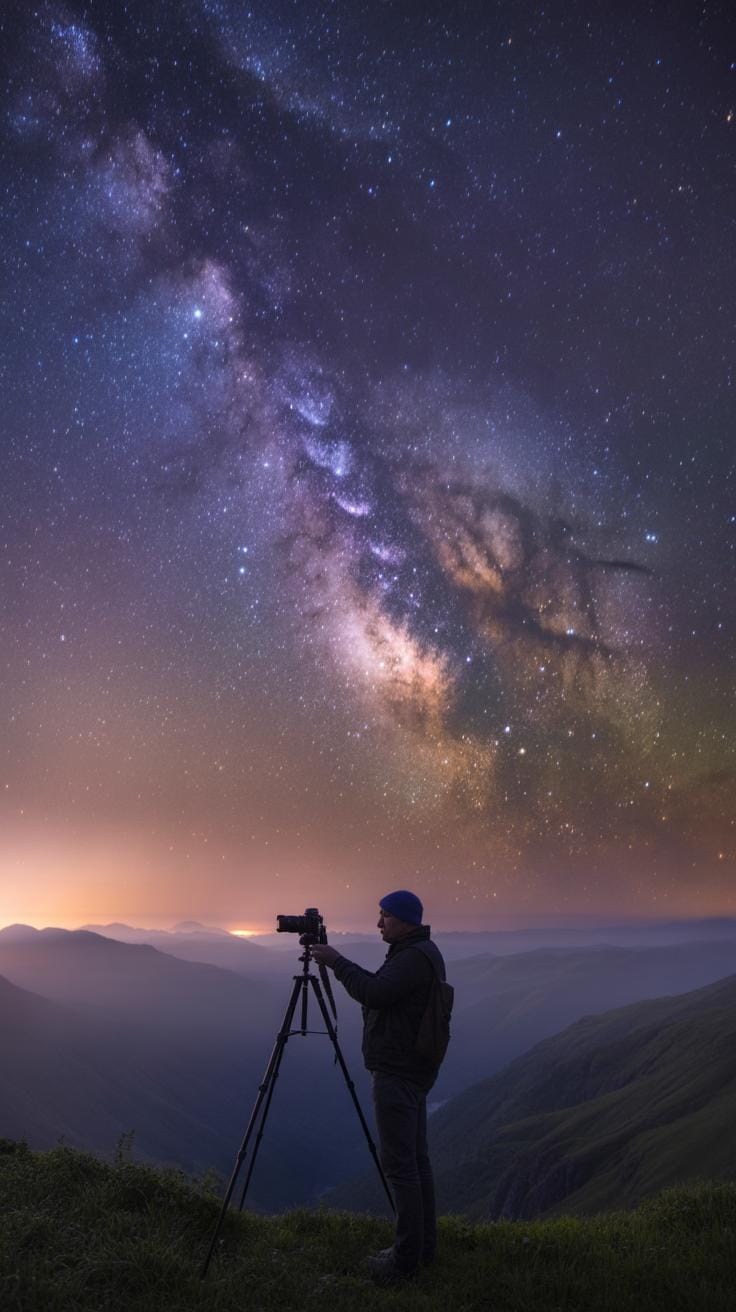
A vast sky feels more powerful when linked to the ground. Use a dark mountain or a single tree to act as a quiet anchor for your shot. These shapes give the stars a sense of height and magic. Learn how to take a photo of the stars on iphone by turning on the grid lines in your settings. This simple trick helps you place objects with care.

Good astronomy photography tips for beginners suggest placing a foreground object along the lines where they meet. This creates a balance that feels natural to the eye. You will learn how to photograph stars with iphone by keeping the horizon low or high. A centered horizon often looks flat. Instead, give the stars more room to breathe. Following these night sky phone camera tips makes your images look much more professional.
Tracking Galactic Movements
The night sky stays in motion because our planet spins through space. Longer exposures can turn sharp points of light into blurry lines. Learning how to capture stars with iphone requires understanding this pace. Use a tripod to keep your device still while the shutter stays open. This is basic astronomy photography tips for everyone. Steady hands are rarely enough for the deep dark of the midnight sky.
Special apps can show you exactly where the milky way will appear before the sun even sets. Using these tools teaches you how to do astrophotography on a phone with better results. Timing is everything when waiting for the galactic center to rise above the trees. You now know how to do astrophotography with iphone by planning ahead. Knowing how to take a picture of the stars means being ready when the clouds finally clear away.
How To Take A Picture Of The Stars Advanced Manual Apps
Beyond The Native Camera App
Standard phone software often limits your control during late night shoots. Pro apps like Halide or Slow Shutter Cam provide tools for a pure astrophotography experience. These tools let you change the shutter speed and focus manually. This control mimics how professional photographers use big cameras. You can bypass the automatic processing that sometimes ruins dark images. It is a great way to learn astronomy photography tips for beginners.
Learning how to do astrophotography with iPhone requires tools that handle raw data. These manual apps save images without losing detail to compression. You can set the lens to stay open for thirty seconds or more. This helps you understand how to photograph stars with iPhone by seeing the sensor work in real time. Following these night sky phone camera tips helps you create clear photos that look like they came from a gallery.
ISO Management For Mobile Sensors
Managing the sensitivity of your sensor is a vital part of astronomy photography tips. Digital noise creates grain that hides the beauty of the Milky Way. Using a high ISO makes the camera see in the dark but adds ugly dots to the frame. Most experts say you should keep the ISO low to keep the sky dark and smooth. This technique is how to take a picture of the stars without making them look blurry.
You must balance your light settings to master how to take a photo of the stars on iPhone. A low ISO requires a longer shutter speed to gather enough light from distant suns. This balance is a core part of how to capture stars with iPhone successfully. Use a tripod to keep the phone still during these long sessions. Understanding these settings explains how to do astrophotography on a phone like a seasoned professional photographer.
How To Do Astrophotography With Iphone Editing Your Masterpiece
Post Processing Workflow Steps
The magic of astrophotography happens in the edit. You can bring out the hidden colors of the nebula and stars with simple tools. Learning how to capture stars with iphone is only the start of your creative journey. You must balance the shadows and highlights to create a clear image. Modern mobile apps provide professional controls that make your night sky phone camera tips easy to use.
- Black Point Adjustment: This setting helps remove the gray haze from the background of your night sky. It makes the space between the stars look deep and dark.
- Exposure and Contrast: Use these tools to make the bright stars pop against the darkness. This step is a core part of astronomy photography tips for beginners.
- Saturation and Vibrance: These sliders bring out the natural blues and oranges in the stars. Be careful not to overdo it so the colors stay natural.
- Noise Reduction: Night photos often have grain or speckles that ruin the view. Gentle noise reduction smooths out the sky without blurring the sharp details.
- Sharpening: Small adjustments to sharpness make the stars look like tiny pinpricks of light. This improves how to take a picture of the stars by adding clarity.
Good editing follows a logical path to keep the image clean and sharp. You should always start with exposure before moving to color or fine details. Mastering how to take a photo of the stars on iphone requires patience during the post-processing phase. These astronomy photography tips ensure that your final image looks like it was taken by a professional telescope rather than a simple handheld device.
Applying Selective Adjustments
Use masking tools in mobile editing apps to apply different settings to the sky and the foreground independently. This allows you to increase the contrast and dehaze the stars without making the ground elements look unnaturally dark or saturated. Learning how to do astrophotography on a phone involves treating each part of the image with care. You can keep the trees or mountains looking natural while the Milky Way glows brightly above them.
Selective editing helps you solve lighting problems in complex scenes. You can brighten the foreground subjects manually if they appear too faint in the original shot. This technique is one of the best astronomy photography tips for creating depth. Understanding how to photograph stars with iphone means controlling every pixel in your frame. These night sky phone camera tips help you create a balanced masterpiece that shows the beauty of both earth and space.
Frequently Asked Questions

Can I really take high-quality photos of the stars with just a smartphone?
Absolutely! While it might seem like you need expensive DSLR gear, modern technology has made space photography accessible to everyone. By utilizing this iPhone Astrophotography guide, you can unlock professional-grade sensors hidden within your device. With the right software adjustments and a stable surface, your phone is fully capable of capturing the Milky Way’s glow and bright constellations with surprising clarity and detail.
How do I access the secret long exposure settings for better night sky shots?
To capture deep-space details, open your Camera app and select Night Mode. For the best results, slide the timer to the “Max” setting, which usually allows for a 30-second exposure when the phone is perfectly still. Following a comprehensive iPhone Astrophotography guide will help you navigate these manual overrides, ensuring your shutter stays open long enough to pull in faint starlight that the naked eye often misses.
Do I need to buy expensive tripods or lenses to start shooting the galaxy?
You don’t need a massive budget to get started with stellar photography. While a basic tripod is helpful for stability during long exposures, you can easily prop your phone against a rock or a sturdy fence post. Great results come from mastering your internal settings rather than buying external glass. Focus on finding a dark sky location and using your built-in tools to create stunning celestial art for free.