Introduction
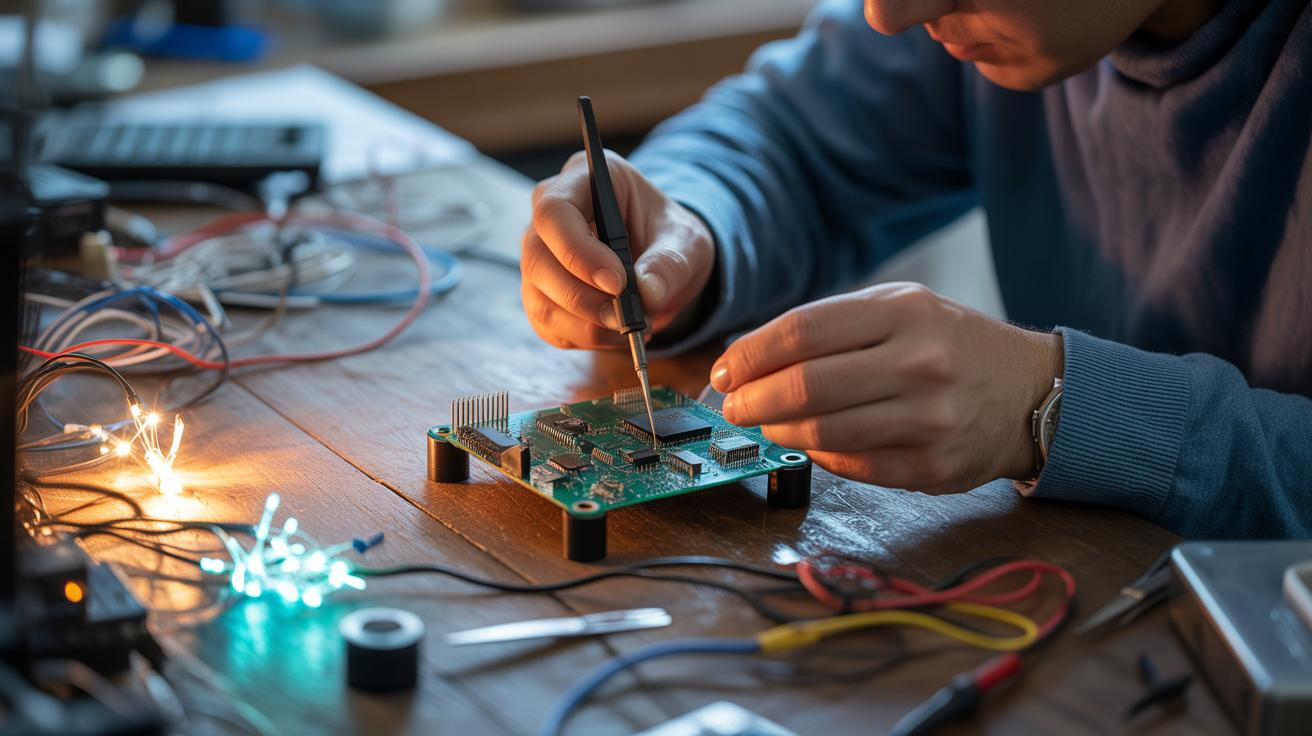
Electronics projects DIY offer an exciting way to learn about electronic components and systems by building them yourself. This hands-on approach makes learning electronics fun and accessible for all ages. Whether you are a beginner or have some knowledge, working on projects helps solidify concepts and encourages creativity.
This article explores various aspects of DIY electronics projects. You will discover essential components, useful tools, and step-by-step guidance on starting your own projects. This practical knowledge is designed to make learning electronics simple, interesting, and rewarding.
Understanding Electronics
What Is Electronics
Electronics is about controlling electrical signals to do useful things. At its core, it deals with tiny currents flowing through devices like transistors and chips. These devices handle patterns of electricity, turning them into sounds, images, or actions. Think of a radio capturing radio waves and turning them into music you can hear. That’s electronics in action—manipulating electrical signals rather than just providing power like a battery or a light bulb would.

This field started evolving seriously in the early 20th century with inventions like the vacuum tube and later the transistor. These breakthroughs made it possible to build radios, TVs, and eventually computers. Through such tools, electronics has quietly shaped much of our modern world, often behind the scenes, controlling everything from your phone to cars and medical devices.
Why Learn Electronics
Understanding electronics opens up a lot more than just fixing gadgets. It helps you see how everyday items work and, if you’re curious, design your own. Maybe you want to build a simple alarm system or a small robot. With basic electronic knowledge, these projects feel less like magic and more like puzzles you can solve.
Besides practical uses, learning electronics sharpens problem-solving skills. You learn to think step-by-step while dealing with real components and signals. Plus, it can be satisfying to troubleshoot why a circuit doesn’t work, even if it can also get frustrating sometimes.
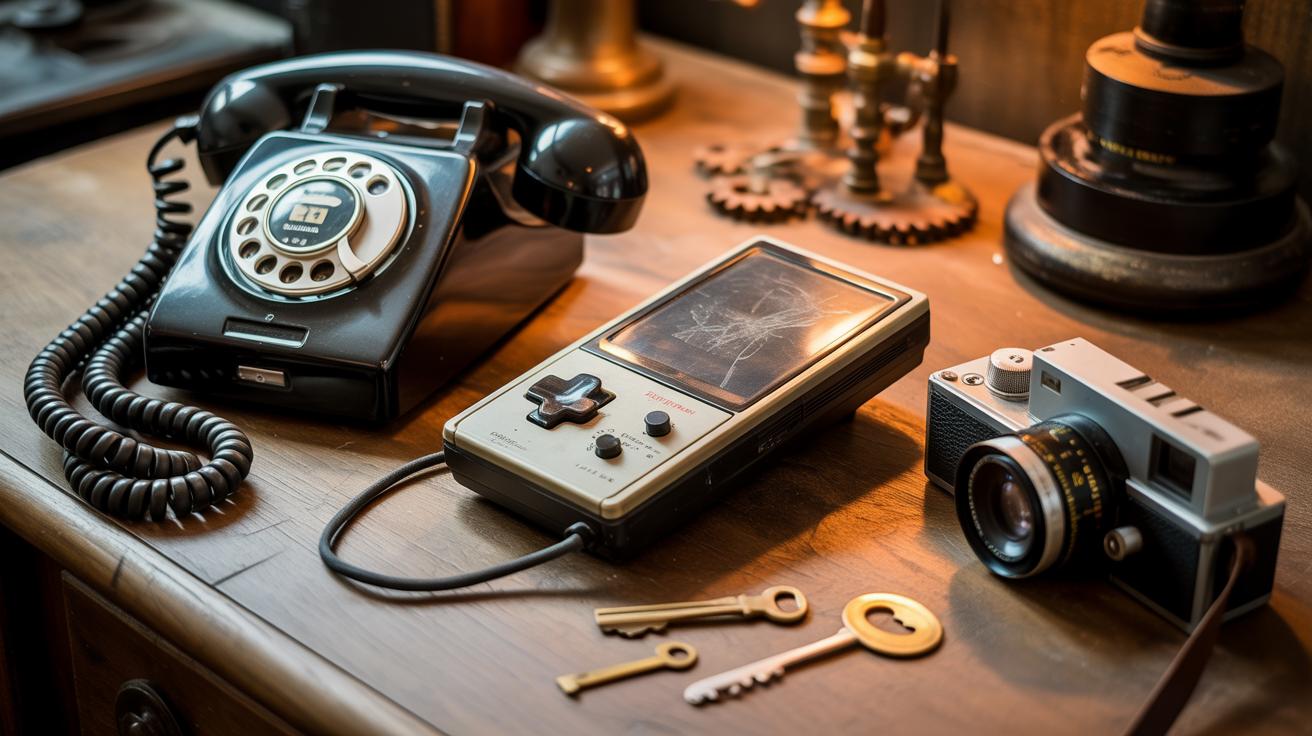
In daily life, virtually every device you touch uses electronics—that’s why knowing a bit about it can save time, money, and stress. And if you enjoy hobbies that involve creativity or technology, learning electronics offers a hands-on way to explore and experiment. Have you ever wondered what’s inside your smartphone or how your laptop actually processes information? Electronics knowledge hints at these mysteries and gives you tools to tinker with them yourself.
Electronic Components
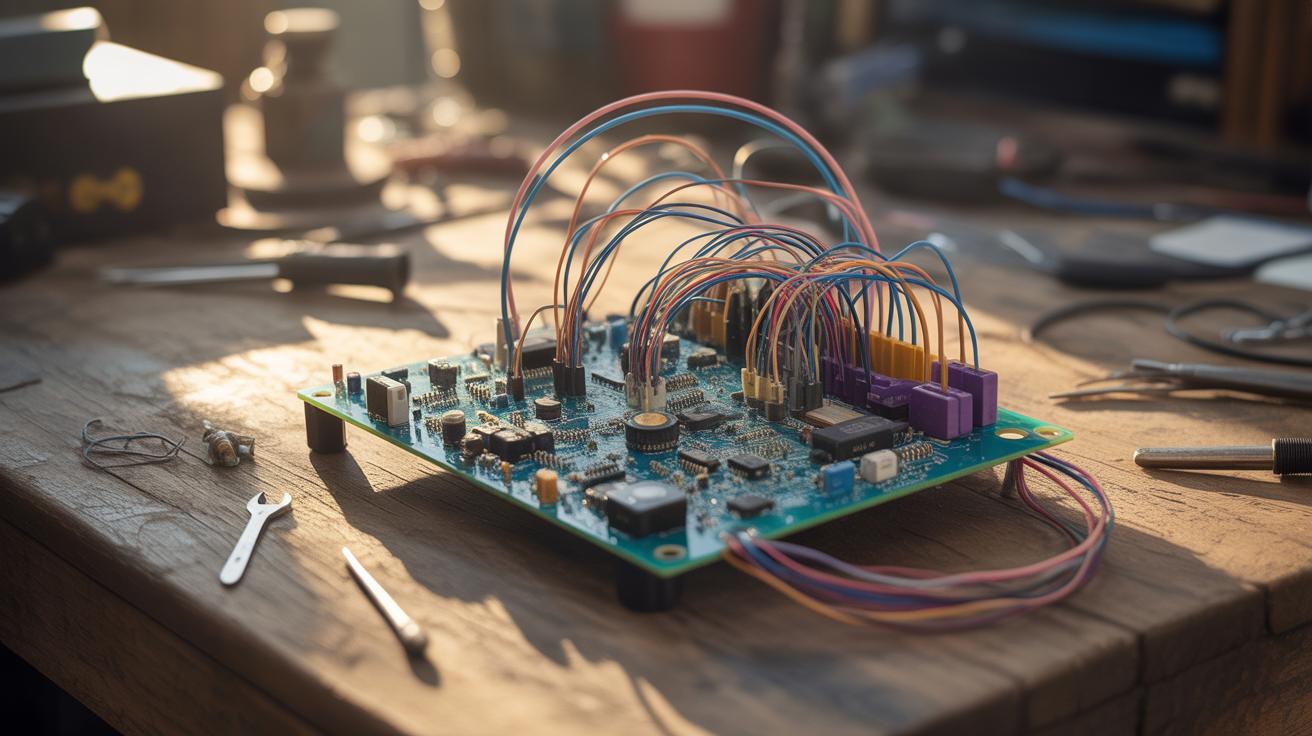
When you start building your own electronics projects, the first step is getting familiar with the basic electronic components. These little parts each have a specific role, which can seem confusing at first, but you’ll see how they work together soon enough.
Take resistors, for instance. They limit the flow of electric current, sort of like a faucet controlling water in a pipe. Without resistors, most circuits would just run wild and break things. Then there are capacitors. These store and release electrical energy, almost like tiny batteries that can charge and discharge quickly. They can smooth out voltage fluctuations or filter signals.
Transistors are a bit trickier but key to many devices. Think of them as switches or amplifiers; they can turn signals on or off or make weak signals stronger. Without transistors, your phone or computer wouldn’t work.
Common Components
For beginners, certain components pop up a lot. Knowing what they do helps you understand circuits better:
- LEDs (Light Emitting Diodes): Indicators that light up when current passes through.
- Diodes: Allow current to flow in only one direction, preventing backflow.
- Potentiometers: Adjustable resistors, useful for tuning circuits.
- Switches: Let you open or close a circuit manually.
- Integrated Circuits (ICs): Chips containing multiple components in one package, like timers or microcontrollers.
Each plays a distinct role. It might seem like a puzzle when you first look at all these parts, but once you start connecting them, things start making more sense.
How Components Work Together

Look at a simple flashlight circuit. The battery provides power, a switch controls whether the circuit is open or closed, a resistor limits current so the LED doesn’t burn out, and the LED lights up when current flows. This is a straightforward example, but the same basic idea applies to thousands of other projects.
Sometimes, capacitors smooth out fluctuations so the LED doesn’t flicker. Or a transistor might amplify the signal from a sensor to switch the LED on. The interactions can get complicated, but at the core, components exchange energy and signals in a dance that makes the whole circuit do something useful.
Thinking about these relationships helps you ask better questions as you build. Why use a resistor here? What happens if I leave out the capacitor? Try experimenting—you’ll learn a lot faster that way, even if it means making a few mistakes.
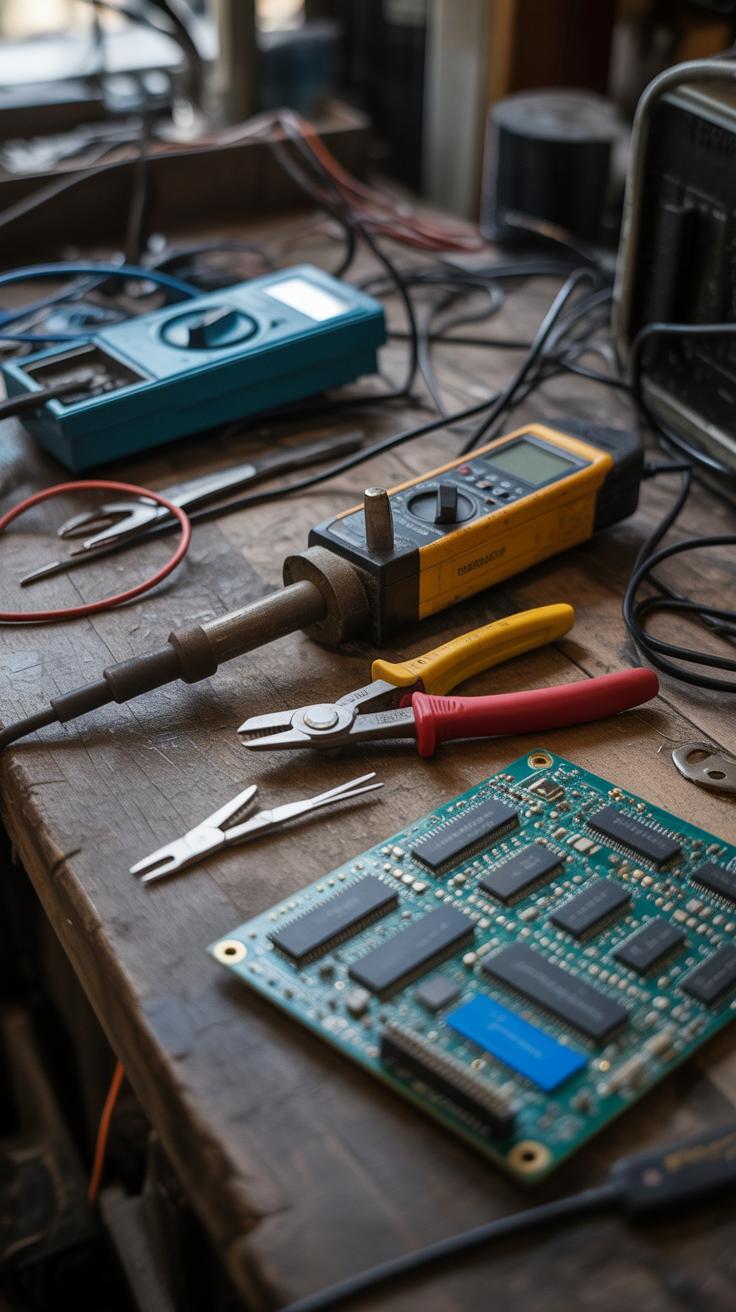
Tools You Need
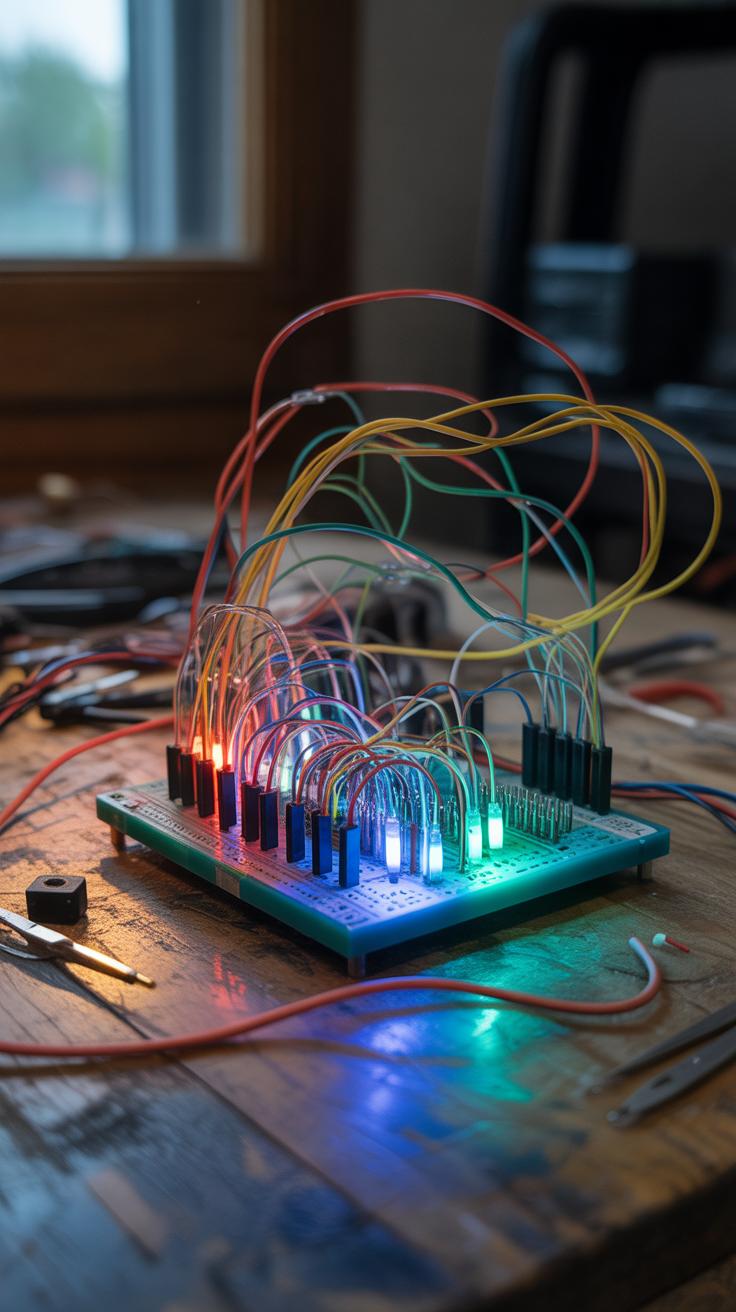
Breadboards and Prototyping
When starting out with electronics DIY projects, a breadboard becomes your best friend. It lets you build and test circuits without soldering, so mistakes won’t cost you parts. You just press the components and wires into the holes and the internal connections do the job. Maybe you’ve tried to solder something only to find you made a tiny mistake—that’s when a breadboard saves you time and frustration.

Using a breadboard helps you see how components interact in real-time. You can swap parts around or change connections quickly, which is especially handy for beginners still figuring out how circuits behave. Do you sometimes get stuck wondering if a resistor or capacitor is in the right spot? Playing with breadboards often clears that up without any extra fuss.
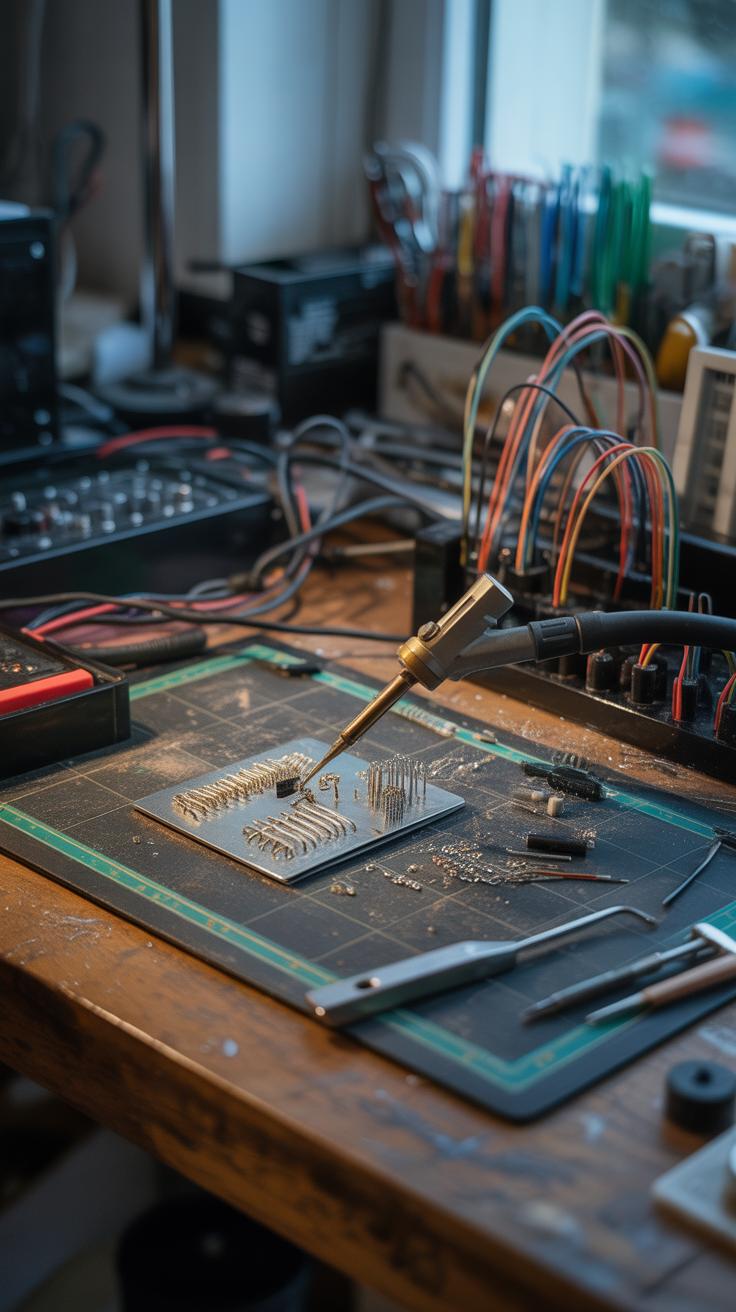
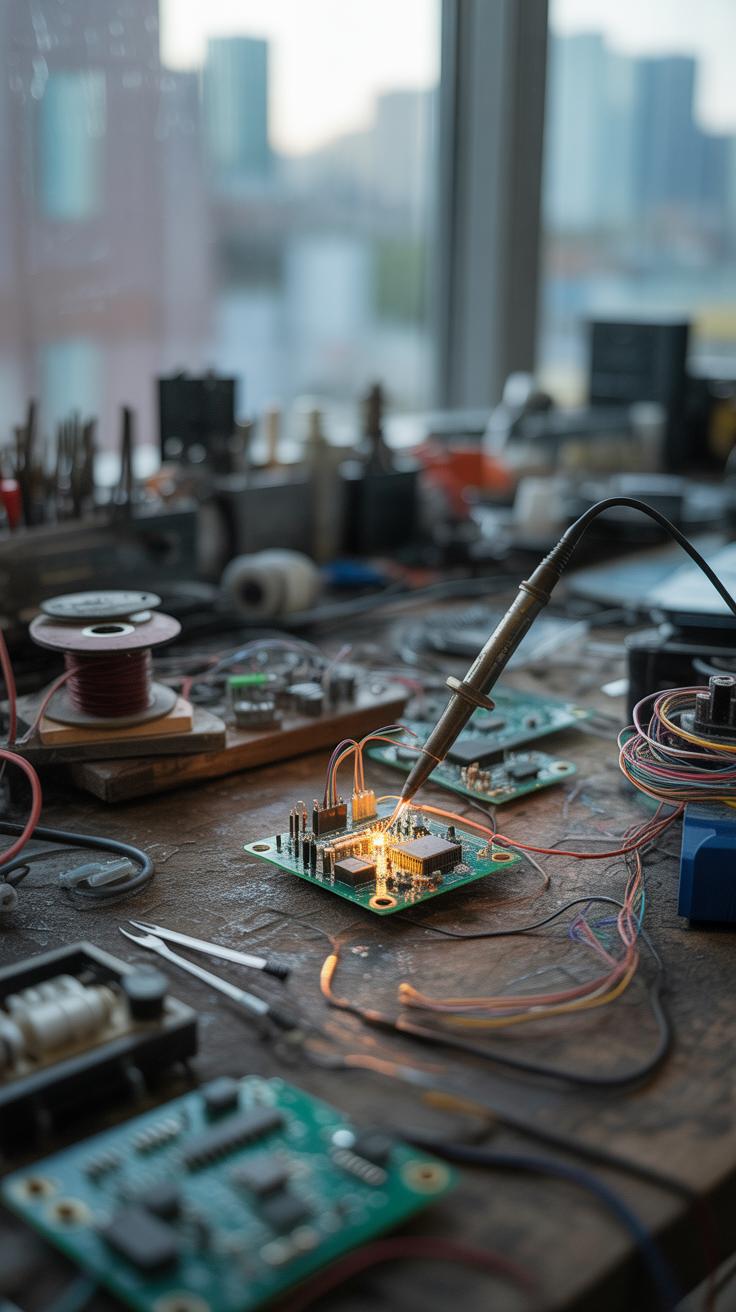
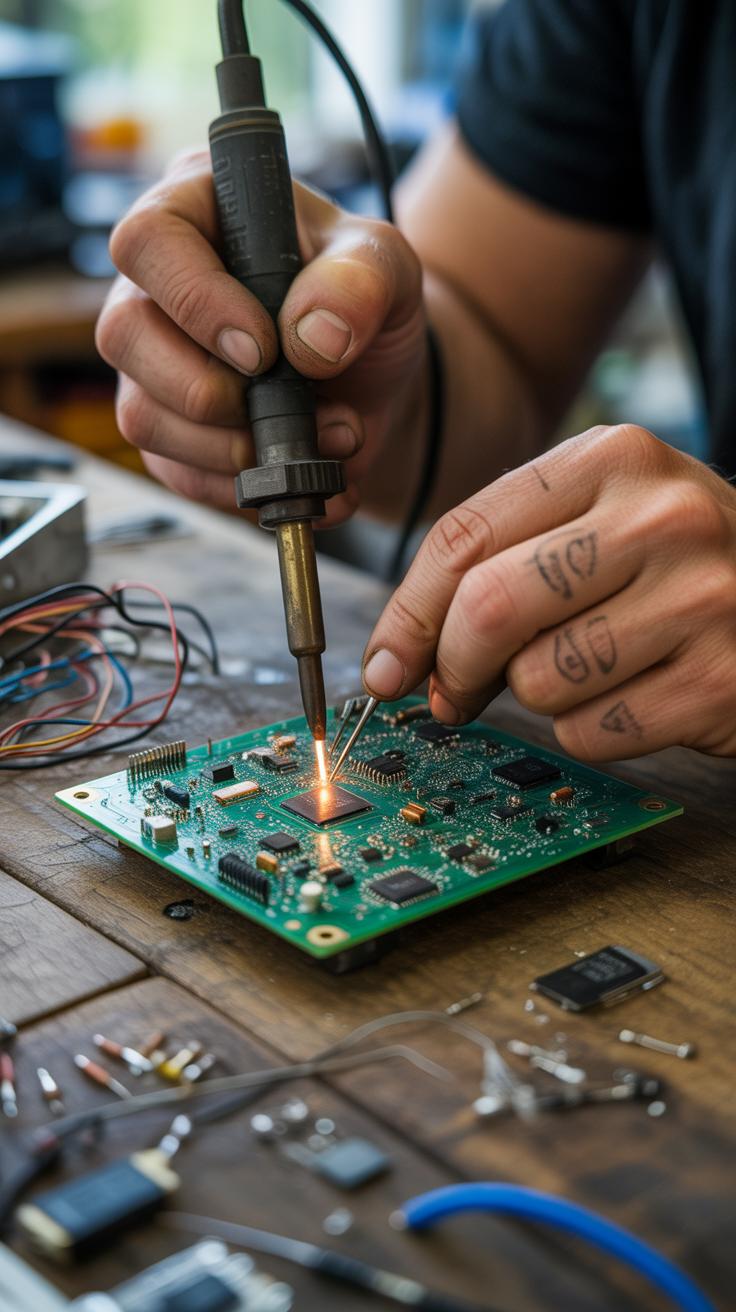
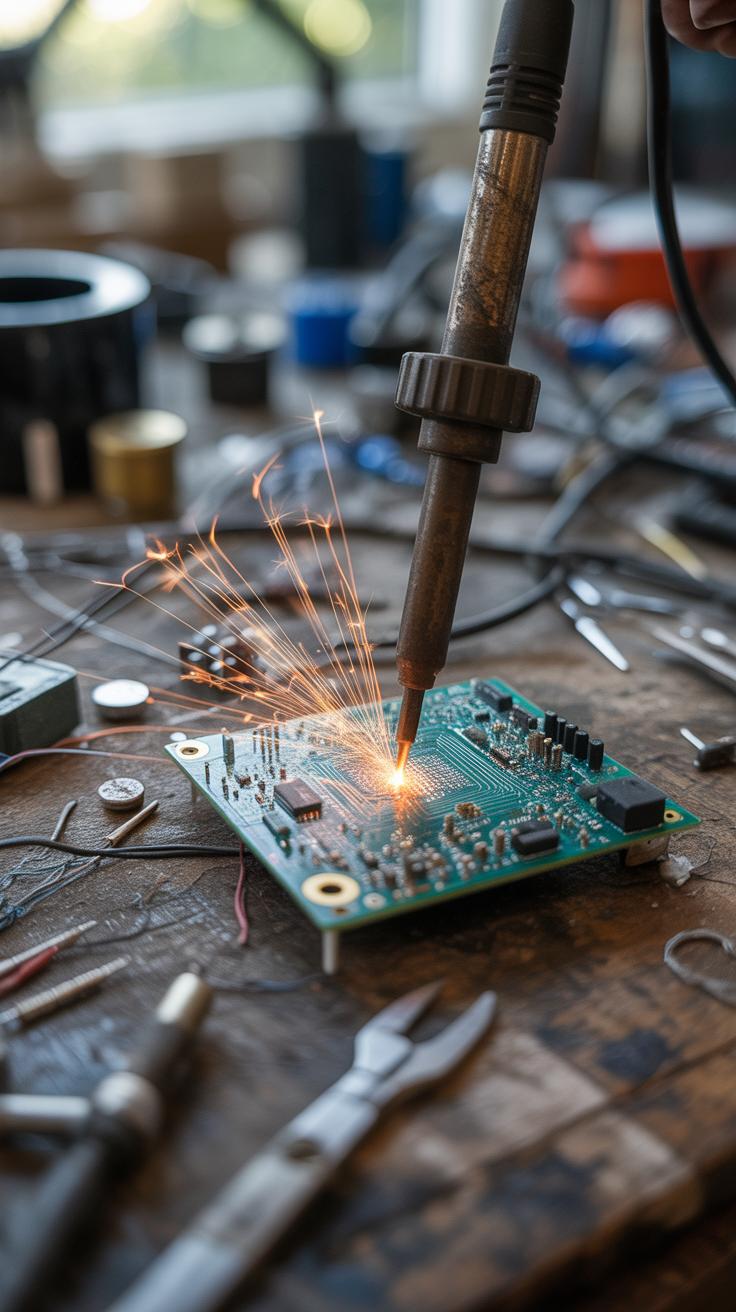
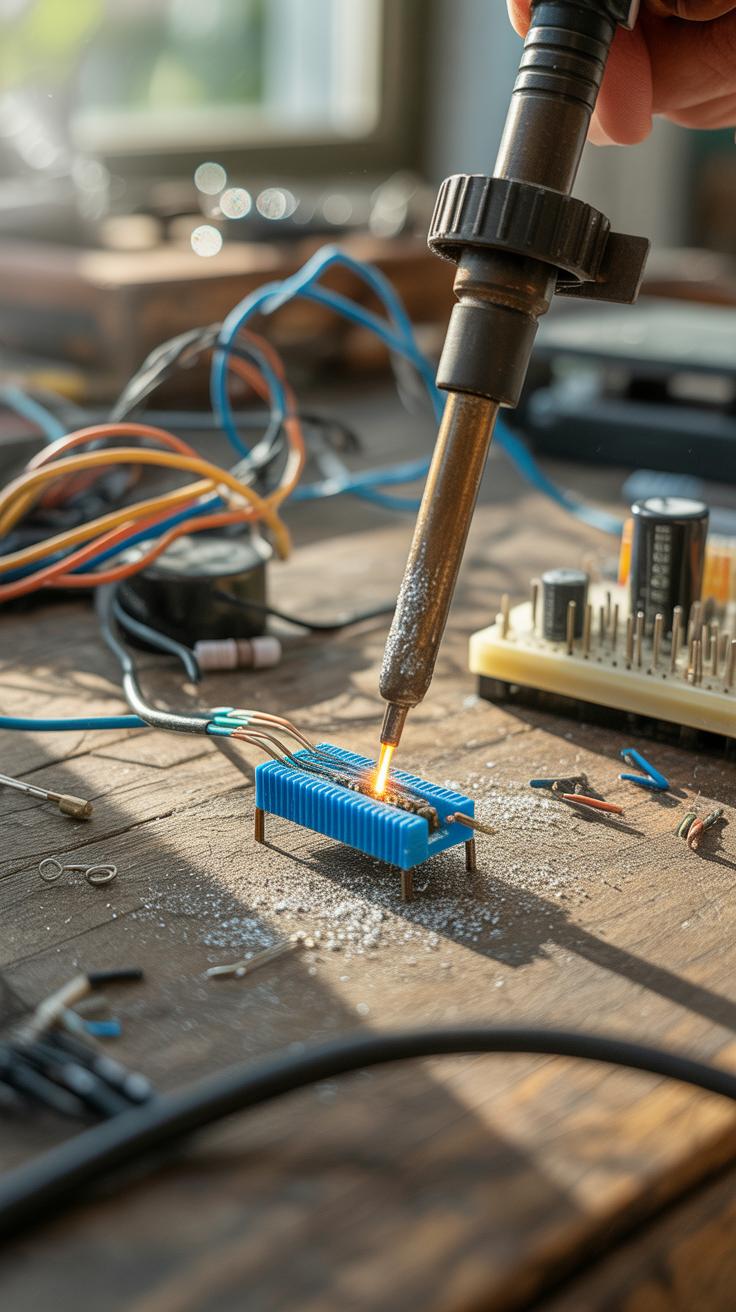
Soldering Basics
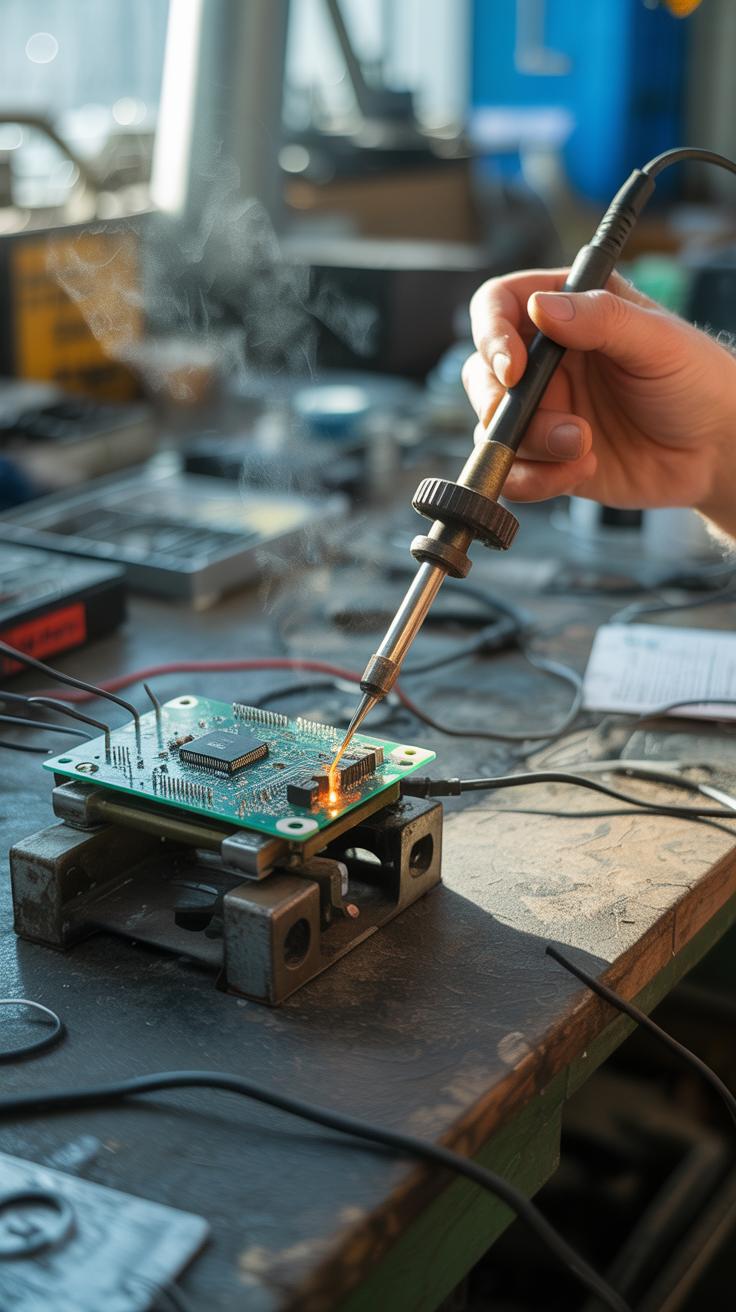
Soldering is a key skill to move beyond simple prototypes. It involves melting a metal alloy to join components permanently. If you have never touched a soldering iron, it might seem a bit intimidating, but with careful practice, it becomes quite straightforward.
Safety is something to think about seriously here: soldering irons get hot enough to cause burns, so always work in a well-ventilated area and avoid touching the tip. Using a stand for the iron and a damp sponge to clean it keeps your work neat and prevents accidents.
When you solder, try to heat both the component lead and the pad on the circuit board simultaneously, then apply solder. This prevents cold joints, which can cause unreliable connections. I remember one of my first projects where a loose joint made the circuit behave oddly for hours before I figured out the issue. Don’t rush, take your time, and your solder joints will look tidy and last longer.
Simple Project Ideas
LED Blink Circuit

You can start learning electronics with a project that’s really basic but surprisingly rewarding: making an LED blink. It’s a hands-on way to get comfortable with breadboards, resistors, wires, and of course, LEDs. The key parts you’ll need are a resistor, an LED, a 555 timer IC, and a power source—often a 9V battery works fine.
The 555 timer acts like a kind of heartbeat, turning the LED on and off at a steady pace. Wiring it up involves connecting pins just right to control the blinking speed, mostly by adjusting resistor and capacitor values. If you follow the circuit diagram carefully, you’ll see the LED start to blink, maybe slower than you expect at first, but that’s part of the fun.
This simple circuit crosses the line between purely theoretical and tangible learning. Watching the tiny light blink is not just satisfying—it’s proof that your connections and components function. Have you tried changing the resistor to see how the blink rate shifts? That little experiment adds a lot to understanding timing circuits.
Light Sensitive Switch
Next, you might want to build a switch that responds to light. It’s a neat way to explore sensors without jumping right into complex sensors or microcontrollers. All you need is a photoresistor (LDR), a transistor, a few resistors, and an LED or small relay to act as the switch output.
The photoresistor changes its resistance with light intensity, which indirectly controls the transistor that switches your LED or device on or off. Setting this up lets you test how components interact dynamically—your circuit “reacts” to changes in the environment. It’s a bit like breathing life into your project, even if just faintly.
You might find that ambient light affects your circuit in ways you didn’t expect. Maybe it’s too sensitive, or not sensitive enough. Tinkering with resistor values or shielding the photoresistor a bit can teach you about threshold levels and fine-tuning sensor circuits. Curious how this might work in a room light system? This project gives you a glimpse.
Using Microcontrollers
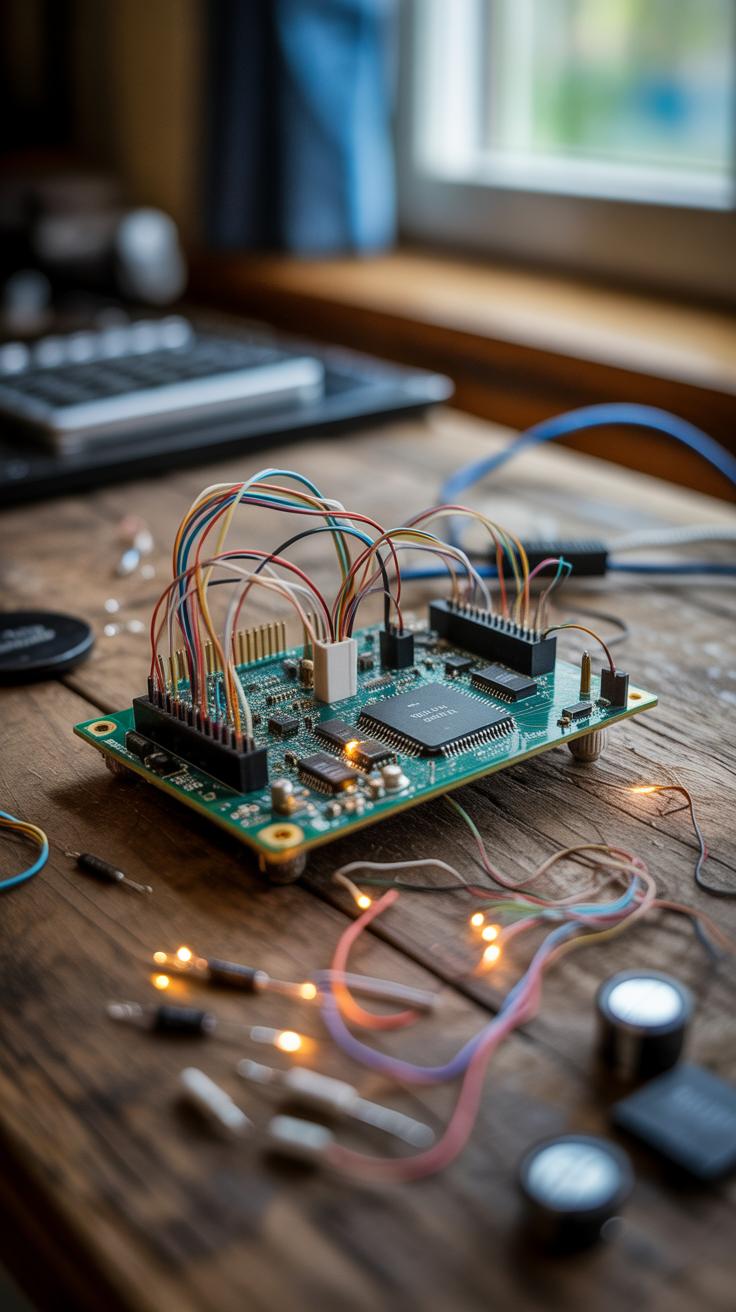
Microcontrollers are tiny computers on a single chip. They can read inputs like sensor data and control outputs such as lights or motors. In DIY electronics, they act as the brain of many projects, allowing you to bring simple circuits to life with software. You might have a basic idea of what they do, but they’re more approachable than you think — no need to be an expert programmer to get started.
Arduino is one of the most popular microcontroller platforms for hobbyists and beginners. It comes with its own programming environment and a simple way to connect hardware. What makes Arduino stand out? It’s easy to use, affordable, and has a huge community sharing projects and help.
Introduction to Arduino
Arduino boards come in various shapes and sizes but share a core idea: easy digital and analog input/output. They connect to your computer through USB, and you write code that tells the board what to do. Many people, myself included, found Arduino great because it removes much of the technical friction you might face with other microcontrollers.
It’s the playground for experimenting. You don’t have to master electrical schematics or complex code right away. Often, you start with a simple idea and build up. Want to blink an LED or read a temperature sensor? Arduino supports that with minimal hassle.
First Arduino Project: Controlling an LED

Let’s try a very basic project: making an LED blink. You only need:
- An Arduino board (Uno is a popular choice)
- An LED
- A 220-ohm resistor
- Some jumper wires and a breadboard
Connect the LED’s longer leg (anode) to digital pin 13 on the Arduino through the resistor, and the shorter leg (cathode) to ground. Then, write this simple code in the Arduino software:
void setup() {
pinMode(13, OUTPUT);
}
void loop() {
digitalWrite(13, HIGH);
delay(1000);
digitalWrite(13, LOW);
delay(1000);
}
This makes the LED turn on and off every second. It’s a simple feedback loop but powerful once you realize you control hardware with code. It might seem trivial — blinking lights aren’t exactly mind-blowing — but it’s a solid stepping stone. Once you get this working, the door opens to countless creative possibilities.
Exploring Raspberry Pi
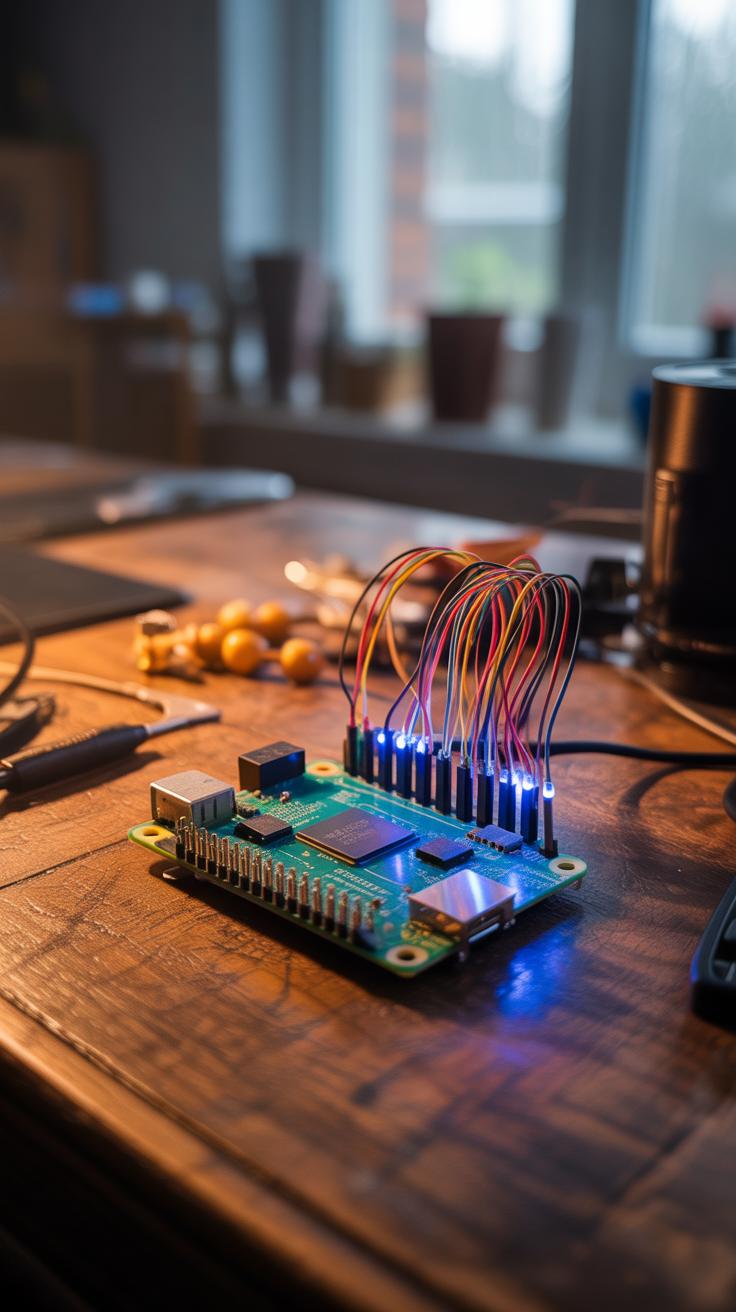
What Is Raspberry Pi
The Raspberry Pi is a tiny computer, roughly the size of a credit card, yet it packs enough power to run full operating systems like Linux. Unlike the microcontrollers you might have encountered before, which mainly handle specific tasks and run simple code, the Pi acts somewhat like a desktop computer. You can connect a keyboard, mouse, and monitor, and it supports multitasking, internet browsing, programming, and much more.
Its appeal isn’t just in size or price but in what it offers for learning. For starters, it introduces you to a complete computing environment where you can experiment with software and hardware simultaneously. That’s something you don’t usually get with microcontrollers. This approach can deepen your understanding of how computers work and how electronics interact with software at a broader level.
If you’ve been used to coding microcontrollers, working with Raspberry Pi might feel like stepping into a new world, but it’s a natural progression that opens fresh opportunities. You’ll likely find yourself curious to explore not just simple commands but entire programming languages and complex applications.
Starting Projects
When you first get your hands on a Raspberry Pi, it’s better to start simple, so you don’t get overwhelmed. Here are a few projects that can help you get familiar:
- Setting up a media center with LibreELEC or OSMC to stream videos and music.
- Building a basic weather station with sensors connected via GPIO pins to collect temperature and humidity data.
- Creating a personal web server to host simple websites or project documentation.
- Programming a retro game emulator to play old-school games—something many find surprisingly addictive.
These projects aren’t just fun; they also teach you how to use the Pi’s hardware interfaces and how software controls hardware. You might find yourself wondering, how does a simple script control a physical device or interact with the internet at the same time? That question itself can lead into much deeper exploration.
So, if you’ve worked with microcontrollers before, the Raspberry Pi adds more layers to your learning—more complexity, sure, but also more possibilities for what you can create and learn along the way.
Designing Your Circuit
Circuit Diagrams
Before you start soldering wires or inserting components, it helps to have a clear plan. Circuit diagrams are the language of electronics — they show how parts connect without the clutter of real physical layouts. Reading these diagrams takes some getting used to, but once you recognize the common symbols, everything begins to make sense.
Try sketching out your own basic circuits. Use straight lines for connections, and standard symbols for resistors, capacitors, switches, and so on. For example, a zigzag line usually means a resistor, while parallel lines stand for capacitors. At first, you might mix up similar symbols or draw messy lines — that’s normal. The goal is getting your idea down visually.
Think of your diagram as a map. It won’t tell you where each wire physically goes, but it shows how electricity should flow. You might find yourself redrawing parts multiple times, changing arrangements. That’s part of designing — making your circuit clearer and simpler. Don’t hesitate to add notes or label components with their values. It saves time later.
Testing Before Building
Once your circuit is on paper, jumping straight to building can be risky. What if there’s a mistake? Luckily, there are a couple of ways you can test your design without soldering anything permanently.
Simulation software is one option. Programs like LTspice or Tinkercad let you create virtual circuits and see how they behave. You can experiment with values, add or remove components, and watch real-time outputs. It mimics real life closely, though it sometimes misses quirks you’d spot when handling physical parts.
The other way is using a breadboard. This lets you assemble and change circuits quickly without soldering. Breadboards provide snap-in holes for components and wires, so you can test if your circuit works as expected. I remember once trying a simple LED flasher—testing on a breadboard saved me from swapping parts repeatedly.
Which method is better? Maybe a mix of both is best. Simulate first to catch obvious mistakes, then build on a breadboard to see how it feels in practice. Either way, testing before you commit saves frustration.
Troubleshooting Tips
When your circuit doesn’t work as planned, don’t rush to blame the design. Problems often come from small, overlooked details. For instance, loose connections happen more often than you’d expect. Wires might look fine but aren’t making solid contact. I once spent an hour hunting a fault before realizing a jumper wire wasn’t fully inserted.
Misplacing components is another classic snag. Swapping a resistor for a capacitor—or putting in a diode backward—can stall the whole project. Take your time checking each part’s orientation and value. Just a quick glance can miss things, so double-checking helps.
Here are some practical steps you can try:
- Use a multimeter to test connections and component values.
- Look for cold solder joints or brittle wires that might break under slight movement.
- Isolate sections of your circuit to narrow down where the fault lies.
- Swap components with known-good ones to find failures.
- Check power supplies; low or missing voltage is often the culprit.
Safety matters too. Always unplug power before rearranging parts. Sometimes, problems seem harder than they are because you’re rushing or getting frustrated. Step back, breathe, and approach the fix methodically. Could a tiny, ignored detail be stopping your circuit? Sometimes it’s that simple.
Learning Resources
When you’re starting with DIY electronics, the sheer amount of information out there can be a bit overwhelming. But don’t let that intimidate you—plenty of resources aim specifically at beginners, laying out the basics in understandable ways. Some books really stand out for making complicated ideas accessible without oversimplifying.
For instance, “Make: Electronics” by Charles Platt often gets recommended because it walks you through hands-on experiments that build your understanding step-by-step. It’s not just a textbook; it encourages trial and error, which is key when you’re learning. Another one is “Practical Electronics for Inventors” by Paul Scherz and Simon Monk, which digs a bit deeper but remains quite approachable.
Besides print, online tutorials are hugely helpful. Websites like Adafruit and SparkFun offer beginner-friendly guides, projects, and videos. You might find yourself going down a rabbit hole of videos on YouTube channels like GreatScott! or EEVblog—some people get hooked on those, but they can be a bit technical at times.
Books and Tutorials
Here’s a quick list you might consider:
- Make: Electronics by Charles Platt
- Practical Electronics for Inventors by Paul Scherz and Simon Monk
- Getting Started in Electronics by Forrest Mims III
- Adafruit’s Learning System (adafruit.com/learn)
- SparkFun Tutorials (learn.sparkfun.com)
These cover both theory and projects—perfect for mixing study with doing. And yes, sometimes you might feel stuck or frustrated, but working through those guides helps you develop your own problem-solving chops.
Communities and Forums
Now, about finding your people. Being part of communities can make a big difference. Places where you can ask questions that seem silly or share your little victories often give a boost.
Forums like the Arduino Forum and EEVblog Forum are bustling with folks at all levels. Sometimes the experts speak in what feels like a foreign language, but you’ll find plenty of friendly, patient users too. Reddit’s r/electronics and r/AskElectronics are also good spots to jump into discussions or pick up project ideas.
Local maker groups and hackerspaces (if you can find one nearby) offer hands-on meetups, where you learn by doing alongside others. These are especially handy if you’re someone who likes to get face-to-face help.
It’s worth considering where you feel comfortable—whether online or offline—as you push your learning. Have you tried asking questions in a forum before? Sometimes, even a simple question can lead to unexpected advice that opens new doors.
Advanced Project Ideas
Building Robots
If you’ve got some basic electronics knowledge, starting a simple robotics project is a great next step. It might feel a bit intimidating at first, but breaking it down helps. Begin with something small—like a line-following robot or a basic obstacle-avoiding rover. These projects combine motors, sensors, and microcontrollers, giving you a hands-on chance to see how different components work together.
You’ll need to understand how to program a microcontroller, such as an Arduino, to read sensor inputs and control motor outputs. It’s not just about wiring; the logic behind the robot’s behavior is key. Sometimes, you might find your robot doing unexpected things—those moments are both frustrating and a little exciting. They push you to troubleshoot and learn more deeply.
Try:
– Simple motor control circuits
– Basic sensor integration like ultrasonic or infrared
– Writing simple conditional code to guide movement
Have you thought about what kind of robot interests you the most? Starting simple lets you build confidence before tackling gadgets that move in complicated ways or respond to their environment more intelligently.
Home Automation
DIY home automation projects are an excellent way to apply your electronics skills in practical, everyday contexts. You don’t have to build a fully smart house right away. Begin with small, manageable ideas that can improve your daily routine.
For example, controlling lights remotely using a smartphone or automating a fan to turn on at a certain temperature blends basic electronics with simple coding. These projects usually involve sensors (like temperature or motion), relays or smart switches, and wireless communication modules such as Wi-Fi or Bluetooth.
It’s interesting that even straightforward setups can save energy or add convenience. Setting timers or triggers can feel quite rewarding once the system works—and tweaking it to suit your preferences makes the process personal.
Some starter ideas might be:
– Automated lighting systems
– Temperature-controlled fans or heaters
– Remote monitoring of doors or windows
What daily task in your home might benefit from a little automation? That’s usually a good place to begin exploring this area.
Conclusions
Building your own electronics projects deepens your understanding of how devices work. It improves problem-solving skills and gives you a sense of accomplishment. By exploring different projects, you gain confidence and can gradually tackle more complex designs.
As you keep experimenting, you will find new ways to innovate and bring your ideas to life. Media such as Arduino and Raspberry Pi platforms provide excellent opportunities to expand your skills. Dive into DIY electronics and enjoy learning by creating useful, fun projects.