Introduction
DIY tech projects offer a hands-on approach to learning and creating with technology at home. These projects let you build gadgets, tools, or devices, helping you understand how technology works while having fun. Whether you like electronics, coding, or fixing things, DIY tech can fit your interests and skill level.
In this article, you will find simple guides to start your own tech projects. You will learn about the tools needed, ideas to try, and ways to make your projects interesting and useful. These projects can turn your free time into a time for creativity and discovery.
Getting Started With DIY Tech
Understanding DIY Tech
DIY tech simply means building or fixing technology projects on your own, usually at home. It’s about taking small steps to understand how everyday gadgets work—or creating something new with basic parts. Think of making a simple flashlight using batteries and LEDs, or assembling a basic robot from a kit. These projects don’t require a lab or fancy tools, just curiosity and a bit of patience.

Starting with easy projects helps you avoid feeling overwhelmed. You get to see quick results, which can be pretty motivating. Plus, small wins build your confidence to tackle more complex ideas later on. Actually working on something teaches you more than just reading about it—you see the problems firsthand and solve them, even if it takes a few tries.
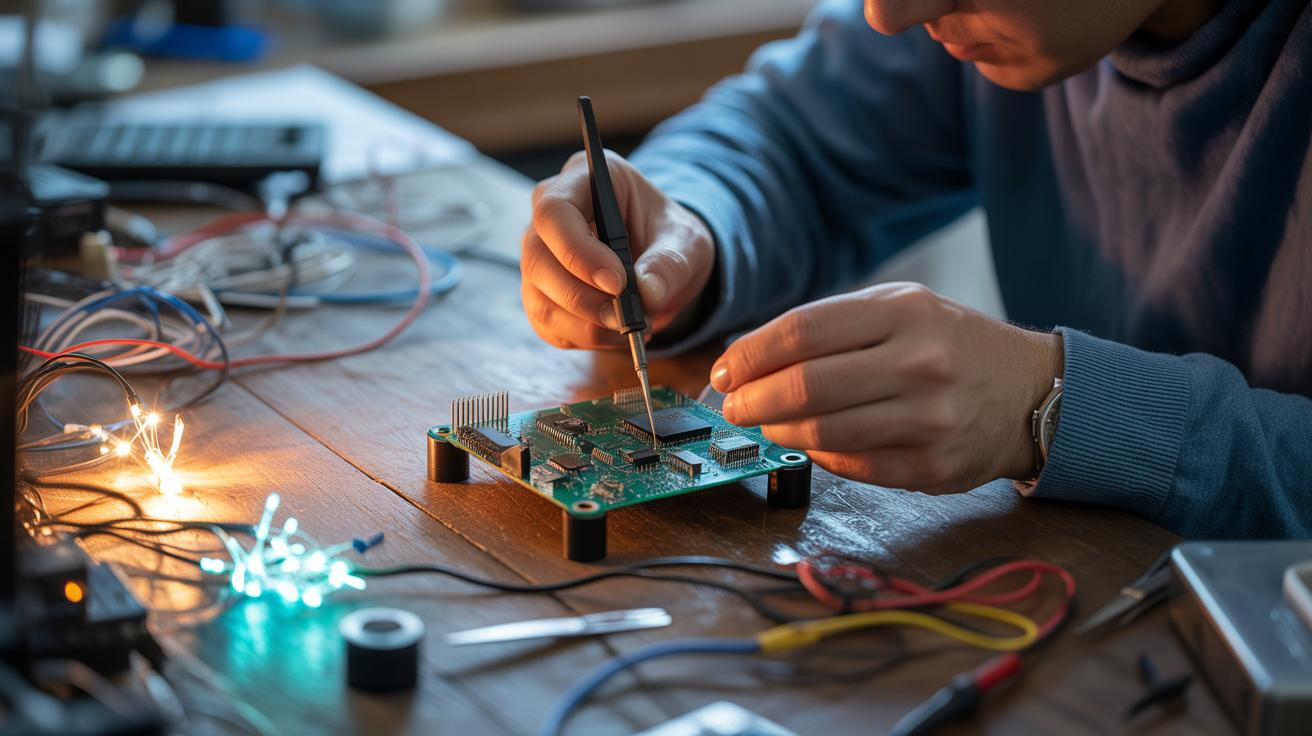
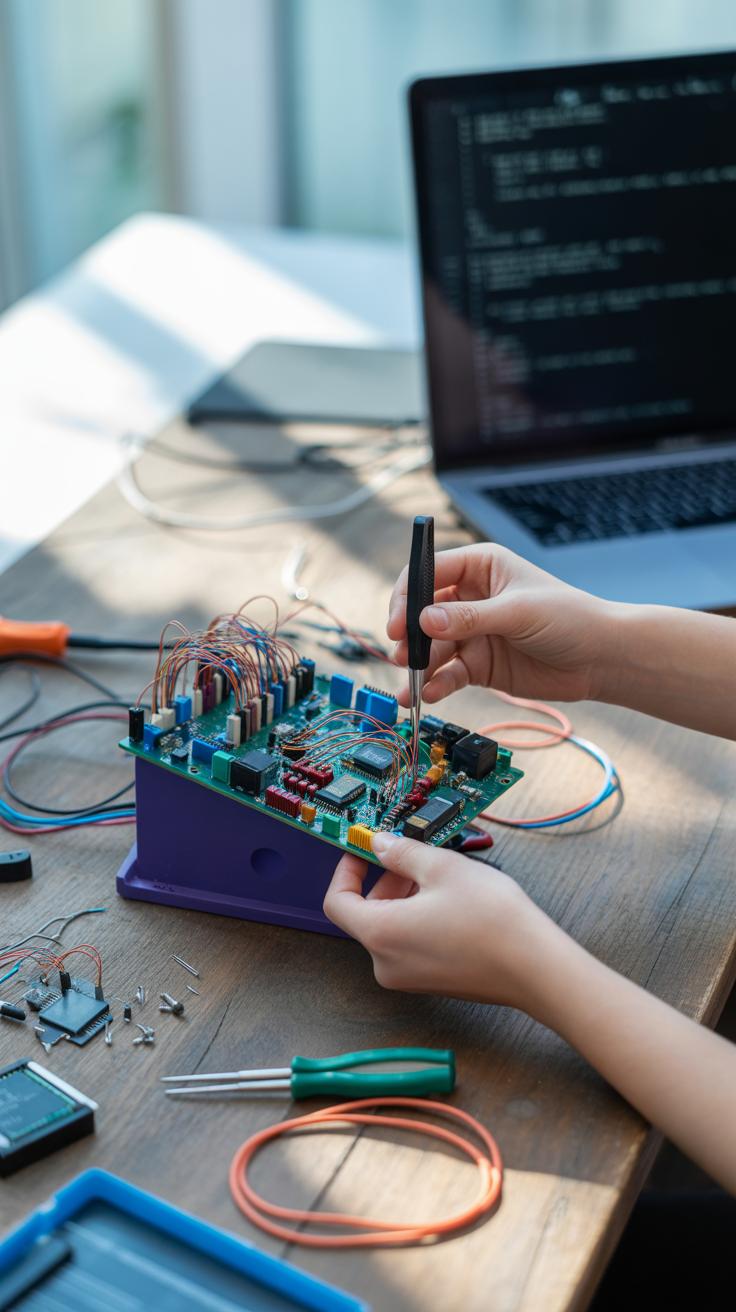
Setting Up Your Workspace
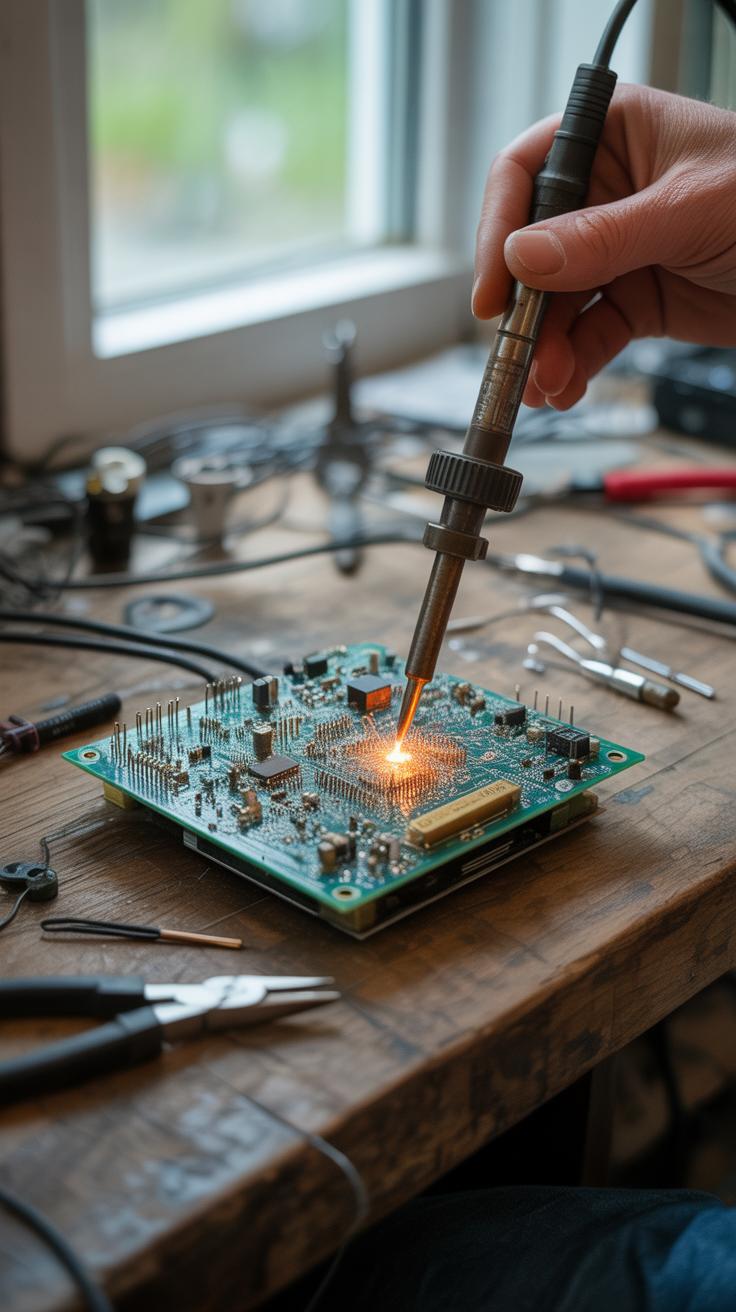
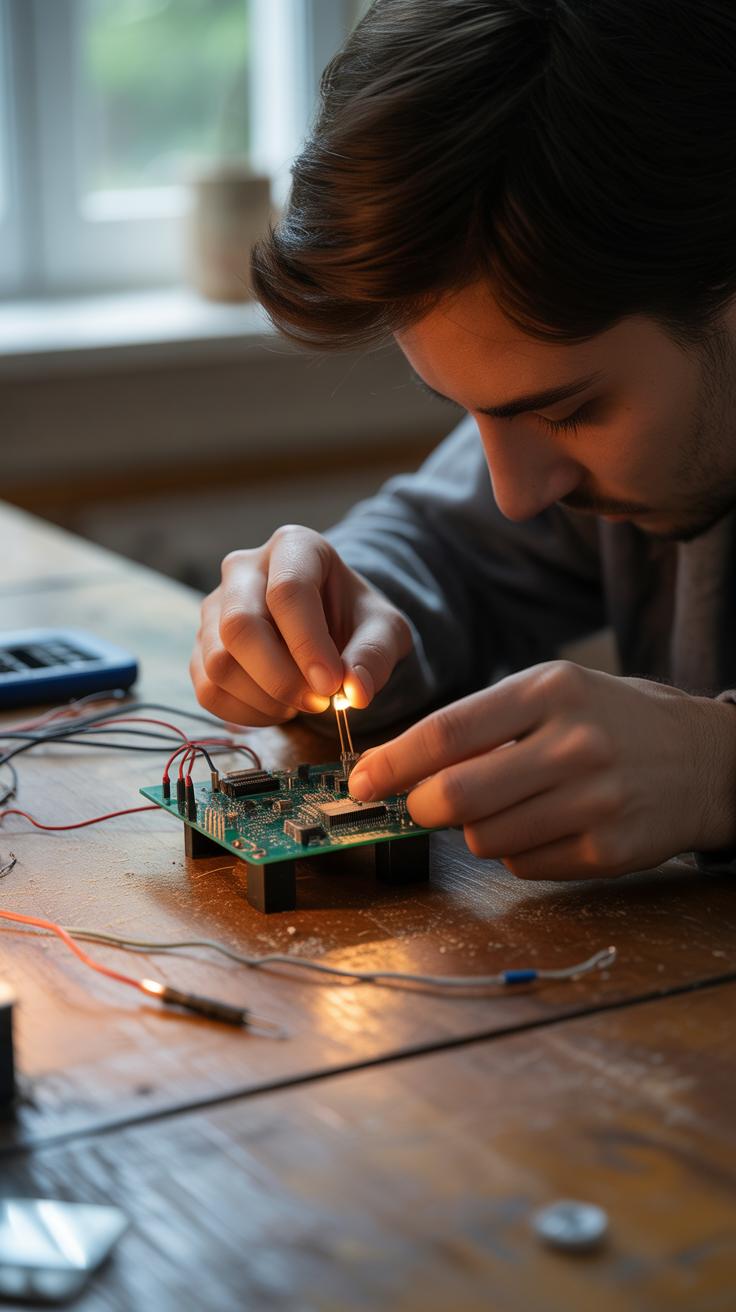
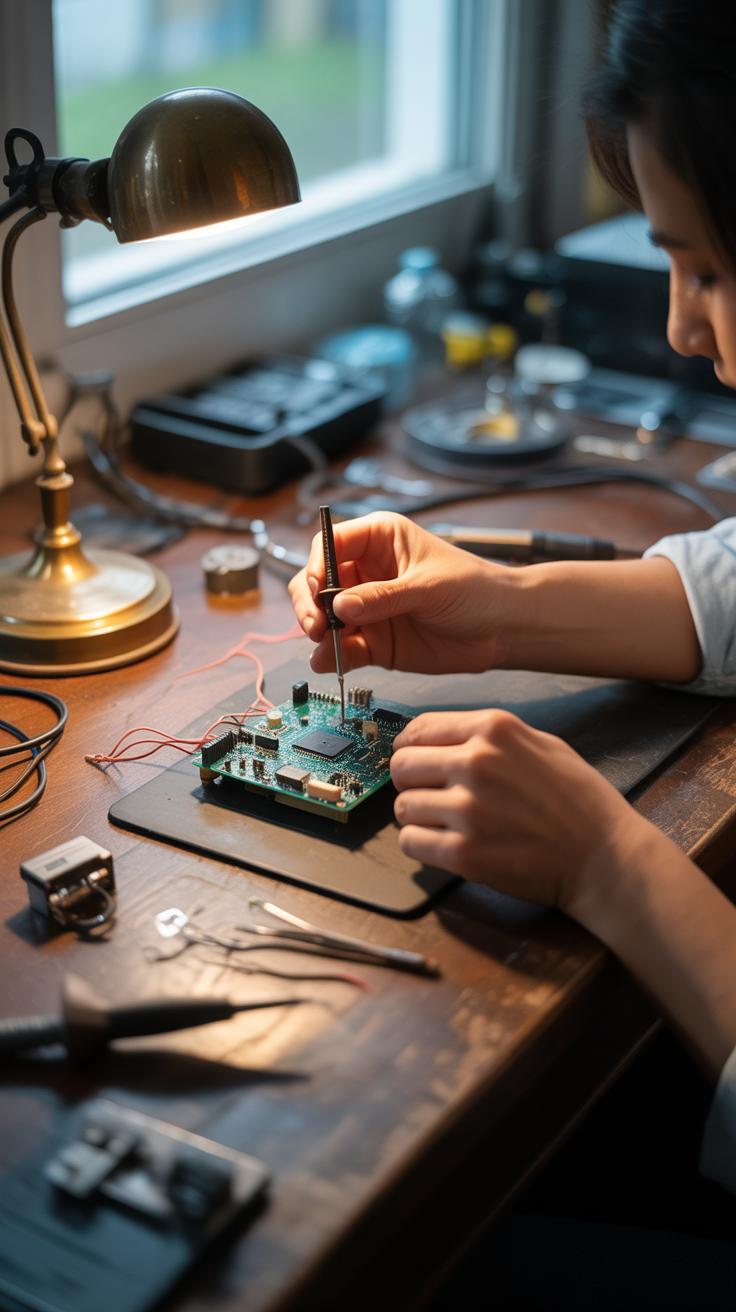
Picking the right spot at home sets the tone for your tech work. It doesn’t have to be big—a small table in a quiet corner can work well. You’ll need basic tools like a screwdriver set, wire cutters, a multimeter if you can afford one, and maybe some soldering tools down the road. Keep things organized; sort your components into jars or small boxes. It helps avoid frustration when you can find what you need quickly.
Safety matters, even in small projects. Good lighting and ventilation are simple but often overlooked. Also, try to keep liquids or food away. If budgets are tight, many tools come in starter kits that include essentials without breaking the bank. Sometimes a used set or borrowing tools from friends can get you going.
Preparing your space thoughtfully makes the work feel less like a chore and more like an experiment. And maybe, just maybe, you’ll find the setup itself sparks ideas you hadn’t thought of before. Why not give it a try?
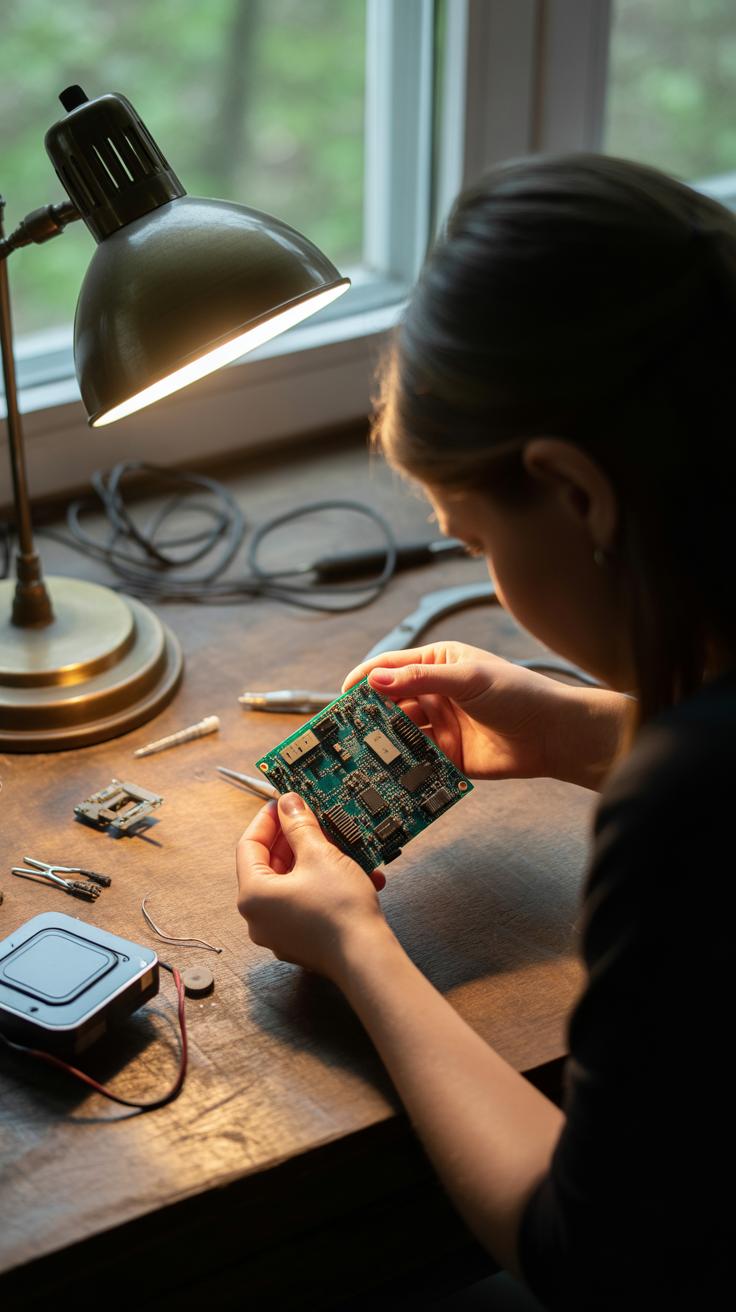
Basic Electronics for Beginners
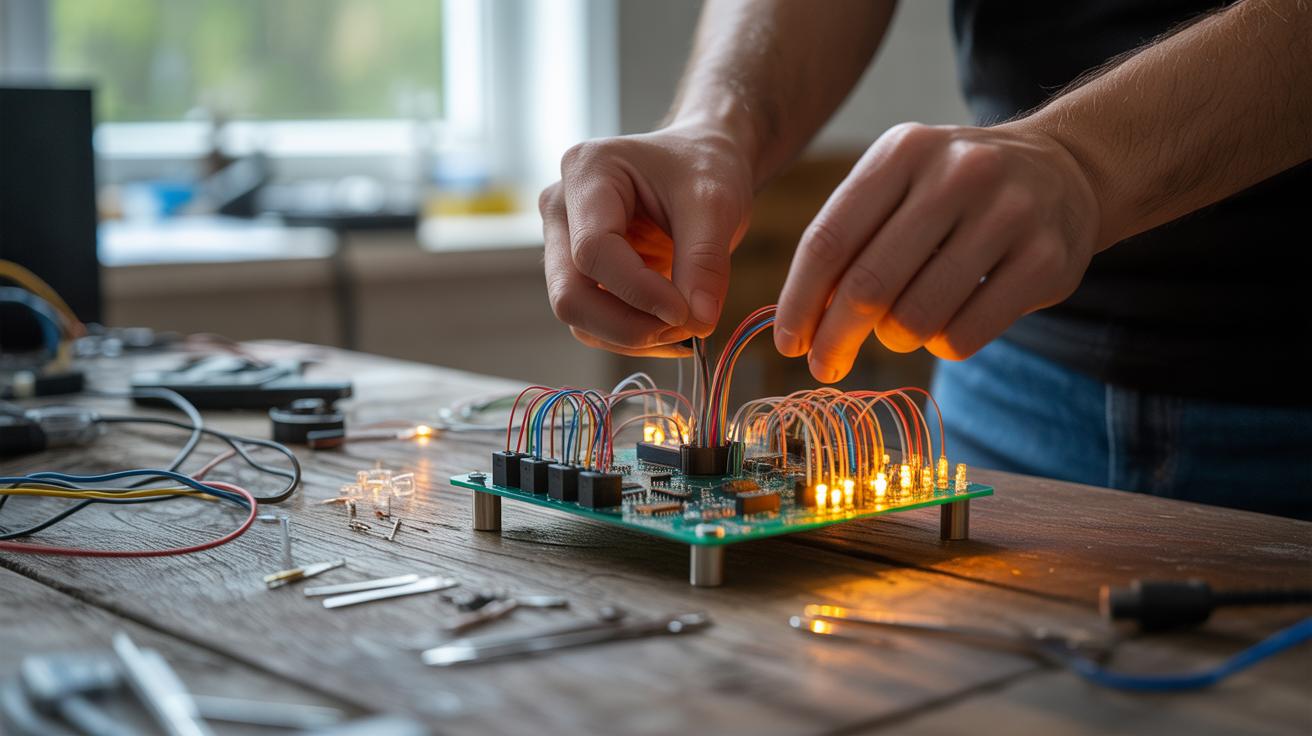
When you start with DIY tech, getting to know a few basic electronics parts can make a big difference. Let’s take a quick look at some key components you’ll see often: resistors, LEDs, and batteries. A resistor, for example, limits how much current flows through a circuit. Think of it like a narrow pipe slowing down water—only electricity in this case. Without resistors, some parts might get too much power and break.
LEDs are small lights that turn on when electricity passes through them. You’ve probably seen them on gadgets or in simple toys. They don’t use much energy and are fun to experiment with because they light up right away.
Batteries provide the power needed to make your circuit work. Using a simple AA battery pack can bring your small projects to life within minutes.
Building your first circuit means connecting these parts so electricity can flow properly. Picture this: you attach a battery to a resistor, then connect the resistor to an LED, and finally, close the loop back to the battery. When done right, the LED glows. It’s a clear, hands-on way to understand how circuits work. It might take a couple of tries—things don’t always click immediately—but that’s part of the fun. Trying it out yourself is worth much more than just reading about it.
Coding Basics For DIY Tech
Why Learn Coding

Coding is what tells your tech projects what to do. Think of it as the instructions you give to your gadgets so they act the way you want—turning lights on, making sounds, or even responding to a button press. Even simple commands can control electronics, like blinking an LED or reading a sensor’s data. That’s the magic behind many fun DIY projects.
For someone new, coding might seem a bit confusing, but starting with easy languages changes that. Scratch, for example, uses blocks you can drag and drop, so you don’t have to type commands right away. Python, on the other hand, is easy to read and widely used by beginners and experts alike. You can quickly make projects like a quiz game, a digital pet, or a light controller. These projects don’t just teach you code—they show you how to bring devices to life.
Starting With Simple Code
Let’s say you want to make an LED blink using code. With a few lines in Python or Scratch, you can make it happen. In Python, the code might look like this:
import time
while True:
print(“LED ON”)
time.sleep(1)
print(“LED OFF”)
time.sleep(1)
This code turns the LED on and off every second—well, in theory, if the LED were connected to a microcontroller that understands the instructions. You can write and test code on free tools like the Scratch website or Python’s IDLE, both easy to install or use online.
Practice is key here. Try changing numbers, adding new commands, or combining blocks. Sometimes your code won’t work right away, but that’s part of figuring things out. Playing with simple programs like these helps build your skills for more complex projects ahead. So, what could you create next? Maybe a simple game or a remote-controlled light switch? The possibilities are yours to explore.
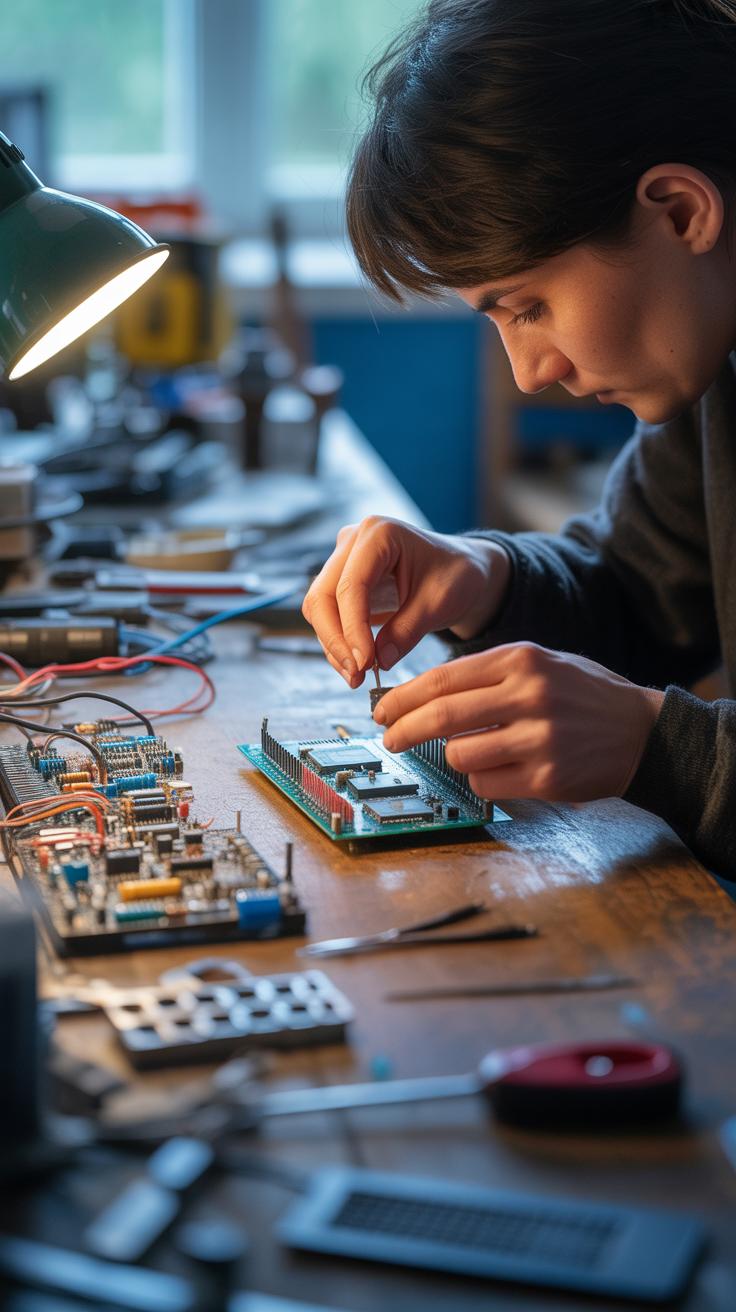
Exploring Microcontrollers

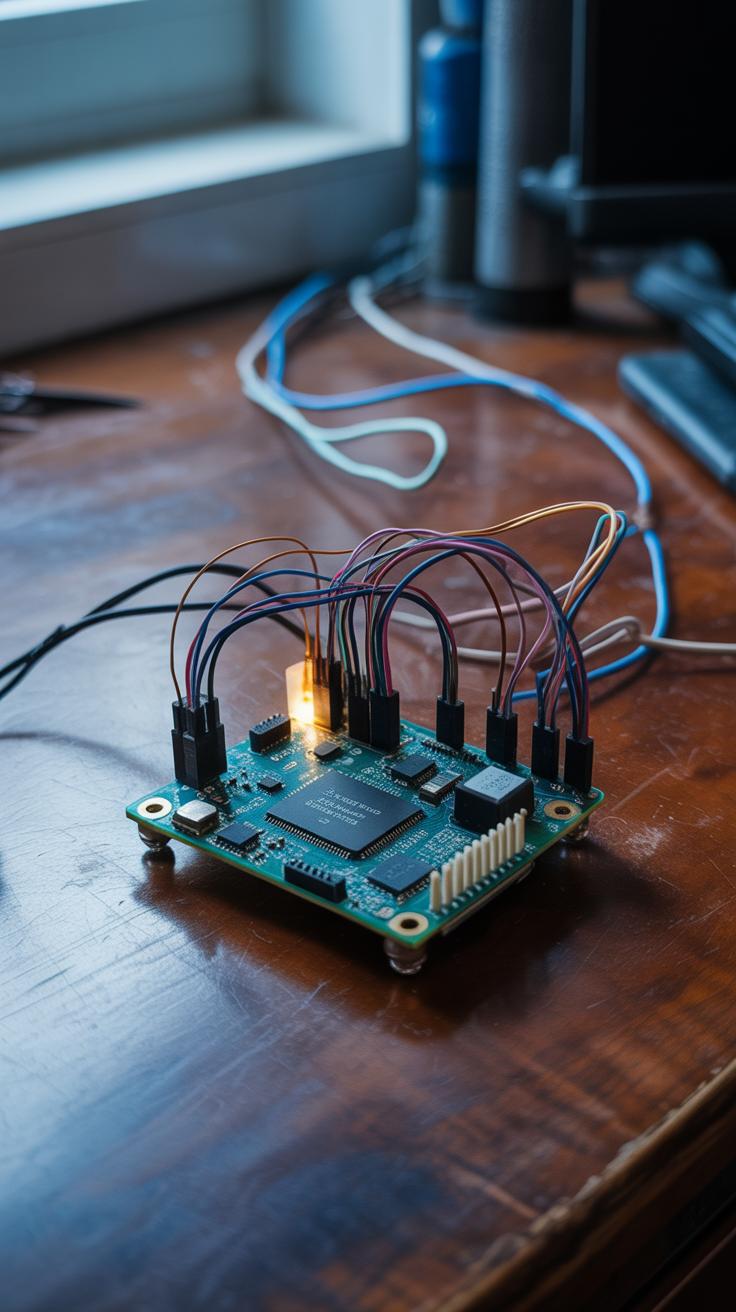
What is a Microcontroller?
A microcontroller is basically a tiny computer inside a single chip. Think about the little circuits that make your microwave or TV work—the microcontroller acts like the brain. It processes instructions and controls electronic parts such as lights, motors, or sensors. For example, when you press a button on a remote, a microcontroller decides what happens next. It’s not as powerful as your laptop, but it’s perfect for running small tasks repeatedly.
You might wonder what makes it different from a regular computer. Well, microcontrollers come with memory, input and output pins all built together, so they directly command hardware without needing extra components. That combo allows them to manage things in gadgets quietly and efficiently.
Beginner Projects With Microcontrollers
Trying out simple projects with microcontrollers can be fun and less daunting than it looks. Two popular starter devices are Arduino and ESP8266. Arduino is great for physical projects and very beginner-friendly—you just plug it in and start programming it through your computer.
ESP8266, on the other hand, adds Wi-Fi abilities, so you can make things connect to the internet. For instance, you could create an LED blinker, where an LED turns on and off repeatedly. Easy to build, it’s a neat way to grasp how microcontrollers control outputs.

Another cool and not-too-hard project is a temperature sensor that reads room temperature. You get data from the environment, then you can make the microcontroller react, like switching on a fan. These projects teach safety—handle wires carefully and avoid high voltages—and keep your setup simple to avoid messing up something.
Starting small makes it easier to build confidence and eventually jump into bigger ideas. Once you’ve tried blinking lights or reading temperatures, who knows what you’ll create next? It probably won’t be obvious at first, but experimenting is the key.
Building Smart Home Gadgets
Creating simple smart home devices yourself can be surprisingly doable. You don’t need an advanced degree, just a bit of curiosity and some basic parts like sensors, microcontrollers, and a bit of coding. Take remote-controlled lights for example: with a small microcontroller such as an ESP8266 and a relay module, you can switch your lights on and off using your phone or voice commands if you connect it to a smart assistant. It’s practical and actually fun to see the little system respond instantly.
Besides lights, sensors like motion detectors or temperature monitors are pretty straightforward to add. Imagine a sensor that turns the hallway light on only when you enter—it saves energy and adds convenience. Benefits are clear: convenience, energy savings, and sometimes even security. But I guess it’s also about the little satisfaction you get from “making things work” yourself.
Mixing these parts into a working gadget isn’t magic but a process. First, pick your components, then write or tweak code that makes the microcontroller interact with the sensor or switch. Testing and adjusting follow. It’s a bit trial and error, but that’s where you learn the most. You might start thinking: what small problem in your home could tech actually solve?
Examples of Smart Devices
Here are a few simple smart gadgets you can build that actually make sense around the house:
- Remote-controlled lights: Control lamps or ceiling lights through your phone or with a manual switch connected to a smart relay.
- Motion-activated nightlights: Lights that come on only when you walk by, perfect for late-night trips without fumbling for switches.
- Temperature sensors: Track room temperature remotely, so you know if the house is too cold or hot before getting home.
- Smart plant waterers: Use soil moisture sensors to water your plants automatically, reducing guesswork and forgotten watering days.
All of these add small but real convenience. They can make daily life smoother, often saving time or energy in subtle ways.
Making Your Home Smarter
You can combine sensors, microcontrollers, and some coding to create these devices step-by-step. Start simple: for example, pick a sensor like a motion detector, connect it to your microcontroller, and program it to trigger an output—like turning on an LED or activating a relay. Next, add networking capability if you want remote control. Try using libraries to simplify coding; they save a lot of headaches.
As you try this, you’ll realize it’s part electronics, part logic, and part experimentation. Each step matters: wiring, programming, testing. If something doesn’t work, checking connections and code line-by-line is key. Eventually, you’ll get a gadget working that responds to your commands or environment. It’s a bit like giving your home a small brain. What will you make first?
Wearable Tech Projects

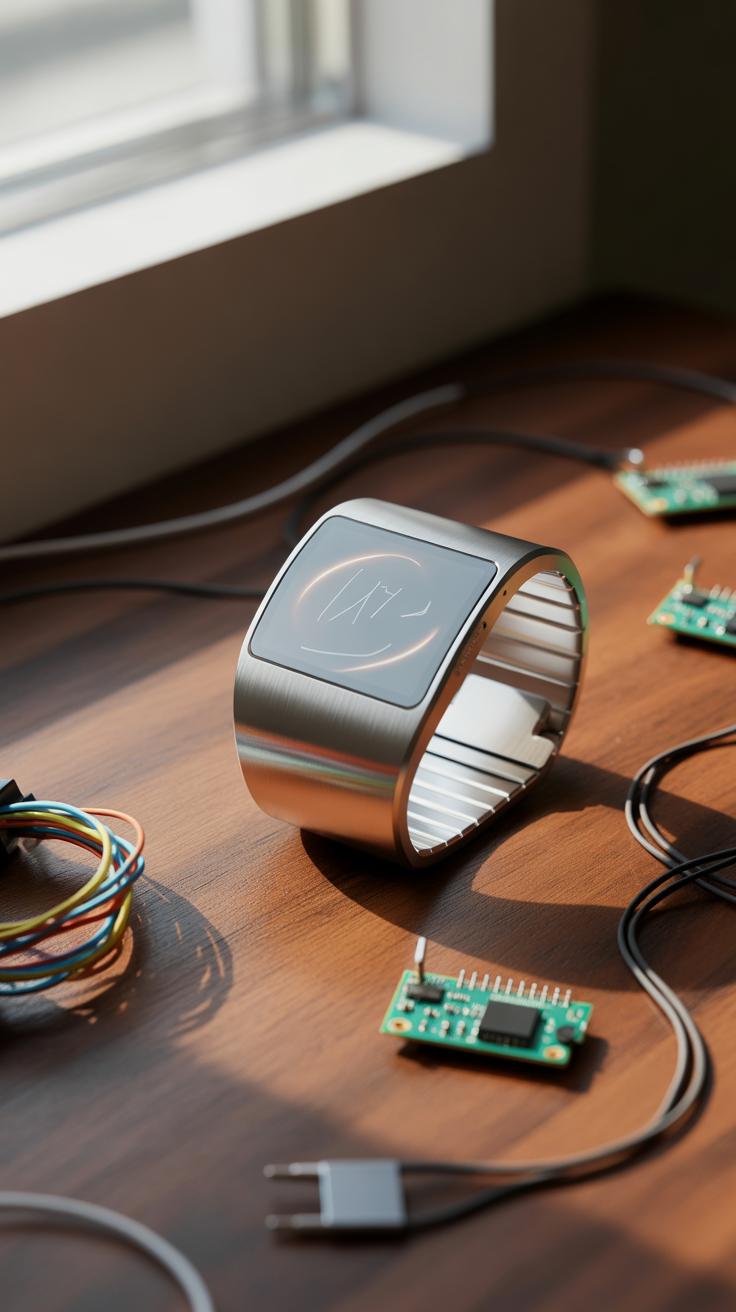
Types of Wearable Tech
Wearable technology means gadgets you can wear on your body, like smartwatches or fitness bands. Imagine a watch that counts your steps or glasses that show messages. These devices have small computers and sensors built inside them, tucked into clothes or accessories. Kids might enjoy thinking of simple examples, like a hat that lights up or a bracelet that buzzes when you get messages. Electronics today can be tiny enough to fit onto fabric without making it stiff. That’s how clothes can become smart. Sometimes you won’t even notice the tech—until it surprises you by tracking your moves or glowing in the dark.
Creating Your Own Wearable
Starting a wearable project at home might sound tricky but can actually be pretty straightforward. You’d need a few basic materials like soft fabric, small LEDs or sensors, a tiny battery, and thread suitable for electronics, like conductive thread. Sewing the parts together is something you can learn easily, even if it feels a bit awkward at first. Connecting tiny circuits involves stitching with care and testing connections as you go. Plus, simple coding skills come in handy if your wearable uses sensors or lights that react.
For example, making a step counter could involve a basic motion sensor attached to a wristband, sending signals to count how many steps you take. Or you could create an LED badge that lights up with buttons you sew onto it. You’ll try stitching, linking parts, maybe write simple code to tell what should happen and when. Before you realize it, you’ve built a fun, wearable device. It’s a bit like magic—technology hidden in plain sight, worn on your body!
Troubleshooting DIY Projects
When you start working on DIY tech projects, things rarely go perfectly the first time. Mistakes happen, circuits don’t light up, code refuses to run smoothly. You might feel stuck or frustrated, but that’s part of the process—patience really does pay off here. Learning from mistakes is how you get better.
Finding What Went Wrong
Start by checking the basics. Look closely at your circuits and connections—sometimes a loose wire or reversed LED can be the culprit. Use a multimeter if you have one to test continuity. If you’re coding, scan your script for misplaced commas, spelling errors, or missing brackets. Often, reading your code aloud or having someone else glance at it helps spot bugs you might miss alone.
Try simple tips like:
- Confirm that power supply is working and connected correctly.
- Test individual components separately.
- Break down your code into smaller sections to isolate problems.
Fixing and Learning
Once you find a problem, tackle it step-by-step. Maybe a resistor value was off, or a line in your code uses the wrong variable. Fix it, test it again, then move forward. If the fix doesn’t work, step back and rethink your approach. Don’t be discouraged by failure—it’s how you train yourself to be a problem solver. Sometimes, the solution requires taking a break and coming back with fresh eyes. You learn not just about your project, but how to work through challenges quietly and persistently.
Sharing and Growing Your Skills
Once you’ve built something cool, sharing it can be surprisingly rewarding. It’s not just about showing off; it helps you see your work from new angles. Try joining local tech clubs or maker spaces where people gather to trade ideas and tools. Online forums and social media groups focused on DIY tech are also great spots to meet folks. Places like Reddit DIY communities or Discord servers can connect you with others who might suggest tweaks or entirely new uses for your project.
Teaching is another way to deepen your skills. When you explain how your project works, you often spot things you missed. It forces you to organize your thoughts—sometimes revealing gaps in your understanding. This kind of back-and-forth can spark fresh ideas that you might not have had alone.
Sharing doesn’t require fancy presentations. Even a simple blog post or video showing your process can invite feedback. What about local workshops? They can be a bit intimidating, sure, but helping others build something lets you practice patience and see different approaches firsthand.
Conclusions
Trying DIY tech projects at home can open new worlds for you to explore. You gain skills, confidence, and a deeper understanding of how technology shapes everyday life. Each project you finish adds to your knowledge and encourages you to try new ideas.
Keep experimenting and learning with your hands and mind. The more you build, the more you realize how much fun and rewarding creating tech can be. Start small, stay curious, and enjoy the journey of making your own tech projects at home.