The Illusion Of The Beginner Guitar Pedal Kit: A False Start

Why Kits Often Stifle True Learning
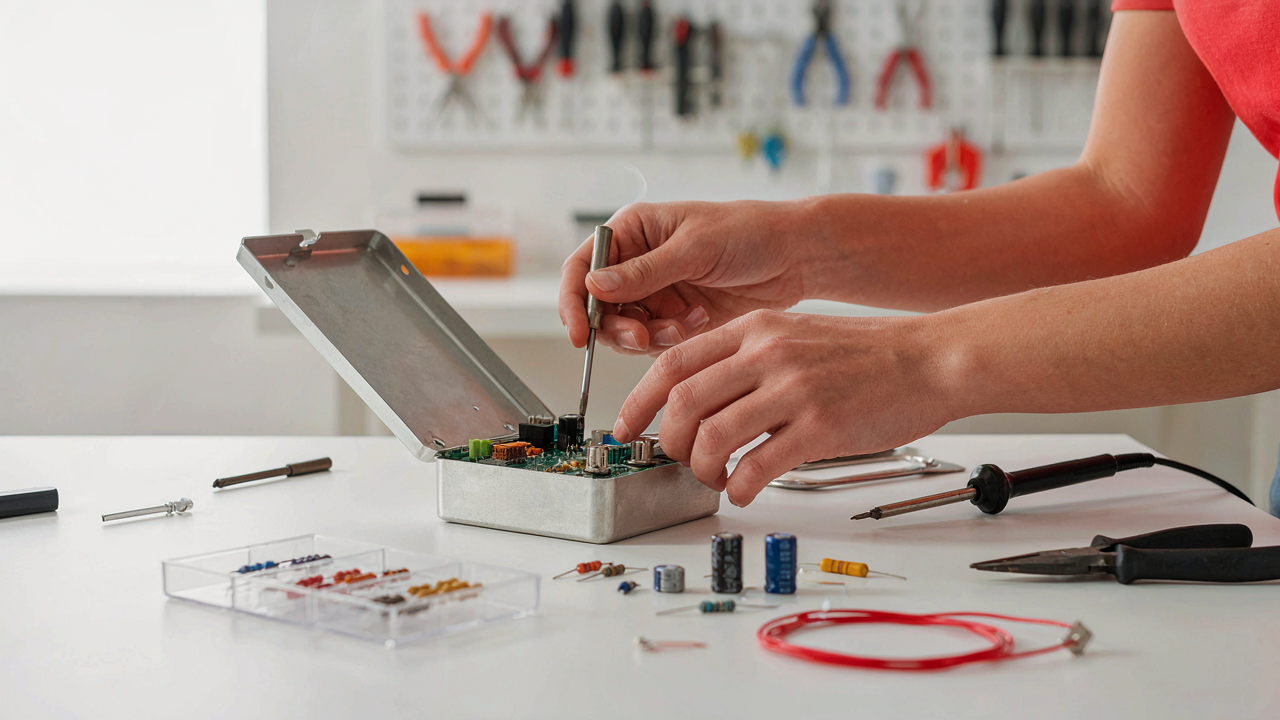
You want the shortcut because you’re afraid of looking stupid in front of experienced builders. The real mechanism at work here is outsourced decision-making. Kits remove the one thing that actually teaches you: choosing components and understanding why those choices matter. When a kit pre-selects your resistor values, capacitor ratings, and circuit topology, you’re not learning pedal design. You’re following instructions, which feels productive but leaves you unable to troubleshoot or modify anything when it doesn’t work.
The problem isn’t that kits are bad. The problem is they train dependency instead of competence. You memorize the assembly sequence but never internalize how signal flows through a circuit, why certain component tolerances matter, or how impedance affects tone. Six months later, you hit a problem that wasn’t in the instruction manual and you’re stuck. Real builders understand the circuit first, then select components. Kit builders select components they don’t understand, then hope the circuit works.
Convenience Is The Trap That Looks Like Help
Economics calls this the principal-agent problem. The kit manufacturer’s goal and your goal aren’t aligned. Their incentive is to make something you can assemble fast and feel good about finishing. Your actual goal should be learning enough to design your own pedal next time. Pre-drilled enclosures, pre-selected components, color-coded wires, and step-by-step diagrams all serve the manufacturer’s convenience, not your learning velocity.
The convenience compounds across time in the wrong direction. Start with a kit and you save maybe three hours on your first build. But you lose months of foundational knowledge you’d have gained by sourcing parts yourself, reading datasheets, and making mistakes on a breadboard first. The real beginner move is buying raw components, a breadboard, and a schematic from someone who understands circuit design. Then you build it, break it, fix it, and actually own the knowledge. That’s where competence comes from.
Deconstructing The ‘How To Make A Guitar Pedal’ Myth
Why Schematics Aren’t Instructions
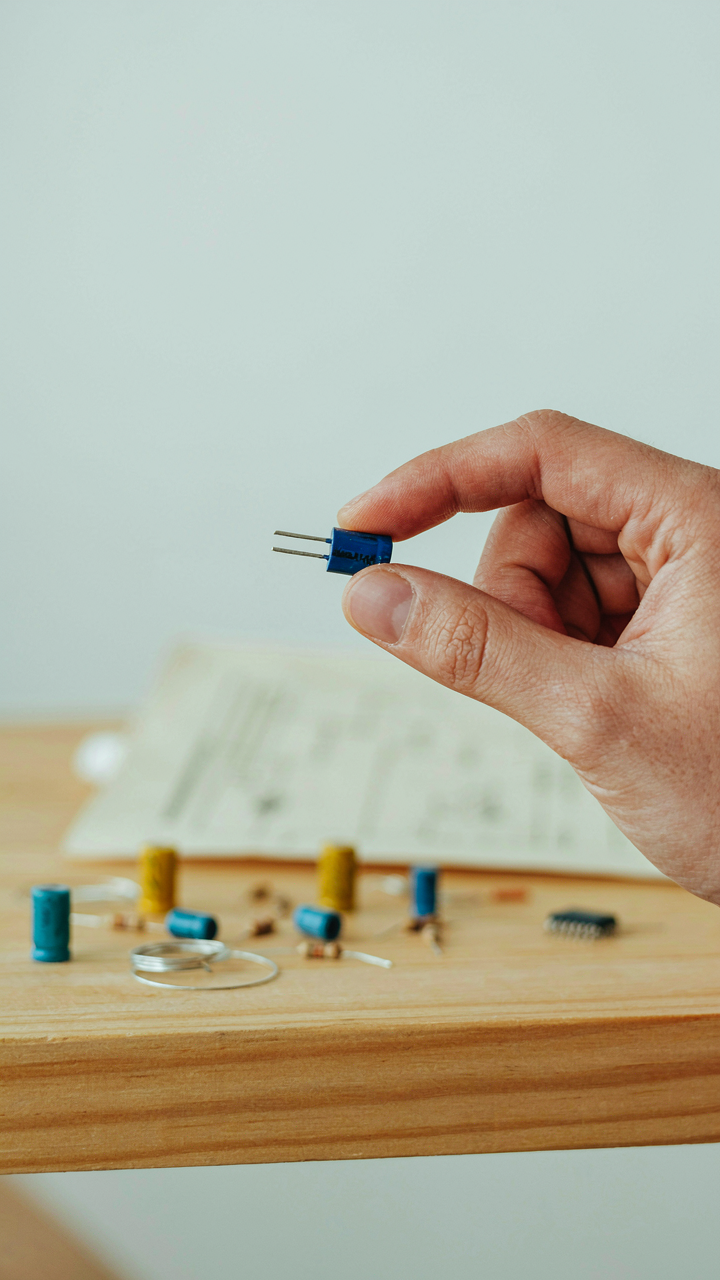
You want to build a pedal because you think following steps will make you competent. It won’t. A schematic shows relationships between components, not causation. In signal flow architecture, you’re mapping how voltage changes state at each node, similar to how water pressure moves through a system of valves. The difference: you can’t see electricity move, so you skip the part where you actually understand what’s happening.

Most tutorials show you where to solder without explaining why that component sits there. They bypass the circuit logic entirely. You end up with a working pedal and zero ability to modify it, troubleshoot it, or design your own. Read the schematic as a story about voltage flow, not as coordinates on a board. Identify the input stage, the processing stage, and the output stage. Understand what each transistor or op-amp does to the signal before you place it.
The Material Question Nobody Asks Right
Component selection isn’t about matching numbers on a bill of materials. The real work is understanding tolerance, temperature coefficient, and how parts age. A resistor marked 10k ohms won’t stay exactly 10k ohms across temperature ranges or after five years of use. This isn’t pedantic. It’s the difference between a pedal that works once and one that stays stable.
Beginners use whatever resistor value a schematic lists without asking why that specific value mutes noise or sets gain. Capacitor type matters more than most realize: ceramic capacitors drift, film capacitors stay stable, electrolytic capacitors fail predictably. Choose components based on the job they do in the circuit, not convenience. Buy quality resistors and capacitors from suppliers who publish datasheets, then verify specifications before soldering.
The DIY Guitar Pedal’s Unspoken Advantage: Adaptive Design

Pedals As Living Systems That Evolve
You want to believe your first pedal will work perfectly because admitting failure feels like wasted time. Here’s what actually happens: evolutionary biology teaches us that organisms survive by adapting to environmental pressure, and your pedal circuit operates the same way. You iterate. You modify. You live.
A commercial pedal ships fixed. Your DIY pedal becomes a testbed. Every time you swap a resistor value, change a capacitor, or rewire the input stage, you’re applying selective pressure to your design. The mutations that reduce noise survive. The ones that kill your tone die off. This isn’t metaphor. It’s how circuits actually improve under real playing conditions, not lab conditions.
Modification Beats Perfection On First Build
The common advice is wrong: you don’t need to get the schematic perfect before you build. That thinking belongs in manufacturing, not experimentation. Your advantage is modification velocity. A factory designer commits to tolerances and sourcing. You commit to nothing.
Start with a working circuit, build it, then measure what breaks. If your distortion pedal clips too early, lower the input resistor. If it lacks sustain, try a larger capacitor across the output. If the tone stack colors everything brown, swap component values in the feedback network. Every change teaches you the mechanism. This feedback loop is what separates builders from consumers. Speed of iteration determines speed of mastery.
Beyond Generic Guitar Pedals: The Signature Sound Protocol

What Pro Builders Actually Copy
You want your pedal to sound like something that matters. That’s not vanity—it’s the only way to know if your design actually works. The real mechanism here comes from circuit forensics: you’re not chasing tone, you’re identifying the specific component values and topologies that create measurable harmonic content. Study the Ibanez Tube Screamer’s op-amp clipping stages, the Boss DS-1’s diode configuration, the MXR Distortion Plus’s input impedance. These aren’t secrets. They’re published schematics.

Reverse engineering means reading a schematic alongside listening tests, then building a clone to verify your understanding. Change one capacitor value at a time. Measure how the frequency response shifts. Document everything. This teaches you the actual relationship between a 100nF cap and a 1uF cap in a tone stack—not as theory, but as something your ears confirm. That’s your foundation for original work.
The Feedback Loop That Actually Sculpts Tone
Everyone says iterate and test. That’s incomplete advice. Here’s what actually happens: you build a circuit, listen to how it responds to different guitar volumes and pickup types, identify which frequencies dominate, then adjust component values to either amplify or suppress those frequencies. This is iterative design borrowed directly from control systems engineering—you’re creating feedback loops between input, processing, and output to reach a target response. Each build informs the next parameter adjustment.
Start with a proven schematic. Build it stock. Record samples at consistent levels through the same amp and speaker. Now change one component—a resistor, a capacitor, a diode type. Record again. Listen for the shift in sustain, headroom, brightness, or compression. Document the change and your reaction to it. Repeat this thirty times if needed. You’ll develop an intuition for how the circuit responds, and your fourth or fifth iteration will sound intentional, not accidental.
Diy Pedal: The True Cost Isn’t Monetary
Time Investment Versus Skill Acquisition
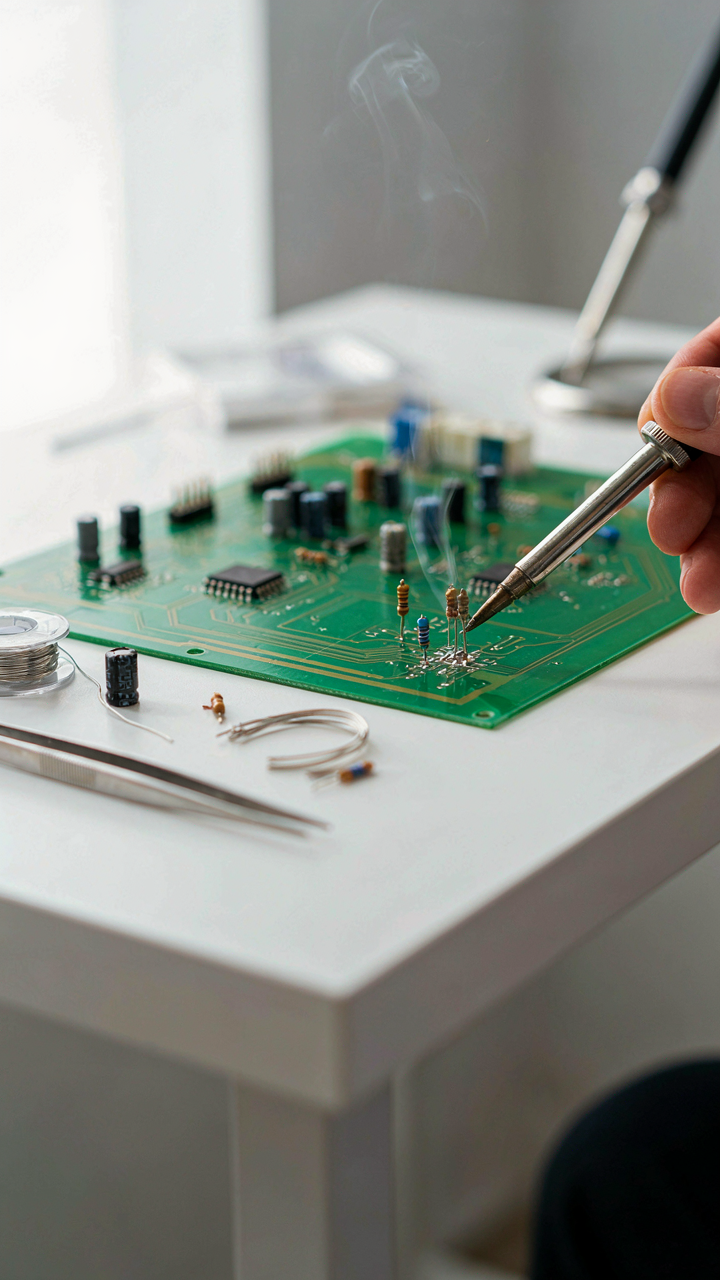
You’re worried you’ll waste time on something that won’t matter. Here’s what actually happens: building a pedal forces you to learn the mechanism between intention and result, which transfers to every technical problem you’ll face later. Economics calls this human capital accumulation. In pedal building, it’s learning how signal flow, component tolerance, and circuit design directly shape tone. You don’t just build one pedal. You build a diagnostic framework.

Most builders skip this step and chase the next project. They miss the leverage. Each hour you spend troubleshooting a failed solder joint or tracing why your overdrive clips too early teaches you something your hands retain. You’re not paying with time. You’re converting time into a repeatable system for solving problems under constraints. That system compounds immediately on your next build, your repairs, your mod ideas. The cost is front-loaded. The returns aren’t.
The Compounding Returns Of Practical Knowledge
Building one pedal teaches you component behavior. Building three teaches you circuit design shortcuts. Building ten teaches you why manufacturers make the choices they do, and where they cut corners to hit price points. This is where your judgment becomes real. You can now read a schematic and predict what it will sound like before you build it. You can modify designs with purpose instead of guessing.
The mechanism is simple: each build reduces friction on the next. You know where your tools fail you. You know which soldering techniques work for your hands. You know how to test before you assemble. You’ve already made the expensive mistakes in time, not in wasted components. When you build pedals for others or sell designs, you’re selling the hours you already spent. That’s not overhead. That’s profit you’ve already earned.
The Unnecessary Complexity Of The DIY Guitar Pedal Board
Signal Chain Clarity Starts With Subtraction
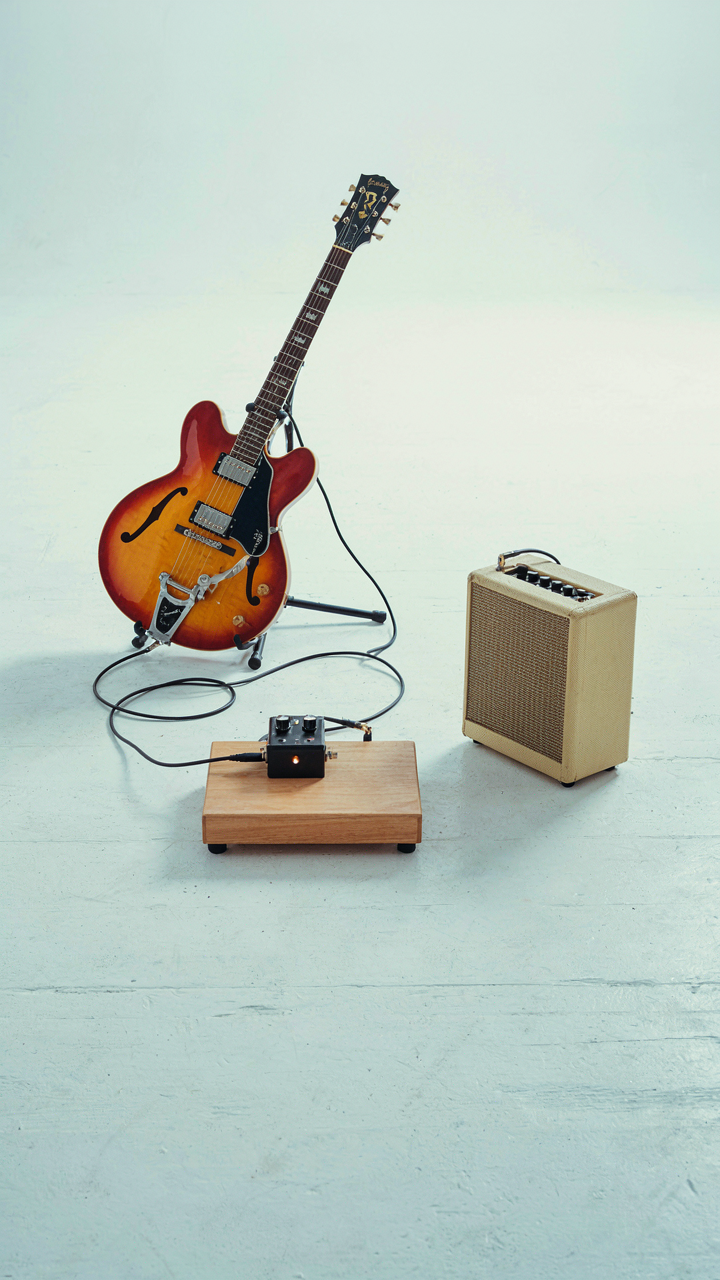
You want your pedal board to look impressive because you think complexity signals expertise. It doesn’t. The mechanism at work here is the same one that governs system reliability in engineering: every component you add multiplies failure points and noise sources exponentially. Your signal chain doesn’t need more pedals. It needs fewer decisions between your guitar and amp.

Most beginners stack effects without understanding what each one actually does to their tone in isolation. You end up with mud. The fix is brutal: build one pedal first. Test it alone. Understand how it colors your sound. Only then add a second. This isn’t philosophy. It’s diagnostics. When something sounds wrong, you’ll know which pedal caused it because you didn’t introduce five variables at once.
Constraint Builds Better Design
The minimalist approach isn’t about virtue. It’s about forcing yourself to pick effects that do real work instead of effects that just exist. Legendary players didn’t use fewer pedals because they were purists. They used fewer because touring rigs had physical and power limits, so every pedal had to earn its spot.
Start by defining what your pedal board needs to do. Not what sounds cool. What solves a problem you actually have. If you don’t have a tone problem that a reverb solves, don’t add reverb. If your overdrive already colors your dynamics enough, a compressor might just narrow your range instead of expand it. Build your board around function, not fantasy. This means your first DIY pedal likely duplicates something you already own, and that redundancy teaches you the most about circuit behavior and why two identical designs can sound different based on component tolerances and layout decisions.
Escaping The DIY Guitar Pedal Kits Treadmill

Where Real Learning Actually Happens
You want to feel like a builder without admitting you’re scared of making the wrong choice. Here’s the mechanism: kit manufacturers exploit this by selling you pre-selected components and step-by-step instructions that feel like learning but train you to follow, not understand. You learn assembly, not design.
Real learning requires understanding why each component matters. Read schematics from actual pedal designs—Boss, ProCo, Electro-Harmonix. Study how they choose capacitor values and resistor tolerances for specific frequencies. Build one circuit twice: once following a kit, once from a bare schematic with no hand-holding. The second build teaches you what the first one hid.
Buying Wisdom Versus Building Ego
The common advice says “always build to save money.” Wrong. You buy when the knowledge gap costs more than the pedal. You build when you already understand the circuit enough to troubleshoot it.
Map this onto supply chain economics: your time is inventory. If you spend forty hours learning a circuit you’ll never modify, you’ve warehoused dead capital. Buy the Tubescreamer clone if you just want a Tubescreamer. Build a fuzz circuit if you want to understand how gain staging and tone stacking actually work. The strategic choice isn’t emotional—it’s asking whether the build teaches you something you’ll use again. If the answer is no, you’re not building, you’re consuming with extra steps. Start your next project by naming one design decision you’ll make differently than the commercial version.
Beginner Guitar Pedal Project: Start With Intent, Not Parts

Know Your Sound Before You Touch A Soldering Iron
You want to build a pedal because it feels like a shortcut to legitimacy. Here’s what actually matters: the mechanism is constraint. You don’t start with a parts list or a schematic you found online. You start by naming the exact sound you’re chasing, because every circuit decision flows from that one choice.

Most builders copy a famous pedal design and call it a project. That’s not a project. That’s assembly. A real project begins with a sonic goal specific enough that it rules out 90 percent of the topologies available to you. Are you building a fuzz to tighten low end on a thin amp, or a distortion to add sustain to single notes? The answer determines whether you study a Big Muff circuit or a Tube Screamer variant. Your intent filters the noise.
Match Your Circuit To One Core Problem
Before you allocate a single dollar or hour, inventory what your rig is actually missing. Don’t build what Instagram shows you. Build what fixes the gap between your current tone and the tone you need to hear.
- Sustain and compression: Choose overdrive circuits like the Tube Screamer topology if your guitar loses note definition too fast or your amp won’t push volume enough.
- Frequency shaping: Fuzz and boost circuits color tone differently. Fuzz adds harmonics and saturation. Boosts push existing tone harder without changing character.
- Headroom and dynamics: Low-gain circuits preserve pick attack. High-gain circuits squash it. Match the circuit gain structure to whether you want to hear your playing technique or bury it.
- Budget versus learning: Simple circuits like a one-transistor fuzz teach topology fast. Complex circuits like a multi-stage distortion cost more and take longer but teach circuit interaction.
- PCB or point-to-point: Printed circuit boards are forgiving for beginners. Point-to-point hand wiring is cheaper but demands soldering precision and layout knowledge.
This triage prevents you from buying thirty components for a problem that a five-component circuit already solves. You spend money on what matters: quality potentiometers, film capacitors where the circuit demands them, and a housing that fits your board. Everything else becomes negotiable.
Easy Diy Guitar Pedal: A Red Herring For Serious Builders

Simple Isn’t The Same As Foundational
You want a project that feels achievable because you’re afraid a real pedal build will expose how much you don’t know. Here’s the trap: a simple pedal and a foundational pedal are opposite things. Simple means fewer parts. Foundational means you understand why each part does what it does before you add complexity.
Most beginner guides push you toward a Tube Screamer clone or a basic fuzz because they’re “simple.” You end up with a working box but zero grasp of signal flow, impedance matching, or frequency response. You built something. You learned nothing that transfers. That’s the mechanism: ease masquerades as learning when really it just postpones competence.
Competence Comes From Deliberate Reverse Engineering
The economics of skill acquisition shows that depth beats breadth in all high-leverage domains. Apply that to pedal building: master one circuit completely rather than assemble five half-understood boards. Pick a single topology, build it, measure it, tweak it until you know how voltage affects tone shaping or why capacitor values shift the frequency response.
Start with a transparent overdrive like the Ibanez Tubescreamer. Not because it’s easy, but because every component change produces an audible, measurable result you can document. Build the same circuit three times with different resistor or capacitor values. Compare the output with a multimeter and your ears. This method creates actual knowledge, not just assembly line competence. The competence sticks because you built the causal relationships yourself.
The Feedback Loop Of Sonic Iteration
Listen, Analyze, Modify In Sequence
You want proof your pedal works before you move on. That’s the real driver here—validation that your build isn’t wasted time. The mechanism is simple: your ears detect what the circuit actually does versus what you expected, then you adjust based on data, not guessing.
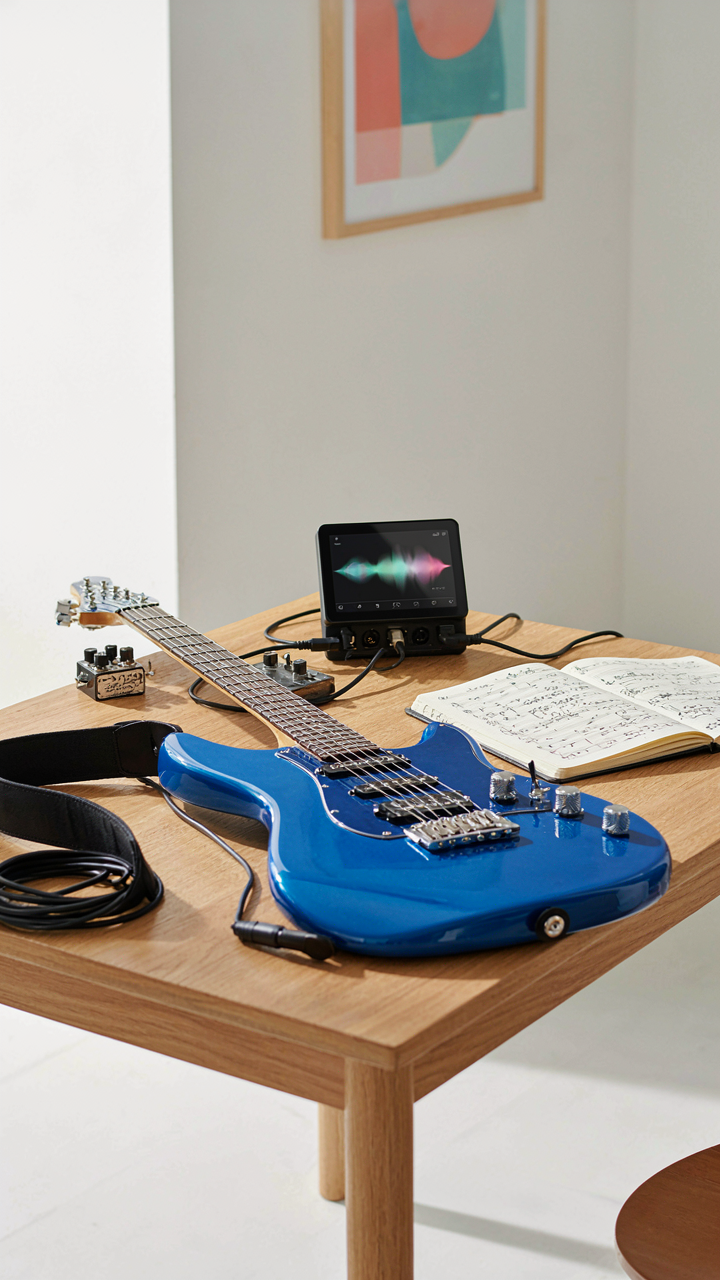
Record a thirty-second clip before any mod. Play it through your pedal. Listen once for what’s broken. Listen again for what’s usable. Document the exact problem—”tone disappears at high gain” beats “sounds weird.” This specificity is what separates builders who iterate from builders who restart from scratch repeatedly.
The second pass is critical. Tweak one variable only: a capacitor value, a resistor, the input impedance. Record again. Compare directly to the first clip. Your ear will catch what changed because you isolated the cause. Most builders mod three things at once, break the sound further, then blame the design instead of their method.
Document Every Change With Numbers
Common advice says “write it down.” That’s incomplete. You need to write down what changed and what you measured before and after the change, or your notes become noise you’ll ignore when troubleshooting later.
Before modifying anything, measure the output level at a fixed input. Use a multimeter on AC volts or a phone app—consistency matters more than accuracy here. After the mod, measure the same point. If output dropped 200 millivolts, you have a fact. If you only remember “it got quieter,” you’ve wasted the iteration.
Create a table: Date, Component, Old Value, New Value, Result, Audio File Reference. This takes two minutes per iteration. After six changes, you can see which mod actually improved the tone and which ones masked problems. This protocol separates a usable pedal from endless chasing.
The Only Obstacle To Your Perfect Tone Is Your Own Lack Of Curiosity

Most people never build a diy guitar pedal because they wait for permission that never comes. They want the perfect schematic, the perfect components, the perfect moment. Stop waiting. Order a basic fuzz kit today. Spend two hours this weekend soldering. You’ll fail something and fix it anyway. That’s where real tone lives, not in forums arguing about capacitor values. Your curiosity is the only tool that actually matters.



