Introduction
Mobile phone cameras have become powerful tools for capturing moments and expressing creativity. You don’t need bulky equipment to take impressive photos. This article explores creative photography techniques using only a mobile phone. You will learn how to make the most of your device’s camera features and shoot images that stand out.
We dive into practical tips and ideas for using your phone creatively. From framing and light to editing, you will see how simple changes can create exciting results. Whether you are new to photography or want to improve your skills, you will find helpful advice here.
Creative Photography Techniques
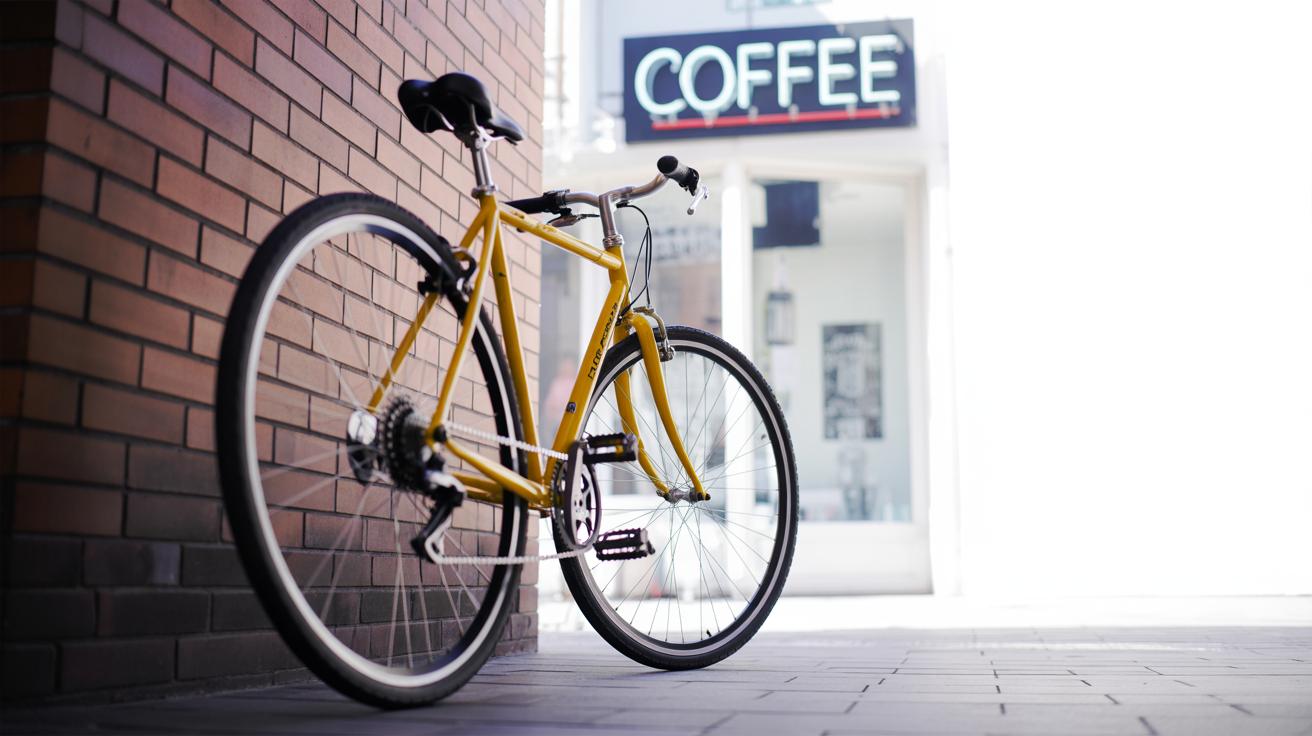
Once you get a handle on your mobile phone’s camera basics, it’s tempting to just point and shoot. But there’s quite a bit you can do to boost creativity right from your pocket. Playing with angles, for example, can completely change the mood of your shot. Try shooting from low down to give your subject a sense of scale or drama, or go for a tight close-up to emphasize textures you barely noticed before.

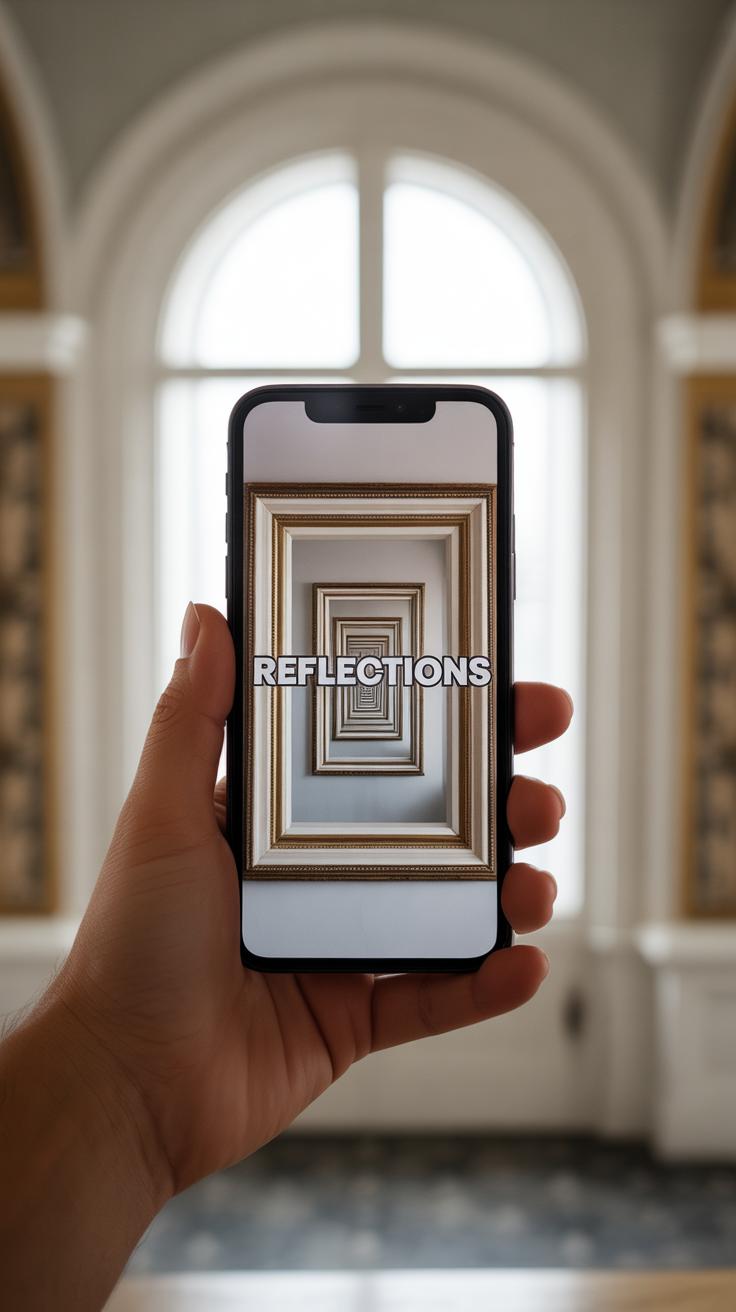
Another technique involves using reflections. You might grab a photo of a puddle after rain or a shiny surface nearby. These reflections create interesting symmetry or add a layer of complexity—though sometimes they can be tricky to frame exactly right.
Have you ever thought about motion in your shots? Your phone can capture movement with surprisingly creative results. Using the burst mode or slightly moving your camera while snapping can produce a sense of speed or flow, even blur, which is often reserved for bigger cameras. It’s not always perfect, but it often surprises me how these “mistakes” become some of my favorite photos.
Then, there’s the power of composition basics—rule of thirds, leading lines, or framing. These aren’t just rules but tools you can bend or ignore based on what feels right. Sometimes, centering your subject breaks the “rules” but creates a stronger impact, and that’s okay.
Finally, don’t overlook post-shoot creativity. Your phone’s editing options can enhance an image without needing fancy software. Adjusting contrast, cropping tightly, or tweaking color saturation can turn a decent photo into something quite striking. There’s a whole world of experimentation right there in your gallery.
Using Light to Create Mood and Drama
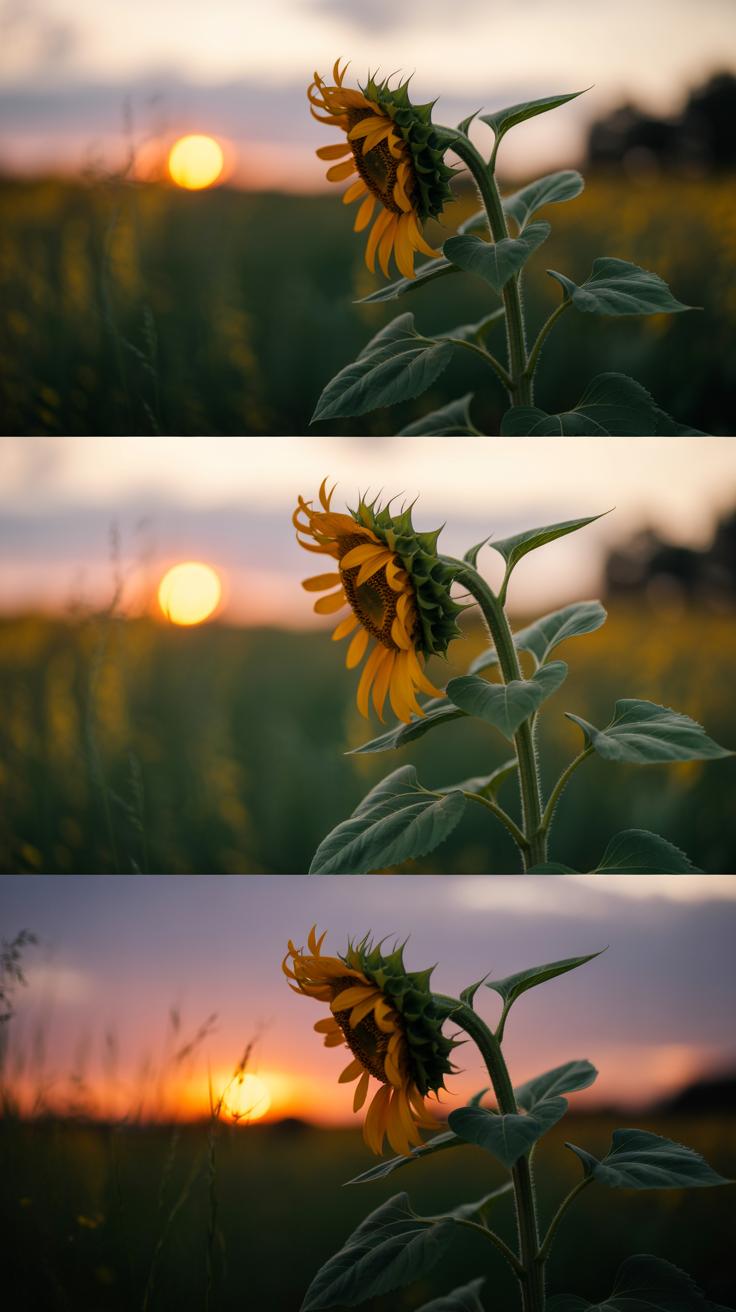
Light can do so much more than just illuminate your subject. In mobile photography, it can shape the entire feeling of an image—sometimes subtle, sometimes bold. You might think natural light is simply “better,” but artificial sources can surprise you. Both have their roles, and learning to work with them takes practice, intuition, and a bit of experimentation.
Shooting with Natural Light
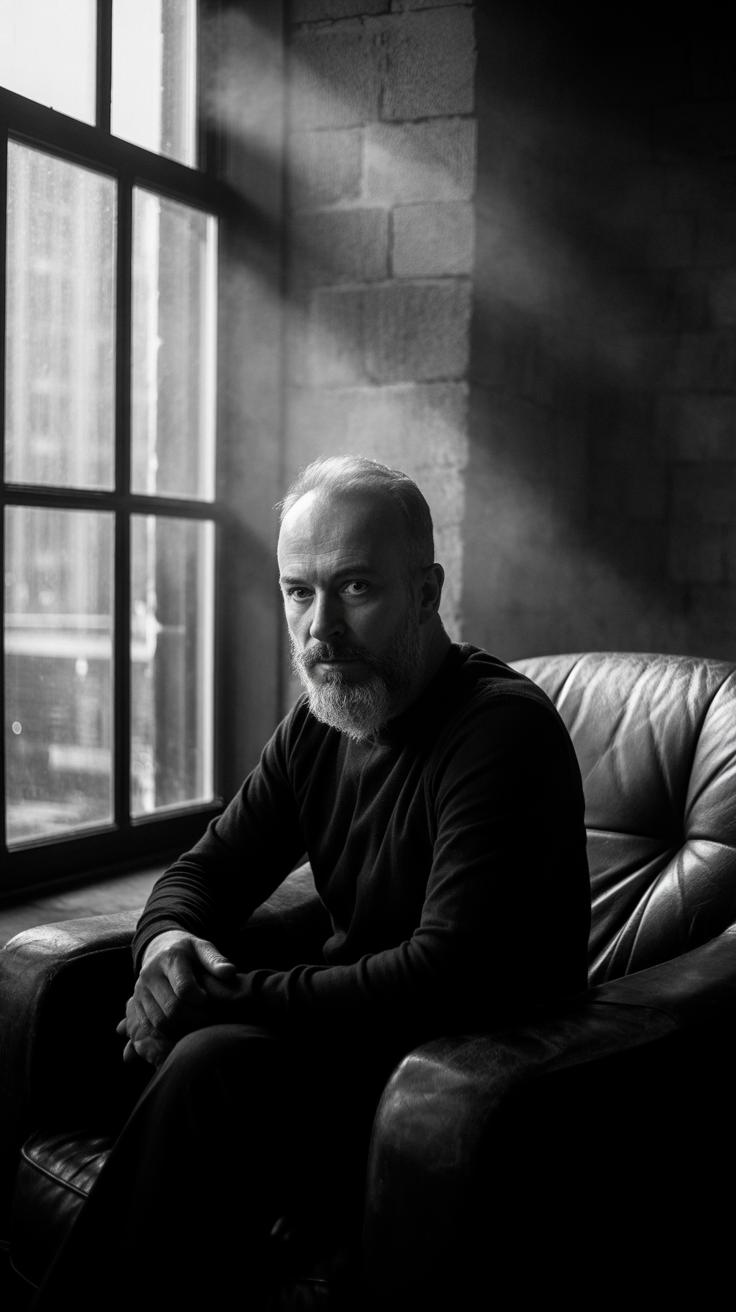
The interplay between sunlight and shadow is where mood often begins. Direct sunlight tends to create harsh contrasts and sharp shadows, which can be dramatic but also unforgiving. Shooting during the “golden hour” — that hour after sunrise or before sunset — can give you soft, warm light that naturally flatters your subject. But don’t overlook shade. It acts like a diffuser, softening light and calming the scene, which can be perfect for portraits or detailed shots.
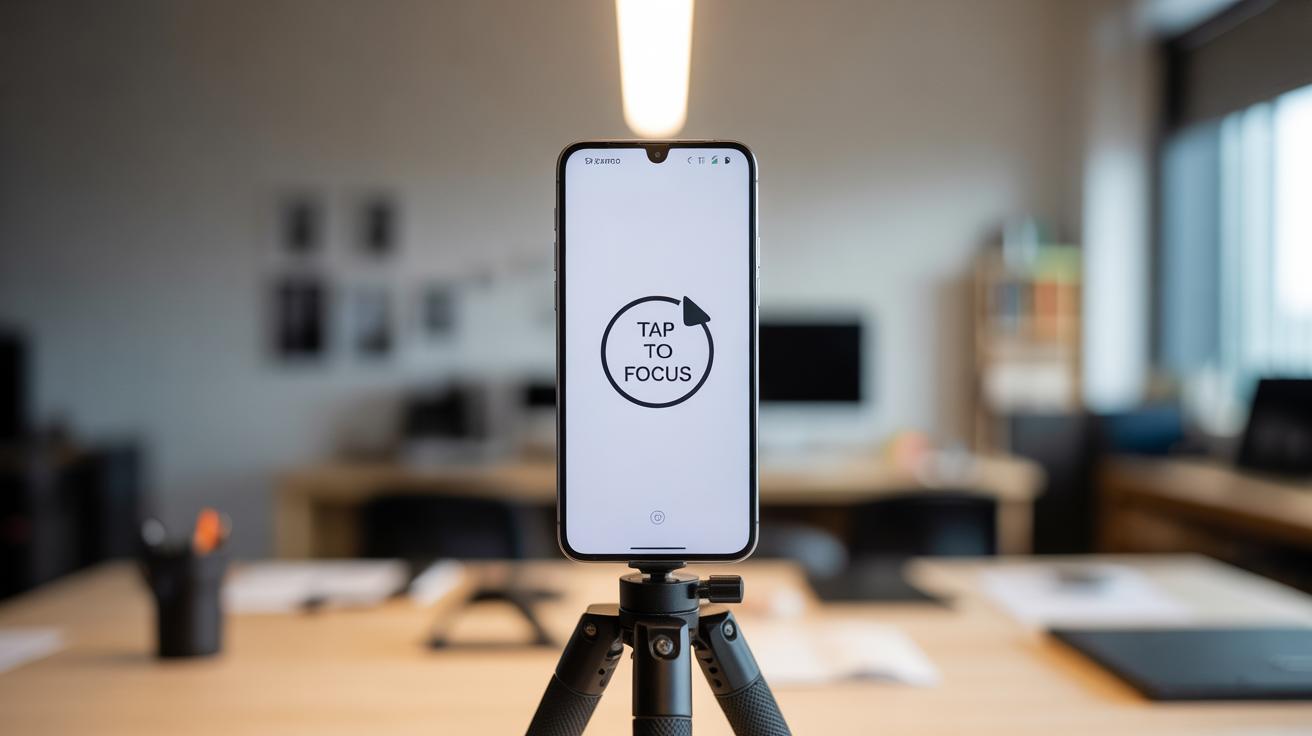
Try shooting near a window or under a tree, where patches of light and shadow can create unexpected textures. Watch how your mobile’s camera adjusts—sometimes it’s tricky to get the right exposure. Don’t hesitate to tap on the screen to focus and set exposure manually. You might discover a moody silhouette or a glint of light highlighting a small detail you missed.
Using Artificial Light Creatively
Indoor lighting isn’t always flattering, but it can be turned to your advantage. Warm, yellow bulbs give a cozy, nostalgic vibe, while cooler white LEDs can feel more clinical or modern. Move your subject closer to a lamp or a spotlight to create striking shadows and highlights. Sometimes, pointing a flashlight at an angle can carve out your subject from the background, adding texture and depth.
Nighttime streetlights or neon signs offer unique color casts and can set an evocative mood. Try shooting with those lights behind your subject to create silhouettes or halos of light. It’s unpredictable and a little messy, but that’s part of the fun. Your mobile’s flash isn’t just for filling shadows; use it sparingly, mixing it with ambient light to avoid washing everything out.
Have you tried balancing multiple light sources, natural and artificial? It’s tricky, yes, but it can lead to some of your most compelling shots. Keep experimenting—sometimes the weirdest light setups teach you the most.
Composition Techniques for Mobile Photos

One of the simplest ways to improve your mobile photos is by using the rule of thirds. Almost every phone camera has an option to display a 3×3 grid—turn it on. This grid helps you position your main subject off-center, usually along one of the four intersection points. Placing key elements there tends to draw the viewer’s eye naturally, creating a balanced but interesting photo. I’ve often noticed that when I don’t use the grid, my pictures feel a bit stiff or flat, like I’m just centering everything out of habit.
Try this next time you’re snapping a street scene or a friend’s portrait. Instead of the subject dead center, move them slightly to the left or right on the grid. It changes the dynamic quite a bit, making photos feel more intentional.
Leading lines are another useful tool. Look for paths, fences, roads, or even shadows—in any photo, these lines guide the eye towards your subject or deeper into the scene. A few weeks ago, I took a photo of a quiet park bench with a curved walkway leading right up to it. The lines not only added depth but also made the bench pop as the focal point.
Frames within your shot also work wonders. Natural elements like trees, archways, or windows can serve as frames inside the frame, focusing attention and adding layers to your image. Framing can feel a little tricky at first, but once you start spotting those “picture windows” in your environment, the effect becomes almost automatic.
Think about how these elements interplay—using the rule of thirds, lines, and frames together. You might line up a subject on a grid point while a road leads toward them and leaves or branches create a natural border. This richness in composition doesn’t need fancy gear, only a sharp eye and some purposeful framing with your phone.
Creative Angles and Perspectives
Trying out different angles can really change the way your photos tell a story. Moving your phone just a little lower or higher can reveal something new—something you might not have noticed before. You don’t always have to shoot straight on. Sometimes, leaning in with a tilted or diagonal view adds unexpected energy, even if it feels a bit off at first.
Shooting from Low Angles
Shooting from below often makes your subject feel larger—sometimes larger than life. Think of how a simple flower or a person can suddenly look more dramatic when you point your camera upward toward them. It’s almost like giving your subject a presence that fills the frame, which can make ordinary scenes feel a bit grander. Of course, this technique isn’t for every shot, but when it works, the effect is surprisingly engaging. It’s a trick I use when I want to emphasize size or strength.
Capturing High and Overhead Views
Shooting from above reveals details you might miss otherwise. From an overhead viewpoint, your subject takes on a new shape. Patterns emerge, backgrounds shrink, and the scene shifts. It can be a bit awkward to hold your phone up, but many times it’s worth the effort. Sometimes the overhead angle also simplifies a busy scene, helping your viewer focus on the essentials. Have you noticed how tablescapes or street scenes transform when captured from above? It can make everyday moments look fresh—and a little unexpected.
Using Zoom and Focus Creatively
When you think about zooming with your mobile phone, it’s tempting to just pinch and enlarge the image, right? But digital zoom can quickly degrade the image quality if you’re not careful. So, consider this: instead of zooming in all the way, why not move closer to your subject physically when possible? That keeps your picture sharper. If you do need to zoom, try staying within a modest range—like two or three times—beyond that, details often start looking soft or pixelated.
Manual focus on your phone is another tool you can play with. Tapping the screen to focus on a particular part helps you isolate your subject and create a subtle separation from the background. Sometimes, switching focus points can add a soft, dreamy effect, especially with close-ups. You might focus just slightly off your main subject to introduce a gentle blur—something I often do when shooting flowers or textures. It’s not always perfect, but the mood it creates can be just right.
To try this yourself, tap and hold on your screen to lock focus, then gently slide your finger up or down to adjust it. It’s a simple gesture, but it can change your photo’s whole feel. You can emphasize details others might not notice or let parts of your scene softly fade, like the edges of a portrait or background elements. What moments could you capture better if your focus didn’t try to capture everything at once?
Capturing Motion with Mobile Photography
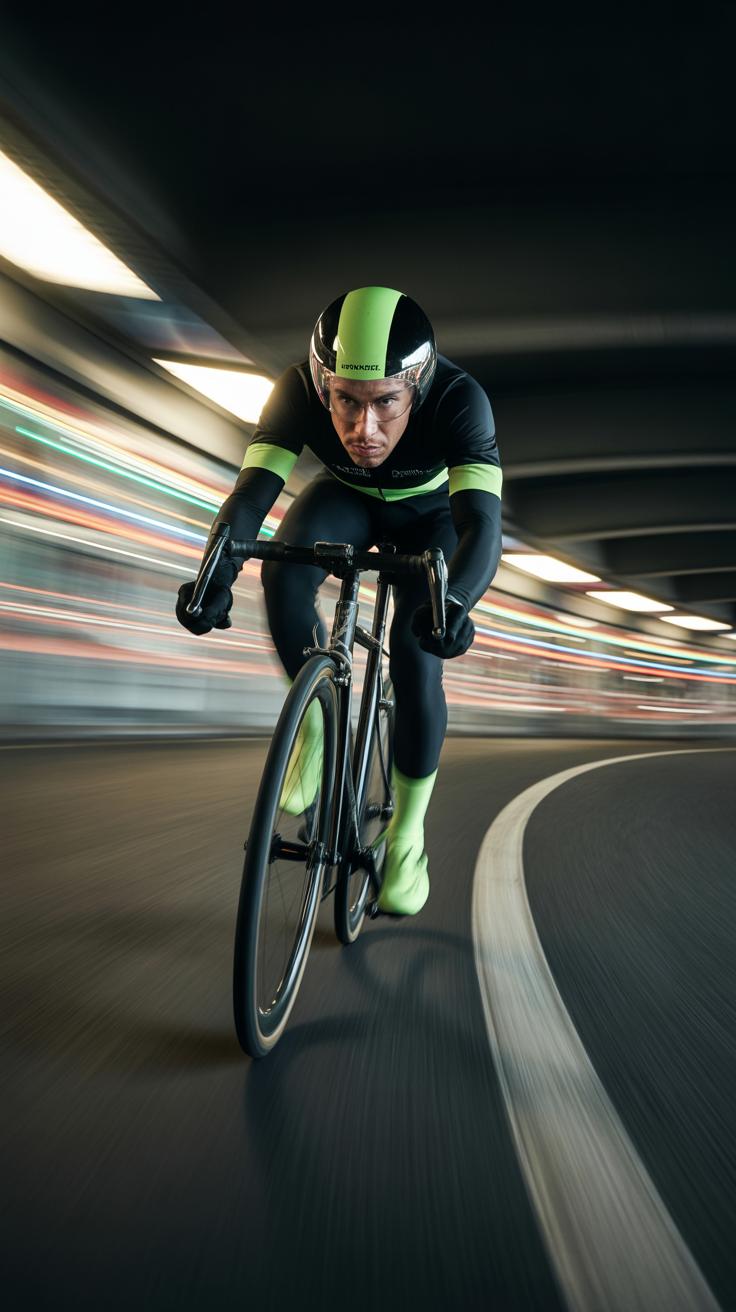
Photographing motion with a phone can feel tricky, but it opens up a lot of creative paths once you get used to it. When you want to freeze a moving subject—say a dog running or a cyclist—you need to think about how quickly your camera can capture the moment. Most phones today have quick capture modes or ‘burst’ settings. Try holding down the shutter button to snap several shots in rapid succession. This can increase your chances of landing a sharp image, especially when your subject is unpredictable.
But it’s not just about speed; lighting also plays a role. Brighter scenes let your camera use faster shutter speeds, helping freeze motion better. If you’re indoors or it’s dim, images might blur a bit no matter what, so you might need to nudge your subject to less rapid movement or accept a softer focus.
Freezing Motion with Fast Shutter Actions
Some phones allow manual control over shutter speed—though it’s often hidden inside ‘pro’ or ‘manual’ modes. Using a faster shutter speed stops movement in its tracks. Dip below 1/250th of a second, and you may start seeing blur creeping in. When capturing active subjects, such as kids playing or cars driving by, quick shutter speeds are your best friend. If your phone can’t manually adjust shutter speed, use burst mode or tap on your subject to help the camera prioritize focus and exposure faster.
Creating Motion Blur Effects
On the flip side, motion blur can actually add a great sense of dynamism. When you intentionally allow slower shutter speeds, moving parts of your image blur, showing activity or speed. This works well with flowing water, spinning wheels, or dancers in motion. Try to keep your phone steady—lean against something or brace your arms—to keep background elements sharp while the moving subject blurs.
Experiment with panning too. Follow your subject’s motion with your camera, matching its speed as you shoot. The subject stays relatively sharp, but the background streaks by in a blur. It’s a bit challenging with a phone but can produce compelling results if you practice. So, next time your subject is moving fast, ask yourself: do you want to freeze it in a crisp moment or let its movement tell a story through blur? Both approaches can work well, depending on what you want to capture.
Exploring Mobile Photography Apps
When you move beyond your phone’s default camera, a new world opens up. There are apps designed to give you more control over shooting and others that help polish your photos afterward. Some apps surprise you with features you might not even have realized you wanted.
Apps for Better Shooting Control
Take manual control, for instance. Some popular apps let you adjust settings like ISO, shutter speed, and focus manually. This means you can experiment with exposure in low light or capture fast movement with a quicker shutter. ProCamera and Filmic Pro are two apps I’ve tried that offer these options, though I must admit, switching between settings sometimes feels a little fiddly, especially if you’re in a hurry.

Why settle for auto when you can fine-tune? These apps often provide a live histogram or level to help balance exposure. It takes a bit of patience but can make a big difference in tricky lighting. You might discover your phone can behave almost like a DSLR if you know how to push the controls.
Editing Apps to Enhance Photos
Once you capture the shot, editing apps come into play. There’s more than just filters here. Snapseed offers precise tools for cropping, adjusting color balance, and retouching details. I’ve found its selective adjustment feature especially handy—sometimes small tweaks in shadows or highlights can shift the mood entirely.
VSCO, on the other hand, is popular for its film-like filters that don’t feel overdone. It’s not just about making photos look pretty; it’s about reinforcing the story in your image. Other apps like Lightroom mobile let you work with RAW files, which means preserving quality while pushing edits further than usual. These tools might seem a bit much at first, but if you spend some time with them, you’ll see what your mobile shots are really capable of.
Editing Techniques for Mobile Photos
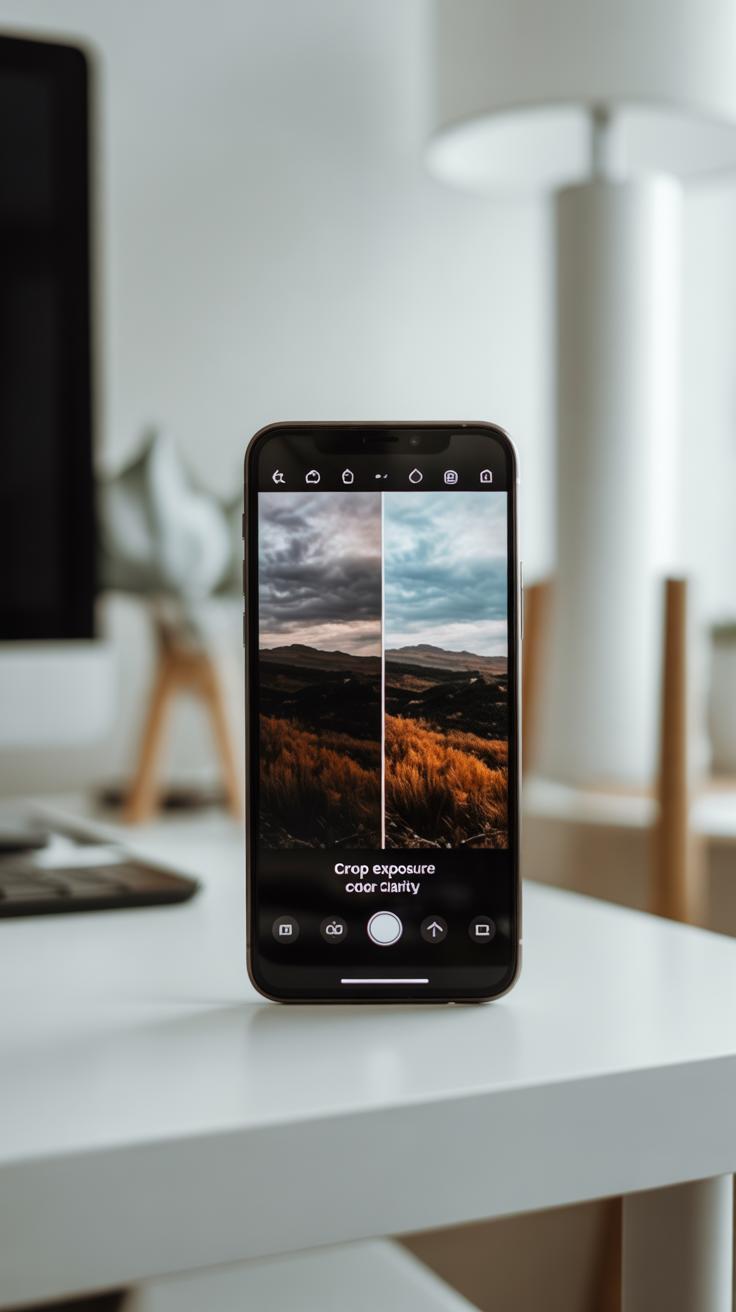
After capturing your shot, editing can make a real difference. Cropping is often the first step. It helps focus on the subject by removing distractions around the edges. Sometimes that extra background adds context, but if it pulls attention away, trimming the frame feels almost necessary. It’s simple and quick, but don’t overdo it—sometimes a little clutter tells a story.
Adjusting brightness brightens a dull photo or tones down an overexposed one. I find myself fiddling with it multiple times, unsure of where the right balance lies. Contrast tweaks bring out details or soften harsh lines. Saturation influences the intensity of colors; boosting it can revive faded tones but might push colors into unnatural territory. A gentle touch often works best, though personal preference plays a role here.
Filters are a fun way to set the mood. Some change the whole vibe—warm filters can evoke coziness, cold ones lend a more serious feel. Applying a black-and-white filter might highlight textures or emotions you might miss in color. That said, filters can easily overpower your photo’s natural beauty if used blindly. So ask yourself—what feeling or story do you want to share? Then pick a filter that supports that instead of masking the photo itself.
Experiment with layering small edits instead of one dramatic change. Sometimes a subtle crop combined with slight brightness and a muted filter makes all the difference. And if you think you’ve gone too far, most apps let you reset or undo edits, so don’t hesitate to try variations. Your eye might surprise you, noticing details missed in the shooting moment.
Telling Stories Through Mobile Photography
Creating photo stories with your mobile phone can be surprisingly powerful. It’s not about capturing a single perfect shot, but about collecting moments that together express an idea, mood, or experience. Think of it as sharing a glimpse of your world—sometimes raw, sometimes quiet, sometimes loud.
Choosing Subjects That Tell a Story
Start by picking subjects that speak to you—people, objects, or scenes that carry meaning or emotion. Look for moments that feel genuine, a small detail that might hint at something bigger. Maybe it’s an elderly hand gently holding a younger one, or a rainy street reflecting city lights. These choices don’t need to be dramatic; subtlety often works better.
Ask yourself: what do I want to say here? Is it about connection, solitude, change? Let your curiosity lead you. Don’t overthink it, though. Sometimes a quick snapshot of everyday life can reveal a story you hadn’t noticed before.
Sequencing Photos to Build Narrative
The way you arrange your photos shapes how the story unfolds. A single image might feel isolated, but a sequence can guide the viewer’s emotions and understanding. Try grouping images from different angles or moments in time that relate to the same theme.
Think of it like chapters in a book. Start with an establishing shot to set the scene, then add close-ups or details that add depth. The final photo might leave a question open or provide closure. Experiment with order; sometimes switching a couple of photos changes the entire message.
One time, I arranged a series of photos from a street market—from wide shots of bustling stalls to the hands preparing food. It wasn’t planned, but looking back, the sequence showed not just the environment but the care involved. Your stories don’t have to be straightforward. They can be fragmented, suggestive, or even contradictory. That’s part of what makes them real.
Sharing and Showcasing Your Mobile Photos
Sharing your mobile photos can be as rewarding as taking them. But finding the right place to show your work might feel a bit overwhelming at first. You want your photos to be seen, appreciated, and maybe even spark a conversation. It’s not just about throwing pictures online, but about presenting them in a way that reflects your vision.
When you share online, think about the audience you want. Some platforms feel better for casual snapshots, others suit deeper storytelling or artistic expression. For instance, Instagram remains popular for quick sharing and community feedback. Flickr still attracts photographers who want to archive and display high-quality images. Then there’s 500px, known for its more serious photography crowd. Each has its quirks, so it’s worth testing a few to see where your style fits best.
Creating photo albums is another way to show off your collection. Digital albums let you organize shoots or themes in a controlled way. Apps like Google Photos or Apple Photos offer easy sorting by date or location, often automatically. But don’t underestimate physical albums. Printing your photos and arranging them in an actual book gives a tactile experience that screens can’t match. It feels more personal—almost like handing someone a story you’ve crafted.
Try mixing both approaches. Share your best shots online, then create small printed runs of themed albums. Gift them or use them as portfolios. This process helps you see your progress and keeps you motivated. You might find that some images you loved on-screen don’t quite work in print, or vice versa. That feedback loop is priceless.
Conclusions
Creative photography with a mobile phone is within your reach. By exploring different angles, lighting, and editing options, you transform everyday scenes into interesting photos. Remember, creativity often comes from experimentation and seeing things differently.
With practice and attention, your mobile phone photos will improve. Embrace your device’s features. Keep exploring new ways to capture your world. Your creative journey with mobile photography can bring many rewarding moments and memorable images.