
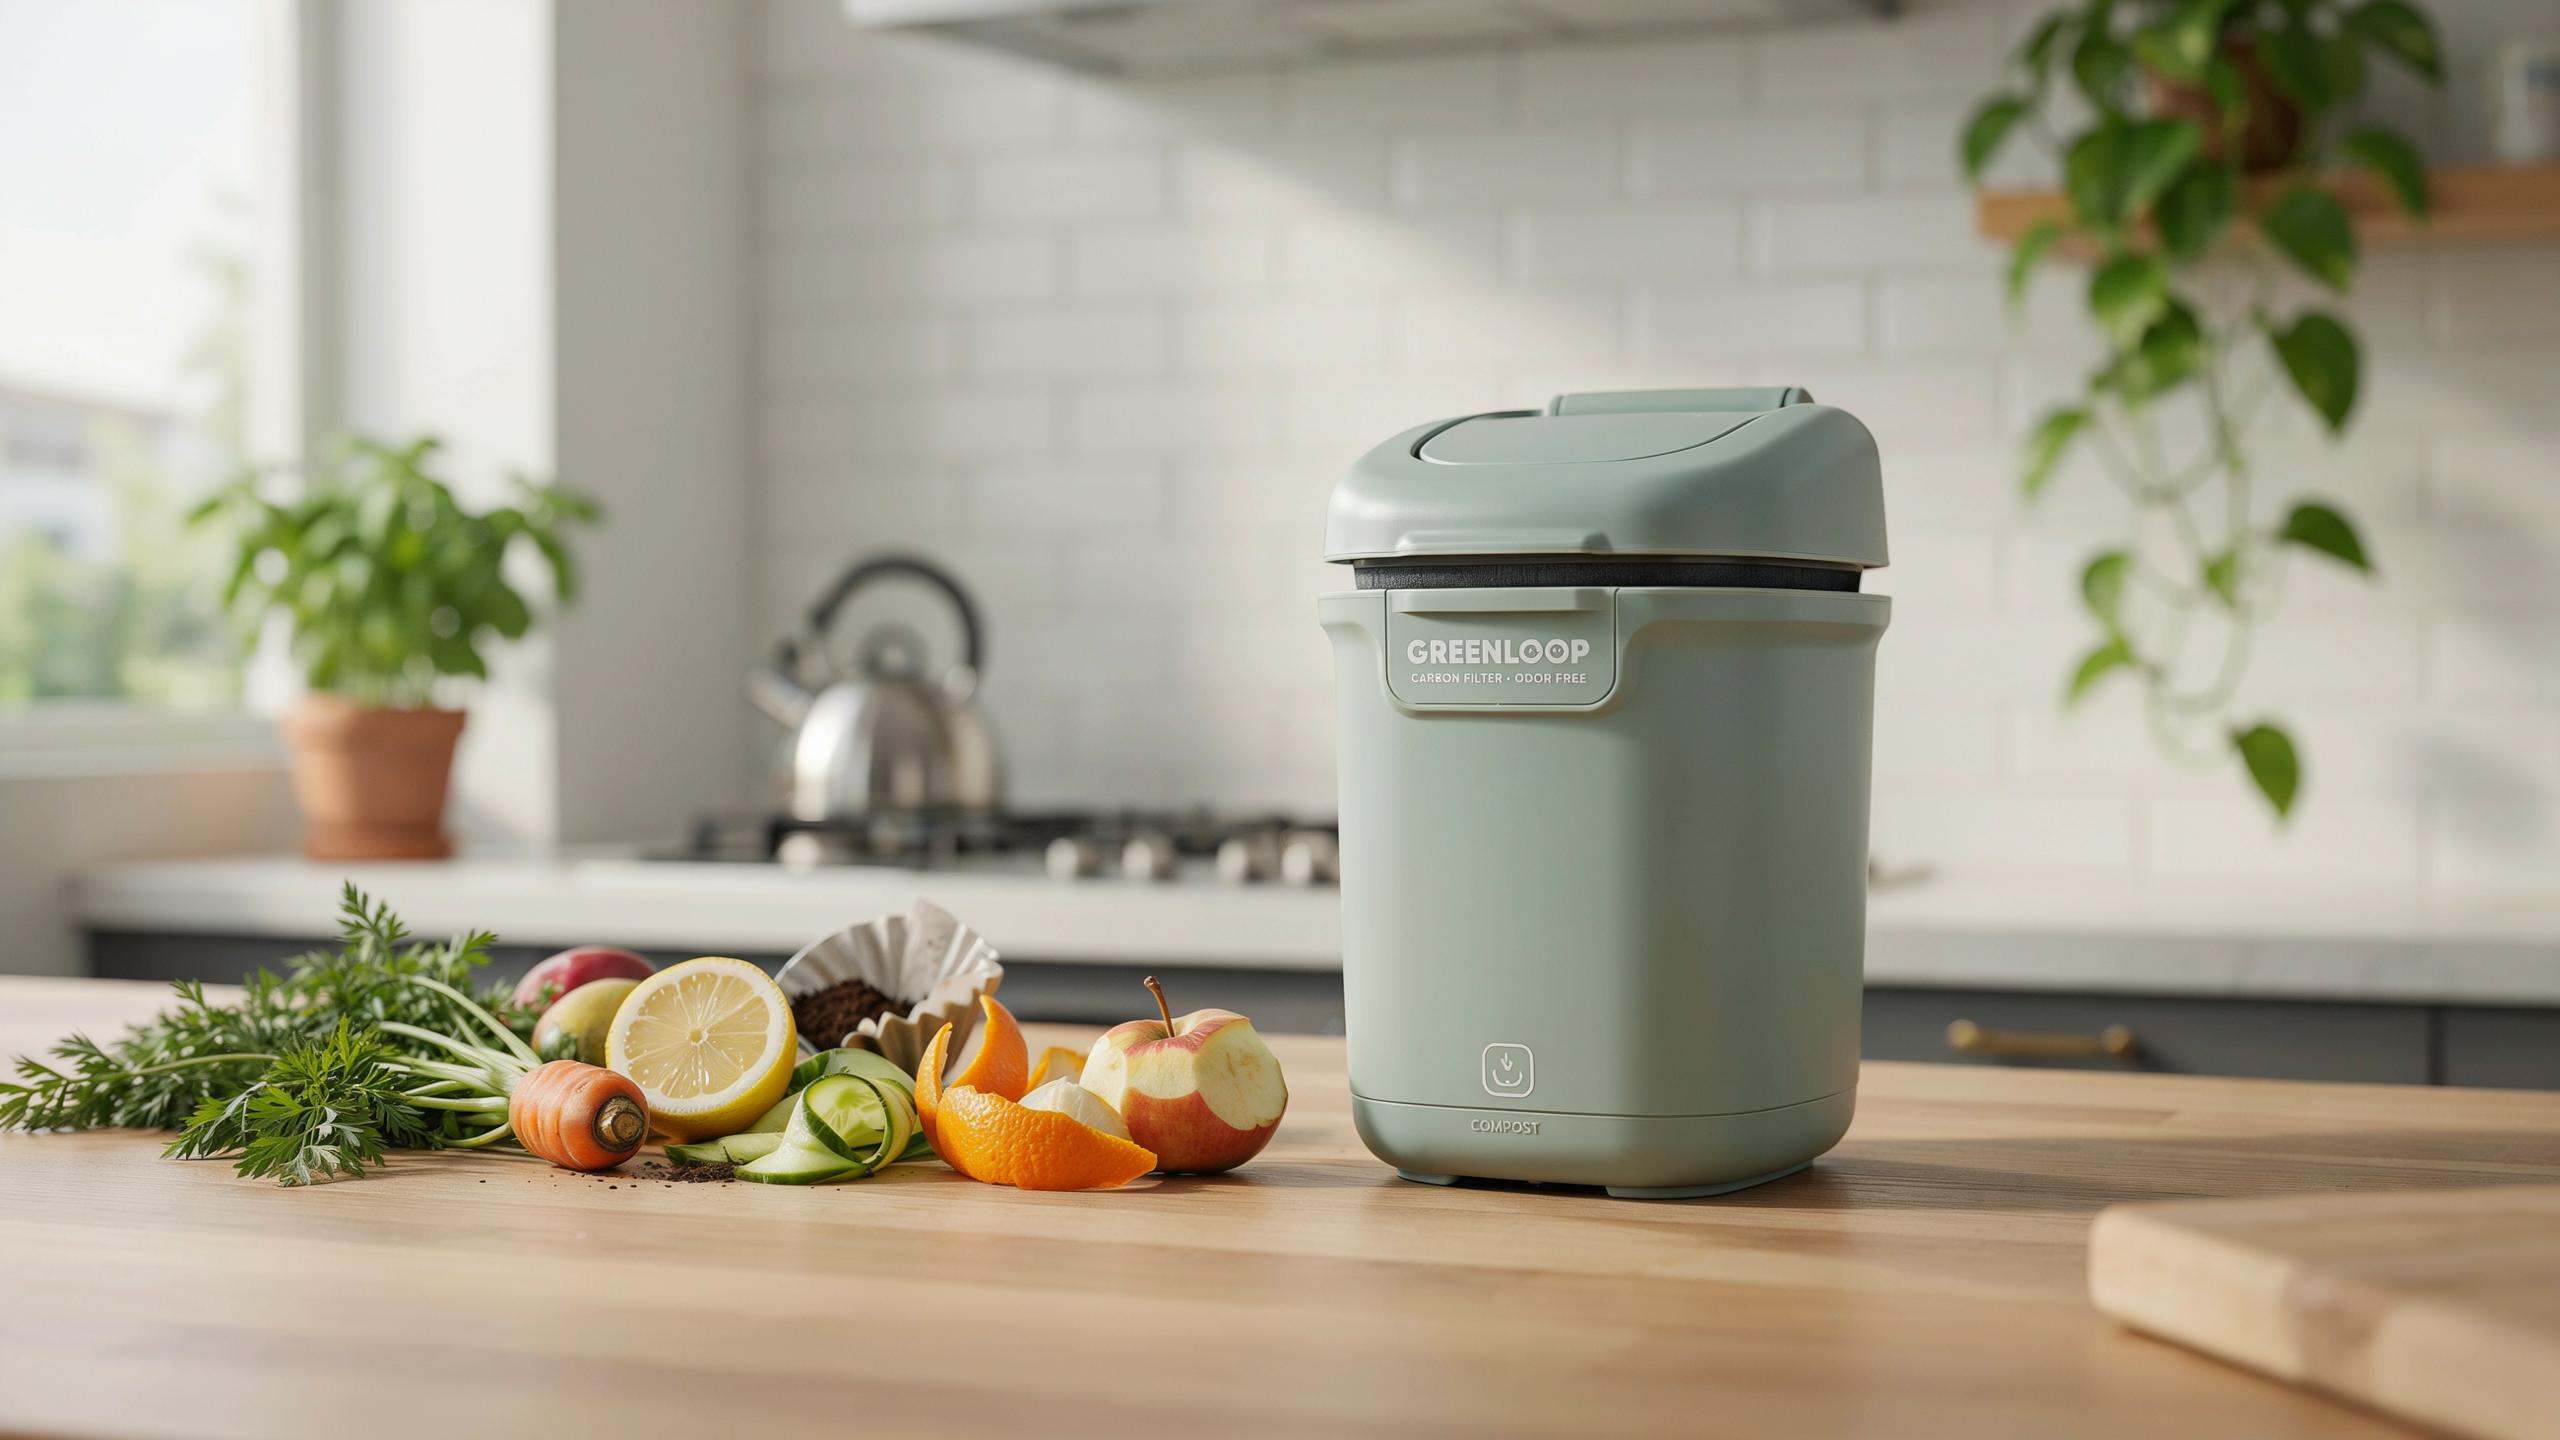
Why Choose A Countertop Compost Bin With Odor Filter
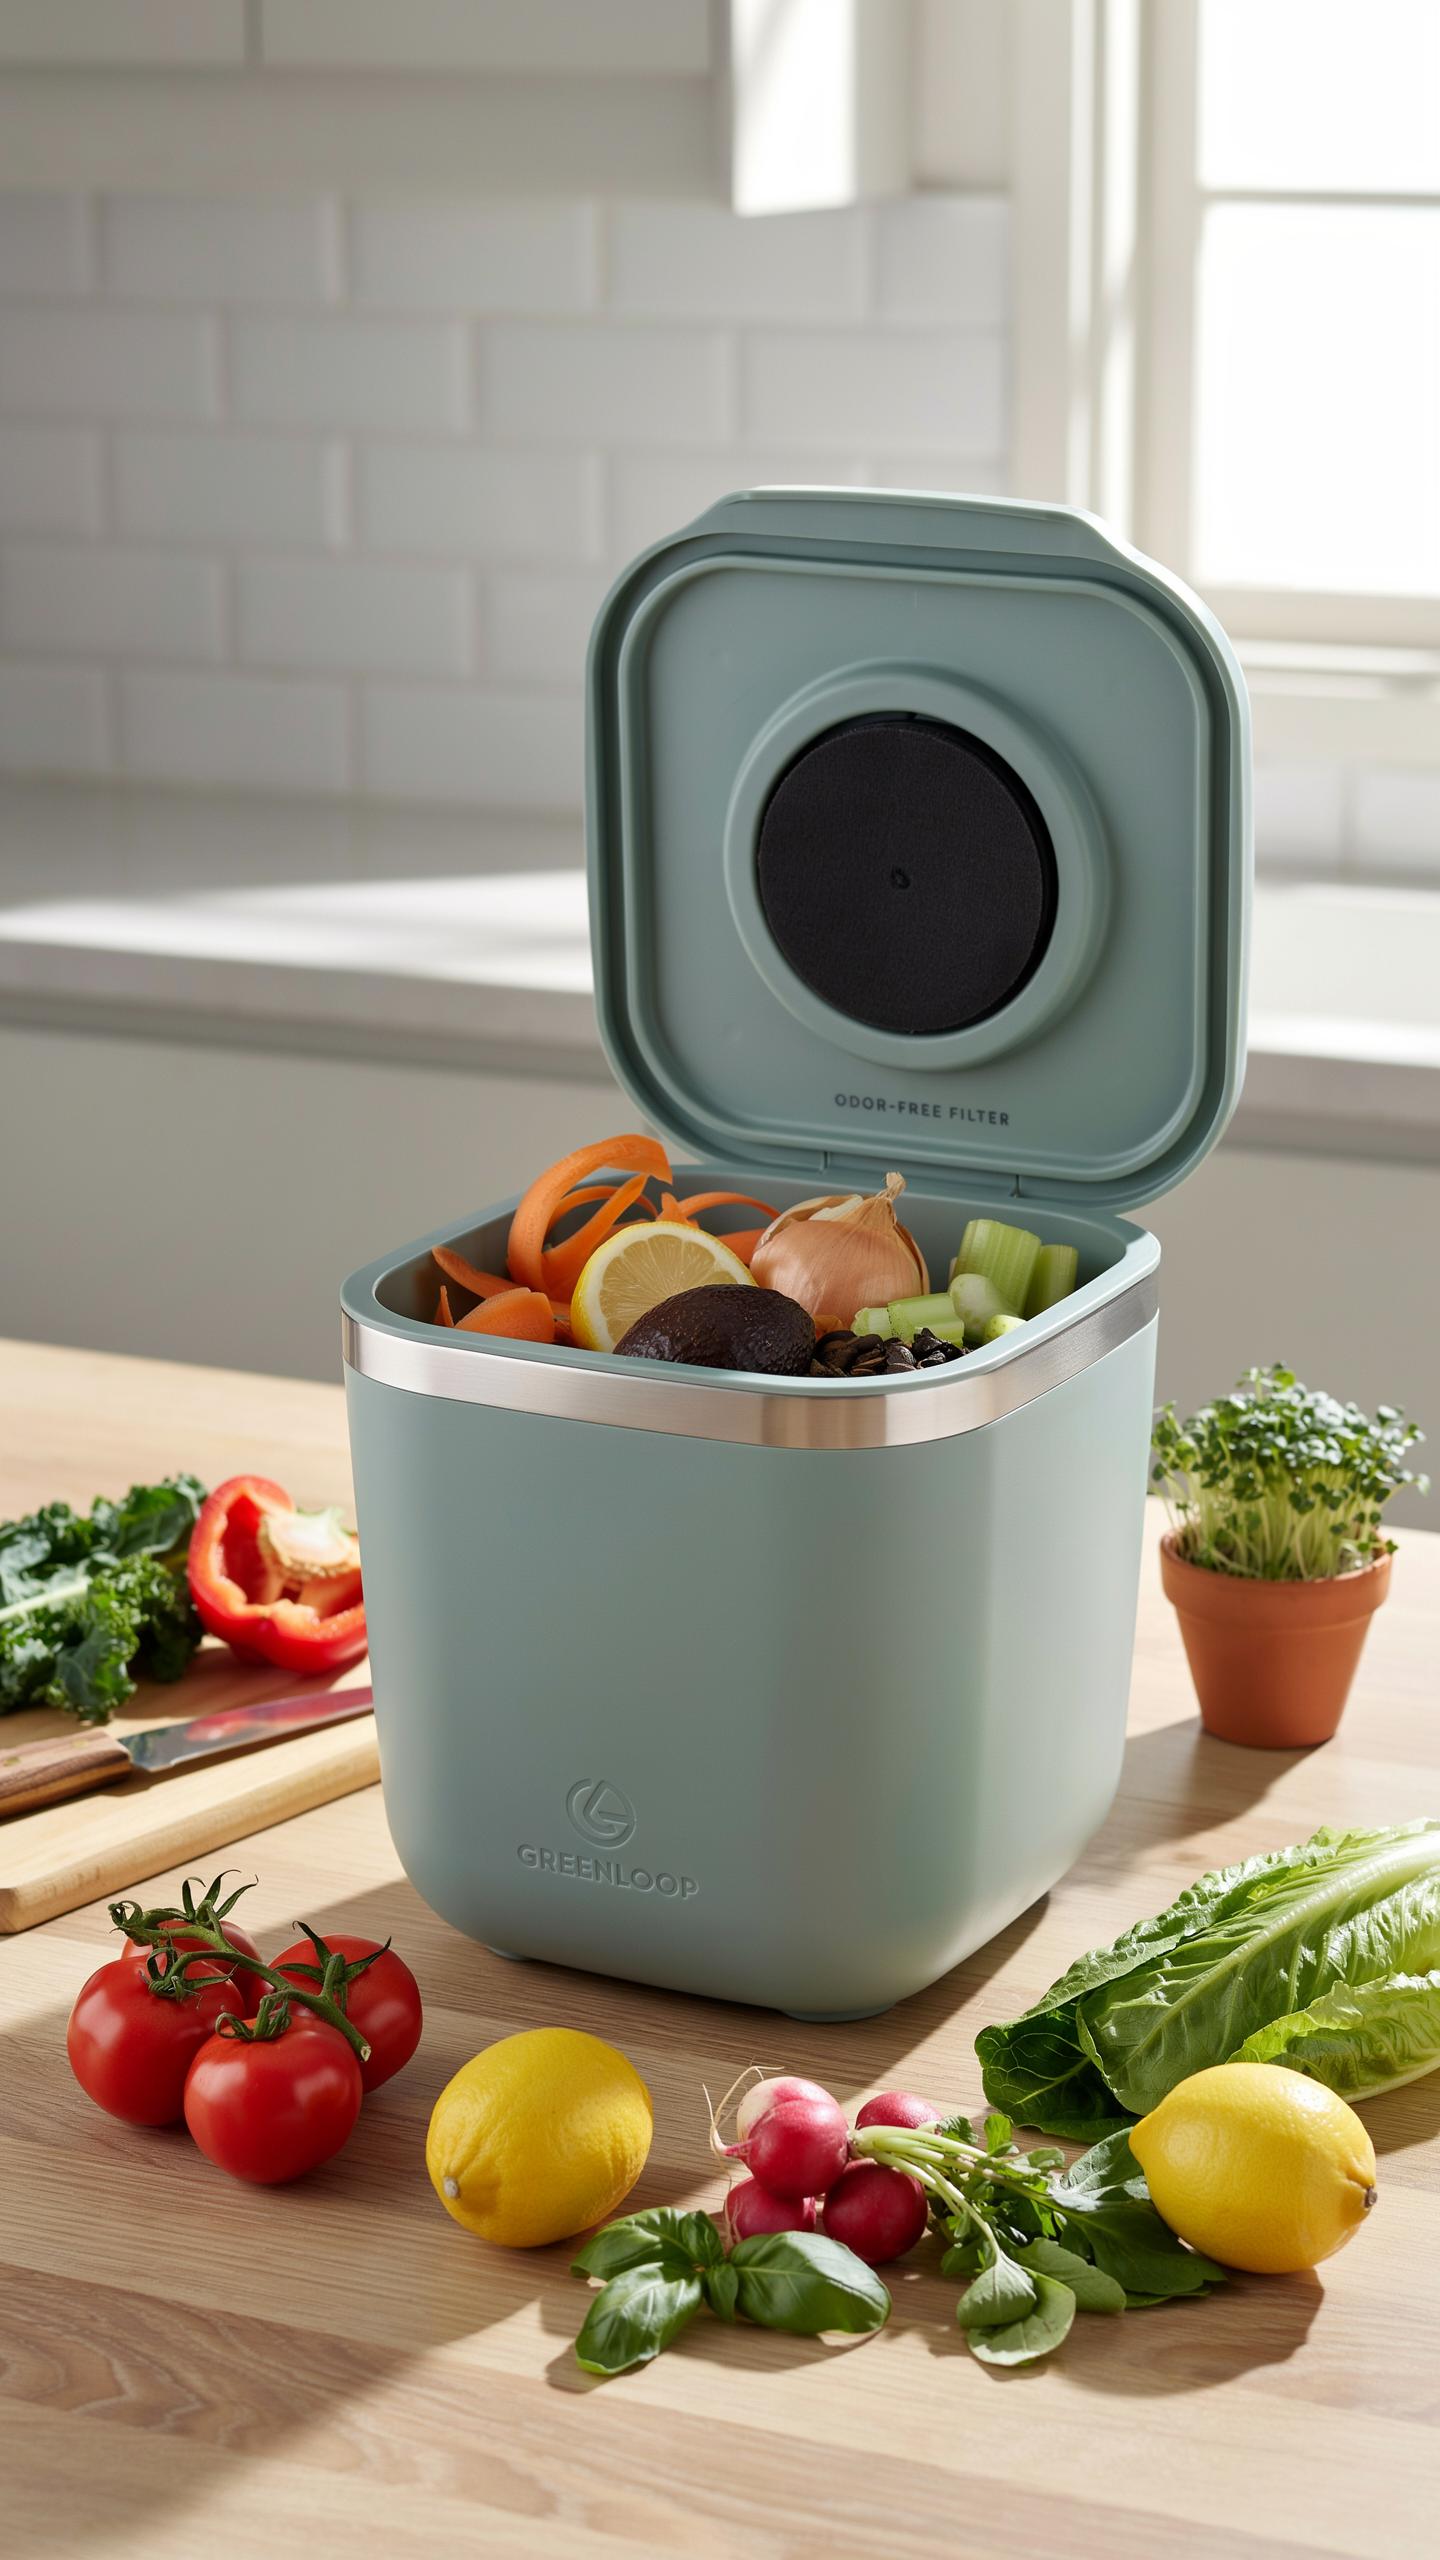
Convenience For Small Kitchens
Countertop compost bins solve a real problem for apartment dwellers and homeowners with limited space. These units sit directly on your counter, eliminating trips to an outdoor compost pile during meal prep. You scrape food waste into the bin immediately after cooking, keeping your workflow efficient. Most models measure between 5 to 10 inches tall and 6 to 8 inches in diameter, fitting easily next to your coffee maker or utensil holder.
The compact design doesn’t sacrifice capacity. Standard countertop models hold 0.5 to 1 gallon of fresh scraps before emptying. You collect compost for days or weeks depending on your household size and eating habits. When full, you transfer the contents to an outdoor pile or curbside compost program. This eliminates the friction that stops most people from composting in the first place.
Eliminating Unwanted Odors
Food decomposition releases gases that create kitchen smells within hours. A quality odor filter traps these gases before they enter your breathing space. Most filters use activated charcoal or similar carbon-based materials that absorb hydrogen sulfide and ammonia compounds. These materials have been used for decades in industrial air filtration because they work at a chemical level, not just masking scents.
Activated charcoal filters require replacement every 2 to 4 months depending on use and waste types. Oily foods and fish decompose faster and generate stronger odors, so heavy users replace filters more frequently. The filter system keeps your kitchen environment neutral while waste sits in the bin. This matters for families who live in tight quarters where cooking smells linger in shared spaces.

Understanding The Carbon Filter In A Compost Bin
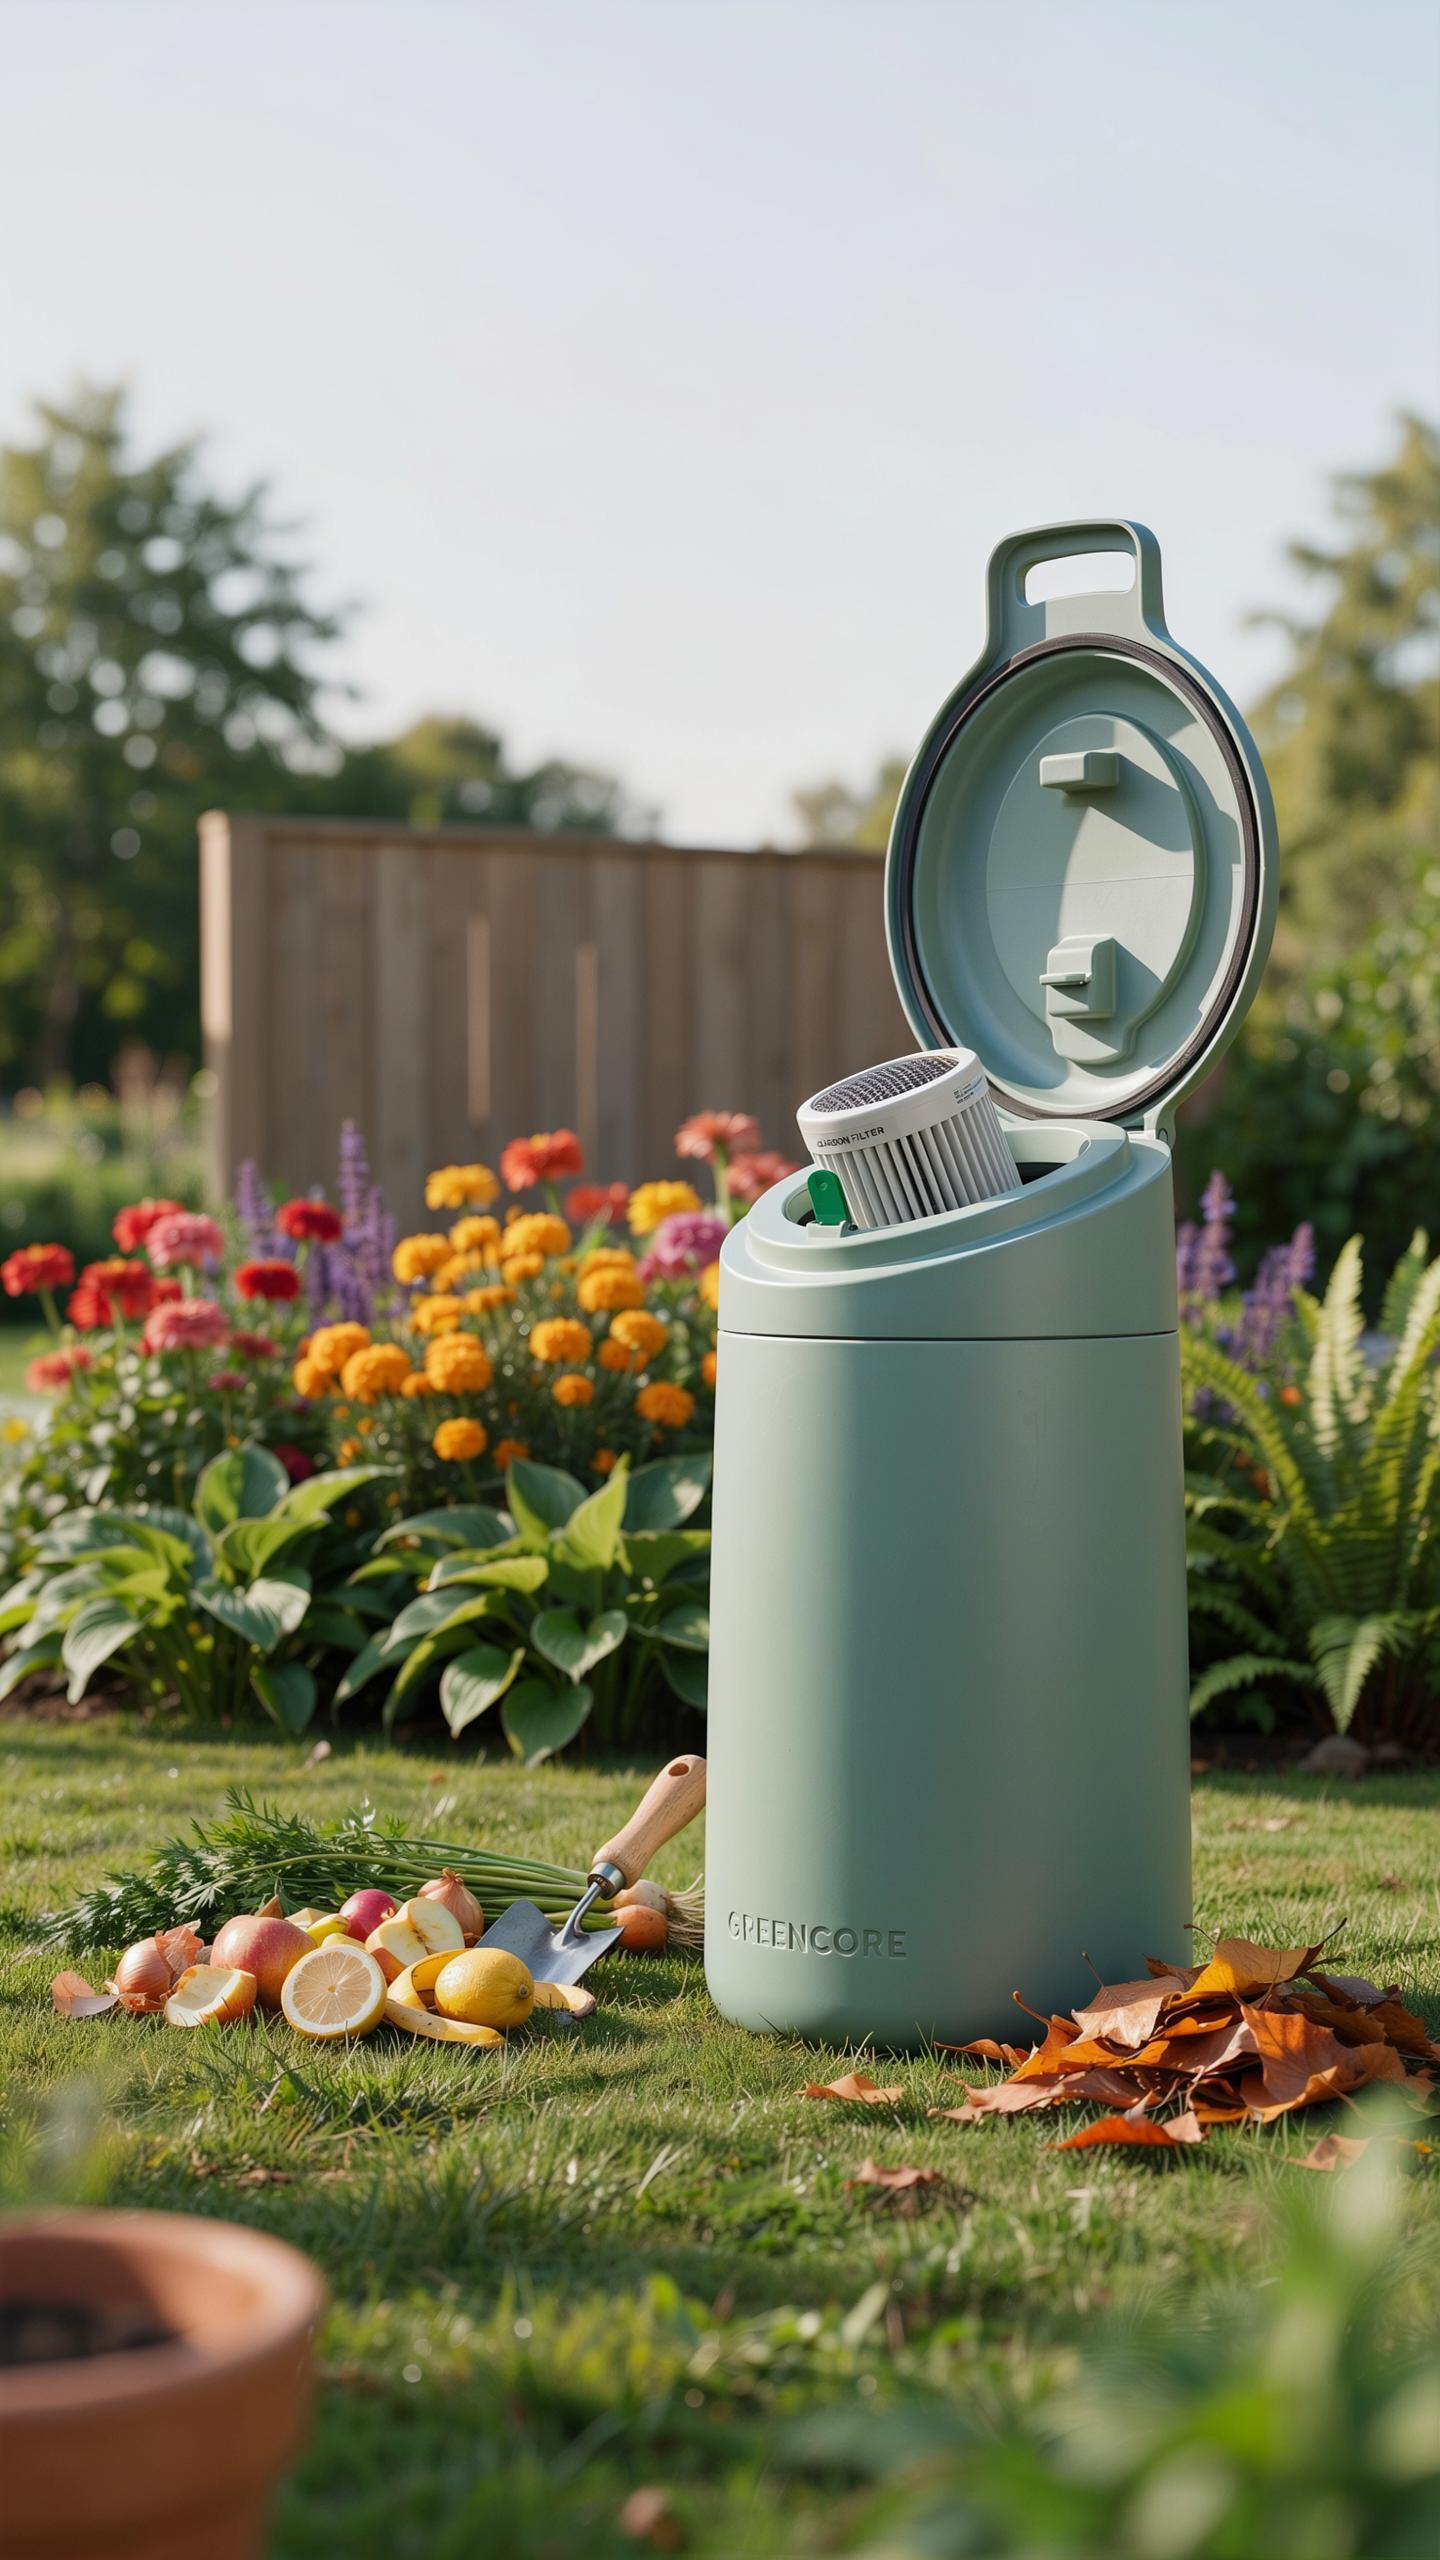
How Carbon Filters Work
Activated carbon traps odor molecules through a process called adsorption. The carbon material contains millions of tiny pores that create surface area for odor particles to attach to and stick. When air passes through the filter, ammonia, methane, and sulfur compounds bind to the carbon instead of escaping into your kitchen.
The activation process creates this porous structure by heating carbon at high temperatures. This produces cracks and gaps throughout the material that increase surface area dramatically. A small handful of activated carbon can have surface area equivalent to a football field. Odors remain trapped on the carbon until the filter reaches saturation and stops working effectively.
Maintenance Of Carbon Filters
Replace your carbon filter every one to three months depending on usage and food waste volume. Saturation happens faster with frequent composting and high moisture content in your bin. Check the filter regularly by smelling near the top of the bin to detect when odor control drops. Most manufacturers include replacement filters as inexpensive consumables designed for regular swapping.

Some carbon filters claim reactivation through heating, but this process only works partially and inconsistently. Home ovens rarely reach temperatures required for true reactivation without damaging the filter structure. Replacement remains the most reliable option for maintaining odor control performance. Buy filters in bulk to reduce costs and ensure you always have backups on hand.
Benefits Of Composting Food Scraps In The Kitchen
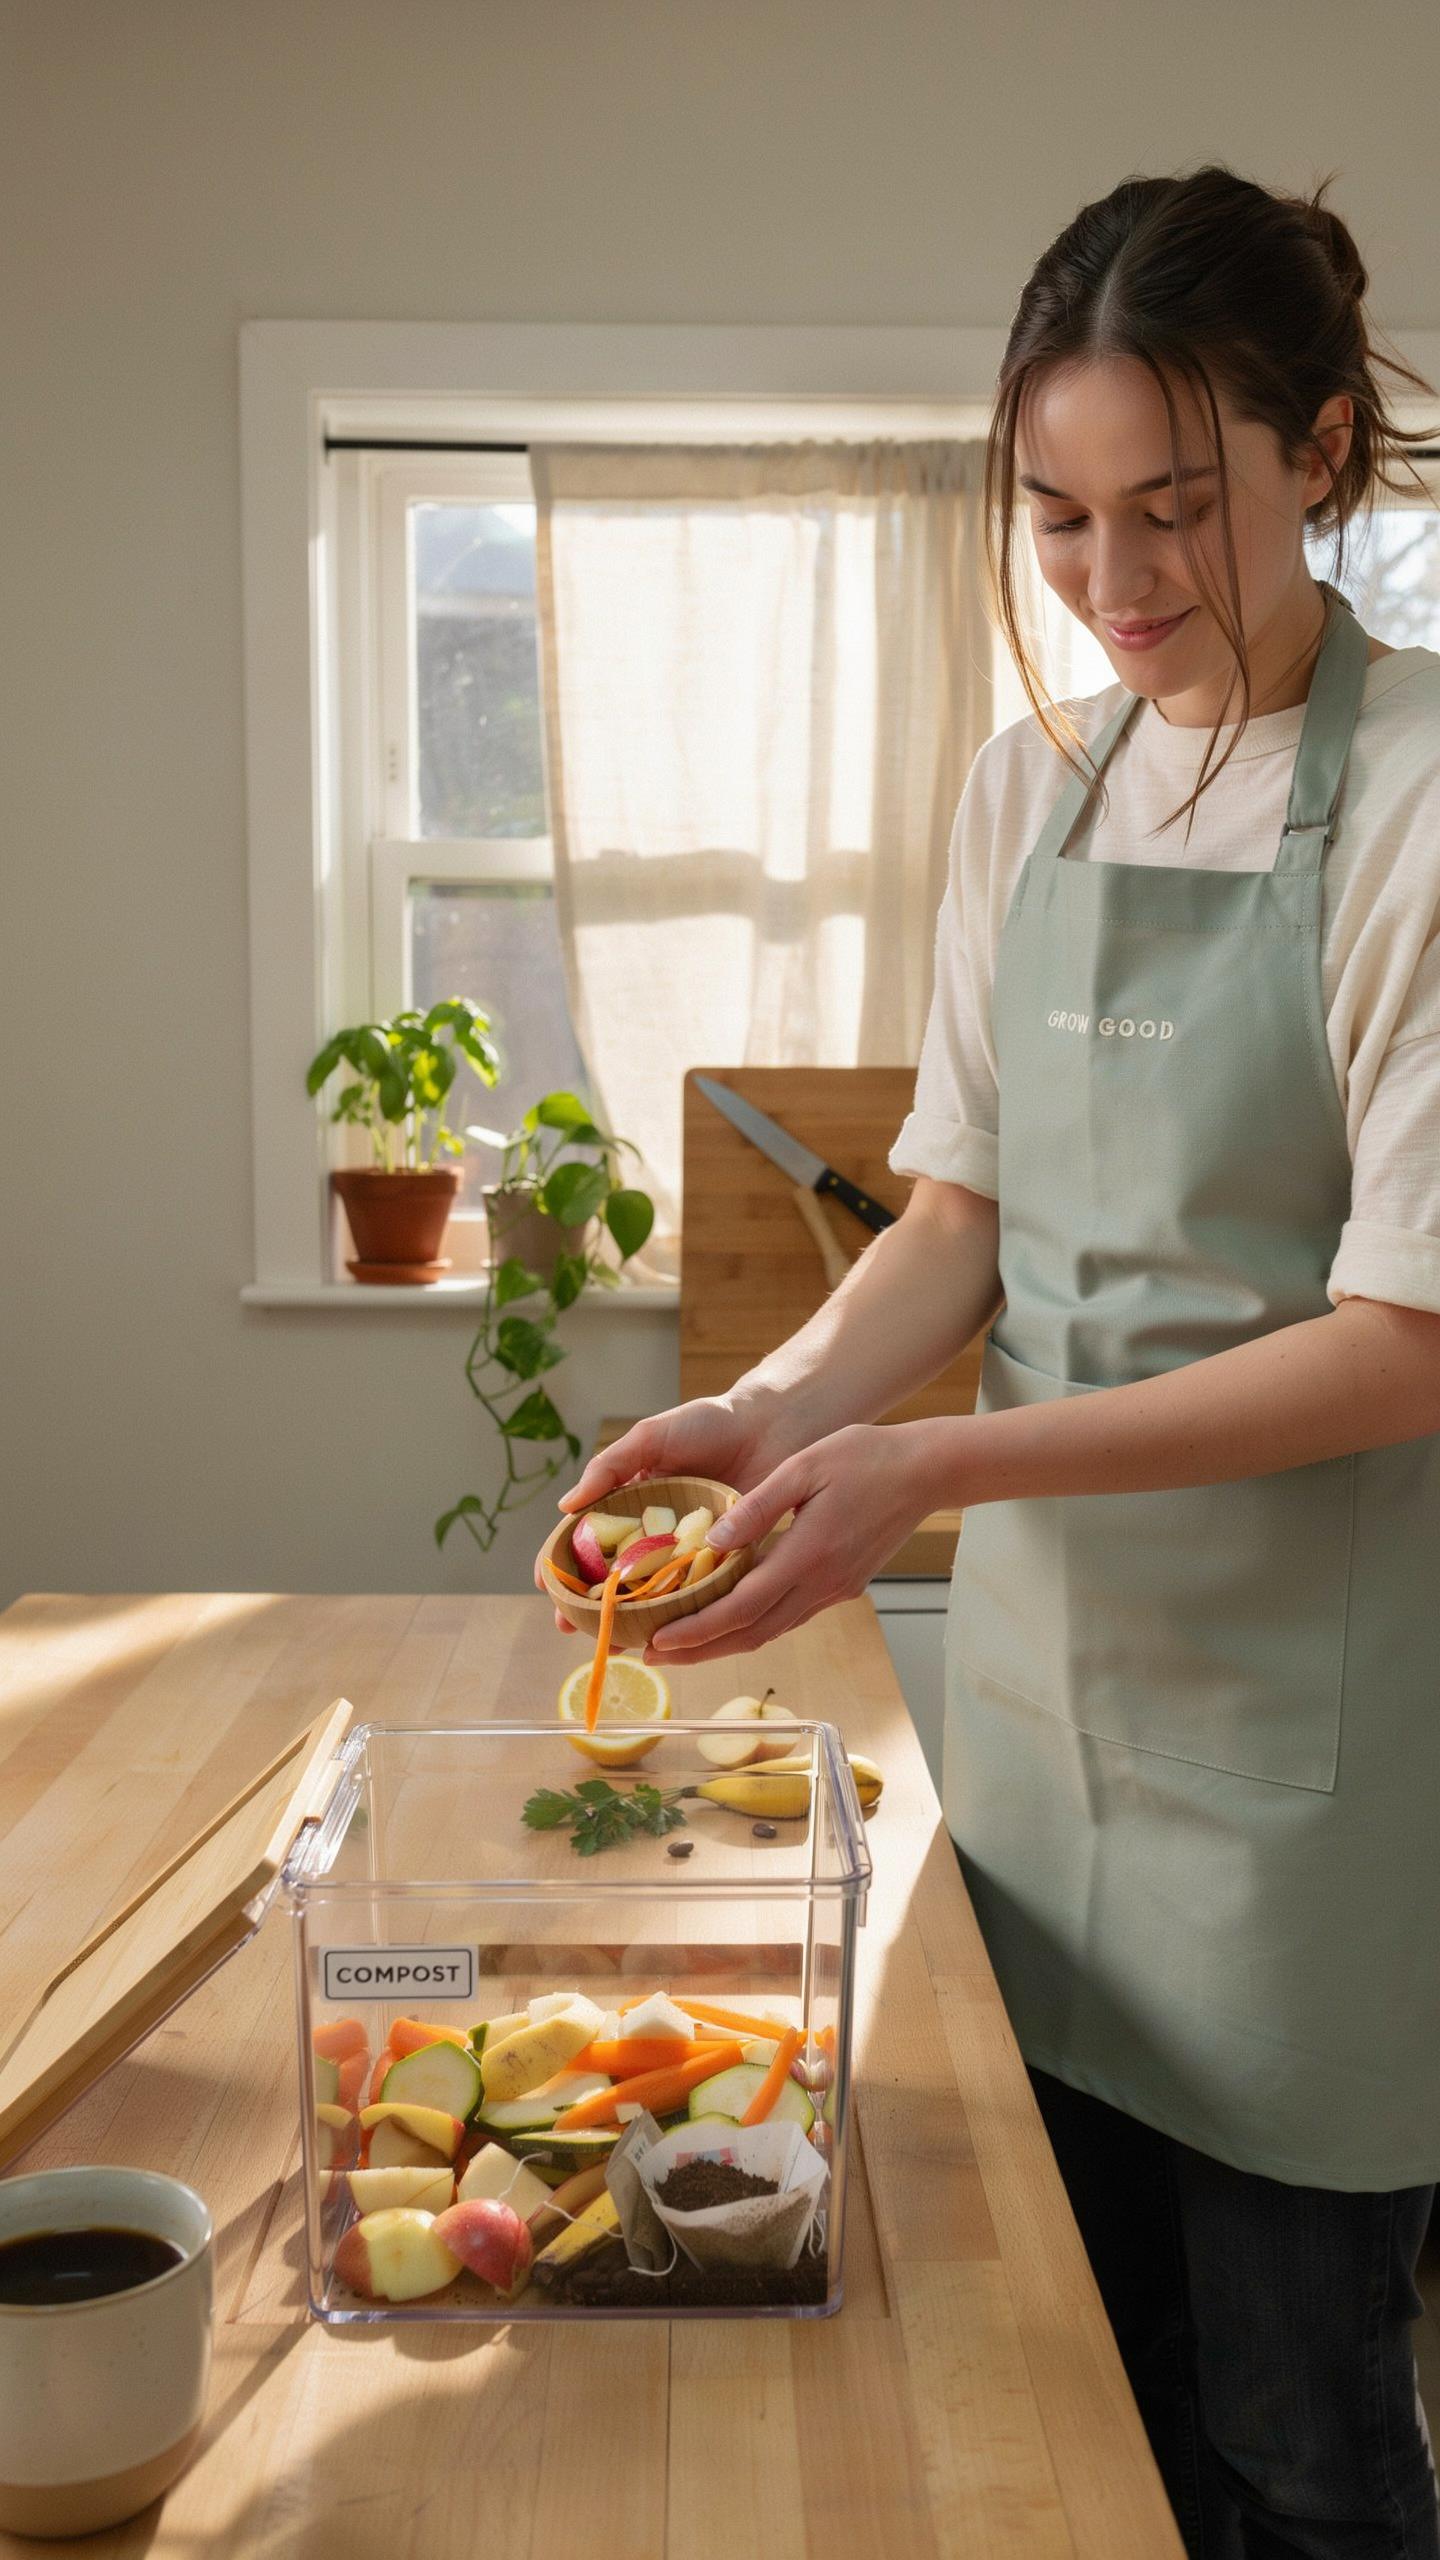
Reducing Kitchen Waste
Food scraps make up roughly 30 percent of residential waste streams. When you compost in a countertop bin with an odor filter, you stop these materials from reaching landfills. Landfills compress organic matter without oxygen, creating methane, a greenhouse gas 28 times more potent than carbon dioxide over a century. Your kitchen compost bin interrupts this cycle immediately.
A countertop compost bin with odor filter captures methane and ammonia before they escape your home. The filter mechanism traps gases at the source rather than allowing them to build in your trash can. This approach reduces your household’s contribution to landfill emissions while keeping your kitchen environment clean and odor-free during the composting process.
Creating Nutrient Rich Soil
Finished compost contains nitrogen, phosphorus, and potassium that plants need to grow. Food scraps break down through microbial action, converting them into stable organic matter. A countertop bin with odor filter accelerates this transformation by maintaining conditions that support decomposition. The result is usable fertilizer within weeks rather than months.

You eliminate the cost of purchasing commercial fertilizers when you create your own compost. Indoor gardeners and houseplant owners benefit directly from this nutrient-rich output. One countertop bin produces enough finished compost annually to support multiple potted plants or supplement garden beds. The economic return offsets the initial investment in the bin itself over time.
Types Of Countertop Compost Bins And Compost Bucket Options
Traditional Counter Top Composter
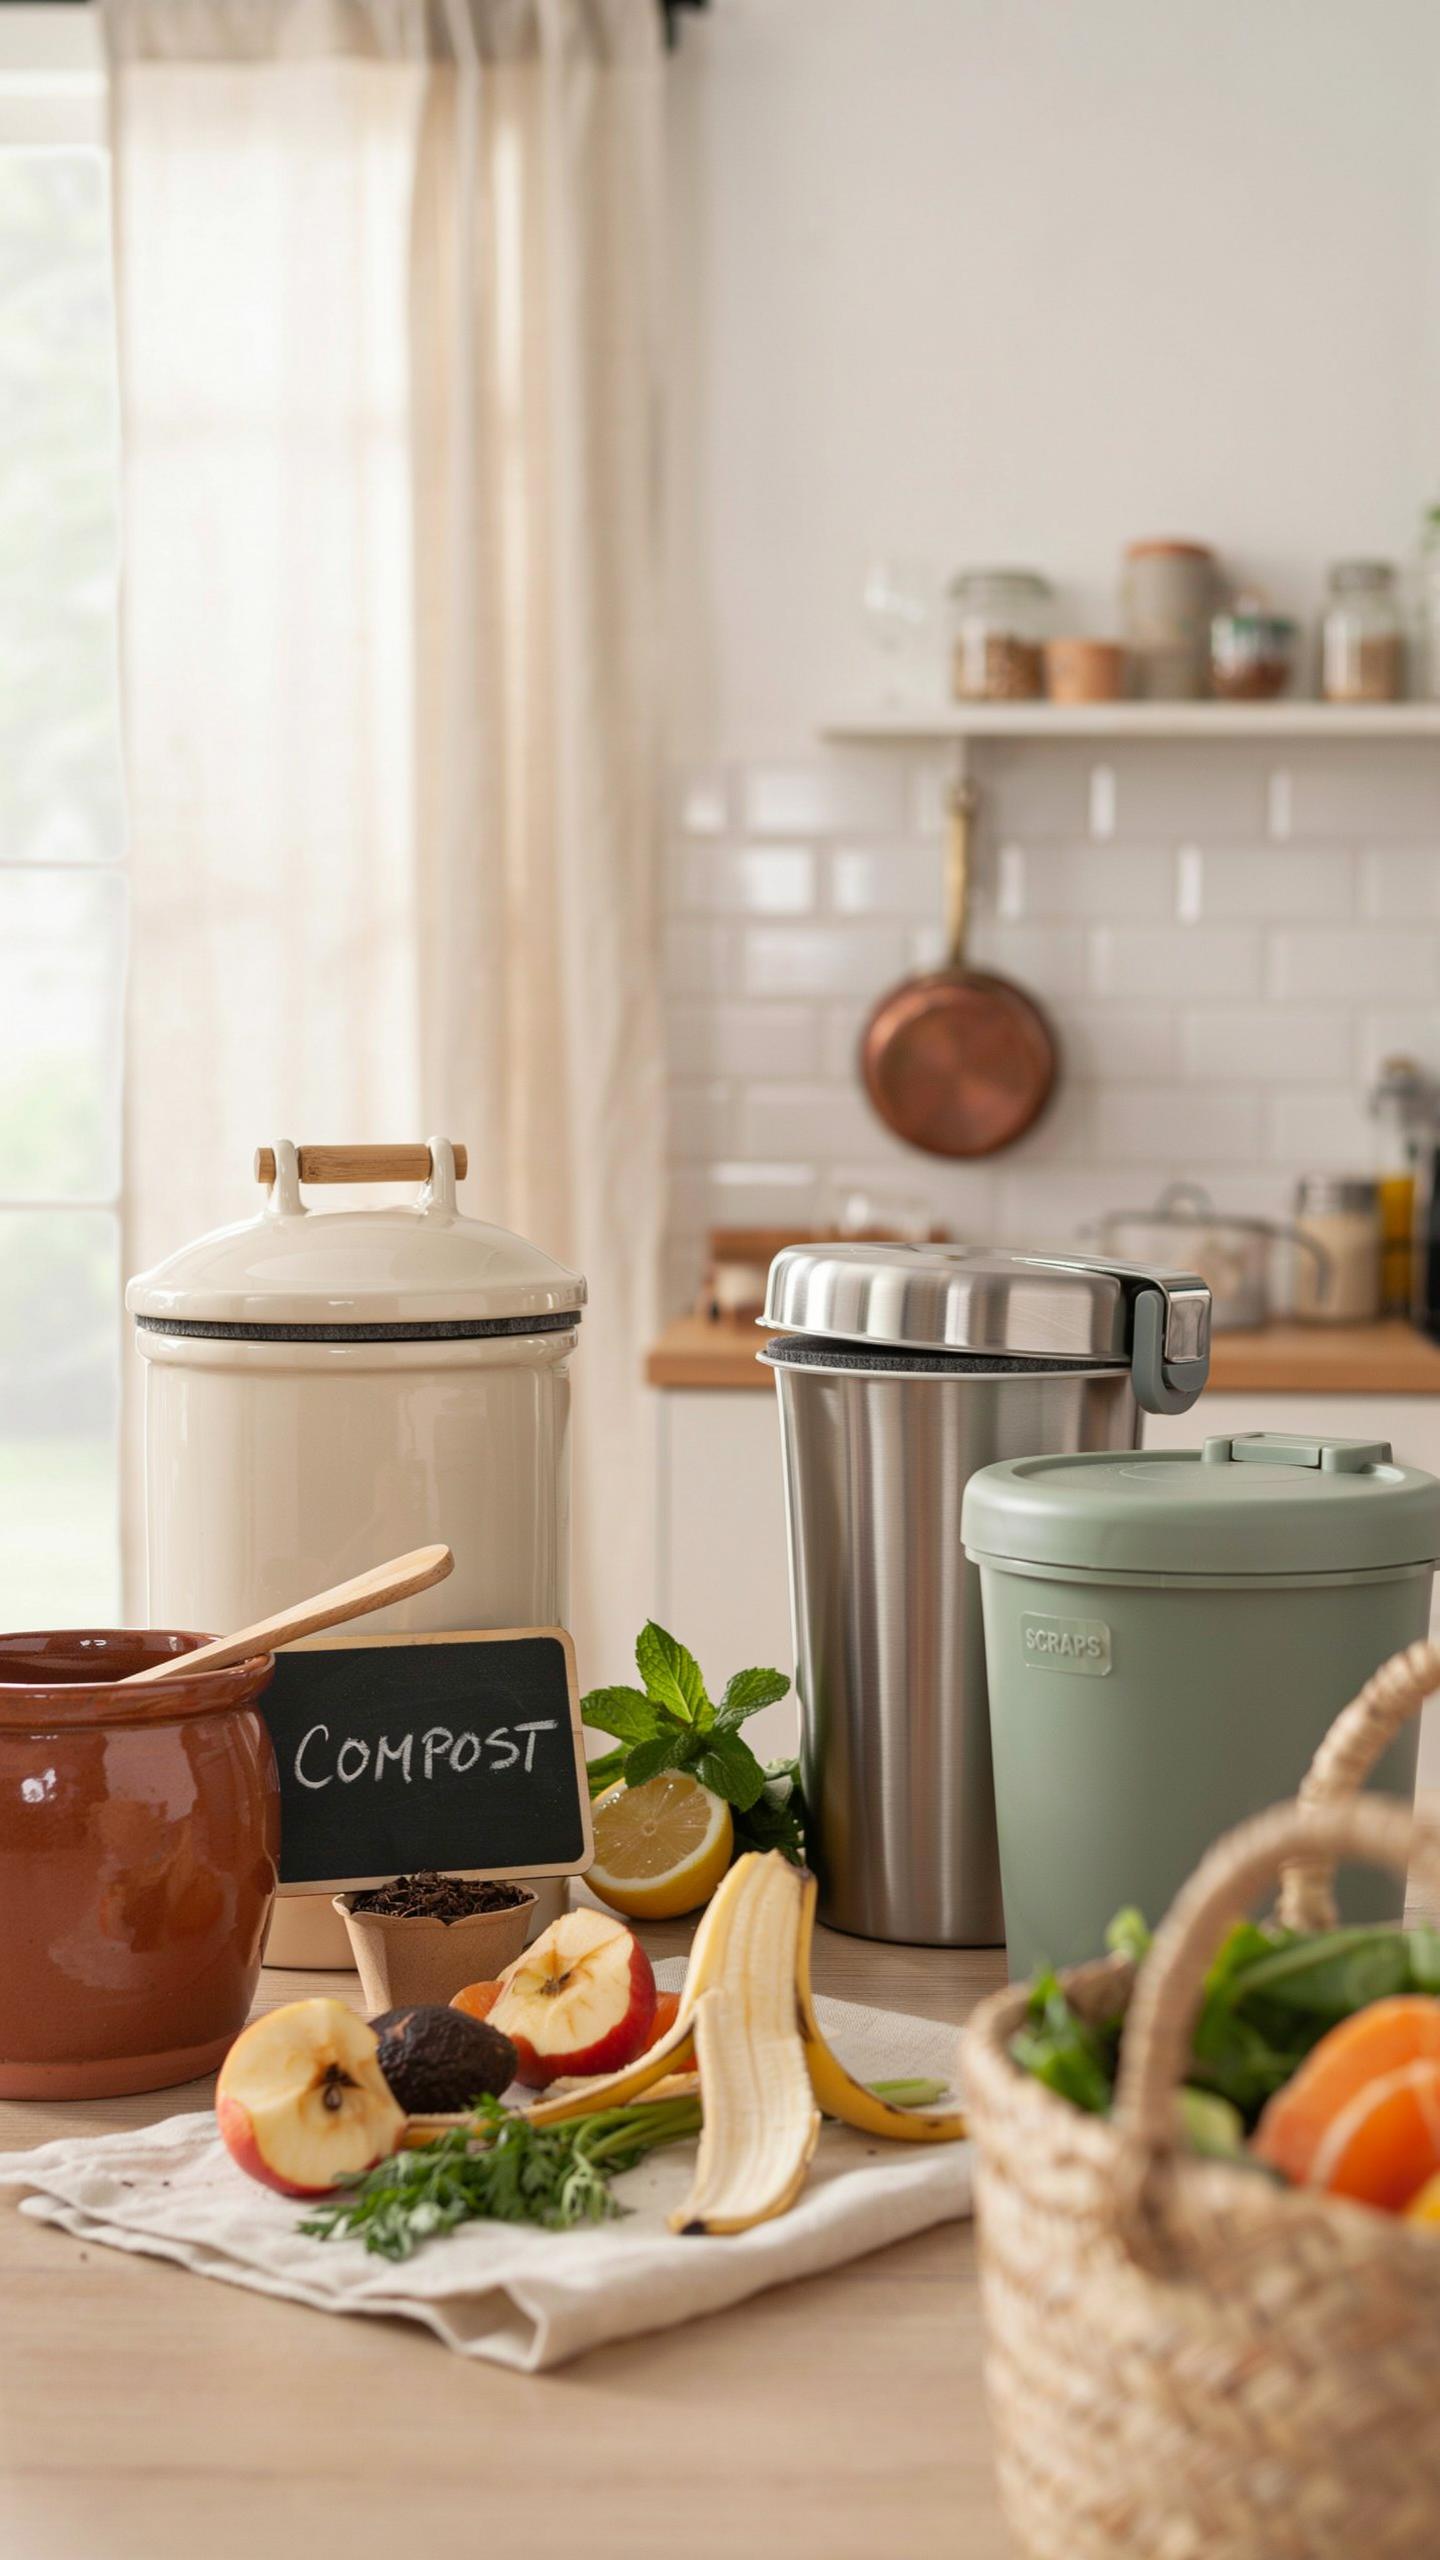
Ceramic and stainless steel dominate traditional countertop composter design. Ceramic offers aesthetic appeal and odor containment through dense material composition. Stainless steel provides durability and resists corrosion from acidic food waste. Both materials work well with mechanical odor filters. Design simplicity keeps costs down and maintenance straightforward.
Traditional models typically use gravity-fed systems where waste drops into a collection chamber below. These bins range from five to fifteen liters in capacity. The trade-off is that they require manual emptying more frequently than larger systems. Ceramic’s weight makes transport challenging for users with limited mobility. Stainless steel models weigh less but conduct temperature changes faster.
Ventilated Vs Sealed Compost Bins
Ventilated bins use passive or active airflow to manage odor through carbon filters. Passive ventilation relies on natural air circulation and works best with activated charcoal layers. Active ventilation uses small fans to pull air through filters, offering stronger odor control. Ventilated designs work faster for decomposition but require filter replacements every two to four months.

Sealed bins trap moisture and slow decomposition intentionally. They rely on chemical absorbers or enzyme-based deodorizers rather than airflow. Sealed models work better for kitchens with limited counter space and generate fewer fruit flies. The trade-off is that sealed bins smell worse when opened and take longer to break down organic matter.
Electric Kitchen Composter A Modern Alternative
How Electric Compost Bins Work
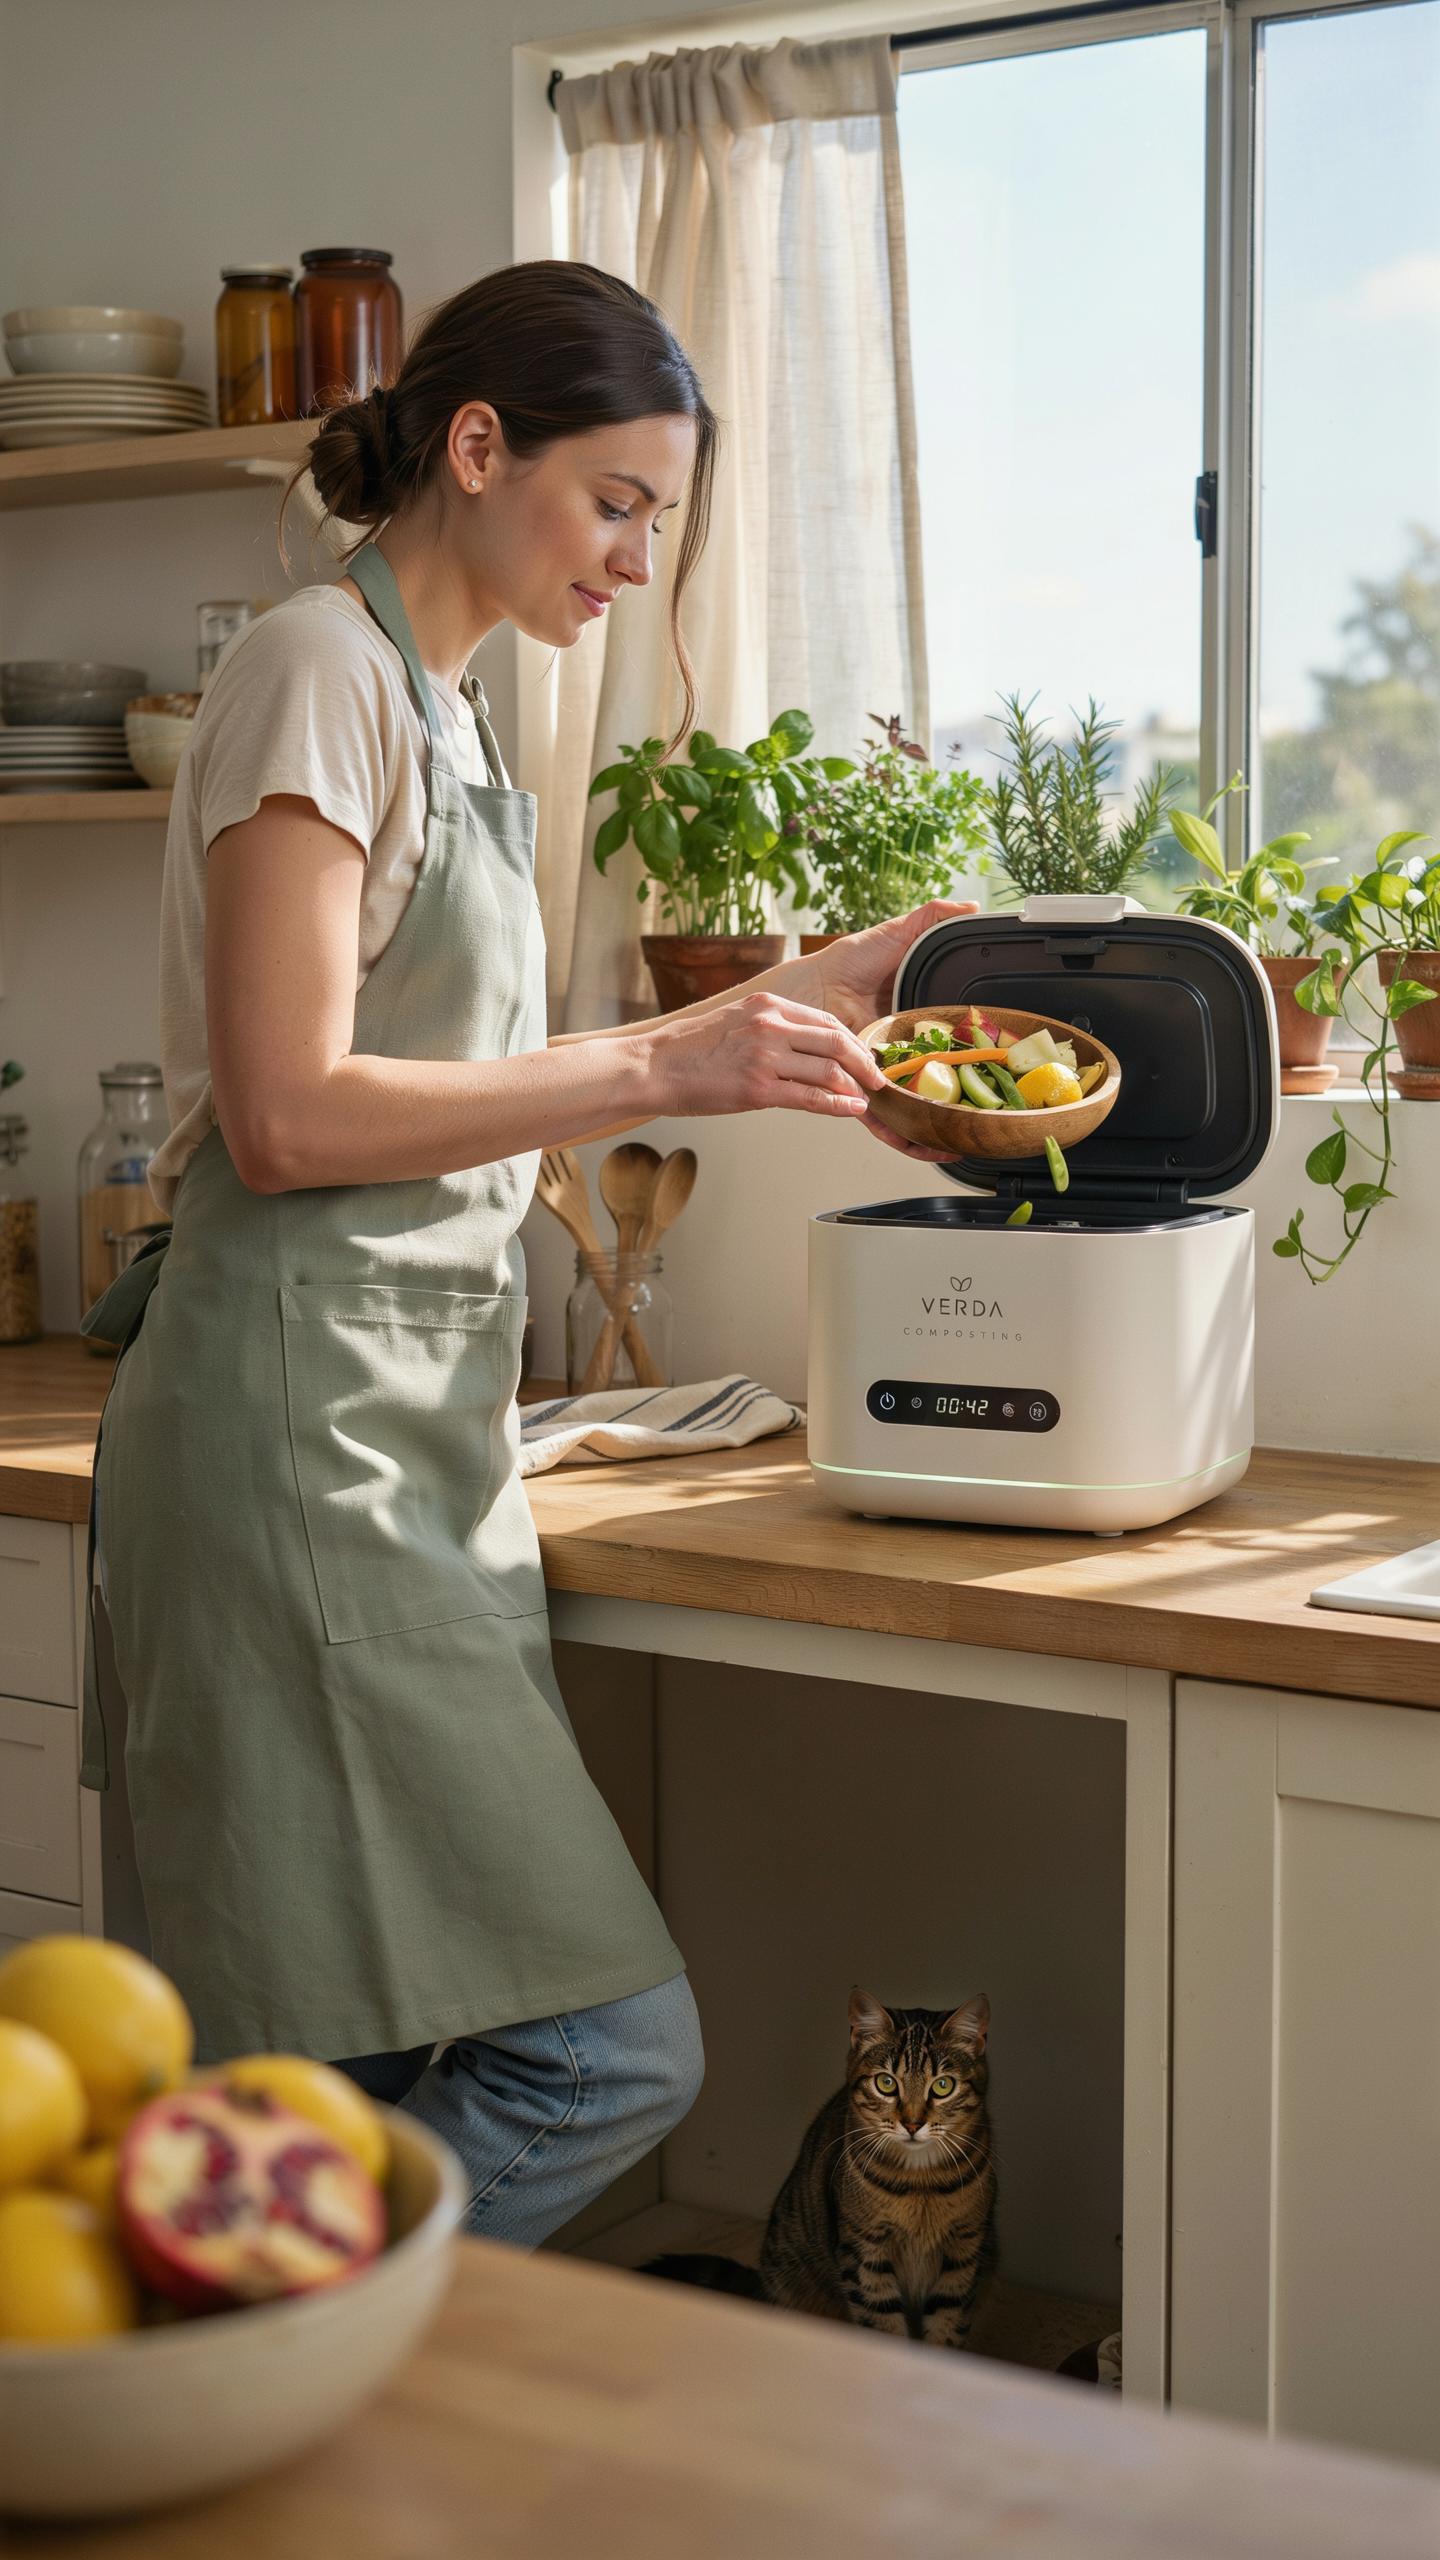
Electric compost bins accelerate decomposition through heat, grinding, and aeration. The unit heats organic waste to break down materials faster than passive bins. Internal blades grind food scraps into smaller pieces, increasing surface area for microbial activity. A motor cycles the contents periodically, and filters manage odor production throughout the process.
- Heat application: Temperatures between 140-160 degrees Fahrenheit speed bacterial decomposition and kill pathogens in food waste materials.
- Grinding mechanism: Internal blades reduce particle size, allowing microorganisms to access more material surface and work more efficiently.
- Aeration cycles: Motors automatically turn contents on set intervals, introducing oxygen necessary for aerobic decomposition to occur.
- Odor filtration: Activated carbon and HEPA filters capture volatile compounds before air exits the unit into your kitchen.
- Moisture management: Built in drainage systems prevent excess liquid accumulation that creates anaerobic conditions and strong odors.
The process typically reduces food waste volume by 80 percent. The output is not finished compost but rather a nutrient-rich precursor requiring additional curing time in soil or a standard compost bin.
Transforming our kitchen scraps into Earth’s nourishment, while keeping our homes sweet and fresh – a little countertop wonder, indeed. It’s like gathering nature’s secrets right at home, just as our grandparents always taught us to value every little bit.
Advantages For Busy Households
Electric composters eliminate the time investment traditional methods demand. You add scraps daily without managing pile temperatures, moisture levels, or turning schedules. Most models run cycles in hours rather than weeks or months. The contained system produces minimal odor, making kitchen placement practical in apartments and small homes.

These units handle processing meat, dairy, and oils that conventional bins cannot. Speed matters for households generating consistent food waste without yard space. The precursor material moves to outdoor compost or trash within days. This approach removes the barrier that prevents people with limited time from composting at all.
Choosing The Best Kitchen Compost Bin For Your Needs
Size And Capacity Considerations
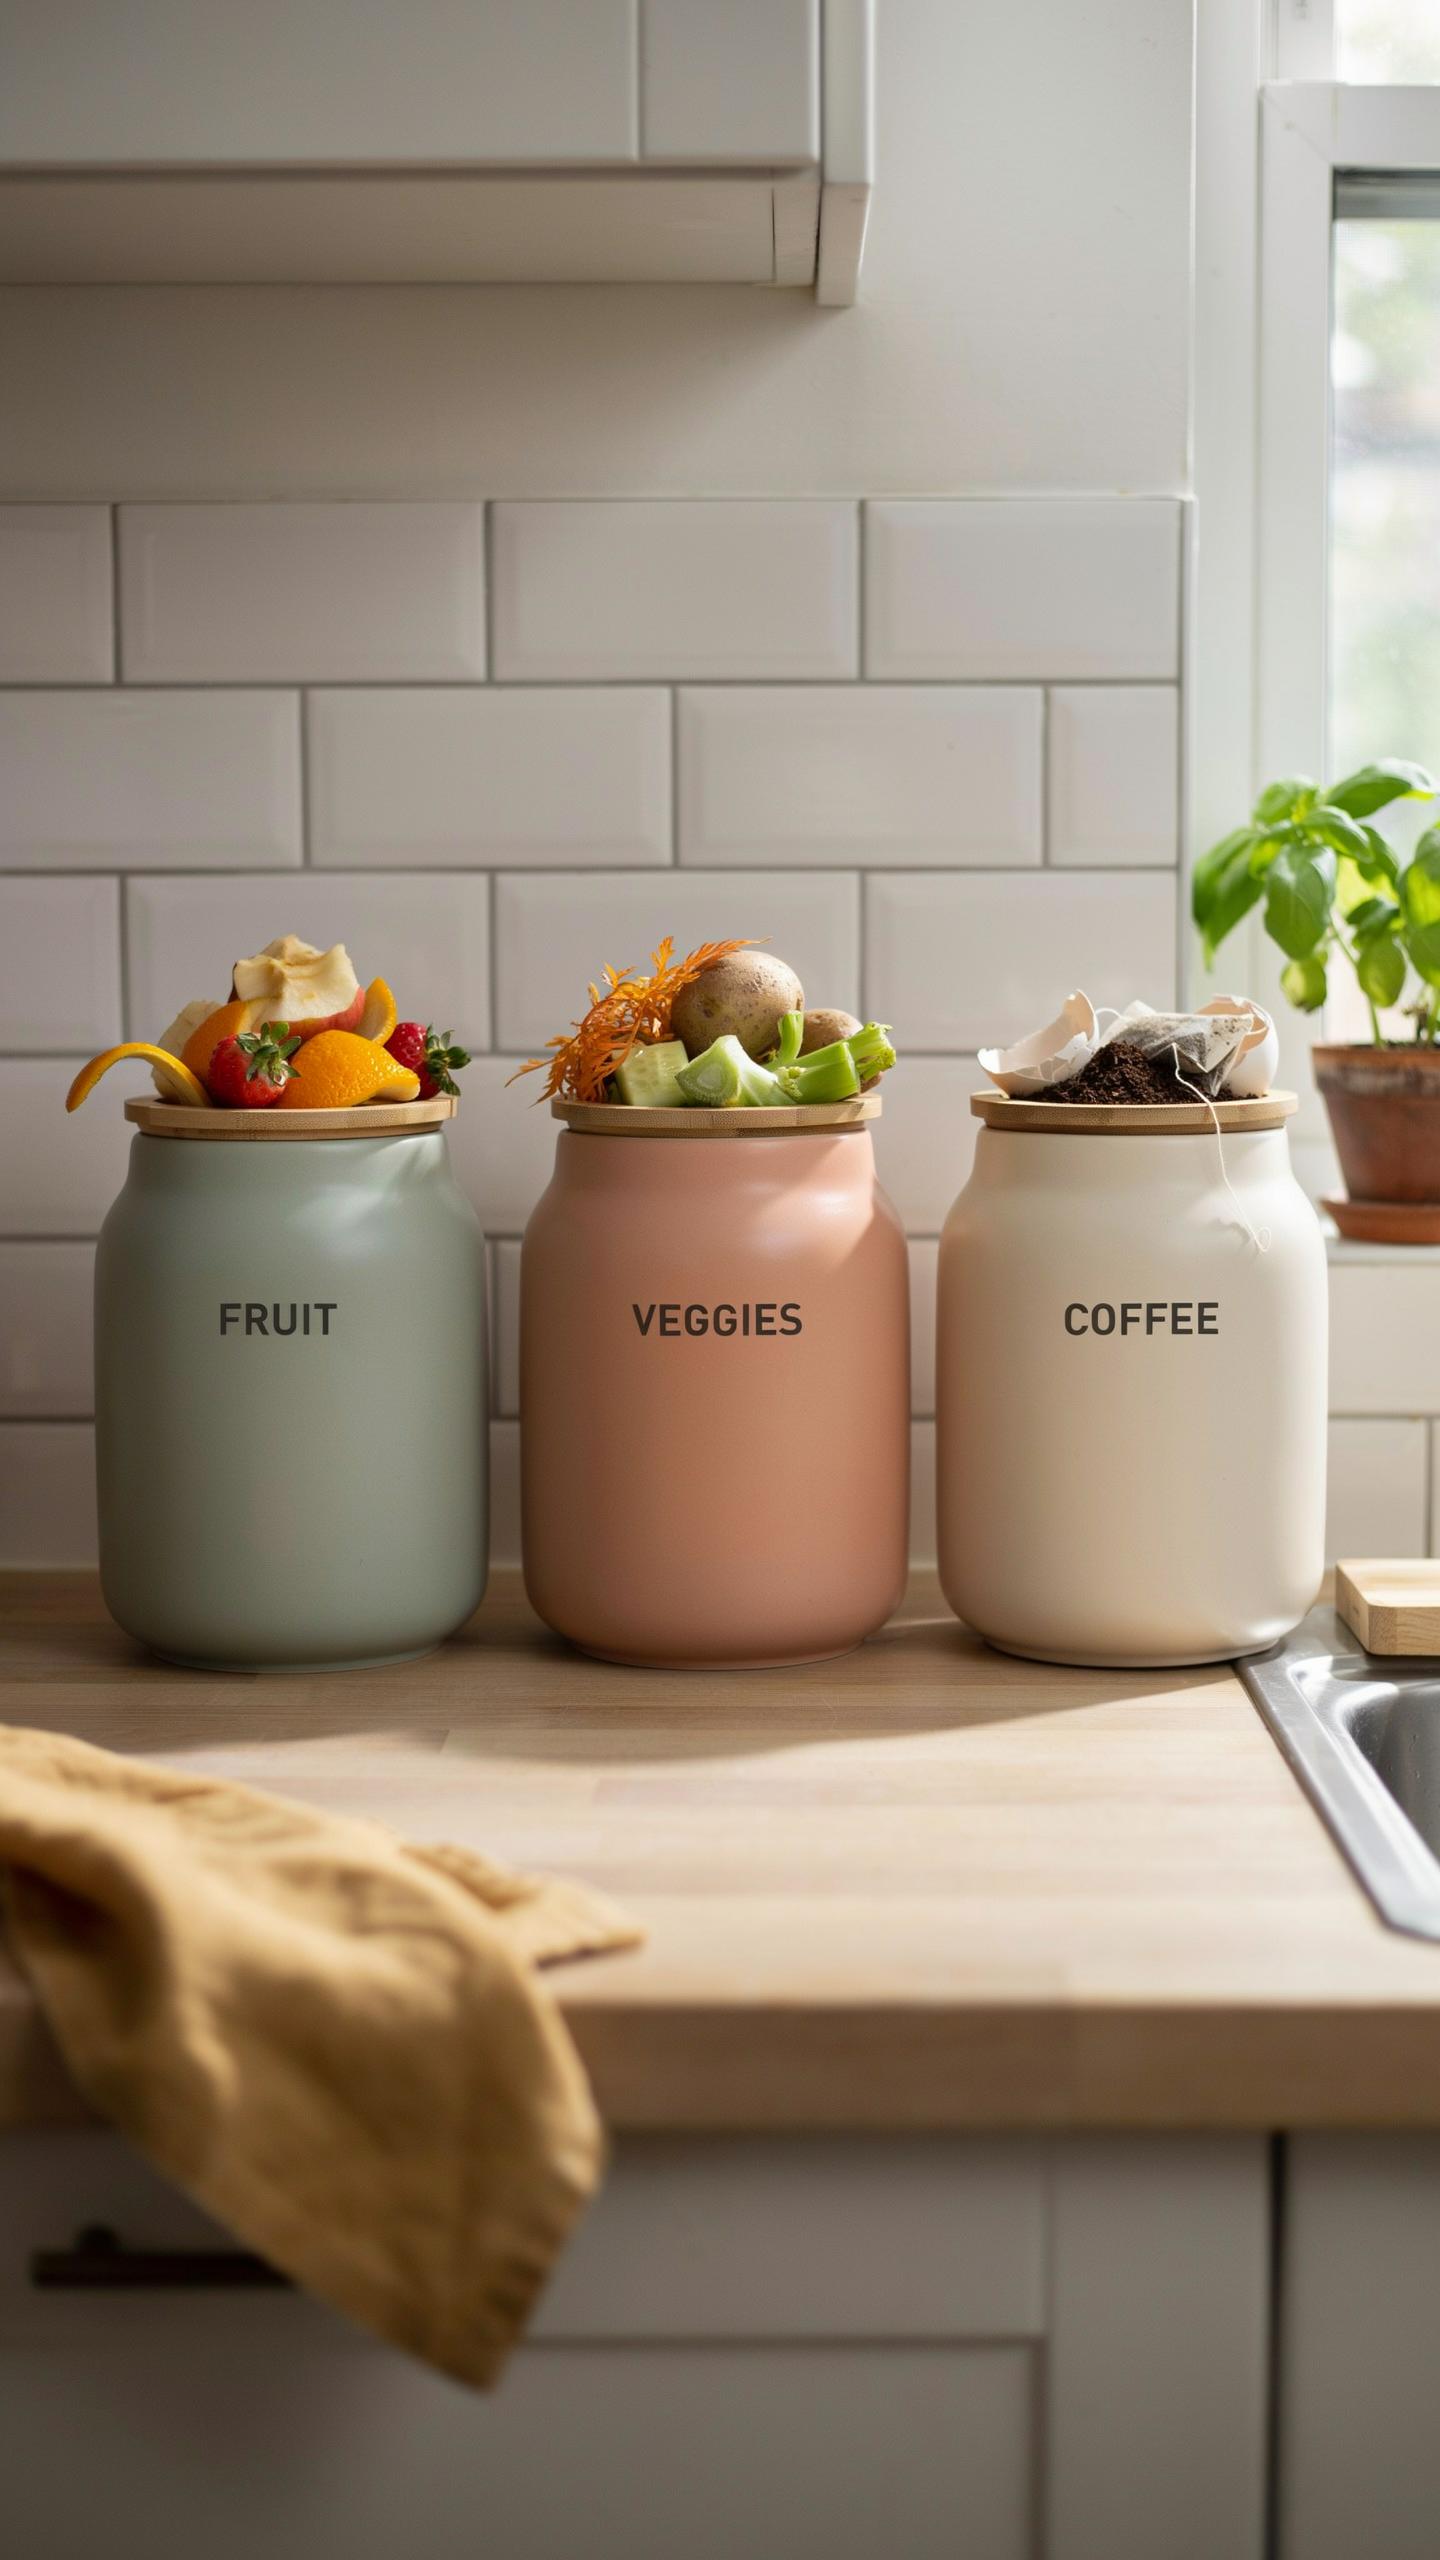
Your household’s daily food waste volume determines the bin size you need. A single person generates roughly 0.5 to 1 pound of food scraps daily. A family of four produces 2 to 4 pounds. Countertop bins range from 1 liter to 5 liters in capacity. Match bin size to your collection habits between emptying cycles.
Smaller bins require frequent emptying, sometimes every few days. Larger bins hold more waste but consume more counter space. Consider your kitchen layout and how often you want to empty the bin. Most households find 2 to 3 liter bins strike the right balance between capacity and convenience.
Material And Durability
Stainless steel offers corrosion resistance and handles repeated washing without degrading. Plastic bins cost less but may develop cracks or discoloration over time. Ceramic options provide durability but risk breaking if dropped. Evaluate your budget against expected bin lifespan when choosing materials.

Cleaning frequency matters more than material choice for longevity. Removable inner buckets speed up cleaning and odor filter replacement. Dishwasher safe components reduce maintenance friction. Check manufacturer specifications for compatible filters and replacement schedules before purchasing.
Maintaining Your Countertop Compost Bin

Cleaning And Hygiene Practices
Empty your bin every two to three days to prevent bacterial growth and odor buildup. Rinse the interior with water and allow it to air dry completely. Wipe down the lid, walls, and base with a damp cloth. Replace the charcoal or carbon filter every one to three months depending on usage. These filters trap volatile organic compounds that cause smells, so degraded filters lose effectiveness quickly.
Sanitize the bin monthly using a food-safe disinfectant or a one-to-one vinegar and water solution. Pay attention to corners and crevices where residue accumulates. Ensure all components dry before refilling. Keep the area around your bin clean and free of spilled material. Pests enter through gaps created by debris, so maintaining the surrounding counter space matters as much as cleaning the bin itself.
Troubleshooting Common Issues With Compost Bin
Mold growth indicates excess moisture. Reduce water content by adding more dry materials like cardboard or leaves. Ensure your odor filter is functioning and replace it if clogged, as poor air circulation promotes mold. Check that your bin’s ventilation holes remain unblocked. If mold persists after these steps, increase the frequency of bin emptying to reduce decomposition time indoors.

Fruit flies enter through gaps or emerge from decomposing fruit. Bury fresh food scraps under dry materials to deny flies access. Replace your odor filter immediately if saturated, as wet filters fail to circulate air properly. Clean the bin thoroughly and inspect seals around the lid for cracks. Persistent fruit fly problems require daily emptying until the infestation clears completely.
What Can And Cannot Go Into Your Kitchen Compost Bin
Acceptable Food Scraps For Composting
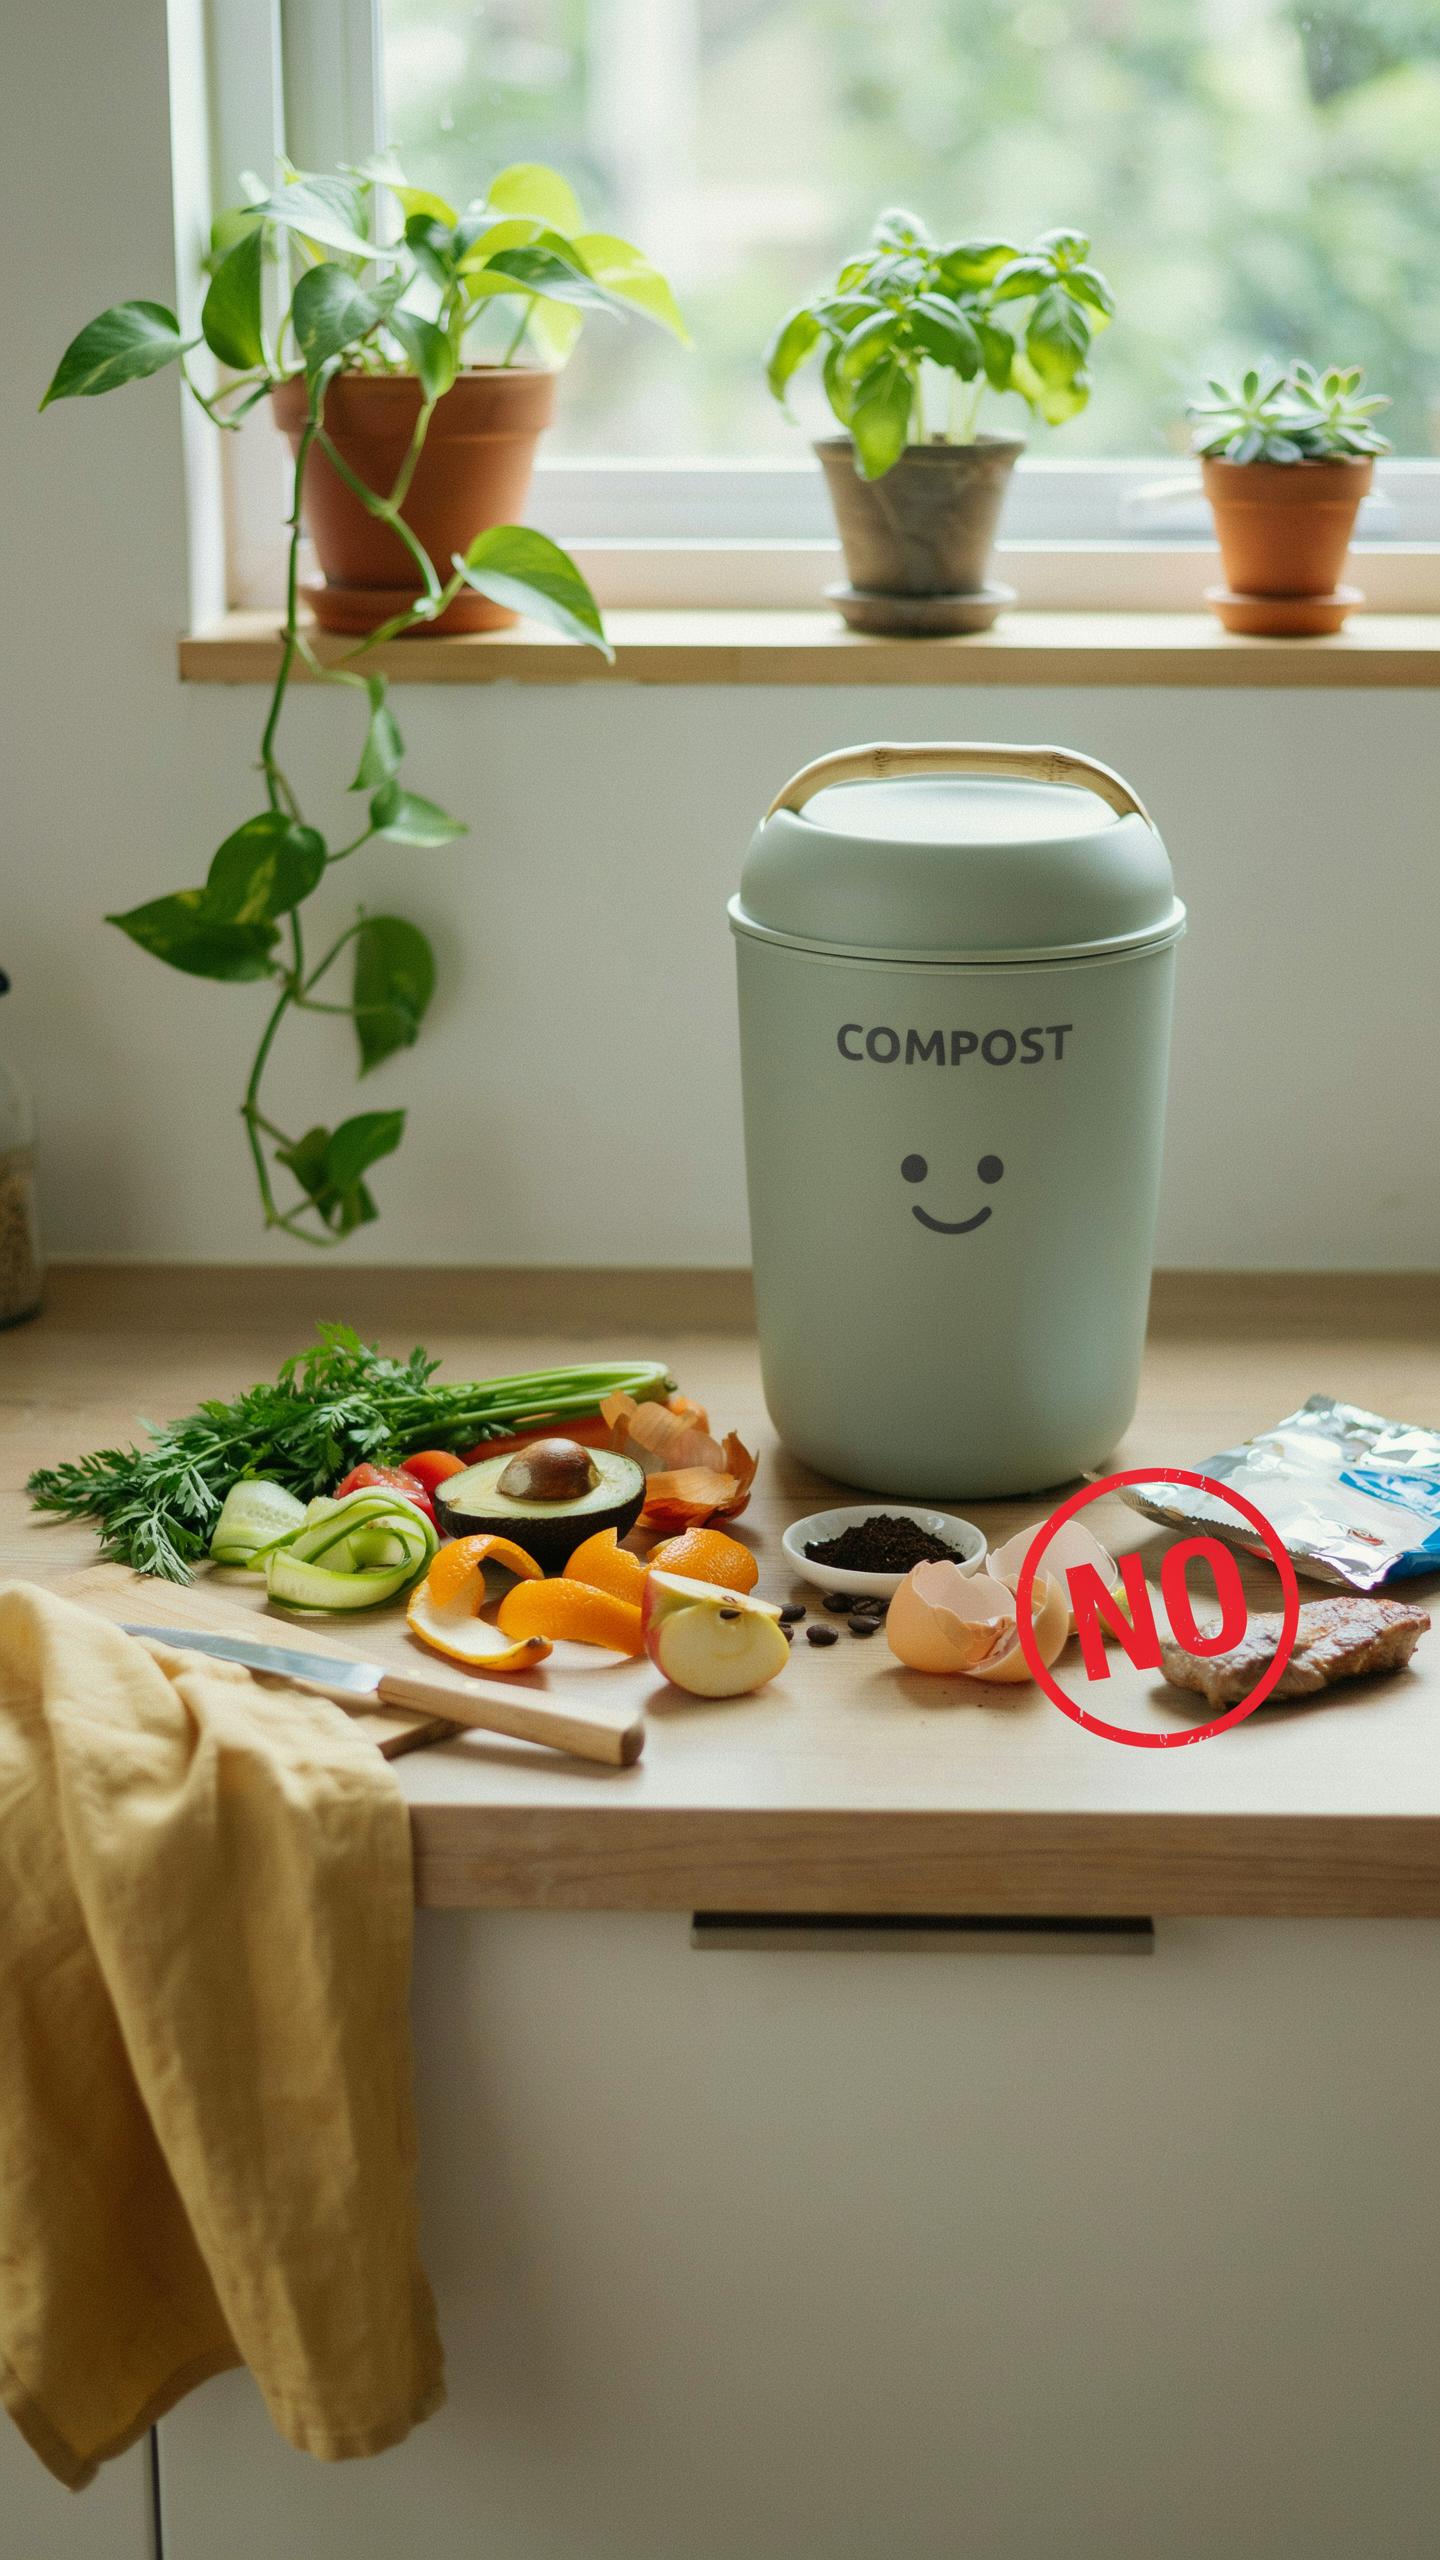
Fruit and vegetable scraps form the foundation of productive composting. Banana peels, apple cores, carrot tops, lettuce leaves, and potato skins break down quickly and feed microorganisms that drive decomposition. Coffee grounds and tea bags contribute nitrogen, which accelerates the process. Cooked vegetables work too, though raw materials decompose faster. Eggshells add calcium and crush easily during the breakdown cycle. Grains like rice and bread break down within weeks if chopped into smaller pieces.
Yard waste complements food scraps effectively. Dried leaves, grass clippings, and plant trimmings provide carbon balance to nitrogen-rich food waste. Paper towels and newspaper torn into strips work when mixed with food scraps. Avoid glossy paper, which contains chemical coatings. Wood chips and sawdust from untreated wood add structure and slow decomposition slightly, which helps regulate moisture levels inside your bin.
Items To Avoid In Your Compost Bucket
Meat, fish, and dairy products attract rodents and create strong odors that overwhelm most odor filters. Bones and fat take months to decompose and generate ammonia smells during breakdown. Oils and grease coat bin walls and slow microbial activity. These materials also spoil quickly in the enclosed environment of a countertop bin, making them incompatible with indoor composting systems designed for speed and odor control.

Diseased plants and treated wood harbor pathogens and chemical residues that survive the composting process. Glossy paper, stickers, and plastic-coated items do not decompose and contaminate finished compost. Pet waste introduces harmful pathogens. Onion and garlic scraps in large quantities can overwhelm odor filters despite their thinness. Citrus peels break down slowly and create acidic conditions that slow decomposition. Stick to plant-based, untreated materials to keep your bin functional and odor-free.
Integrating Composting Into Your Small Kitchen Routine

Placement And Accessibility
Position your countertop compost bin with odor filter near your food prep area. This reduces travel distance when disposing of scraps. Keep it away from direct sunlight and heat sources, which accelerate decomposition and odor release. Ensure the bin sits on a stable, level surface to prevent tipping. Distance from living areas matters less with an odor filter, but still maintain reasonable clearance for airflow around the unit.
Choose a spot that you pass daily to build the composting habit. Kitchen islands, corners near the sink, or dedicated counter space all work effectively. Verify your chosen location has adequate ventilation behind or above the bin. The odor filter performs better when air circulates naturally around the device. This placement strategy turns composting into an automatic routine rather than an afterthought.
Transferring Finished Compost
Move finished compost to an outdoor pile when your bin reaches capacity or after four to six weeks of decomposition. Empty the bin completely rather than leaving residual material, which prevents cross-contamination and odor buildup between cycles. Use a small scoop or kitchen tool to transfer the finished product into a container for transport. Most countertop bins produce one to two quarts of usable compost per cycle depending on fill frequency and material type.
Transfer compost directly to a garden bed, potted plants, or an outdoor compost pile. Finished material should feel crumbly and dark brown without visible food particles. Store excess compost in sealed containers to maintain moisture and prevent outdoor pests from accessing it. This transfer cycle keeps your countertop bin functional for continuous use throughout the composting season.
Frequently Asked Questions

What exactly is a countertop compost bin with an odor filter, and why would I need one?
A countertop compost bin with an odor filter is a convenient, compact container designed to temporarily hold kitchen scraps like fruit peels and coffee grounds. The integrated odor filter, typically activated charcoal, neutralizes unpleasant smells, making it perfect for indoor use before transferring contents to a larger outdoor compost pile or municipal collection. It’s an easy first step to reduce food waste!
How do I properly maintain my countertop compost bin with an odor filter to ensure it works effectively?
To maintain your countertop compost bin with odor filter, regularly empty its contents, ideally every 1-3 days. Wash the bin with warm, soapy water after each emptying to prevent residue buildup. Replace the activated charcoal filter every 2-3 months, or sooner if odors return, to ensure continuous odor neutralization and optimal performance.
Are there affordable options for a quality countertop compost bin with an odor filter, or are they usually expensive?
Absolutely! You’ll find a wide range of affordable and high-quality countertop compost bins with odor filters. Many excellent options are priced under $30, making them accessible for various budgets. Materials like stainless steel or ceramic offer durability, while clever designs ensure effectiveness without breaking the bank, proving eco-friendly living can be budget-friendly.



