The Myth Of The Quick Wipe: Why Your Sleeve Is Sabotaging Your Iphone Camera Lens
You’re Destroying Your Lens Without Knowing It
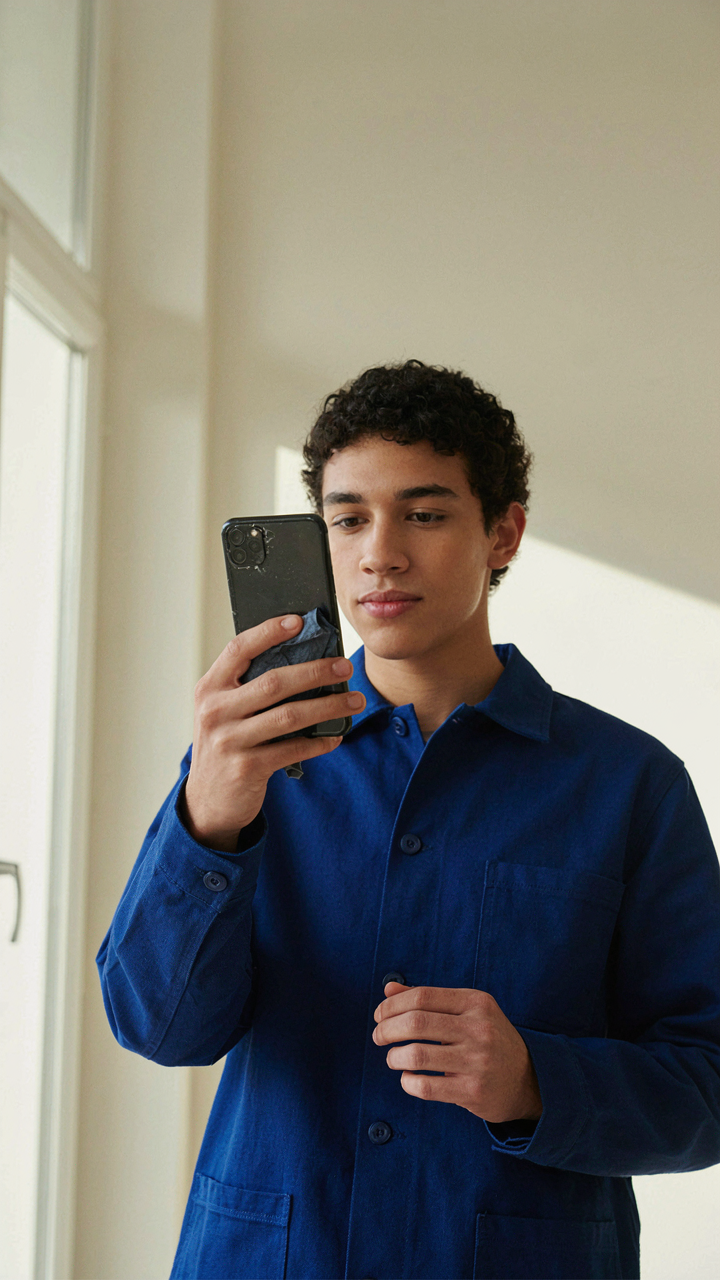
You do this because you think a quick swipe solves the problem and proves you’re competent. It doesn’t. The sleeve wipe is the most common way people damage their iPhone camera lens, and the damage is immediate. Dry fabric on glass creates friction. That friction generates heat. Heat plus pressure plus dust particles equals micro-abrasions that scatter light before it reaches the sensor. Your photos don’t just look softer—they lose contrast because the scratches diffuse incoming light in random directions, the same way frost on glass kills clarity.
Most people believe rubbing hard removes dirt faster. The opposite is true. Aggressive wiping drives particles deeper into the glass surface and multiplies the number of scratches. A gentle, wet wipe with the right material removes debris without friction damage. The mechanism is hydration, not force. Water breaks the adhesion between dust and glass. Fabric alone cannot do this. Your shirt sleeve is the wrong tool because it applies force without the liquid layer that suspends particles and allows them to slide away cleanly.
The Physics Of Micro Scratches
Borrow a term from optics: surface roughness determines light transmission. Your camera lens has a theoretical surface roughness of near-zero when it leaves the factory. Every dry wipe increases that roughness. Micro-scratches scatter light before it enters the camera sensor, reducing sharpness and dynamic range in ways no software filter can fix. You cannot see individual scratches, but your photos reveal their presence through haze, reduced color saturation, and loss of detail in highlights and shadows.
Oil transfer happens because skin oils, dust, and cloth fibers bond to glass. When you wipe your lens dry with fabric, you’re not removing oil—you’re spreading it across the surface and embedding particles into it. The oil creates a film that scatters light. The embedded particles become new abrasion points on future wipes. The damage compounds with each cleaning attempt. Stop using dry materials. Alcohol or lens-specific cleaners break oil’s molecular bond to glass, allowing it to lift away from the surface instead of smearing across it.
The Pristine Protocol: Essential Tools For True Camera Cleaning
Microfiber Cloths Not All Are Created Equal
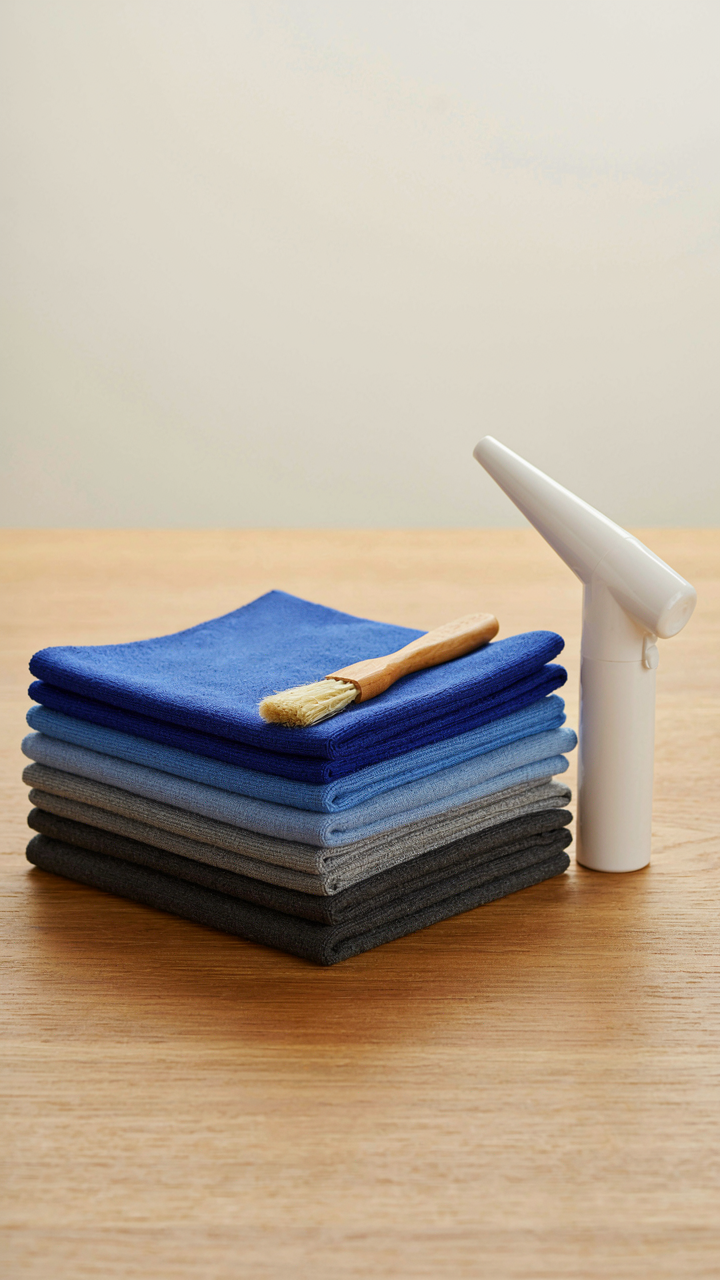
You want to believe a cloth is just a cloth so you can stop overthinking this. It’s not. The mechanism is surface tension and fiber geometry. A microfiber’s split structure traps dust particles instead of pushing them around like cotton does. Most microfiber cloths sold cheap are either loosely woven or treated with finishes that reduce their actual cleaning capacity. You need high-density microfiber, 70-30 polyester-nylon blend minimum, with intact fibers that haven’t been compressed flat from poor storage.

The difference between effective and useless microfiber comes down to denier count and weave density. Lower denier means thinner fibers, which means more surface area and better particle capture. Count the fibers per square inch if the seller lists it, aim for 300 GSM or higher. Real microfiber cloths cost eight to fifteen dollars. Anything cheaper usually means the fibers have been damaged or the blend is off, making it closer to regular cloth than actual microfiber. Store yours flat or folded loosely, never crumpled, because compression breaks down the split structure permanently.
Lens Brushes And Air Blowers
The physics of particle removal uses the principle of displacement. Before you use cloth or liquid, you remove what doesn’t need solvent. A lens brush with soft bristles moves dust off the glass without dragging it across the surface, which would scratch. Air blowers work by force, not contact, so they never touch the lens at all. The cheap squeeze bottles with rigid tubes will damage your lens if you’re not surgical about angle and distance. Rocket blowers with ball bearings let you control pressure and consistency. Use the blower first, always, then the brush if particles remain, then cloth as your final step.
The order matters because each tool does one job. Air removes loose particles. Brushes dislodge stubborn dust. Cloth cleans what remains. Reverse this order and you’re grinding dust into glass with your microfiber. Buy a proper rocket blower with a replaceable filter so you’re not blowing old dust back onto the lens. Get a brush with natural or synthetic soft bristles, not wire. Use both before any liquid touches your camera, and you’ll eliminate ninety percent of the damage risk that comes from aggressive cleaning.
The Decontaminant Directive: Choosing The Right Cleaning Agents For Your Phone Camera Lens
Isopropyl Alcohol: Concentration Matters For Streak Free Results
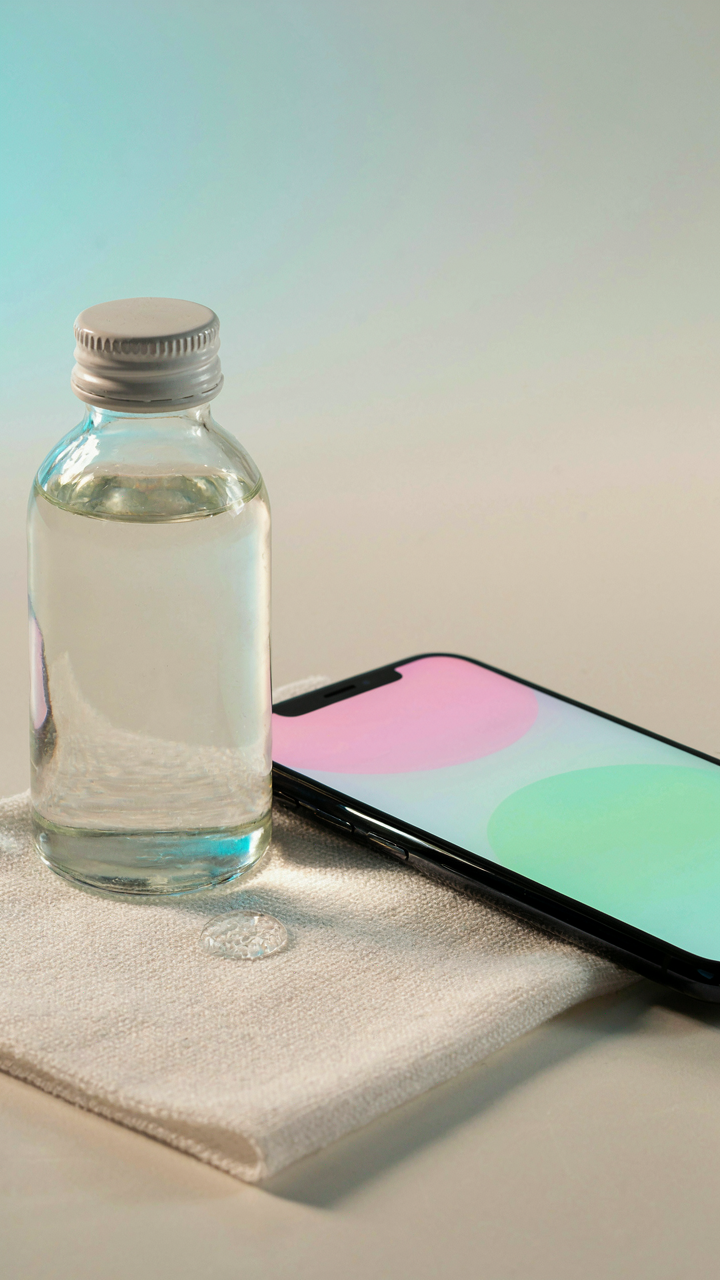
You want results that look professional without spending money on specialized kits. The mechanism is simple: isopropyl alcohol evaporates fast and leaves no residue when the concentration is right. Use 70% isopropyl alcohol, not 90% or higher. The higher concentrations evaporate too quickly, trapping moisture and mineral deposits on the glass. The lower percentages contain water that sits on the lens surface and causes streaking.

Apply alcohol to a microfiber cloth, never directly to the lens. This prevents liquid pooling in the gaps around the lens assembly where it can damage internal components. One light swipe removes oil and fingerprints without leaving marks. The 70% concentration is the sweet spot because the water content slows evaporation just enough for the alcohol to dissolve contaminants while still drying clean within seconds.
Avoiding Household Cleaners And Their Corrosive Effects
Most people reach for Windex or similar cleaners because they work on windows. This is wrong. Household cleaners contain surfactants and ammonia that permanently etch optical coatings on camera lenses. Phone camera lenses have anti-reflective coatings applied at the factory. These coatings are thin, measured in nanometers. Ammonia based cleaners chemically attack this coating, creating permanent haze that no amount of cleaning reverses.
Vinegar, alcohol-based window cleaners, and multi-purpose sprays all damage the lens irreversibly. The damage is invisible at first but compounds over time. Water alone is safer than these products but leaves mineral deposits in hard water areas. Stick to 70% isopropyl alcohol on microfiber cloth or lens cleaning wipes designed specifically for optical glass. The specificity matters because the manufacturer formulates these products to dissolve oils without attacking coatings or leaving residue behind.
The Surgical Strike Method: A Step By Step Guide To Clean Your IPhone Camera Lens

Prepare Your Workspace First
You want people to notice your photos are sharp, not blurry—that’s the real driver here. The mechanism is simple: contamination transfers from your environment to the lens the moment you start cleaning. Your workspace determines whether you introduce new dust while removing old dust. Work in a low-traffic area, away from open windows and fans. A bathroom with the door closed works. Avoid kitchens. Dust settles differently depending on air movement, so stillness is your tactical advantage.

Gather your materials before touching the lens. You need a rocket blower (the handheld squeeze kind, not compressed air cans), microfiber cloth, and lens cleaning solution made for optics. Compressed air cans don’t work—they spray liquid propellant that freezes and leaves residue. A rocket blower displaces dust without introducing moisture or chemicals. Lay everything within arm’s reach so you don’t hunt for tools mid-process.
Execution: The Motion Pattern That Works
Think of this in terms of physics: friction and force vectors matter more than rubbing hard. The iPhone camera lens is a stack of glass elements coated with anti-reflective material—aggressive scrubbing damages the coating. You control the outcome through motion, not pressure. Use the rocket blower first. Squeeze it five times pointed at the lens from six inches away. Dust particles become projectiles. Wait ten seconds between squeezes so settled dust doesn’t recirculate back onto the glass.
- Blower pass one: Five controlled squeezes, lens facing downward, let gravity assist dust removal
- Microfiber application: Fold the cloth into a point, never use the same section twice to avoid redepositing particles
- Center outward motion: Start at the lens center, move in slow expanding spirals toward the edges
- Light pressure only: Let the cloth weight do the work, your fingers barely guide it across the surface
- Solution sparingly: One small drop on the cloth, not directly on the lens, to prevent liquid seeping into the camera module
After the initial dry pass, apply one drop of lens solution to your microfiber cloth and repeat the spiral motion from center outward. Never wipe back toward the center—that reintroduces particles you just displaced. Make three complete spirals, then flip to a clean section of cloth and dry the lens with the same pattern. The motion completes when the lens surface shows no streaks under indirect light and feels smooth to your fingertip without any grit.
Beyond The Glass: Cleaning The Surrounding Iphone Camera Housing
Where Dust Actually Lives
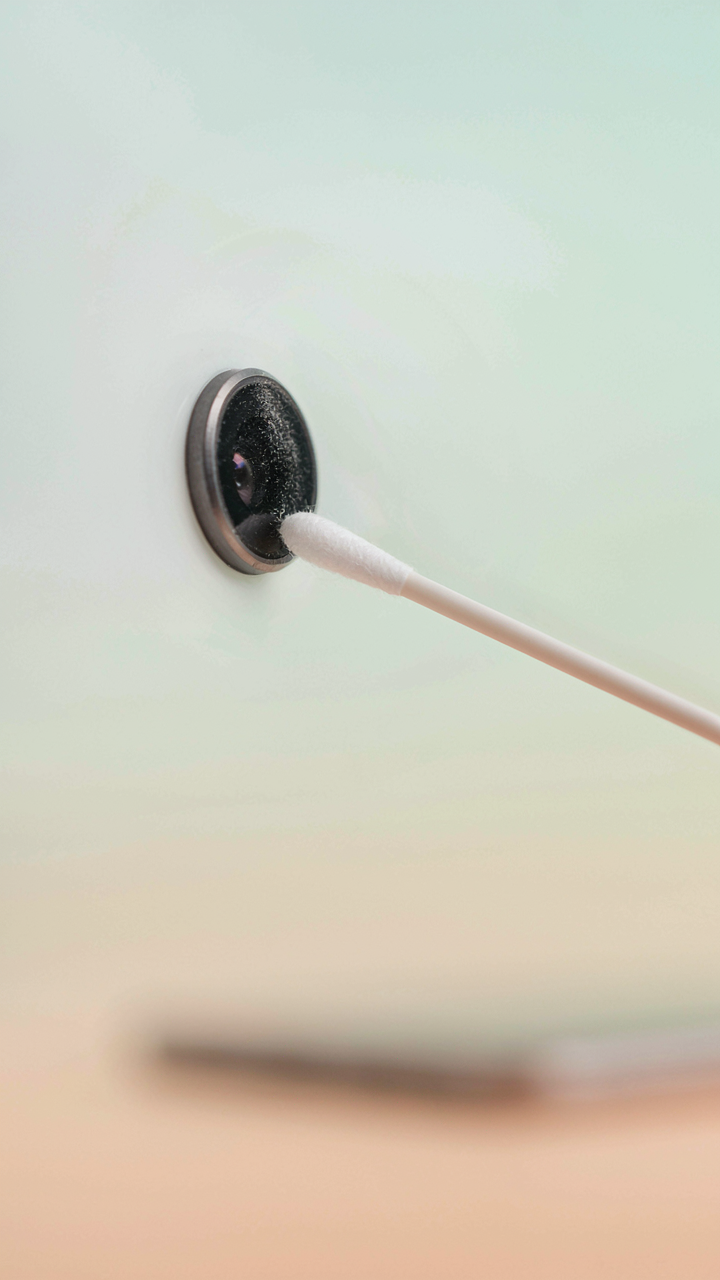
You care about this because a clean lens alone won’t fix blurry photos if the housing traps dust that migrates onto the glass anyway. The mechanism is simple: the camera module sits recessed in the phone body, creating a pocket around its perimeter. Dust accumulates in the gap between the lens barrel and the aluminum ring that surrounds it. This isn’t theory. Particles settle in low spots by gravity. They sit there until vibration or temperature shifts dislodge them onto your lens during the next shot.

Most cleaning guides ignore the housing entirely and only address the glass surface. That’s incomplete. The housing is where particles stage before contaminating the lens again. You need to clear the actual source. Use a dry microfiber cloth to wipe the metal ring and plastic surround. Tilt the phone so you can see into the crevice with a light source. Move deliberately around the entire perimeter, not random swipes.
Precision Tools For Inaccessible Spaces
Dentistry teaches us that tight spaces require instruments scaled to the geometry you’re working in. Borrow that principle: oversized tools leave contamination behind because they can’t reach the actual floor of the crevice. A standard microfiber cloth is too thick to fit between the lens barrel and housing. The gap measures roughly 1 to 2 millimeters. Your tool must match the space or you’re just pushing dust around.
Get a precision cleaning kit with tapered cotton swabs or thin foam applicators. Dampen the swab with distilled water, not tap water. Run it along the crevice slowly so it picks up accumulated debris rather than redistributing it. Work in one direction only. The precision matters because a single careless swipe can push particles directly onto your lens. After the swab pass, dry the same area with a fresh dry applicator. This two-step removes moisture before it settles on glass.
Preventative Measures: Extending The Life Of Your IPhone Camera Lens
Lens Protectors: When They’re A Hindrance, Not A Help
You want the security blanket. You think a protective lens cover will solve the problem and let you stop thinking about it. Here’s the mechanism: most aftermarket lens protectors introduce a second optical surface that degrades image quality more than dust or minor scratches ever would. Light bends differently through cheap glass or plastic. You lose sharpness and introduce unwanted reflections that no cleaning can fix.

The rare exception is a sapphire lens protector from a reputable manufacturer, but even then you’re trading minor optical degradation for protection against extreme impact. For normal use, the math doesn’t work. A protective case that shields the lens bump from direct contact does more work than any glass guard. You’re better off accepting that cleaning the lens itself takes thirty seconds than accepting permanent image loss you can’t undo.
Case Design: The Overlooked Camera Shield
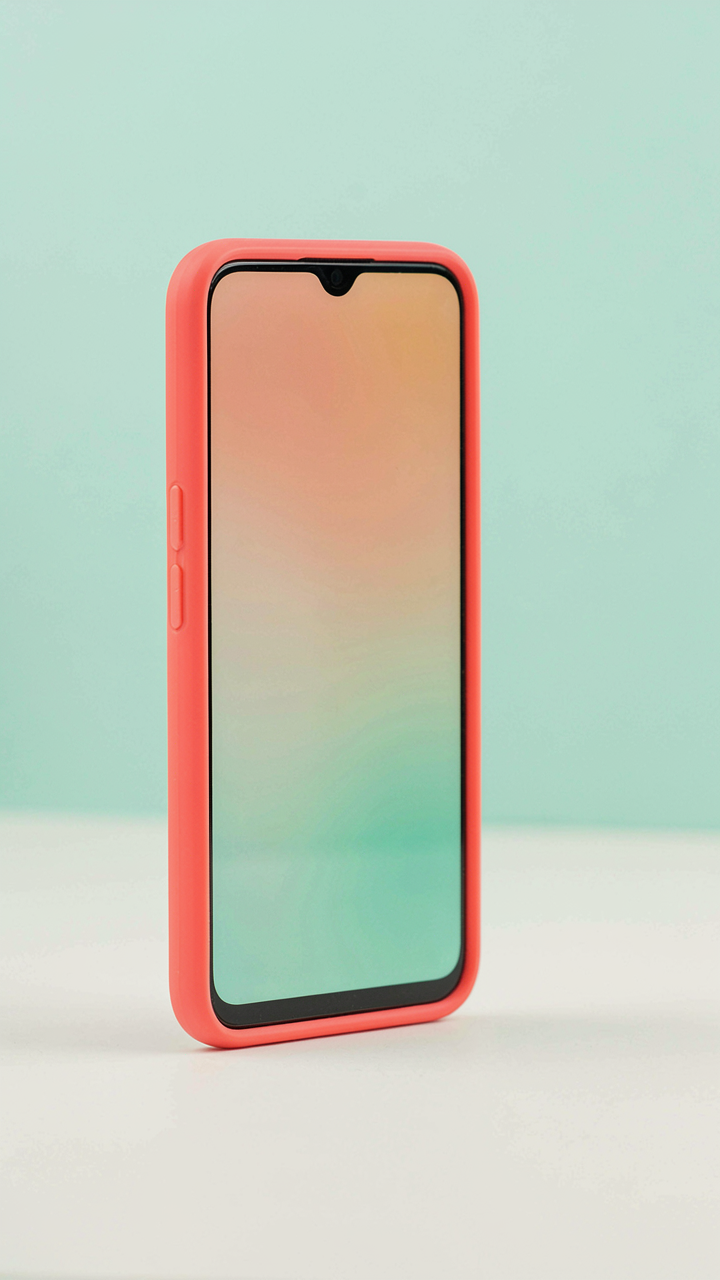
Most people choose cases based on grip and drop protection, ignoring how the case mouth affects lens exposure. Think of the case design as a defensive perimeter in military strategy: a poor perimeter leaves your most valuable asset unprotected. The camera bump is vulnerable when the case lip doesn’t extend beyond it. Dust settles in the gap between case and lens housing. Pockets and bags grind particles directly into the glass.
A case with a raised lip around the camera bump creates a physical buffer zone. The lens sits recessed, not flush with the case edge. This single design choice reduces dust accumulation by forcing particles to settle on the case material instead of the optical surface. When you do clean the lens, you’ll find less buildup. Inspect your current case: if the camera module sits level with or below the case edge, you’re losing this protection. Replace it with one where the camera housing is visibly inset.
Advanced Troubleshooting For Persistent Blurs On Your Phone Camera Lens

When The Lens Stays Blurry After Cleaning
You’re hoping a simple wipe fixes it because admitting hardware damage means money and inconvenience. Here’s what actually happens: dust lives inside the camera module, trapped between the lens barrel and the sensor. External cleaning never reaches it. Think of it like archaeology—you’re cleaning the surface while the real problem sits in layers beneath.

Internal dust enters through manufacturing tolerances, micro-gaps in the lens assembly, or thermal expansion cycles that create temporary openings. Apple’s camera modules aren’t sealed like a submarine. When you power cycle the phone or use it in temperature shifts, metal and glass contract and expand at different rates, pulling dust inward. No surface cleaning solves this because the particles are already past the outer lens element.
Professional Repair Or Replacement Decision
The common advice—buy compressed air and hope—wastes your time. Compressed air pushes particles deeper into the optical path. Once internal dust settles on the sensor or internal lens elements, the phone needs disassembly or replacement. The repair decision hinges on one factor: whether the blur appears in every photo or only at certain focus distances and lighting angles.
- Optical bench test: Take photos of a flat, high-contrast surface at multiple distances. If blur moves with focus distance, it’s likely internal dust on a lens element. If blur stays constant, suspect sensor damage or misalignment.
- Authorized service center quote: Get pricing before deciding. Lens module replacement costs 150 to 300 dollars depending on iPhone model. Out-of-warranty rates are higher than repair for minor external debris.
- Third-party repair shops: Verify they use genuine or OEM-equivalent lens modules. Aftermarket lenses degrade image quality noticeably and void remaining warranty coverage.
- Replacement vs repair threshold: If your phone is over three years old, compare repair cost to a used replacement device of the same model. Repair often isn’t worth it at that age.
- DIY disassembly risk: Attempting to open the phone yourself voids all warranty and introduces risk of water damage, flex cable breaks, and dust contamination during reassembly.
If blur persists after external cleaning and you’ve confirmed it’s internal, schedule a service appointment. The technician will open the module in a controlled environment, assess whether cleaning alone works or replacement is required, and seal it properly. Don’t let this drag on—internal dust scratches lens coatings over time, making damage permanent.
The Hidden Cost Of Neglect: Why A Clean Iphone Camera Lens Matters
Blurred Shots And The Moments You Won’t Get Back
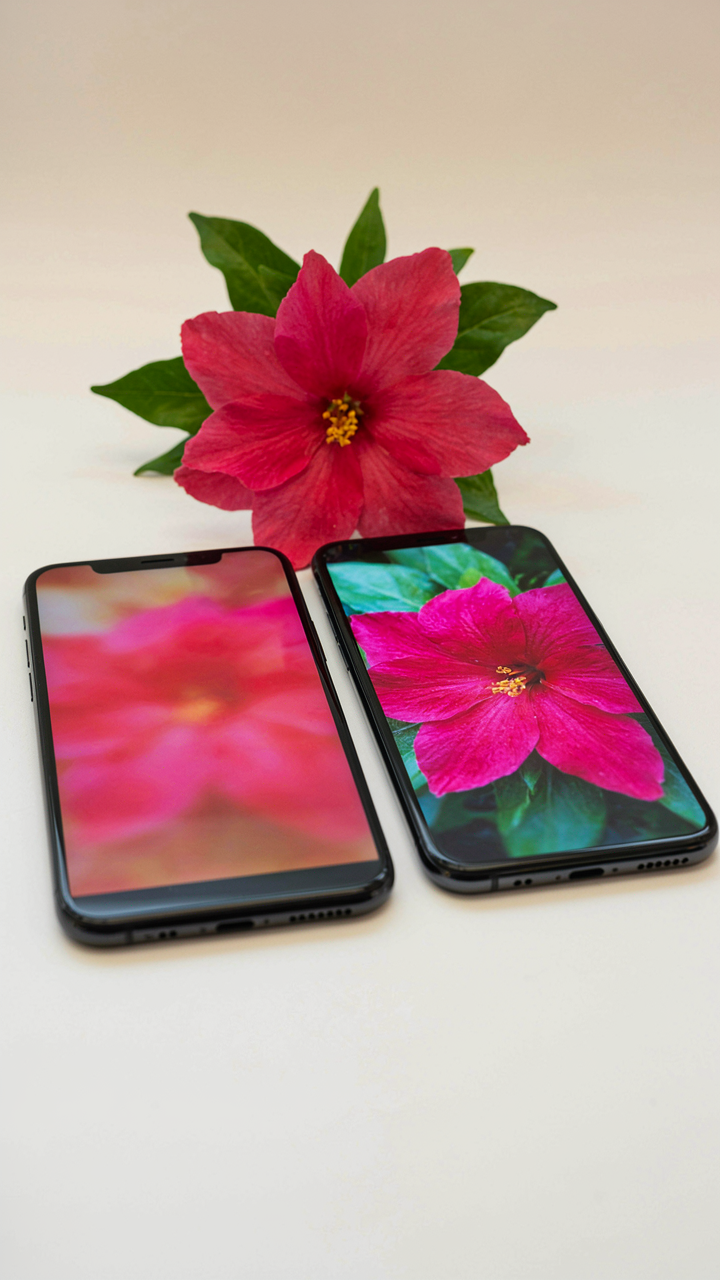
You’re afraid you’re already missing shots without knowing it. Here’s the mechanism: a dirty lens doesn’t blur uniformly. Dust and oils scatter light across your sensor in patterns that software can’t correct. Your phone’s computational photography tries to compensate, but it’s fighting physics. The moment is gone before you take the picture.

A contaminated lens degrades detail in the midtones first, where most of a photo’s information lives. You’ll notice it most in low light, where your phone cranks ISO and exposes every flaw. By then, you’ve already missed the shot. The only recovery option is a retake, which rarely works with fleeting moments. Clean your lens before the event, not after.
What Your Used Phone Is Actually Worth
Resale value tracks camera quality in the smartphone market. A buyer’s first test is always the camera. They shoot a test photo and zoom in. A scratched or hazed lens signals neglect across the whole device, even if the internals are clean. This perception kills resale price faster than any other single factor.
The iPhone’s optical glass is coated with oleophobic material that wears with friction and time. Constant cleaning with subpar materials accelerates this wear. This means your cleaning routine today directly determines your trade-in value in two years. Wipe the lens with a proper microfiber cloth weekly, not with your shirt or a paper towel. The difference compounds.
The Real Obstacle Isn’t The Smudge; It’s Your Resistance To Precise, Almost Surgical, Maintenance

Most people don’t have blurry photos because their lens is dirty. They have blurry photos because they’ve accepted mediocrity as normal. You treat your camera lens like an afterthought when it deserves the opposite. Clean your lens today. Not tomorrow. Use a microfiber cloth and lens cleaner. Do it right now before you forget. The difference between a clear shot and a wasted moment lives in the thirty seconds you’re unwilling to give.




