
The Unseen Hierarchy: How To Stand Out In Group Pictures

Body Language Signals That Dominate Frame
You want to look like you matter in the photo. That’s the real reason you’re reading this. The mechanism is borrowed from ethology, the study of animal behavior: dominance displays. In group photos, the camera captures spatial positioning and postural openness the same way a primate group signals rank. Your body angle, shoulder set, and chin tilt telegraph whether you’re a background figure or a focal point.
Stand at a slight angle to the camera rather than square-on. Rotate your shoulders toward the lens while keeping your hips back. This creates depth and makes you occupy more visual space without looking stiff. Angle matters more than smile. The person who commands the frame isn’t always the happiest one, they’re the one taking up calculated space.
Micro Expressions Lock In Presence
Everyone says “just smile naturally.” That’s incomplete advice that produces forgettable photos. Micro-expressions last less than a second and telegraph actual confidence or strain. Your job is to project the former. The difference between looking present and looking posed lives in the 200-millisecond window before the shutter fires.
Don’t smile and hold it. Instead, relax your face completely, then raise your cheeks slightly without forcing your mouth into a grin. Let your eyes engage the camera with a soft focus, not a stare. Take the shot while your expression is landing, not after you’ve held it for three seconds. This registers as natural engagement rather than performance. The camera catches the frame where confidence looks effortless because it is.
The Primacy Effect: Controlling First Impressions

Where You Stand Matters More Than You Think
You want people to remember you favorably in group photos. That’s the real reason you’re reading this. The mechanism is borrowed from psychology: the primacy effect, which states that first information dominates overall judgment. In group photos, this translates to positioning. The person positioned center-left or slightly forward registers first and anchors how viewers process everyone else in the frame.

Position yourself where the eye naturally lands first. On iPhone, that’s roughly one-third from the left edge when holding the phone horizontally, and slightly elevated from true center. This isn’t arbitrary. The camera’s default composition guides viewers’ attention there before they scan the rest of the group. You don’t need to be dead center. You need to be positioned where the frame’s geometry makes your face the entry point for visual processing.
Controlling Light Direction For Dominance
The lighting advice you’ve heard is incomplete. Most people say “get good light,” which tells you nothing. Better framing: treat light like a spotlight in theater. The actor facing the key light reads as primary because contrast and visibility establish hierarchy. In group photos, position yourself so direct light hits your face while others fall into slight shadow or diffused light. This creates visual priority without looking staged.
On iPhone, this means repositioning the entire group relative to your light source, not just rotating people. If shooting outdoors with sunlight, stand so the sun strikes your face while positioning others at slight angles away from it. Indoors, position yourself closer to windows or lamps. The person who receives direct light appears more present, more important, more defined. Make one adjustment to group positioning before shooting: ensure your face catches the strongest, cleanest light available.
The Cognitive Bias Protocol: Directing Attention
Contrast Creates Hierarchy Without Saying A Word
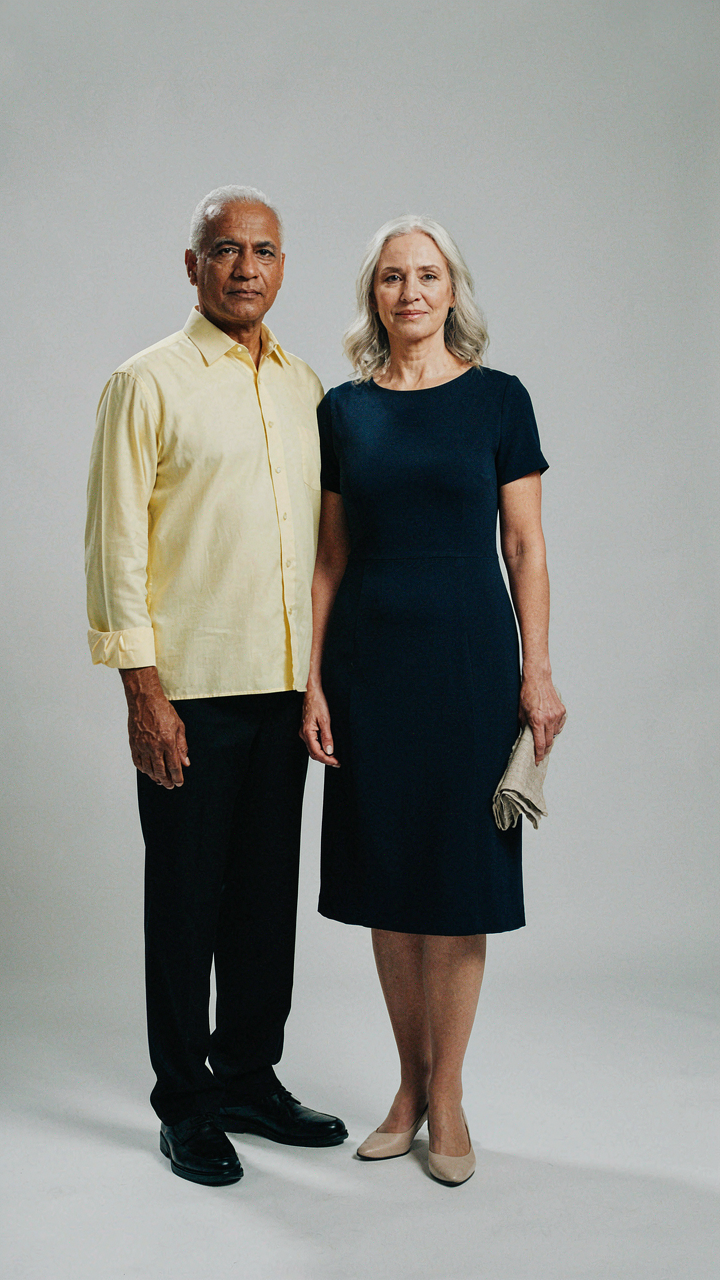
You want people to look at your face, not wonder why you’re standing next to someone taller. That’s the real problem here. Contrast is borrowed directly from visual design and graphic hierarchy. In group photos, contrast means the human eye moves toward difference—not sameness. Brightness, color, position, and size all create contrast. The iPhone’s camera doesn’t care about fairness. It renders what’s in front of it. Your job is to weaponize that fact.

Position people with different skin tones next to each other, not clustered by similarity. Dark clothing against light backgrounds makes faces pop. Light clothing against dark backgrounds does the same. Place your subject slightly forward or to the side, not dead center with five people in a line. The visual weight shifts to whoever breaks the pattern. This isn’t subtle psychology. It’s basic optics. The eye follows contrast before it processes anything else.
Simplify The Background Until It Disappears
Most group photo advice says “find good lighting” and stops there. That’s incomplete. The real killer is visual noise competing for attention with faces. Your iPhone’s computational photography defaults to processing the entire frame equally. Busy backgrounds don’t just distract. They force the phone’s processor to spend resources on irrelevant detail instead of sharpening faces. A clean background forces the camera to prioritize what matters.
Blank walls, open sky, and single-color surfaces aren’t boring. They’re efficient. Position the group in front of a plain surface, even if that surface is mundane. Move away from trees with branches that fragment the frame, signs with text, or multiple doorways. One uniform color behind heads and shoulders means the iPhone’s autofocus and metering systems lock onto faces faster and hold the exposure tighter. Reduce background elements to one, maybe two. The camera wins. Your subjects win.
Group Photo Camera Settings: Beyond Auto Mode Blunders
Stop Letting The Phone Choose Your Exposure
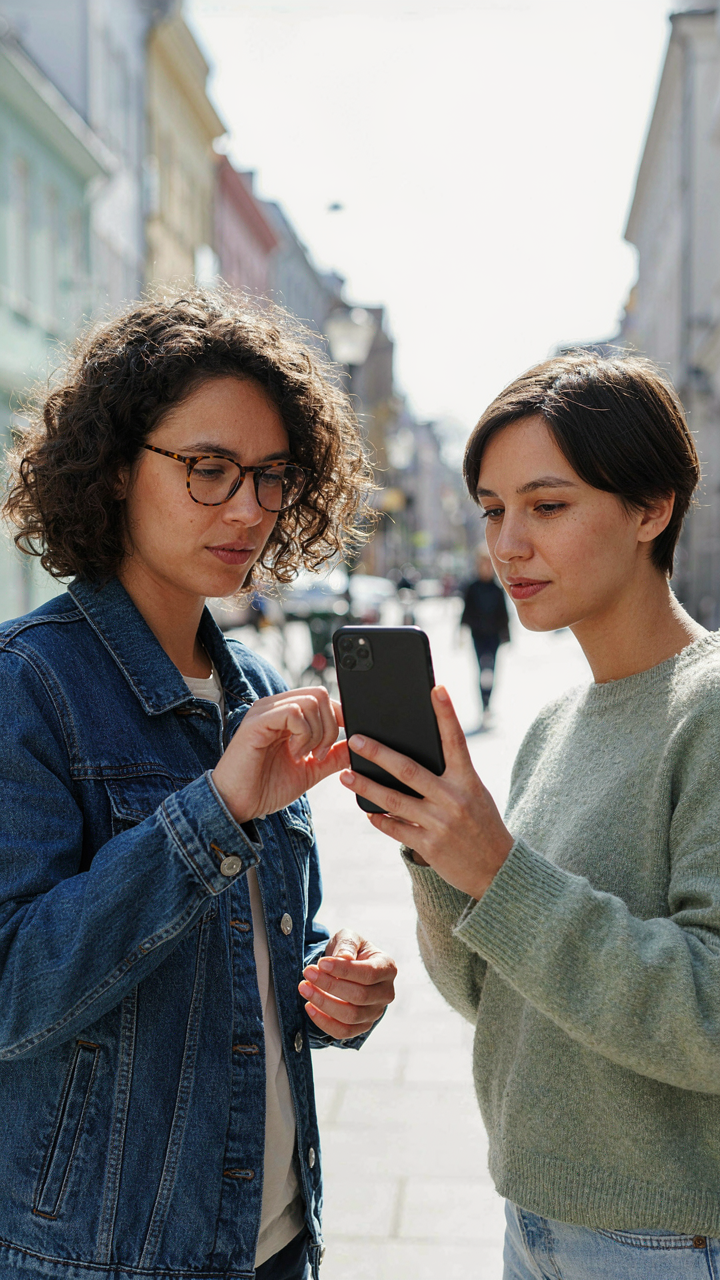
You care about this because underexposed faces make you look tired, older, and less trustworthy in the photo everyone will see. Here’s the mechanism: your iPhone’s meter reads the entire frame and averages it. In group photos with bright backgrounds, faces go dark. Exposure compensation is borrowed from studio lighting—you’re manually shifting the sensor’s reading up or down, same principle as a light meter in a photographer’s hand. Tap the screen on a face, then slide up to brighten that face specifically before you shoot.

The mistake most people make is shooting once and hoping. That’s passive. Instead, take three frames: one at zero compensation, one at plus one, one at plus two. The phone’s processing will preserve detail in skin tones better when you give it that headroom. Your group photo won’t have anyone squinting into shadow while someone else gets blown out. Check the histogram if your iPhone model shows it in Pro Raw mode, but the visual test works fine: if faces look like they belong in the photo, you’ve nailed it.
Lock Your Focus Before The Chaos Starts
Focus lock solves the real problem nobody admits: after you frame a group shot, people shift, someone blinks, the phone refocuses on the wrong person, and you’ve wasted the moment. Tap and hold on the face closest to the camera for two seconds until you see “AE/AF Lock” appear at the top. Now the phone locks both exposure and focus to that point. You can reframe slightly, and the exposure and sharpness stay locked where you set them.
This is tactical discipline. Before you shoot, do the lock. Don’t tap once and expect it to stick. Hold for the full two seconds to confirm the lock is active. Take your shots. If the group shifts significantly, unlock and relock on a new face. The person closest to the camera should be your lock point because they set the depth-of-field baseline for the whole group. After you’ve locked focus, tap the shutter button. Everyone in that shot will be sharp at the focal plane you selected.
The Social Proof Fallacy: Group Cohesion, Not Conformity

Where Eyes Actually Point
You want everyone looking at the camera because you think that proves the group is tight. It proves the opposite. Real cohesion shows up in where people naturally direct their attention, and the camera isn’t always it. Borrowed from theater blocking, the principle of sightline control states that where an actor’s gaze lands tells the audience what matters. In group photos, rigid eye contact to the lens reads as forced compliance, not connection.

Break the uniformity by having some people look at the camera while others glance toward another group member, the scene, or slightly off-frame. This creates visual rhythm and signals actual interaction. The iPhone’s ultra-wide lens makes this easier because it captures more peripheral space, so these gesture variations register clearly without people feeling isolated. A single person looking elsewhere anchors authenticity into the frame.
Asymmetry Beats The Line
Photographers default to lining people up shoulder to shoulder because it simplifies composition. It also flattens energy and makes groups look like they’re waiting for a dental appointment. Abandon the row. Stagger people by depth, height, and angle so some sit while others stand, some lean in while others hold back slightly.
The iPhone’s portrait mode struggles with multiple subjects at uneven distances, so use standard photo mode instead and let depth happen naturally through positioning. Place taller people toward frame edges or back, shorter people forward or center. Have one person turn their body 45 degrees toward another instead of facing the camera square-on. This breaks the visual monotony and signals organic gathering rather than staged assembly. The camera captures actual group texture instead of flattened lineup.
How To Take Group Photos With Friends: Orchestrating Authenticity

Stop Staging, Start Environment Design
You want people to look relaxed because you’re afraid a stiff photo makes you look bad by association. The mechanism is simple: people don’t relax when told to relax. They relax when their environment removes the friction of self-consciousness. This means controlling the physical space before you raise the camera. Pick a location where people naturally cluster without looking forced. A kitchen counter beats an empty wall. A bench with a view beats standing in a parking lot. The venue does the work your directions never will.

Real authenticity isn’t about removing the camera from the equation. It’s about removing the artifice from the moment. When you choose a space where people already want to be, they forget you’re documenting them. They talk to each other instead of performing at the lens. This is why candid moments at a dinner table outperform posed shots at the same event. The environment signals permission to act normal. Position yourself to capture that normalcy before people remember they’re being photographed.
The Decisive Moment Isn’t About Timing
The common advice says “shoot lots of photos and pick the best.” That’s incomplete. You’re not fishing. You’re setting up a situation where the best moment becomes inevitable. In documentary photography, the decisive moment is when preparation meets spontaneity. With group photos, your preparation is the environment. Your spontaneity is recognizing when genuine interaction peaks. The peak happens when people forget the camera exists, usually 30 to 45 seconds into a natural conversation or activity.
Stop clicking frantically from the start. Let the group settle. Watch for the moment when someone laughs at something real, when attention naturally converges, when the energy shifts from “we’re taking a photo” to “we’re just here.” That’s when you shoot. Three to five frames at that moment will give you options. This isn’t about quantity. It’s about recognizing the one window when authenticity shows on every face.
The Evolutionary Psychology Of Gaze: Directing Focus

How Eyes Move Through Frame
You want people to look at the photo and feel like everyone matters equally, but that’s not how human vision works, so stop pretending it does. Gestalt psychology mapped how the eye organizes visual information into patterns rather than processing individual elements. In group photos, this means the eye naturally follows paths of contrast, proximity, and continuity. You control those paths by positioning bodies, spacing, and focal depth.

The iPhone’s depth-of-field simulation lets you blur backgrounds, but most people use it wrong. They blur everything equally, which removes the visual hierarchy entirely. Instead, keep your foreground sharp and let the background fall away. This creates a cone of attention that naturally funnels the viewer’s gaze to specific faces or clusters. Position your strongest focal points along the imaginary lines where the eye naturally travels: horizontal thirds, vertical balance points, and diagonal diagonals that connect corner to corner.
Anchors And Leading Lines In Composition
Forget compositional rules that treat all subjects the same, they prevent you from managing attention strategically. Leading lines aren’t just landscape photography tools, they’re attention mechanisms that direct where someone’s gaze lands first and second and third. On an iPhone, leading lines come from body angles, arm placement, and the natural sight lines people create when they stand together.
Position the tallest or most visually prominent person so their body or gaze points toward other faces you want emphasized. A person looking directly at the camera acts as a focal anchor, while someone looking sideways creates a line that pulls attention in that direction. Use phone positioning deliberately too, phones held up create vertical lines that segment the frame. Arrange so no one’s body language points viewers away from other critical faces. The viewer’s eye follows intention, not randomness.
Aperture For Group Photos: The Depth Deception

Keep Everyone Sharp Without Sacrificing Light
You want the shot where everyone’s face is actually visible, not just the front row. Here’s what people won’t admit: they obsess over shallow depth of field because it looks professional on Instagram, but a group photo with half the people out of focus is a failed group photo. The mechanism is simple physics borrowed from optics. Aperture controls the zone of focus, and on iPhone, you don’t have aperture control at all. Your phone uses computational focus instead, which means the real variable isn’t the lens opening but the focal length and distance from subject to background.

iPhone’s standard camera shoots at a fixed aperture around f/1.6 to f/2.4 depending on the model. This creates a naturally shallow depth of field at close range. The problem: when subjects stand at different distances from the camera, physics ensures some will blur while others stay sharp. The workaround isn’t fighting this. It’s using the wide-angle lens instead of the telephoto, positioning everyone roughly equidistant from the camera, and letting the depth of field fall naturally where it needs to. Move back, include more background context, and everyone reads as intentional rather than accidentally out of focus.
The Real Limit Nobody Mentions
iPhone depth of field isn’t actually limited by hardware capability. It’s limited by the computational process that creates the depth map. Most group photos fail because people shoot too close with the wrong lens selection, then blame the phone. The algorithm that estimates depth from a single image gets confused when faces overlap, when lighting is uneven, or when the background is too similar to skin tones. Your phone isn’t refusing to keep everyone sharp. It’s failing to correctly identify where “everyone” actually is in three-dimensional space.
Here’s what actually works: shoot with the 1x wide-angle lens at arm’s length minimum, never the telephoto. Let natural light create edge separation instead of relying on blur. Check the depth map in edit mode after shooting to see what the phone actually detected. If it marked someone’s shoulder as background, you already know why they look disconnected in the final image. The single highest-leverage move is recognizing that computational focus works best when the scene has clear spatial separation, which means: background far enough away, subjects not layered directly in front of each other, and sufficient distance between camera and group so focal length works in your favor, not against it.
The Cognitive Load Advantage: Simplifying The Visual Field

Remove Distractions Behind People
You want others to perceive your group as put-together because chaos in the background reads as chaos in the group itself. Cognitive load is a psychology term describing how much mental effort your brain uses to process information at once. In group photos, the background competes directly with faces for viewer attention, splitting the brain’s processing power and weakening the impact of the actual subjects.
- Trees and foliage: Position subjects in front of a single-tone section of landscape, not branches splitting faces or limbs appearing to sprout from heads.
- Interior clutter: Scan behind each person before shooting. Move visible trash, stacked items, or bright objects that pull eye direction away from faces.
- Busy patterns: Stripes, tiles, or repeating textures create visual noise that competes with human features for attention on a small screen.
- Multiple light sources: Windows, lamps, or reflective surfaces in the frame create visual anchors that distract from group composition and face positioning.
- Color contrast: Bright neon signs, vivid clothing, or saturated objects in the background steal focus faster than skin tones do on an iPhone screen.

The practical move is simple: before you frame the shot, step back and identify the single most distracting element behind your group. Move the group or reposition yourself so that element is either out of frame or directly behind one person’s shoulder where it becomes invisible. Most people never do this step, which is why most group photos feel messy on first glance.
Negative Space Works Better Than Symmetry
The consensus advice says to arrange people symmetrically. That’s lazy compositional thinking that dates back to formal portraiture rules that don’t apply to mobile screens. Negative space on a phone screen actually reduces cognitive load by giving the eye a clear path to faces without competing geometry to decode.
Symmetry forces viewers to process balance and arrangement as separate tasks from recognizing the people in the frame. Negative space does the opposite, it removes the secondary task entirely. Leave one side of the frame intentionally open. Position your group off-center, letting empty space occupy the frame’s perimeter. The iPhone’s screen naturally guides eyes toward clustered subjects when negative space surrounds them, eliminating the visual work your brain would do comparing left-side people to right-side people. This single compositional choice increases the perceived quality of the photo without changing lighting, angles, or poses. Frame the group in the left third of the shot with clean sky or a muted wall on the right, then take the photo.
The Unspoken Rules Of Group Photography Settings

Frame The Scene, Not Just The Faces
You want proof everyone showed up and had fun together—that’s the real reason this matters. Here’s what most people miss: framing for environmental context means the iPhone lens choice and camera position determine whether the background becomes part of the story or disappears into blur. Use the wider default lens (around 26mm equivalent) instead of zooming in. Step back. Let the location anchor the moment.
The background shouldn’t be an afterthought or a distraction. It should confirm where you are and why you’re together. A group photo at a restaurant loses its proof of life if you crop to just faces. Position people so the entrance, signage, or distinctive feature sits behind them in sharp focus. This requires slightly more distance and awareness of depth, but the iPhone handles this naturally when you don’t zoom.
Shoot Multiple Passes, Edit Once
Batch editing kills the inconsistency that destroys group photos. Most people snap one shot, tweak it, then move on. That’s how you end up with one frame at normal exposure, another blown out, a third too dark. Instead, take 8 to 12 shots of the same setup with no pause between frames. The iPhone’s burst mode does this automatically if you hold the shutter button. Only edit after you’ve selected the best frame.
Open that single chosen image in the iPhone’s editing tools and apply exposure, warmth, and saturation adjustments. These settings apply uniformly across the shot, so all faces receive the same color temperature. Avoid editing each person individually—this creates a Frankenstein effect where one person’s skin looks magenta and another looks pallid. One pass through Exposure and Warmth sliders gives you consistency that reads as intentional, not accidental.
The Real Obstacle Isn’t The IPhone; It’s Your Failure To Understand How Status Signals Work
People judge group photos in milliseconds. They scan for hierarchy, belonging, confidence. Your iPhone captures all of it. Master positioning, lighting, and angles not because the tech demands it, but because you’re curating how others perceive your social standing. The camera is just the delivery mechanism. Stop obsessing over settings and start obsessing over what the photo says about you. Control the frame, control the narrative.



