The White Balance Deception: Why Auto Fails You

Auto White Balance Lies To You Every Time
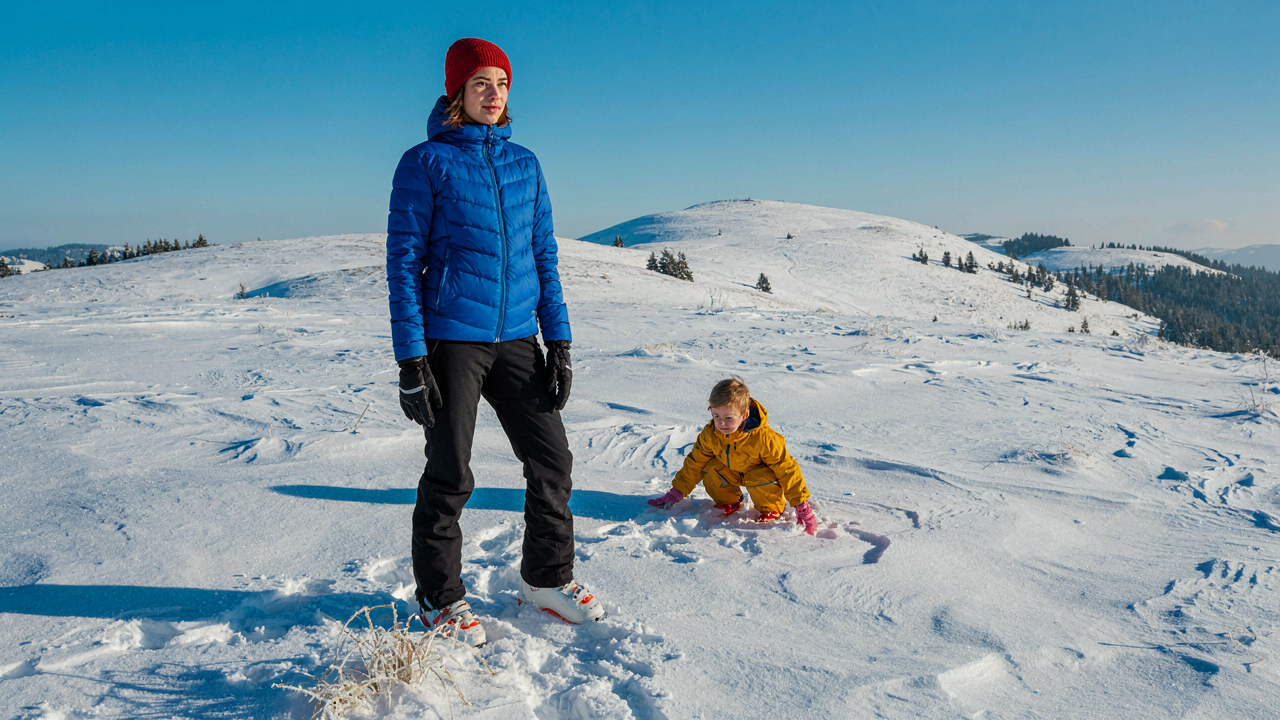
You want your snow photos to look “professional” without thinking about the technical layer underneath. Here’s the mechanism: your iPhone’s auto white balance reads the dominant color in the frame and corrects toward neutral gray. Snow is bright and reflective, so the camera interprets it as overexposed and shifts the entire image toward blue or cool tones to compensate. The snow doesn’t look white. It looks lifeless.
This isn’t a bug in the algorithm. It’s the algorithm working exactly as designed for normal scenes. Snow breaks the assumption because it’s legitimately bright, not blown out. Your phone can’t distinguish between “this is snow” and “this is overexposure,” so it defaults to cooling everything down. The result: muddy, blue-cast images that make you look like you don’t know what you’re doing.
Take Control Before The Frame Gets Locked
Manual white balance in iPhone photography works like aperture priority in traditional film exposure. You set the color temperature, and the camera holds it constant regardless of what fills the frame. This is where you regain control. Open the native Camera app, tap and hold on the snow itself, then swipe up or down on the exposure slider that appears. The white balance slider sits just to the right of it. Drag it toward the warm side, past neutral, into the amber range.
The number you want is counterintuitive: somewhere between 3500K and 4500K for midday snow. Most people think snow demands cool tones. It doesn’t. Your eye expects warmth in the shadows and true white in the highlights. Manual mode lets you lock that in before you shoot. Once you’ve set it, every frame holds that temperature until you change it again.
Exposure Compensation: The Art Of Under Exposing Snow
Why Your Bright Whites Turn Into Gray Soup
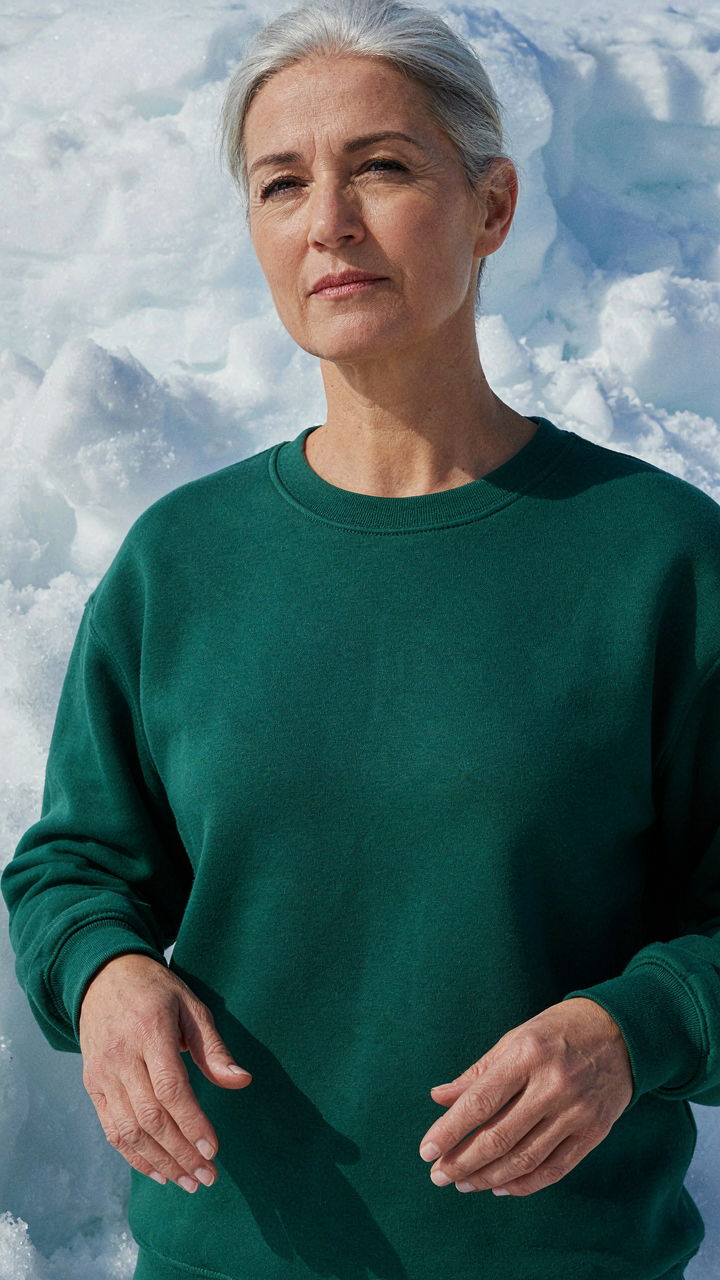
You want the photo to look clean and sharp because you’re worried people will think you don’t know what you’re doing. Here’s the mechanism: your iPhone’s meter sees snow and reads it as peak brightness. It then pulls exposure down to compensate, crushing all the subtle texture in the white areas into uniform gray. This happens because the camera treats snow like a blown-out sky, when it’s actually a subject demanding the opposite strategy.

Snow reflects light aggressively. The iPhone’s built-in meter averages the entire frame and assumes it needs to darken to avoid clipping highlights. But clipping isn’t your real problem. Loss of dimension is. When exposure crushes the midtones inside white surfaces, you lose the micro-variations that make snow look three-dimensional and cold instead of flat and dead.
The Deliberate Underexposure Protocol
Underexposure in snow photography works like audio compression in music production: you sacrifice raw signal strength to preserve dynamic range. Dial down exposure by minus 0.5 to 1.0 on your iPhone before taking the shot. This keeps the camera from automatically crushing texture. The whites stay bright enough to register as snow, but the detail inside them survives.
Open the Camera app. Tap to focus on the snow. Hold your finger on the frame to lock exposure, then swipe down slightly to reduce it. This single move separates amateur snow shots from images that hold texture and depth. The cold, crystalline quality people associate with good snow photography lives in those preserved midtones. Stop overexposing and expecting the edit to fix it.
The Contrast Conundrum: Making Whites Pop
Shadows Define The White, Not The Light
You want your snow to look crisp and expensive on your feed because blur snow reads as amateur. The real mechanism here is borrowed from photography lighting: the Zone System maps exposure onto a scale, and in snow, your whites only register as white because of what surrounds them. Bright pixels mean nothing without dark pixels to anchor them. Most phone users expose for the snow and lose all definition because they’re chasing brightness instead of shadow depth.

The iPhone’s meter reads the scene and pulls exposure down when it sees bright snow. Counterintuitive move: underexpose the snow deliberately by tapping shadow areas instead. This crushes the midtones and locks contrast into the frame before you edit. Your whites stay clean because they sit on top of actual blacks and grays instead of floating in a flat, blown-out field. The phone’s sensor captures the tonal information you need, but only if you refuse to let the meter control the outcome.
Contrast Edits For Dramatic Effect
Editing contrast after capture is where most people fail because they crank it uniformly instead of targeting the specific zones. The common advice to “increase contrast and vibrance” misses the mechanism: iPhone editing tools don’t work linearly across tones.
- Highlights slider: Pull it down first. This darkens bright areas without crushing blacks, preserving white texture and keeping snow from looking washed out or blown.
- Shadows slider: Push it up slightly. This lifts muddy shadow detail and adds depth, making snow look dimensional instead of flat and one-dimensional.
- Blacks slider: Increase it to anchor the frame. Deep blacks make whites read as whiter through contrast alone, no brightness increase needed.
- Curves tool: If using a third-party app, use curves to create an S-curve. Darken shadow quarter tones and brighten upper midtones for punchy separation.
- Vibrance over saturation: Bump vibrance by 10-15 points. This preserves white purity while lifting color in non-white areas, avoiding the blown-out look that kills credibility.
The edit order matters. Start with highlights and blacks to establish the tonal ceiling and floor, then adjust shadows for depth. This sequence prevents the common trap of over-contrast that flatters once on screen but looks harsh and processed everywhere else. Your whites stay clean because you’re managing the relationship between tones, not just turning a single dial to maximum.
The Golden Hour Illusion: Snow’s Best Light

Blue Hour Myths Aren’t Serving You
You want the shot that looks magazine-ready without effort, which is why you’ve heard blue hour produces clean snow tones. It doesn’t. Blue hour light turns snow muddy and purple because your iPhone’s sensor struggles with low color temperature and low brightness simultaneously. The camera compensates by pushing blue channels and crushing shadow detail. You lose the clean white you came for.

The real mechanism here is exposure latitude, borrowed from film photography. Your iPhone has narrow latitude in low light—it must choose between blown highlights or crushed shadows, rarely both. Snow at blue hour sits in that trap. Midday or early morning avoids this entirely because higher ambient light gives your sensor actual information to work with. Shoot when the sun angle is high enough to illuminate snow uniformly, not when it creates contrast drama you can’t recover from.
Midday Sun Rewrites The Rules
Most photographers avoid midday because they learned harsh light creates unflattering shadows. That rule breaks completely with snow. Midday sun on snow creates even, diffused illumination because the white surface acts as a natural reflector bouncing light into every corner. Your iPhone’s exposure meter stops fighting you. The sensor captures detail in both highlights and midtones without the frame-ruining blowouts that happen in golden hour backlit scenarios.
The technical advantage is direct overhead light minimizes specular reflection—that mirror-like glare that makes snow look blown out and flat. With the sun high and in front of your subject, you get direct diffuse light bouncing off the snow surface itself. Your iPhone processes this as a well-lit scene with normal contrast ratios. Shoot between 10 a.m. and 2 p.m. when the sun angle is above 45 degrees, and expose for the snow itself rather than the sky. This single protocol shift eliminates most failed snow photos.
Creative Winter Photography Tips: Framing The Freeze
Negative Space The Power Of Absence
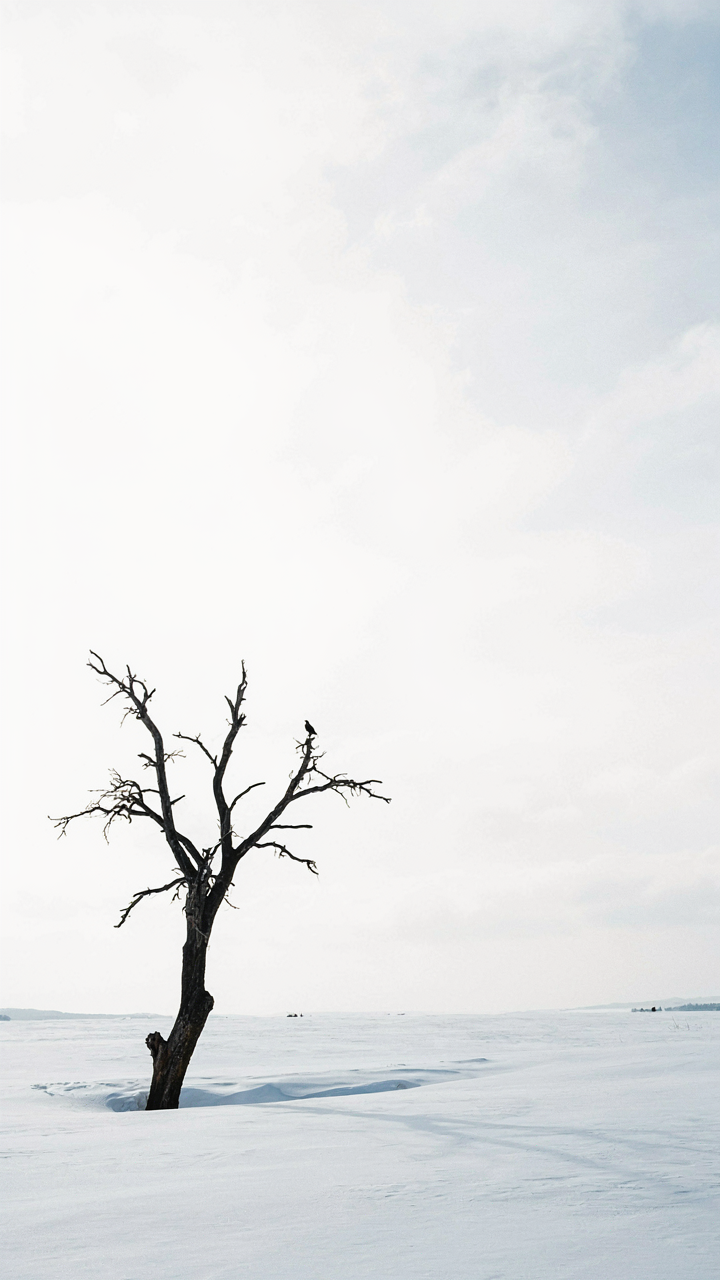
You want your snow shots to look intentional instead of accidental. The real reason: you’re afraid your frame looks empty when it isn’t. Here’s the mechanism from graphic design: negative space doesn’t mean wasted space—it means controlled contrast. Your iPhone’s sensor reads white snow as data, not emptiness. When you deliberately surround your subject with that white expanse, you force the viewer’s eye to the one element that breaks the pattern. The subject gains weight because nothing competes with it.

Most phone photographers fill frames out of anxiety. They cram trees, mountains, and people into every corner, creating visual noise that cancels itself out. Stop that. Isolate one element—a lone figure, a fence post, a tree—against the white field. Let the snow dominate two-thirds of your frame. Your iPhone’s exposure meter won’t blow out the whites if you frame this way because the subject gives the sensor a reference point to lock onto.
Leading Lines In The Snowscape
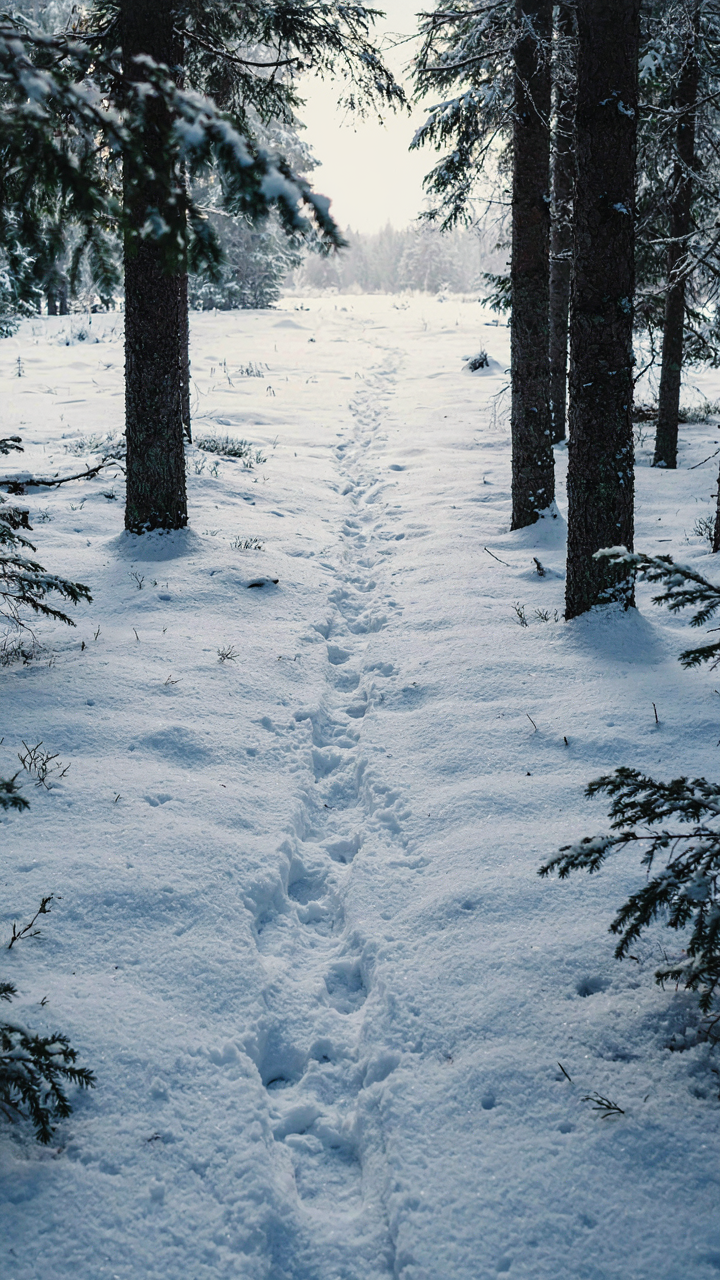
Snowscapes flatten depth. Without texture variation, your iPhone struggles to communicate distance. This is a spatial problem from landscape architecture: you need sightlines. A road, a fence line, or a river carved through snow creates what architects call “visual hierarchy”—a path that pulls the eye from foreground to background, proving depth exists on a flat screen. Snow actually amplifies this effect because the contrast is high enough that your iPhone’s autofocus can track the line without confusion.
The common mistake is assuming leading lines need to be obvious. They don’t. A subtle track through untouched snow works better than a highway because subtlety feels discovered, not forced. Compose so the line enters from the lower edge of your frame and extends toward a focal point—a tree, a building, a person. Your iPhone captures this as depth because the line provides the spatial data your eye needs to triangulate distance.
The Snow Depth Perception Protocol
Foreground Elements Create Visual Anchor Points
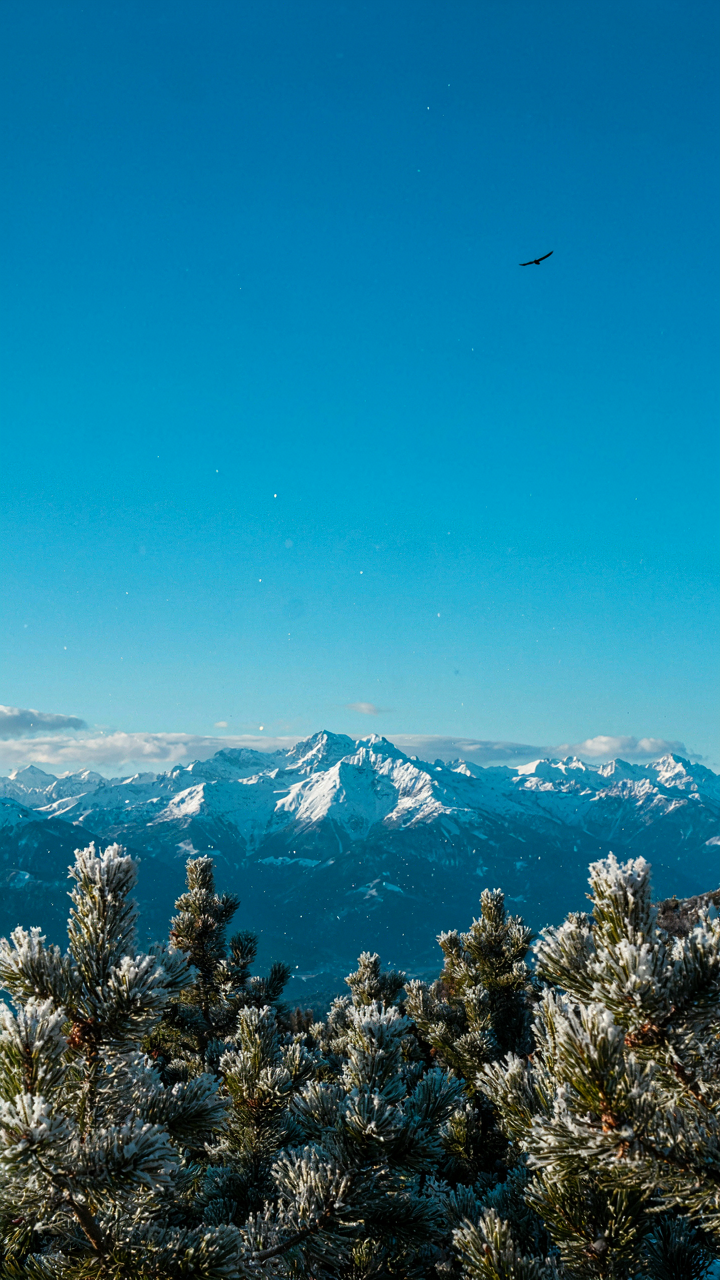
You want the photo to feel dimensional because a flat snow image reads as boring, and you’re afraid your audience won’t understand the scale of what you captured. Here’s what actually matters: foreground anchors give the viewer’s eye a reference point to measure distance backward into the frame. Without them, snow becomes a void.

Place a distinct object close to the camera—a branch, a person’s hand, a rock breaking through white. The iPhone’s wide lens (26mm equivalent on standard models) exaggerates the distance between near and far objects. This compression into the frame makes distant snow feel genuinely far away. The anchor doesn’t need to be large. It needs to be there. Measure your shot’s depth by how clearly the viewer can walk backward from foreground to background in their mind.
Lens Selection Determines Compression Behavior
Focal length in optical physics controls how objects at different distances appear relative to each other—telephoto lenses compress space, wide lenses expand it. On iPhone, the 1x lens (26mm) spreads objects apart and exaggerates foreground. The 2x telephoto (52mm equivalent) pulls distant elements closer together and flattens the scene.
Snow photographs benefit from understanding this tradeoff. Wide shots make snowy landscapes feel vast and isolating because foreground and background separate visually. Telephoto shots compress snow into dense layers that read as deep texture rather than empty space. Neither is better. Use wide when you want the viewer to feel the expanse. Use telephoto when you want texture and intimacy to convey depth instead.
Winter Photography Tips And Tricks: Post Processing For Impact
Dodge And Burn Snow Into Three Dimensions
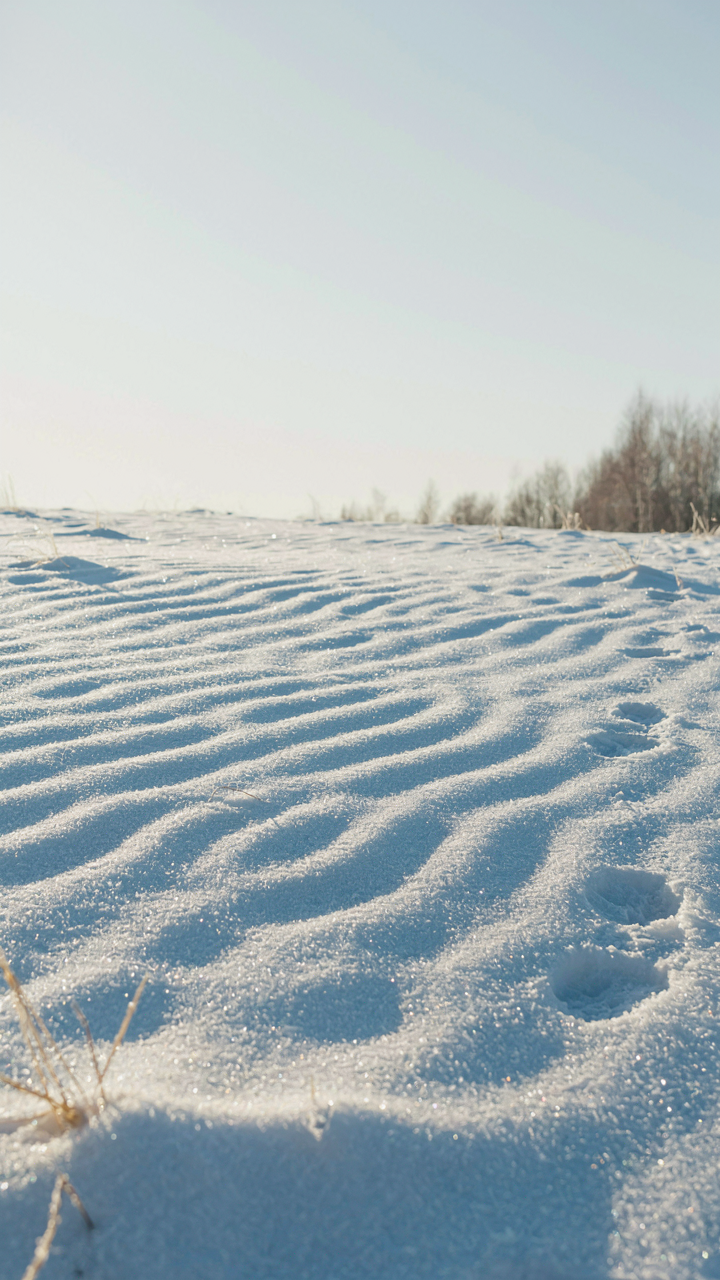
You want people to think you’re technically skilled without doing the work. Here’s the mechanism: your phone’s metering system reads snow as blown-out data because it’s a massive reflective surface. Local adjustments fix what the camera couldn’t capture in the first place. Dodge (brighten) the shadowed edges of snowdrifts and burn (darken) the midtones where light flattens texture into nothing.

Use Lightroom’s adjustment brush or Snapseed’s selective tools. Start with subtle moves—increase clarity on shadowed snow to reveal structure without creating halos. Burn the brightest snow areas just enough to pull back the highlights and restore dimension. The goal isn’t to make snow look different; it’s to make the depth iPhone’s single lens lost come back to life.
Color Cast Control In The Whites
Split toning uses color theory’s principle of complementary color balance to correct what the eye missed. Your iPhone captures blue or purple casts in snow because the sky dominates the light source and your phone’s white balance tracks it too hard. You need to isolate and counteract this in post.
In Lightroom, add warmth to the highlights with a slight orange or yellow tint. Keep saturation low—you’re correcting, not stylizing. Add cooler tones to the shadows if they’ve gone too warm from reflected ground light. The whites stay clean because you’re matching the actual light conditions the scene had, not fighting the phone’s automatic decisions. Apply this as your final step before export to lock the mood.
The “Photo Ski” Mindset: Capturing Motion In Stillness

Energy Transfer In Snow Light
You want to look like you understand something others don’t. The real mechanism here is borrowed from thermodynamics: in snow photography, light behaves like energy transferring through a system, and your job is to intercept it at the moment it carries the most information. Cold air crystallizes water vapor into ice particles suspended at specific heights. These particles scatter light differently depending on angle and density. Your iPhone’s sensor captures this scatter pattern. When you understand that snow isn’t a surface but a medium through which light travels and transforms, you stop chasing “bright whites” and start positioning your camera to read the energy state of the scene.

The reason this matters: most snow photos fail because people treat snow as a reflective object rather than a light-scattering medium. You can’t brighten your way out of a bad angle. Position yourself so backlight or side light passes through the snow cloud before hitting your sensor. This reveals texture, depth, and movement that front-lit snow flattens into blown-out nothing. The iPhone’s computational photography then has actual data to work with instead of overexposed pixels masquerading as brightness.
Capture Momentum Without Motion Blur
The common advice here is wrong: “use fast shutter speed to freeze action” assumes you’re shooting on a DSLR where you control shutter speed directly. Your iPhone doesn’t work that way. You manipulate shutter speed indirectly through light conditions, ISO, and exposure lock. Shutter speed on iPhone ranges from roughly 1/2000s in bright sun to 1/3s in low light. Snow multiplies light, which gives you fast shutter speeds automatically, but this creates a problem.
- Overexposure Locks Fast Speeds: Bright snow forces shorter exposures. Your sensor clips highlights before motion blur becomes visible. Tap to lock exposure on mid-tone snow, not white drifts, to extend shutter time slightly.
- Night Snow Requires Stillness: After sunset, iPhone shutter speeds drop to 1/2s or slower. Handheld shooting introduces camera shake. Use a tripod or prop your phone on stable ground. Motion blur from subject movement becomes acceptable only if camera movement is zero.
- Drifting Snow Motion: Falling or wind-blown snow moves at 5 to 15 mph depending on conditions. Daytime sun gives you fast enough speeds to freeze this movement without thinking. At dusk, you need intentional stability or you’ll capture camera shake as motion blur.
- Golden Hour Trade-off: Early morning or late afternoon snow has warm angle light but lower intensity. Shutter speeds drop to 1/4s to 1/2s. Freezing falling snow becomes harder. Accept longer exposure times and rely on camera stability instead of fast speeds.
- Exposure Bracketing Strategy: Use iPhone’s burst mode to capture 3 to 5 frames in sequence. One frame will land at the optimal exposure where shutter speed balances motion capture and highlight retention. Post-select the cleanest frame rather than betting on a single exposure.
When you shoot snow in motion, your actual constraint isn’t the camera. It’s your ability to hold the phone steady. Lock your exposure slightly darker than the scene suggests. This extends shutter speed enough to capture falling snow detail without introducing blur from hand movement. Brace your elbows, use a tripod, or steady your phone on stable ground. The iPhone will then deliver sharp falling snow with natural motion rendering instead of either frozen-stiff stillness or soft blur.
Beyond Snow Pictures: Crafting Compelling Narratives
People In The Frame Matter More
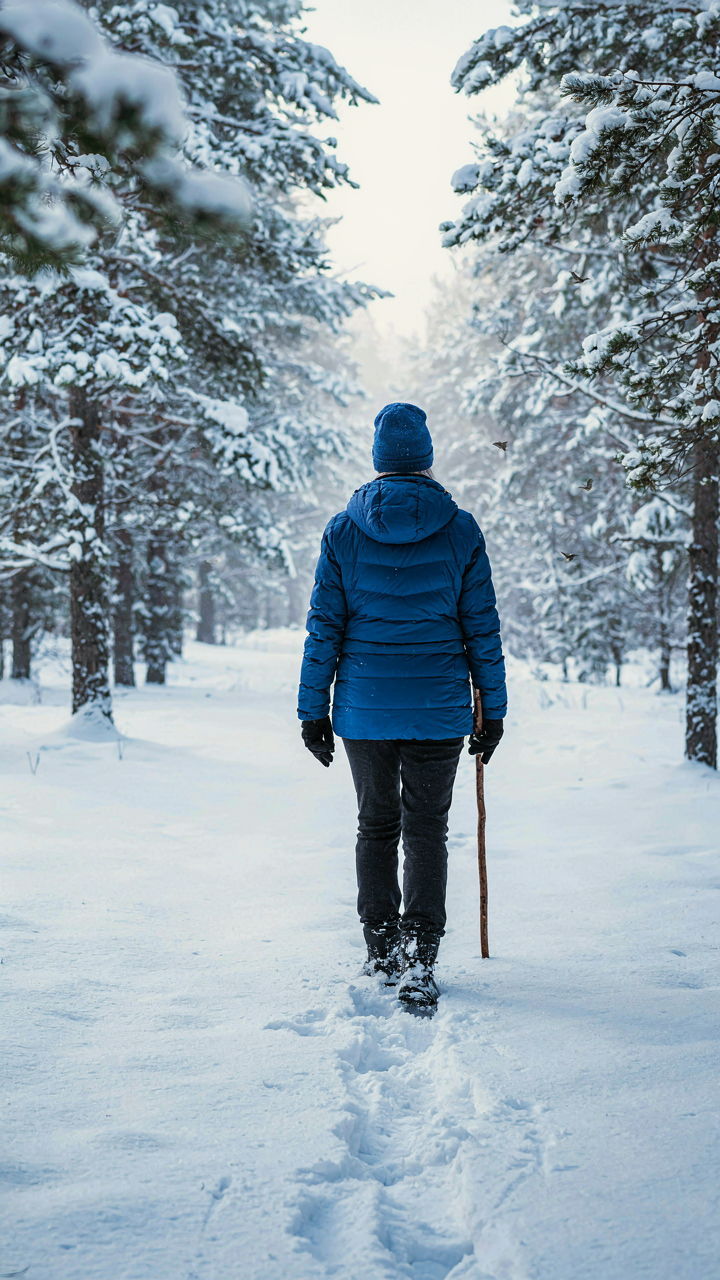
You want your snow photos to feel important. That’s the real driver. The mechanism is simple: your iPhone sees snow as a technical problem to solve. Humans see snow as context for other humans. The camera doesn’t care about story. You have to inject it manually.

A person standing in snow creates scale, struggle, and purpose. Without a human figure, your snow image is a landscape. With one, it becomes a document of experience. The iPhone’s computational photography actually helps here because it keeps people sharp while managing the blown-out sky. Position your subject off-center, let them interact with the environment rather than pose, and shoot during transition hours when light gets dramatic without going flat.
Document The Sequence Not The Moment
Most snow photographers treat each shot as a standalone image. That’s the wrong frame entirely. A series captures what actually happened. Your phone’s burst mode and library management let you build narrative arcs that single frames cannot.
Shoot the approach, the arrival, the activity, the departure. Capture hands adjusting gloves, breath visible in cold air, snow accumulating on shoulders over time. These shots connected create a before-and-after that proves something changed. When you review on your phone later, arrange them chronologically. This discipline forces you to think cinematically about a winter moment instead of hunting for one perfect shot that doesn’t exist.
The Real Obstacle Isn’t Your IPhone, But Your Fear Of Commanding The Light

Most photographers wait for perfect conditions. You won’t. Stop letting snow dictate your exposure. Tap that bright spot. Hold it. Own it. Your phone will follow. Today, shoot one frame where you deliberately overexpose the snow by two stops, then dial it back one. You’ll see what confidence looks like through a lens. Mastering snow photography isn’t about your camera. It’s about refusing to let light push you around.



