The Focal Length Fallacy: Why Your “Soft” Blurry Backgrounds Are Just Weak

What Portrait Mode Actually Does
You want people to think your phone takes professional photos. That’s the real reason you’re reading this. Here’s what’s actually happening: iPhone Portrait Mode uses computational photography, borrowed directly from optics. In optics, depth of field is the zone of sharp focus. Portrait Mode simulates depth of field by keeping your subject sharp and blurring everything else, except it doesn’t use a physical aperture. Instead, the dual camera system measures distance data and applies software blur to the background. This isn’t a lens mechanic. It’s a masking algorithm that guesses what should be blurry based on distance readings and edge detection.
The problem most people miss: Portrait Mode works well only when it can accurately separate your subject from the background. If your subject blends into the background or sits at an ambiguous distance, the algorithm fails. The blur strength depends entirely on how cleanly the software identifies your subject’s edges. A sharp edge gives aggressive blur. A soft edge gives weak blur. Lighting matters more than your phone’s hardware here. Backlit subjects separate themselves. Front-lit subjects merge with their environment.
Separation Beats Blur Intensity
Forget chasing maximum blur depth. That’s not the move. Real separation comes from controlling what the camera can actually read. The software needs clear distance contrast between subject and background. If your subject is three feet away and the background is four feet away, the algorithm has nothing to work with. You need at least six to eight feet of distance between your subject and what’s behind them, or you need your subject positioned in front of an obvious plane break. A wall behind a person from two feet away will always blur worse than a person standing in front of trees at ten feet away.
Light creates the actual separation effect that blur enhances. Side lighting or backlighting gives your subject dimension and makes it obvious to the algorithm where the subject ends. The camera measures light, not just distance. When light wraps around your subject or creates rim lighting, the edges become unmistakable. After you frame your shot, open the depth control slider in Portrait Mode after capture. Set it to the minimum value first to see what the algorithm actually captured, then increase it only enough to smooth the background naturally. Most people max out the slider and call it professional.
How To Use Portrait Mode On Iphone: Beyond The Obvious Button Press

When Light Becomes Your Lens
You care about this because bad lighting kills the effect faster than distance ever will, and nobody admits they don’t know how to read a room. Portrait mode works by depth sensing—the same principle optics uses to separate foreground from background. Your iPhone calculates depth data and blurs the background based on distance relationships, but the blur algorithm only works cleanly when light gives the sensor enough information to build that depth map accurately.

Dim or flat light destroys the segmentation between subject and background. The sensor struggles to determine edges. You get haloing, color bleeding, or no blur at all. Strong, directional light—whether natural window light or a key light source—gives the depth sensor clean boundaries to read. Position your subject so light rakes across their face or body. Backlighting combined with front fill light creates the highest contrast between subject and background, which means the sharpest depth calculation.
Distance Is The Throttle You’re Ignoring
Portrait mode has a minimum focus distance around 8 inches and a maximum of about 25 feet, but that range is deceptive. The blur effect strengthens dramatically as you move farther from your subject, but only up to a point. At extreme distances, the background blur flattens because there isn’t enough spatial separation between subject planes and background planes for the algorithm to read a meaningful depth difference.
The mechanism is geometric: depth of field scales with distance. Move six feet back instead of two feet back, and the background separation doubles. But if your background is twenty feet away and your subject is also far from the camera, the blur weakens because the depth gap between them shrinks proportionally. Position your subject 4 to 8 feet from the camera with the background at least 10 to 15 feet beyond them. This creates the maximum depth separation the sensor needs to generate aggressive, convincing blur.
The Depth Map Deception: Understanding Artificial Bokeh Limitations

Where The Blur Actually Breaks Down
You want Portrait Mode to work because it signals you know how to use your phone. The reality is simpler: Apple’s depth map is a mathematical guess, not reality. The system uses machine learning to estimate distance from the subject, then applies blur algorithmically. It doesn’t actually have a second lens measuring depth like a DSLR does. This guess fails predictably at edges.

Hair, fur, and thin objects destroy depth maps. The algorithm struggles because edges lack texture context. Strands and wisps register as background instead of foreground, so the blur eats into them. Fine details near the subject’s outline get softened or destroyed entirely. This isn’t a bug you fix—it’s the architecture breaking under specific conditions.
Adjusting The Depth After The Shot
The depth slider exists because Apple knows the initial calculation was wrong. You shoot, the phone builds a depth map, then Portrait Mode lets you dial the blur intensity up or down. Moving the slider adjusts how aggressively the system treats foreground versus background. This is correction, not enhancement. It masks the original failure.
The slider works by remapping depth values, not by recalculating them from scratch. If the algorithm initially missed a strand of hair, moving the slider won’t recover it. You’re just changing how much blur applies to the wrong zones. For salvageable shots, dial blur toward zero to reduce artifacts. For subjects with clean edges and distance from the background, increase it. Test before trusting the preview—the on-screen rendering often differs from the final saved image.
IPhone Portrait Photography Ideas: The 3 Layer Composition Protocol
Separate Your Subject From The Background
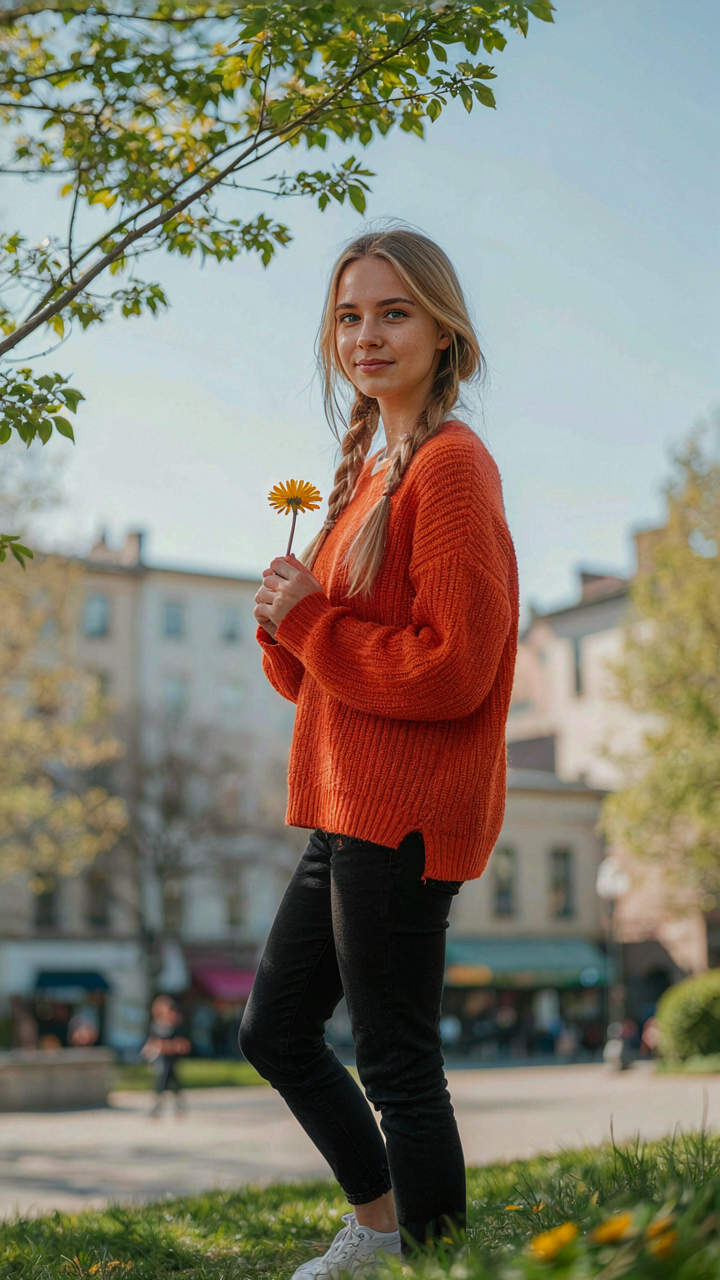
You want people to think you know how to use a camera, and the fastest way to prove it is blur. But blur without structure just looks like a mistake. Portrait mode needs three distinct planes to work: a foreground element, your subject in the middle, and a background far enough away that the lens can actually compress the space between them.

Think of this like signal-to-noise ratio in electrical engineering. Your subject is the signal. Everything else competes for attention. iPhone’s portrait mode calculates depth by comparing pixel data across the dual camera system, then artificially separates planes. The farther your background sits from your subject, the more aggressive the blur becomes because the algorithm has clearer depth information to work with. Distance is the raw material portrait mode needs.
Direct Attention Through Depth Layering
Most people treat portrait mode as a one-button effect that just happens. It doesn’t. You control what the viewer looks at by controlling what stays sharp and what vanishes. Place something intentional in your foreground, even if it’s slightly out of focus. This creates a depth tunnel that funnels the eye toward your subject before it can wander to the background.
The iPhone measures depth through parallax, comparing what each camera sees from slightly different angles. You exploit this by stacking your composition. A tree branch in front, your subject in the middle, buildings behind. Each plane gives the depth sensor more confidence in its calculations, which means better edge detection around your subject and crisper separation overall. Foreground, subject, background. In that order, always.
Headshot On IPhone: Mastering Proximity And Plane
The Distance That Actually Works
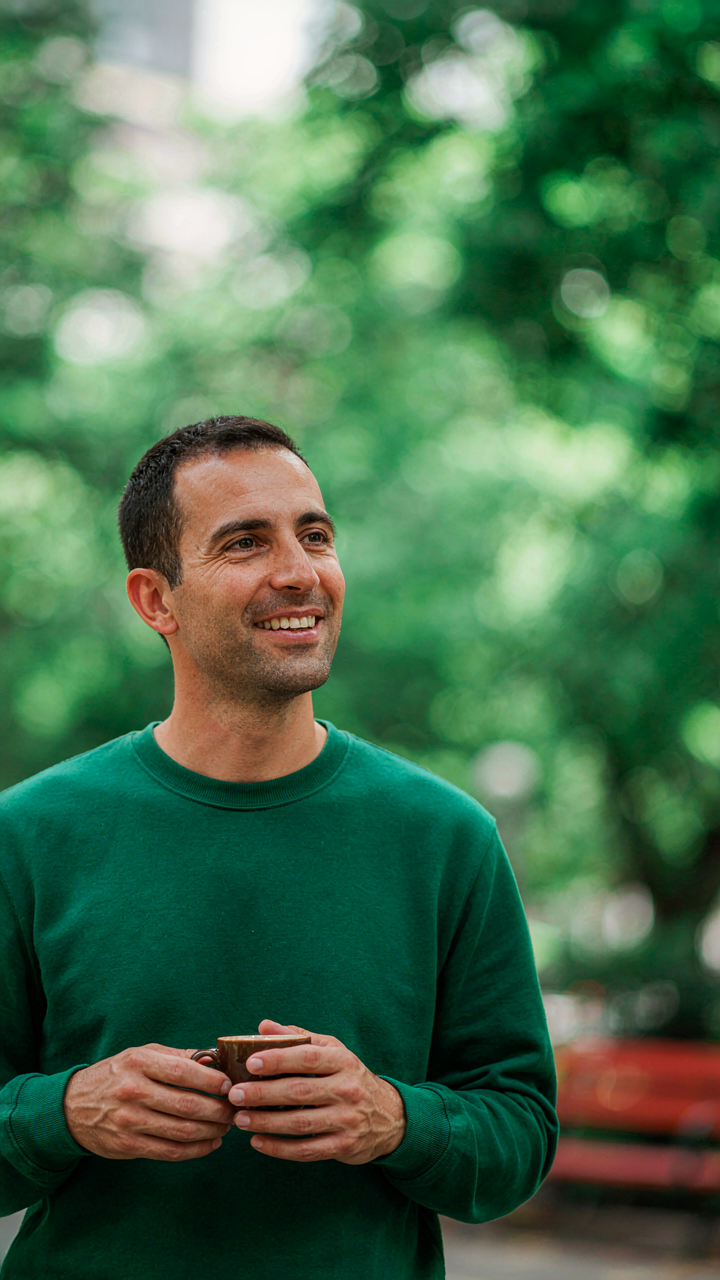
You want people to think you look better in photos than you do in person. That’s the real reason you’re here. The mechanism is simple: portrait mode’s depth effect depends on subject distance because the iPhone’s dual camera system calculates depth based on the separation between what two lenses see. Move too close and the blur fails. Move too far and you become a small object in a large scene. The sweet spot for headshots sits between 2 and 4 feet from the camera. At 2 feet, the depth algorithm has enough separation data to isolate your face cleanly. Beyond 4 feet, the background compression weakens and the blur becomes noticeably thinner. The plane of focus matters here—your eyes need to fall on the sharp plane while everything behind your head falls off into the blur zone.

Distance also controls how the iPhone’s neural engine interprets your head’s boundaries. Closer distances force sharper edge detection around hair and facial contours. The camera reads spatial information more aggressively and allocates more processing power to separating you from background. At optimal distance, the segmentation is cleaner because there’s genuine depth separation to work with. Your phone isn’t guessing. It’s measuring. Use a wall or simple background at first. Position yourself 2.5 feet away and let the depth capture system stabilize before you tap the shutter. This distance consistently produces the sharpest subject with the smoothest falloff.
Lens Selection Stops Distortion Cold
Most people think all portrait shots look the same. They’re wrong. The iPhone offers two focal lengths for portraiture, and they produce mechanically different results. The 2x telephoto lens compresses space and flattens facial geometry. The 1x main lens creates perspective distortion that widens faces and emphasizes closer features. This is optics, not software. Telephoto lenses magnify distant objects faster than near objects, which means your nose won’t balloon toward the camera like it does on the wide lens. For headshots, the 2x telephoto eliminates the unflattering distortion that the wide lens introduces.
Use the 2x lens for any headshot where you care about how your face looks. Position yourself the same 2.5 feet distance but let the 2x telephoto do the compression work. Your facial features will render more proportionally, your skin texture will appear smoother due to the compression effect, and the background separation will be more dramatic because the camera is already working with a narrower field of view. Switch to the main lens only when you want environmental context or a wider view. The technical rule: wider lenses need more distance to avoid distortion; telephoto lenses flatten and flatter faces at standard headshot ranges. Tap the 2x button before you compose the frame.
The Light Shaping Principle: Applying Architectural Physics

Hard Light Versus Soft Light
You want the blurry background to look intentional instead of accidental, and that requires understanding light quality before the camera ever computes depth. Architecture uses the principle of diffusion to control how light behaves in space, and Portrait Mode operates on the same principle: the source of light determines what the depth map can actually separate. Hard light creates defined shadows and edge contrast. Soft light diffuses across surfaces without sharp boundaries. Portrait Mode struggles with hard light because the algorithm reads edge definition as foreground detail, which collapses the separation between subject and background.

The fix is counterintuitive. Most people think Portrait Mode needs more light. It doesn’t. It needs softer light. Position your subject so direct sunlight filters through a translucent surface: fabric, frosted glass, cloud cover. Position yourself between the sun and your subject so the light wraps around rather than hits a single plane. The neural engine in the A-series chip processes luminance gradients more cleanly when light transitions gradually across planes. When light falls hard, the foreground and background compete for definition, and Portrait Mode defaults to keeping edges crisp instead of separating depth.
Reflectors And Directional Fill
Reflectors don’t add light. They redirect it. Most people miss this because they assume a reflector’s job is brightness, but the real mechanism is control over shadow placement and transition softness. A white or silver reflector bounces light back into shadow areas on your subject’s face or body, reducing the contrast ratio between lit and unlit sides. This contrast reduction signals to Portrait Mode that you’ve created a coherent subject plane by controlling how shadows fall.
Position a reflector opposite your key light source, angled to catch and bounce light back into the shadow side of your face or body. Keep it close enough that the reflected light softens shadow edges but far enough that you don’t see the reflector in frame. Natural light manipulation through reflectors works because you’re not fighting the depth estimation. You’re shaping the light continuity so the algorithm reads your subject as a unified plane, making the background separation automatic. Test the setup before shooting: rotate the reflector until shadow transitions feel gradual, not abrupt.
How To Take Portrait Pictures On IPhone: Beyond The Auto Settings
Exposure Compensation In Challenging Light
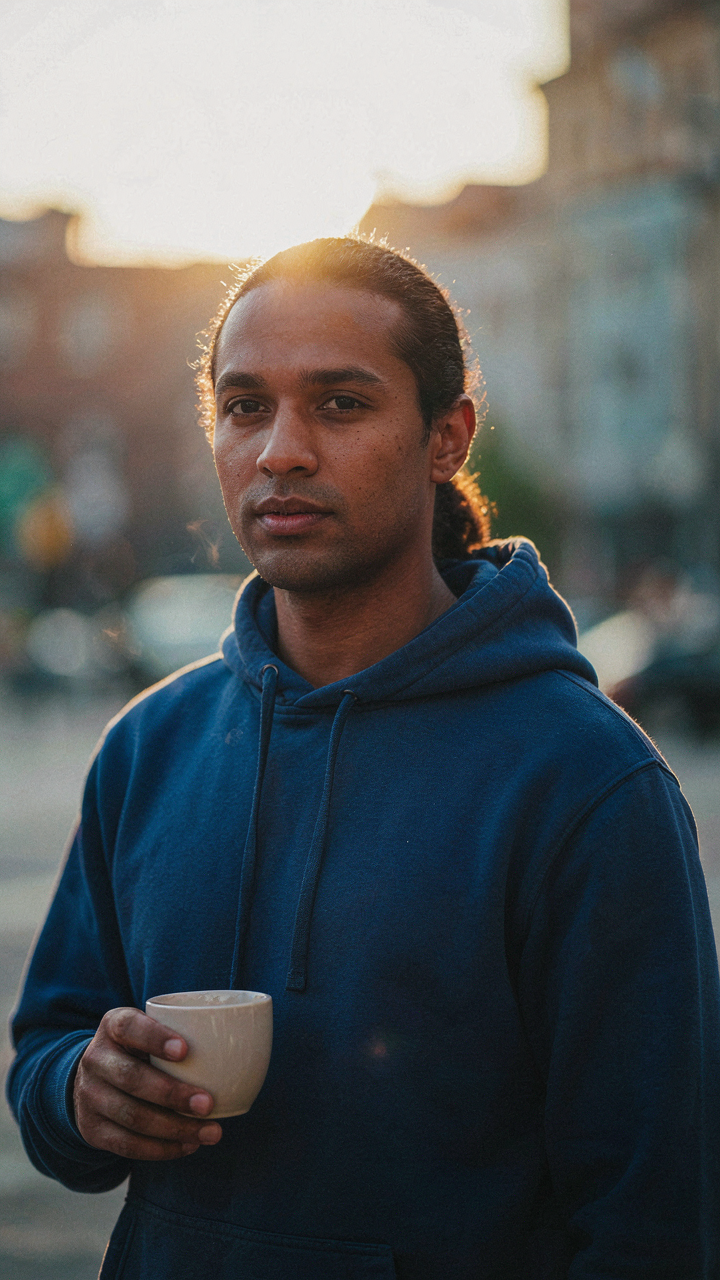
You want your subject lit like a professional shoot without hiring a professional. Here’s the mechanism: Portrait Mode meters the entire frame, not just your subject’s face. In backlit or mixed-light scenes, the camera underexposes to preserve highlights in the background, leaving your subject dark. Swipe up after tapping your subject to access the exposure slider. Push it right to brighten your subject without blowing out the background. This is your only direct control over how much light hits the sensor in Portrait Mode.

The slider moves in increments. Each tap or swipe adjusts exposure by roughly one-third of a stop. In extreme backlight, you may need to push exposure to the maximum and still use fill light from a reflector or second device. The camera prioritizes background preservation over subject brightness by design. You override that priority manually. Test this in golden hour with the sun behind your subject. The difference between default exposure and properly compensated exposure is the difference between a washed-out shot and a usable one.
Focus Lock For Precise Subject Sharpness
Everyone says tap your subject to focus, then shoot. That misses the actual problem: your subject moves, your phone moves, and Portrait Mode recalculates depth between frames. Tap and hold your subject for two seconds until you see the yellow focus box lock in place. This activates AE/AF lock, meaning both exposure and focus stop hunting for new data. Your shot now depends on stable positioning, not continuous sensor recalculation.
Once locked, you have roughly five seconds before the lock expires. Move your phone slightly if needed to reframe. The focus point stays fixed on what you locked onto, even if your subject shifts a few inches. For moving subjects like children or pets, you must re-lock after each shot. This is not automatic. The mechanism is simple: lock prevents the dual problem of focus hunting and exposure drift simultaneously. Without it, your portrait either sharpens on the wrong plane or brightens and dims between frames as the sensor recalculates.
Iphone Portrait Editing: Surgical Refinement, Not Broad Strokes

Selective Adjustments To Background Blur
You want to look intentional, not accidental. The real reason you’re editing portrait mode is to prove the blur happened on purpose. Most people treat the background blur as a fixed output, then wonder why their subject still looks flat. The mechanism is simple: Portrait mode captures depth data, and the Photos app lets you adjust it after the shot. This isn’t a filter. It’s reconstruction.

Here’s what matters in the edit:
- Depth adjustment slider: Controls blur intensity across the entire background. Move it right to strengthen separation, left to reduce it. The slider range determines how aggressive the effect becomes.
- Subject isolation refinement: Taps the edge detection that Portrait mode uses. Refine the boundary between subject and background by painting adjustments directly on the edges where blur should intensify or soften.
- Foreground blur strength: Controls bokeh intensity in front of your subject, not just behind. This creates layered depth that flat edits miss entirely.
- Background blur falloff: Determines how quickly blur increases as distance from your subject grows. Sharper falloff looks synthetic. Gradual falloff reads natural.
- Lighting adjustments tied to depth: Brighten or darken the background independent of the subject. Blur without contrast shift looks incomplete and reads as cheap filtering.
The edit lives in the details. Most people adjust depth once and call it done. Real refinement means touching the blur intensity, checking your edges, then adjusting again. The depth data Portrait mode captures gives you latitude to fix what the initial shot missed. Use it.
Color Grading For Impactful Depth
The common advice is to warm the subject and cool the background. That’s incomplete. Color grading in portrait mode works like atmospheric perspective in landscape photography: distant objects shift in color temperature and saturation because air and light scatter between camera and subject. Borrow that principle. Your background blur becomes believable only when its color shifts intentionally, not randomly.
Start by separating color channels. Drop the saturation of your background by 10 to 15 percent, then shift its hue slightly. A warmer subject and cooler background create psychological depth independent of blur strength. The subject advances. The background recedes. This works because your eye reads warm colors as closer and cool colors as farther away. Apply this shift to the background only, leaving your subject untouched. The contrast between these two color spaces tells the depth story that blur alone cannot.
IPhone Model Photography: Directing The Unwilling Subject

Posing For Depth And Dynamic Range
You want the subject to look effortless because you’re afraid of looking like you’re actually directing anything. Here’s the mechanism: Portrait mode’s depth effect depends on subject distance from the background, not just distance from the camera. Physics calls this depth of field, and iPhone’s computational approach mimics it by calculating plane separation. The farther your subject sits from what’s behind them, the more aggressive the blur becomes, regardless of focal length.

Position your subject at least three to four feet from the background wall or scenery. This distance creates separation that Portrait mode’s neural engine can read clearly, triggering stronger blur calculation. Closer backgrounds fight against the effect and produce muddy, incomplete bokeh. Move subjects parallel to the background rather than directly toward or away from it. This maintains the depth signal while keeping them sharp.
Natural Expressions, Not Forced Smiles
The advice to “capture candid moments” is incomplete because it ignores what actually kills a portrait: the subject knowing they’re being photographed. Sustained eye contact with the lens creates tension. Instead, give a specific behavioral task that occupies their attention but keeps them present. Ask them to walk toward you slowly, look at something slightly off-camera, or think about a specific memory while you frame.
iPhone Portrait mode renders better on subjects slightly in motion or mid-thought because their face relaxes into authenticity. Tap to focus on their eyes while they’re engaged in the task, not while they’re staring at the lens. The focus point locks, and you take three to five frames in rapid succession as they move through natural expression changes. One of those frames contains the expression you actually needed.
Portrait Mode Camera: The Unseen Advantages You Ignore

What Your Phone Actually Computes
You want portrait mode to work because it signals you own a capable device. Here’s what actually happens: your iPhone doesn’t have a telephoto lens doing the work. It uses computational photography, a term borrowed from computer vision, where the camera takes multiple exposures and depth data simultaneously, then algorithmically renders the background blur in post-processing. The sensor captures depth information through dual cameras or LiDAR, processes it in real time, and masks the subject before applying the blur effect.
This matters because you’re not fighting physics. Traditional portrait lenses use focal length and aperture to create blur. Your iPhone uses mathematics. That distinction changes everything about how you position subjects, manage lighting, and iterate. The phone can recompute the effect after the shot, giving you control most cameras don’t offer. You take the photo first, adjust the blur intensity and focus plane afterward. Understanding this mechanics prevents you from chasing problems that don’t exist in traditional photography.
The Speed Of Testing Changes Everything
Most portrait mode advice treats it as a fixed output. Wrong. Your real advantage is the feedback loop, borrowed directly from engineering methodology. You shoot, see the result instantly, tweak the blur slider, and reshoot within seconds. Traditional portrait photography requires you to commit to settings before the shot, then wait for development to see if the depth of field worked.
This iteration speed compounds over a single session. Shoot ten frames adjusting blur intensity and subject distance each time. You learn empirically what blur level reads as professional versus overdone. You discover which distances from the background produce the cleanest separation. You test foreground elements that either enhance or ruin the effect. Within minutes, you’ve gathered more data about portrait mode behavior than most people accumulate in months. The mechanism is simple: rapid feedback loops beat theoretical knowledge every time.
The Real Obstacle Isn’t The IPhone’s Lens, But Your Own Blurred Understanding Of Light And Depth
You don’t need a better phone. You need to stop thinking like a camera owner and start thinking like a light hunter. Portrait mode works when you understand that blur isn’t a feature, it’s a consequence of proximity and light separation. Take one photo today with your subject backlit, close enough that they fill most of the frame. Watch what happens. The phone doesn’t create the blur. You do by controlling distance and light. Stop waiting for better software. Your iPhone already knows how to make magic. You just have to know where light lives.