The Rise Of The Robo Cat Why Electronics And Pets Mix
The Purr Pose Of Integration
Modern home systems now focus on improving the lives of our feline friends. You can build electronics projects diy to help your pet feel more comfortable. Integrating microcontrollers adds a layer of fun while keeping their hunting instincts sharp. These tiny computers allow you to manage their health even during your busy working hours. It makes your bond stronger through scheduled play and consistent care routines.
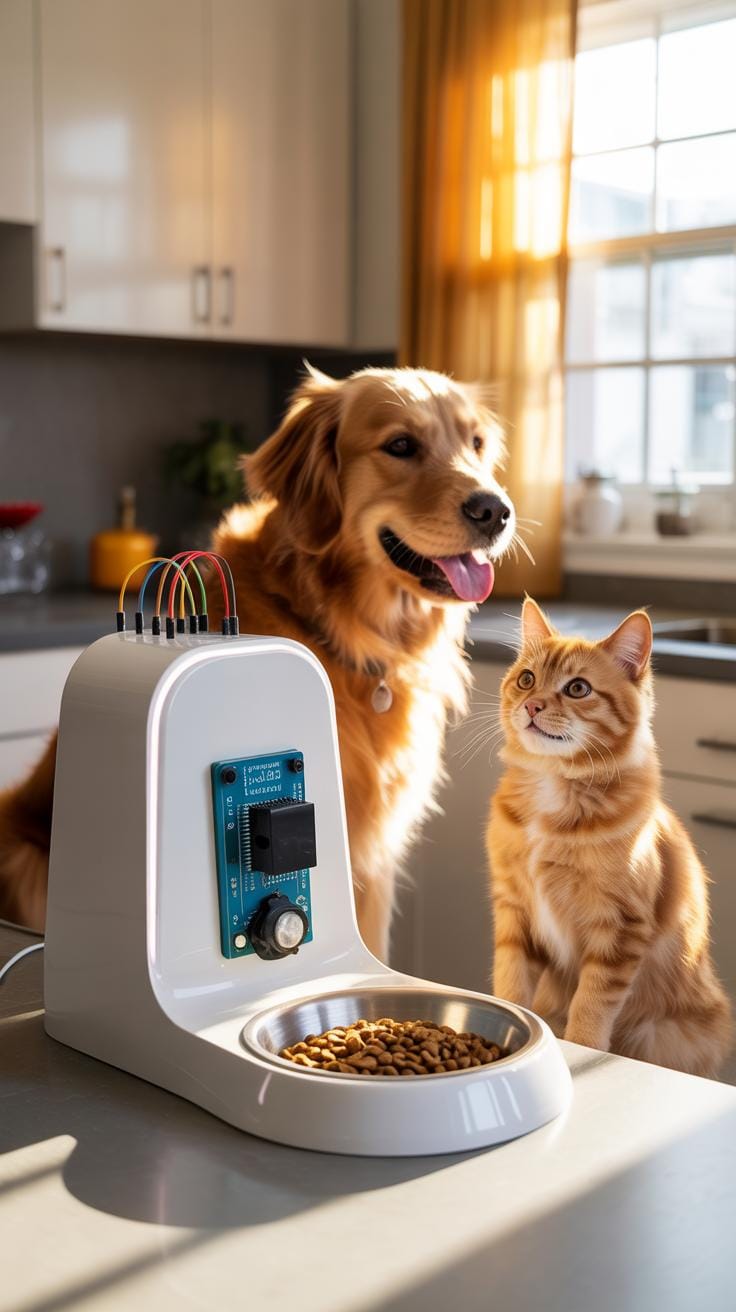
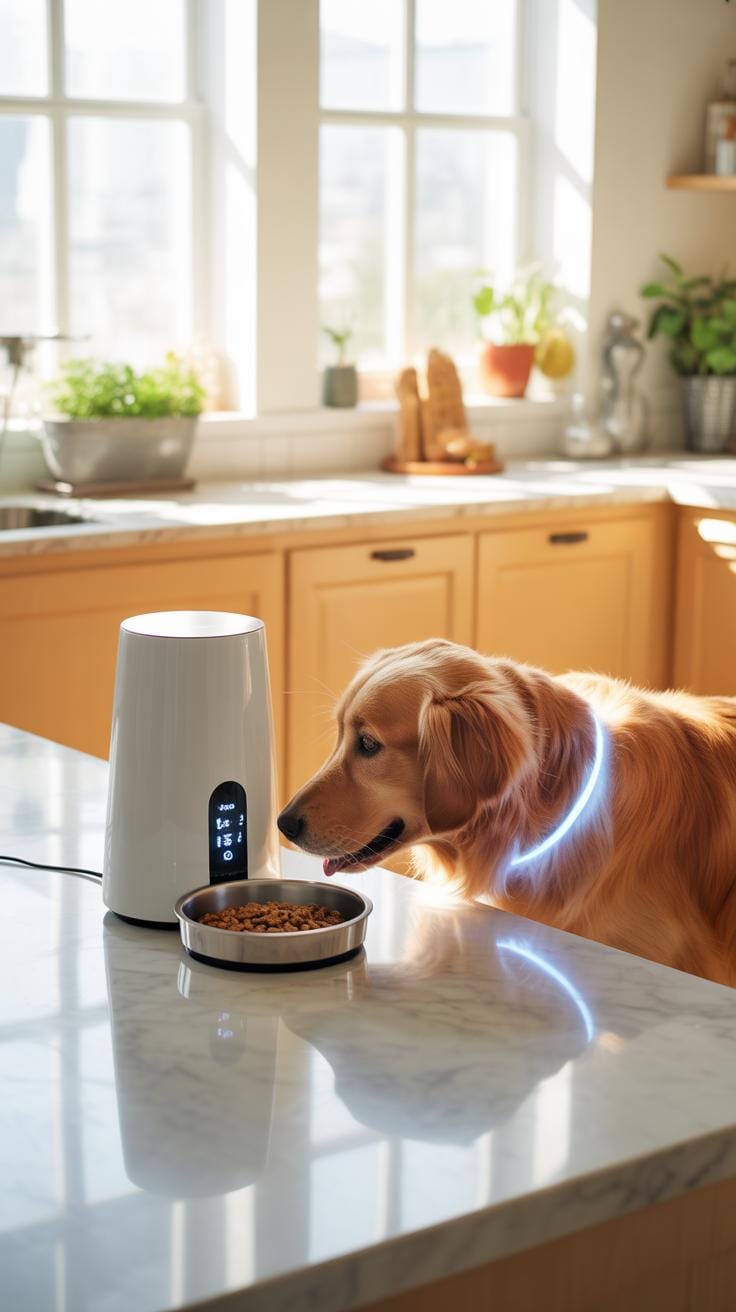
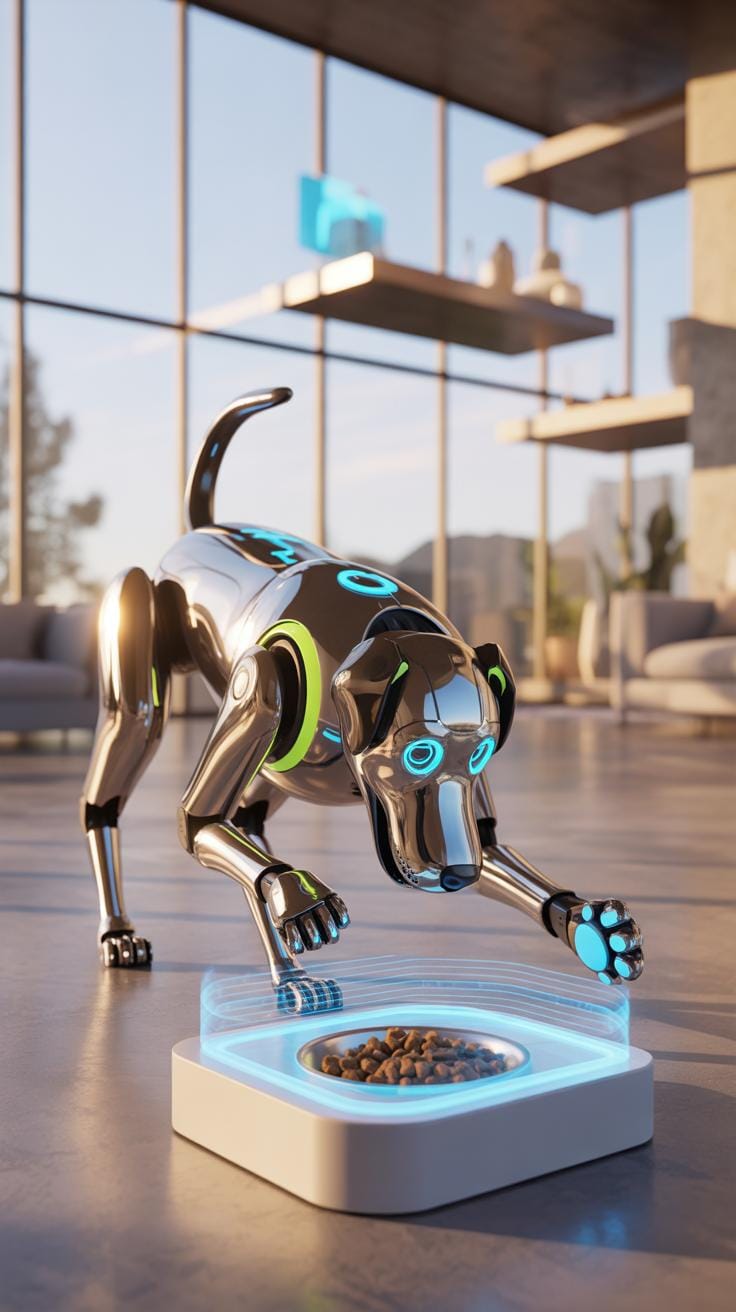
Creating a robotic pet inspiration for your home helps solve common problems. You can use an arduino pet feeder to make sure your cat eats on time every single day. This technology replaces the old method of leaving food out in the open. It ensures that your cat stays at a healthy weight while you are away. Simple sensors can make a cute cat robot feel like part of the family.
Tech Meets Whiskers
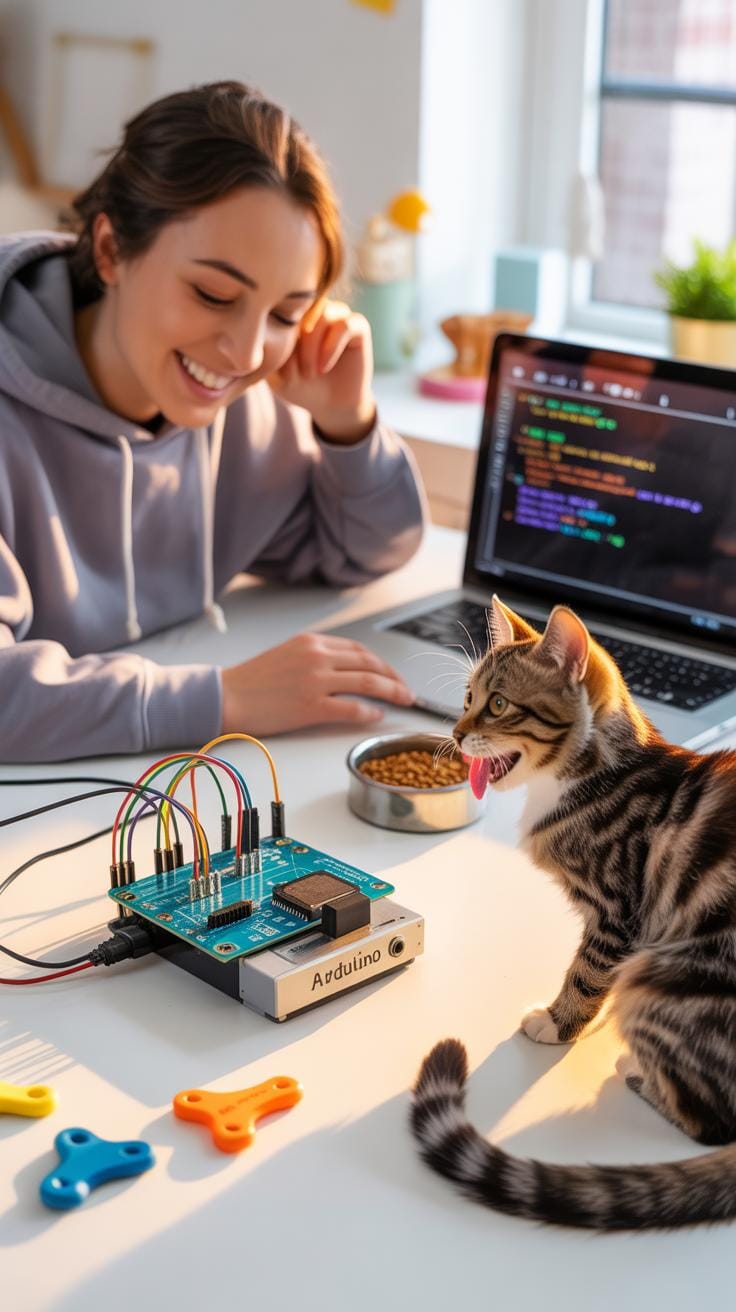
Combining gadgets with pet care provides very useful data. You can build an arduino cat food dispenser that tracks exactly how much your cat eats daily. Programmers often share pet feeder arduino code to help beginners get started quickly. These projects turn any house into a smart home where the cat is the main user. Seeing a robo cat interact with your sensors is both funny and helpful.
An automatic pet feeder diy project saves you time and reduces morning stress. You can even create an rfid pet feeder system so only the correct cat gets the food. This stops other pets from stealing snacks and keeps everyone healthy. These systems respond to programmed cues and physical sensors right away. Your cat will soon learn that the machine is a reliable friend that provides a great meal.

Getting Started With Electronics Projects Diy For Felines
Essential Components For Cat Tech
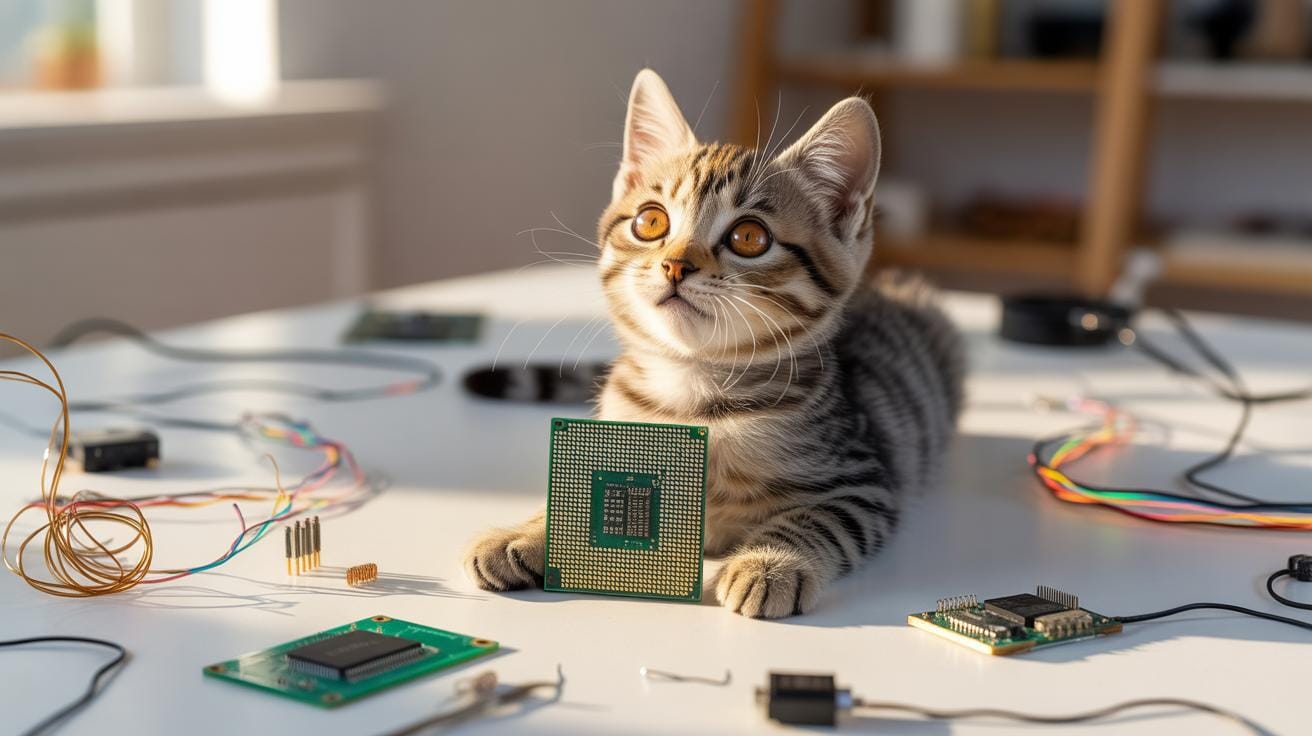
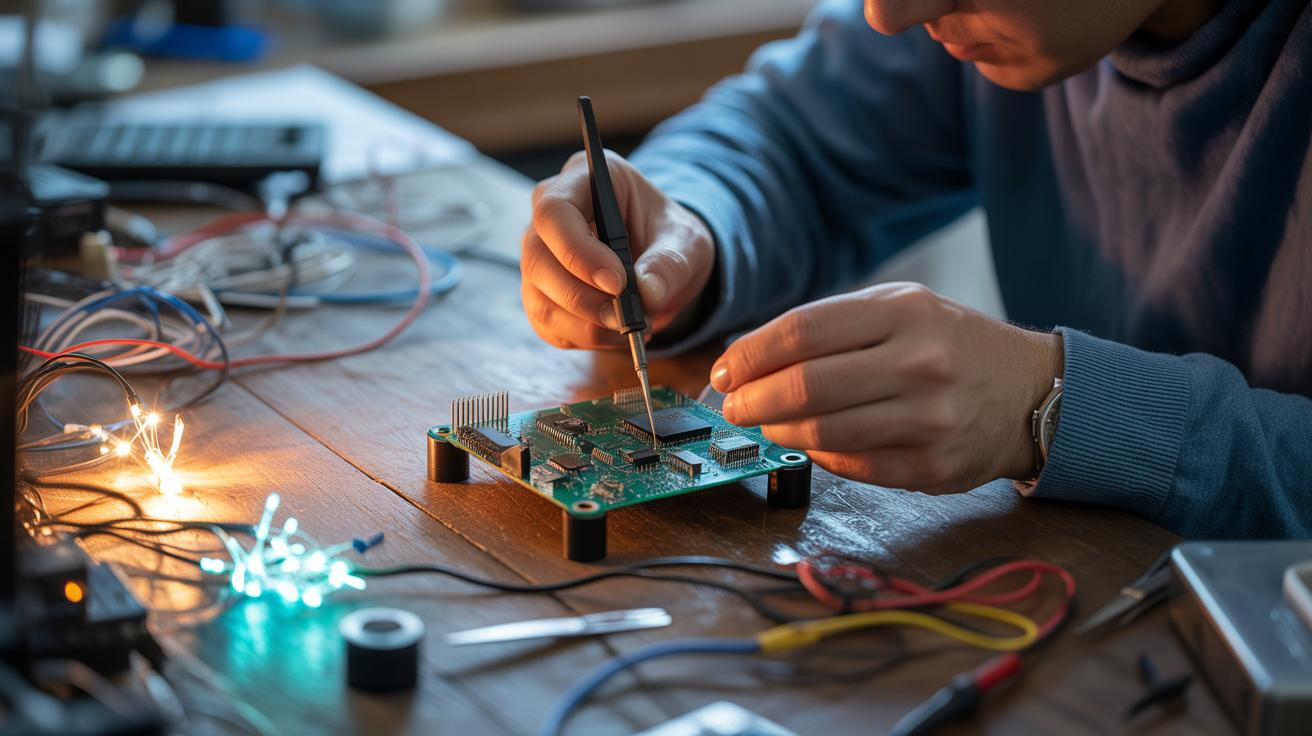
Starting your journey into electronics projects diy requires a few core building blocks to bring your ideas to life. These parts help you build a robo cat or a smart toy that reacts to your pet. You will need a reliable controller to act as the brain for every creation. Sensors allow the device to see your cat, while motors provide the physical movement needed for interactive play.
- Arduino Uno Microcontroller: This versatile board serves as the primary brain for your projects. It is easy to program and connects to various sensors and motors, making it perfect for building a custom arduino cat food dispenser or a smart laser toy.
- PIR Motion Sensor: These small sensors detect infrared heat signatures from moving bodies. They are perfect for triggering a cute cat robot to wake up when your pet enters the room, ensuring the toy only runs when the cat is nearby.
- Servo Motors: Unlike standard motors, servos allow for precise control of position. Designers use these to open small doors on an automatic pet feeder diy or to tilt a camera to follow your pet movements around the living room.
- Ultrasonic Distance sensor: This component sends out sound waves to measure the distance to an object. It provides great robotic pet inspiration by allowing a toy to avoid hitting walls or measuring how much kibble remains inside a plastic storage container.
- Breadboards and Jumper Wires: These tools allow you to connect components without permanent soldering. Using them helps you test your pet feeder arduino code quickly and make changes to the circuit layout before you finalize the build with a soldering iron.
Once you gather these parts, you can start building an rfid pet feeder system to manage meal times. Most hobbyists begin by blinking an LED before moving to complex tasks like an arduino pet feeder. Accurate wiring ensures your device lasts a long time and works every time your cat is hungry. Using high quality components prevents early failures and keeps your project running smoothly for your pet.
Safety First For Furry Friends
Safety stays the top priority when you build an automatic pet feeder diy for use at home. Sharp edges on 3D printed parts or metal housings can cause injuries during play. You must smooth all surfaces and hide circuit boards inside sturdy cases. This protects the delicate electronics from moisture and prevents your cat from touching live wires while they wait for their next snack to arrive.
Cables pose a significant risk because many cats love to chew on gear. Use thick plastic looms to cover every wire coming from your arduino cat food dispenser to prevent electric shocks. Always choose low voltage power adapters instead of plugging projects directly into wall outlets. Constant supervision during the first few days of use ensures your cute cat robot or rfid pet feeder system operates safely without any unexpected issues.
Developing The Perfect Arduino Pet Feeder
Engineering A Precise Meal Time
An Arduino Pet Feeder relies on a DS3231 real-time clock module to track hours and minutes accurately. This hardware ensures your cat eats at the same time every single day. Consistent feeding schedules reduce stress for indoor pets. You can program the Pet Feeder Arduino Code to trigger a motor at sunrise or sunset. This system prevents overeating by giving specific portions rather than a full bowl.
Electronics Projects Diy enthusiasts often struggle with standard timers that drift over weeks. A dedicated clock module maintains the schedule even if the power goes out briefly. You can also integrate an Rfid Pet Feeder System to identify which cat is approaching the bowl. This tech prevents one greedy cat from eating a housemate’s dinner. Precise timing helps cats maintain a healthy weight and improves their overall digestion and energy levels.
Building The Dispensing Mechanism
The physical part of an Arduino Cat Food Dispenser usually features a 3D printed auger or a rotating paddle. These shapes move dry kibble from a hopper into a bowl without crushing the pieces. A high-torque stepper motor provides the strength needed to turn the screw smoothly. This mechanical setup is the core of any Automatic Pet Feeder Diy project. It ensures food flows freely without getting stuck inside the machine.

Robotic Pet Inspiration often leads makers to build a Cute Cat Robot that serves as a functional companion. You can decorate the plastic shell to look like a Robo Cat while the internal gears handle the heavy lifting. Reliable dispensing prevents the frustration of a jammed feeder while you are at work. Clear containers allow you to see when the food level is low. These builds combine coding skills with basic mechanical engineering for a tidy home.
Cracking The Pet Feeder Arduino Code For Beginners
Writing The Selection Logic
The core logic of your Arduino Pet Feeder relies on simple conditional statements. You must write specific rules that tell the microcontroller exactly when to trigger the hardware. For instance, the Pet Feeder Arduino Code should check the time against a set schedule. If the hours and minutes match your cat feeding time, the program sends a signal to the motor. Clear logic helps prevent the machine from dispensing food twice.
Clean organization makes your Electronics Projects Diy much easier to manage. You should label every part of your script with comments so you understand the steps later. If you use an Rfid Pet Feeder System, the logic must also check for a specific tag ID before opening the lid. This ensures only your designated cat gets a meal. Proper code structure helps the system recover quickly if the power resets.
Debugging Common Code Errors
Many makers face issues with timing loops when building an Automatic Pet Feeder Diy unit. Using the delay function stops the entire program, which can cause the clock to drift or miss button presses. Instead, use the millis function to track time without pausing the system. This method keeps your Arduino Cat Food Dispenser responsive and ensures the internal clock stays accurate for every scheduled meal throughout the day.
Sensor interference often causes a Robo Cat or a Cute Cat Robot to act strangely. False readings might trigger the motor accidentally or cause the hopper to jam. You can fix this by adding a smoothing algorithm to the Arduino Pet Feeder script to average out signal noise. Testing your Robotic Pet Inspiration with different light levels and distances helps identify these bugs before the machine enters daily use.
Designing A High Tech Arduino Cat Food Dispenser
Integrating Weight Sensors
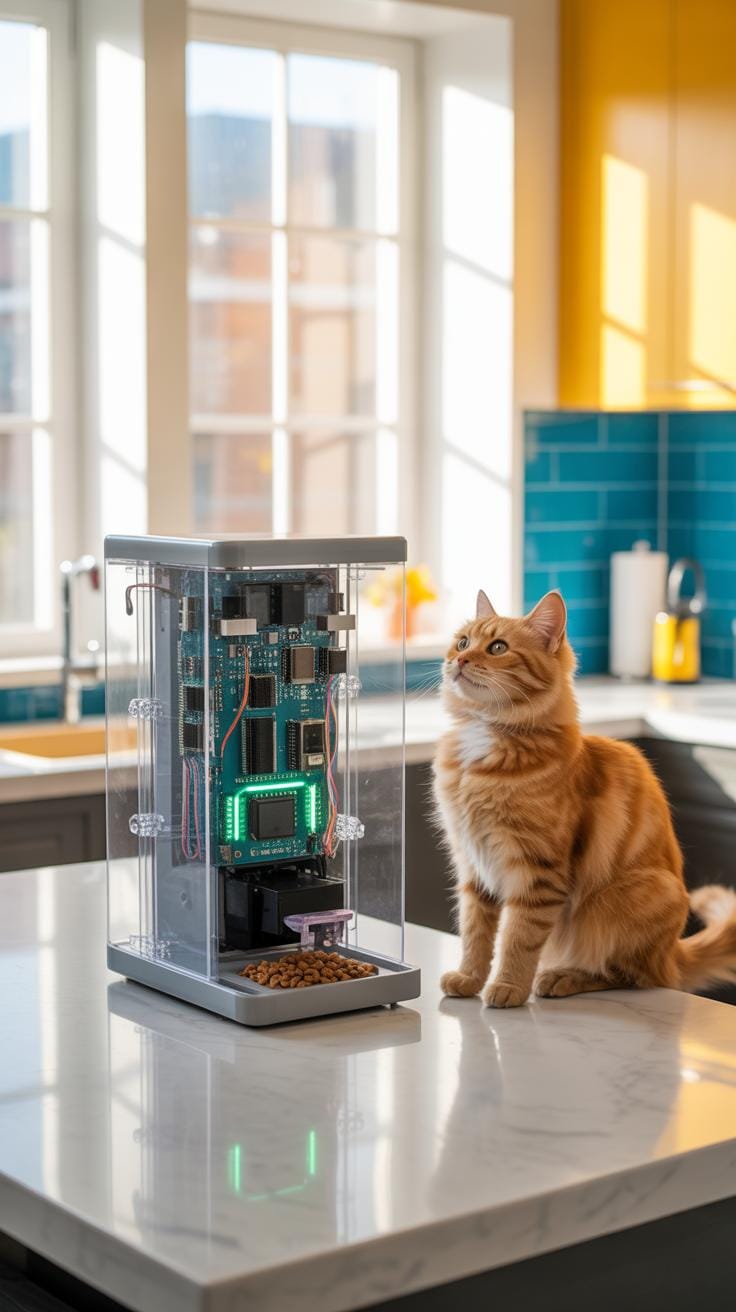
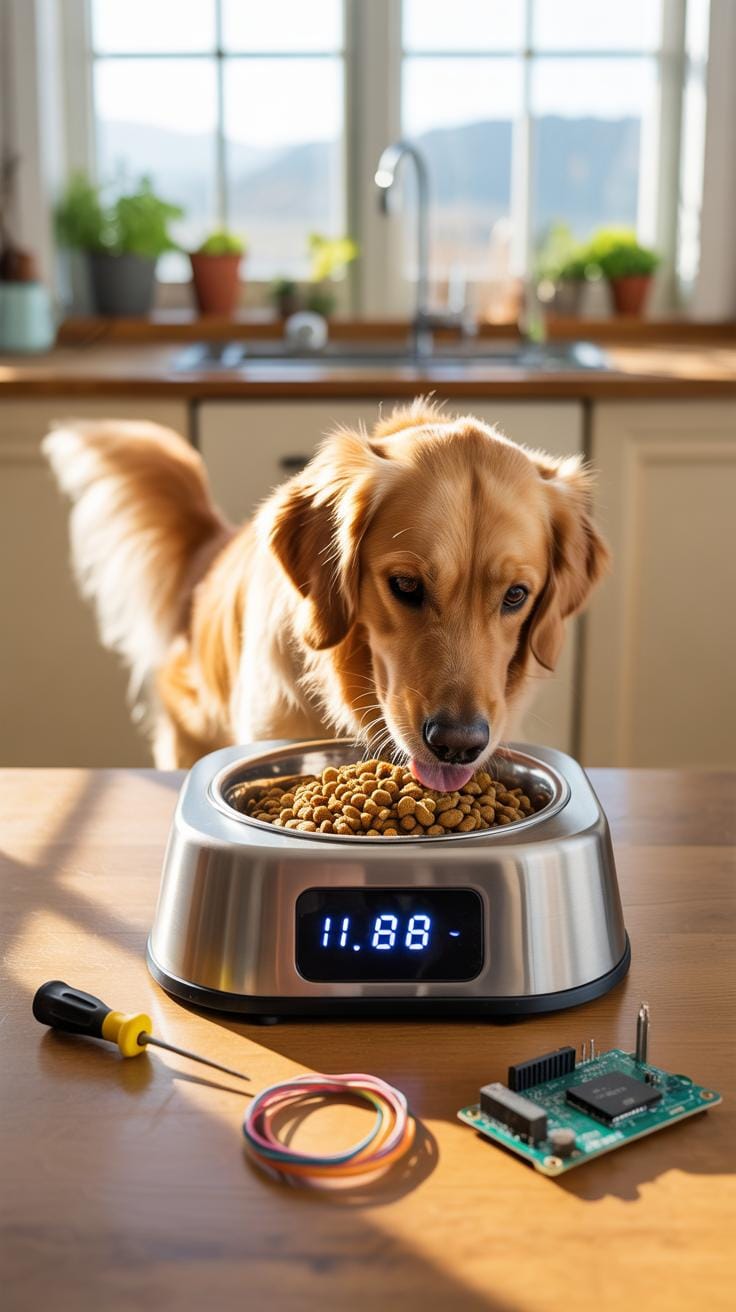
Building a high-tech Arduino Pet Feeder requires more than a simple motor. You should install a load cell under the bowl to track food levels accurately. This sensor measures the weight of the kibble dispensed into the container. Most Electronics Projects Diy enthusiasts use an HX711 amplifier to help the board read these small weight changes. This setup ensures that your cat receives the exact portion size needed every single time.
Monitoring weight changes also offers Robotic Pet Inspiration by tracking how much your pet eats. You can see if your cat leaves leftovers or finishes the meal quickly. An Automatic Pet Feeder Diy project becomes a health tool with this data. If the weight does not change after a scheduled meal, you know your cat skipped their dinner. These details help you care for your cat more effectively using modern technology.
Adding Visual Alarms And Indicators
Your Arduino Cat Food Dispenser needs a way to talk to you. You can attach an LCD screen or small lights to the side of the machine. These indicators show when the food hopper is almost empty. This simple addition helps you maintain the Robo Cat system without checking the tank every day. It provides clear feedback that makes the device very easy for anyone in the family to use.
You can also use an Rfid Pet Feeder System to identify which cat is eating. The screen can then display the name of the Cute Cat Robot user currently at the bowl. Most builders share their Pet Feeder Arduino Code online so you can see how to program these alerts. Using bright colors or scrolling text makes the machine look professional. These visual cues prevent your cat from missing a meal due to an empty container.
Security First The Rfid Pet Feeder System Guide
Implementing Selective Access Control
Managing mealtime in a house with several animals requires a smart Rfid Pet Feeder System. Many owners face the problem of a dominant cat eating every portion of food. By using a small radio tag on a collar, you ensure the motorized door only opens for the right pet. This project offers great Robotic Pet Inspiration for anyone wanting to improve their home life with simple hardware.
This setup prevents food theft and helps you monitor how much each cat eats daily. You can build an Arduino Cat Food Dispenser that stays shut until it senses the unique signal from the authorized tag. It is a practical choice among many electronics projects diy for modern pet owners. This method ensures every pet gets its specific diet without any stress or fighting over the bowl.
Programming The RFID Reader
Setting up the Pet Feeder Arduino Code requires you to register the specific ID of your cat tag. You must connect the reader to your microcontroller and upload the script to recognize that signal. When the cat walks near the bowl, the sensor sends a trigger to the motor. This turns your Arduino Pet Feeder into a reliable tool that guards the kibble from any curious intruders or greedy siblings.
The code manages how long the door stays open and when it should lock again. You can customize the movement speed of the servo to avoid scaring a shy Cute Cat Robot or a nervous pet. Using an Automatic Pet Feeder Diy approach gives you total control over the hardware and software settings. Soon your Robo Cat will enjoy a private dining experience that is both high-tech and perfectly safe for your household.
The Ultimate Automatic Pet Feeder DIY Performance Tips
Material Choice For Food Safety

Building an Automatic Pet Feeder Diy requires careful thought about every surface. Most 3D printing materials have tiny pores that trap bacteria. These gaps make cleaning very hard. You should use stainless steel bowls or glass inserts inside your custom frame. This choice keeps the kibble fresh. It also helps prevent health issues like chin acne for your pet.
Safety is priority when looking for Robotic Pet Inspiration. Choose food-grade plastics if you must print custom parts. You can coat your assembly in food-safe epoxy to seal the surface. This method creates a smooth shield against mold. Proper material selection ensures your Arduino Cat Food Dispenser stays hygienic for years. Using smooth metals makes the device look like a professional Robo Cat.
Power Backup Strategies
Cats need their meals on time even during a storm. Incorporating a battery backup into your Arduino Pet Feeder keeps the schedule stable. Use a LiPo battery with a dedicated charging module to handle transitions. This setup prevents your electronics from resetting when the wall power fails. A reliable system provides peace of mind while you are away from home.
Reliability is the core of successful Electronics Projects Diy. Use simple Pet Feeder Arduino Code that checks the power status regularly. A robust Rfid Pet Feeder System needs constant energy to recognize your cat’s tag. Adding a backup battery allows the motor to turn during a blackout. This small addition makes your Cute Cat Robot dependable and keeps your furry friend very happy.
Robotic Pet Inspiration Moving Beyond The Bowl
Interactive Laser Chasers
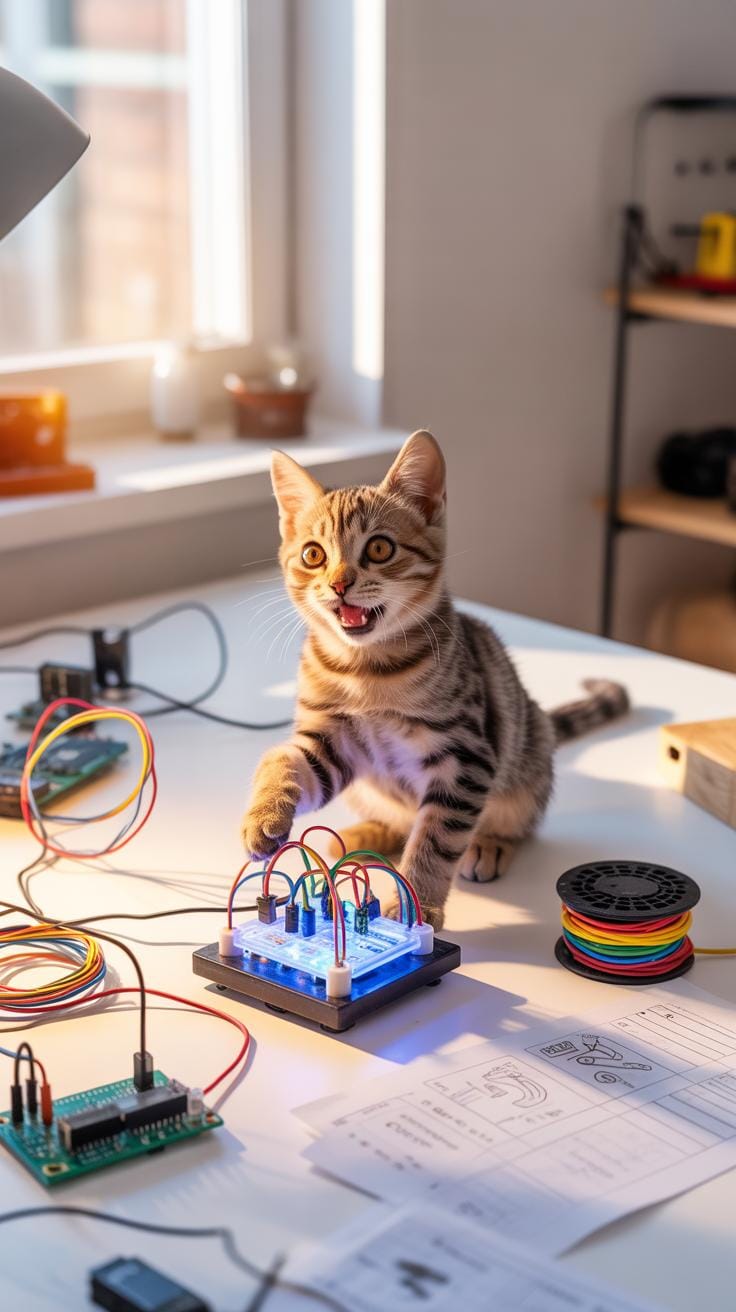
Building an autonomous laser toy brings industrial automation into your living room. You can use two small servos and a pan-tilt bracket to control the light. This setup mimics how assembly line arms move with precision. It provides excellent Robotic Pet Inspiration for anyone starting Electronics Projects Diy. A simple script moves the laser in random paths to mirror the quick movements of small prey.
Your cat stays active and sharp while you focus on your daily tasks. Programming these patterns requires basic logic to ensure the light stays off the walls. Using an Arduino Pet Feeder controller board can help manage the power for the servos. This project creates a Cute Cat Robot that entertains your pet for hours. It is a great way to start learning about motion control systems.
Innovation is often born from the simple desire to make life a little more magical for those we love, even the ones with whiskers. Let your imagination transform a handful of circuits into a new way to bond with your oldest companion.
— Steve Wozniak
Automated Treat Launchers
Standard food bowls are boring for active hunters because they lack movement. Designing a flywheel launcher adds excitement to mealtime by tossing kibble across the room. You can build this using a high-speed motor and a 3D printed chute. This Automatic Pet Feeder Diy project uses physics to make feeding time a game. Your cat will love chasing their snacks as they fly through the air.
You can trigger the launch using a web interface or a simple motion sensor. Integrating Pet Feeder Arduino Code allows you to schedule the treats during the day. Some owners add an Rfid Pet Feeder System to ensure only the right cat gets the prize. This Robo Cat assistant functions like a high-tech Arduino Cat Food Dispenser. It combines an Arduino Pet Feeder setup with mechanical engineering to keep pets very happy.
Building Your Own Cute Cat Robot Companion
The Psychology Of Mechanical Pets
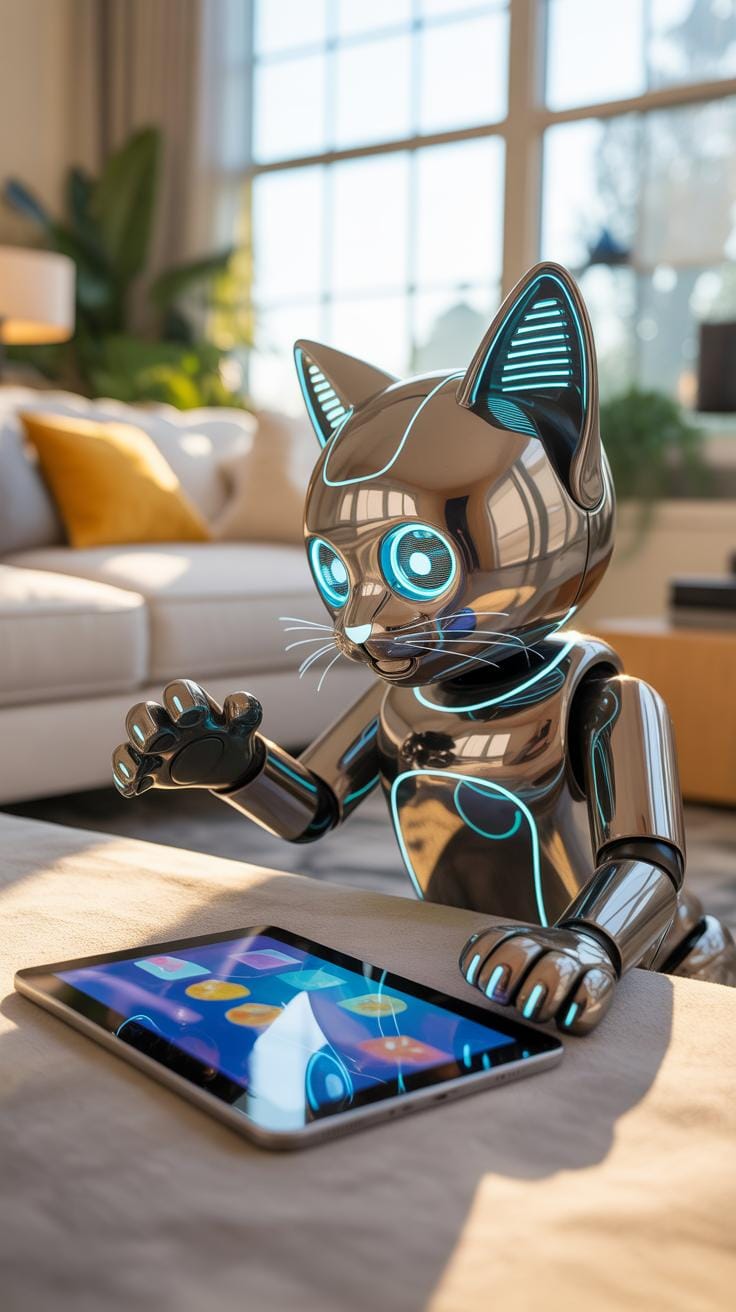
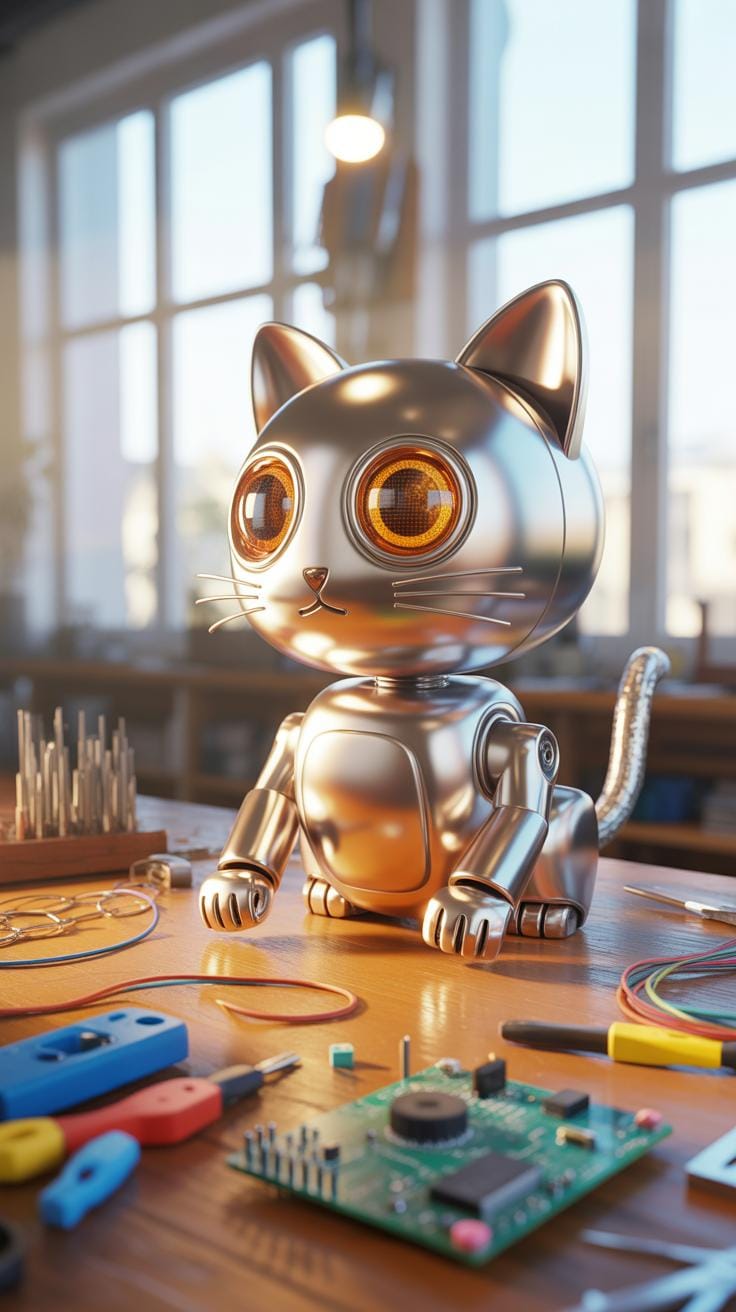
Modern electronics projects diy enthusiasts focus on how machines interact with living creatures. A cute cat robot mimics social behaviors to reduce feline boredom. These mobile platforms roll across hardwood floors or vibrate softly on a rug. They offer robotic pet inspiration by acting as a playmate for your pet. Mechanical movement keeps cats active and curious. Stationary designs provide comfort when you leave for work each day.
Some owners prefer a robo cat that responds to touch. These robots use sensors to detect your pets presence in the room. This interaction builds a bond between the machine and the animal. You can even integrate an automatic pet feeder diy kit into the base of the robot. This setup ensures your pet receives physical stimulation and food simultaneously. Consistent interaction helps domestic cats stay sharp and happy indoors.
Adding Expressive Features To Hardware
Adding expressive hardware makes a machine feel alive. Small OLED screens display blinking eyes to give your project a face. These visual cues turn plain metal into a friendly character. You might also add haptic motors inside the chassis to create a rhythmic purring sound. This tactile feedback makes the robot feel warm and inviting to your cat. Simple screens and motors create a friendly digital friend.
You can connect your robot to an rfid pet feeder system for better data. This ensures only your specific cat accesses the machine. Advanced builders use an arduino cat food dispenser to manage portion control through code. Writing pet feeder arduino code allows you to schedule snacks between play sessions. An arduino pet feeder combined with expressive eyes creates a complete robotic unit. These tiny details change the social dynamic of your home forever.
Frequently Asked Questions

Are diy cat electronic projects safe for my pet to use?
Safety is the top priority when building cat electronic projects. Always ensure all wires are tucked away or housed in a durable casing to prevent chewing. Use low-voltage components like an Arduino or Raspberry Pi to minimize electrical risks. Additionally, make sure any small parts are securely soldered or glued down so your curious feline doesn’t accidentally ingest them during playtime sessions with their new high-tech toy.
How do I start building a motion-activated laser toy for my cat?
To begin this project, you will need a microcontroller, a PIR motion sensor, and a low-power laser diode. Connect the sensor to the board so it triggers the laser whenever it detects movement. Writing a simple script to randomize the laser’s patterns will keep your pet engaged. These types of cat electronic projects are excellent for beginners because they teach basic coding while providing hours of autonomous entertainment for your indoor hunter.
Can I build high-tech pet gadgets on a limited budget?
Absolutely! You don’t need expensive equipment to create fun gadgets for your feline friend. Many people repurpose old computer parts or purchase affordable micro-controllers for under fifteen dollars. By using recycled cardboard for the housing and finding open-source code online, you can create impressive interactive toys without breaking the bank. It is an affordable way to blend home decor with modern technology while keeping your cat active and mentally stimulated.