Introduction
Vintage cameras offer a unique chance to enjoy photography with a touch of history. These cameras, dating back to the late 19th century and beyond, capture images in ways modern cameras might not. They provide a special experience for hobbyists and professionals alike who seek to connect with the roots of photography.
Using vintage cameras can enhance your hobby and allow you to capture memorable moments differently. This article walks you through their history, types, uses, and maintenance tips. You will also learn about collecting vintage cameras and how to restore and value them. Understand how vintage cameras can enrich your photography and keep memories vivid.
History of Vintage Cameras
Early Camera Designs
Long before cameras became a common household item, the idea of capturing light to create an image was explored through simple devices like the camera obscura. This was basically a dark room or box with a small hole, projecting an upside-down image outside onto a surface inside. It didn’t record images, but it set the foundation for understanding light and vision.
The real shift toward photography started when inventors began experimenting with light-sensitive materials. Early attempts to capture images involved chemicals that darkened when exposed to light. These processes were slow and tricky. The images were fragile, often disappearing quickly, and required long exposure times — sometimes hours. Still, these early experiments laid the groundwork for something far more practical.
Advances in Camera Technology
The invention of the daguerreotype in 1839 marked a significant jump. Suddenly, it was possible to capture sharper, more permanent images on silver-plated copper sheets. Exposure times dropped from hours to minutes, which was a big step forward. People could actually sit for a portrait without needing to stay perfectly still for so long — though it was still no quick snapshot.

Over the decades, exposure times kept shrinking as materials like film replaced metal plates. Cameras began to shrink too, becoming more portable and accessible. By the early 20th century, you could hold a camera in your hand and take pictures outside a studio setting. Each leap—whether emulsions that were more sensitive to light or shutters that opened and closed faster—changed how photography fit into everyday life.
Thinking about this evolution makes me wonder: How different would your experience with vintage cameras be if those early pioneers hadn’t taken so many risks with trial and error? It’s odd that sometimes progress feels random, yet it slowly shapes something usable and familiar.
Types of Vintage Cameras
Film-based Cameras
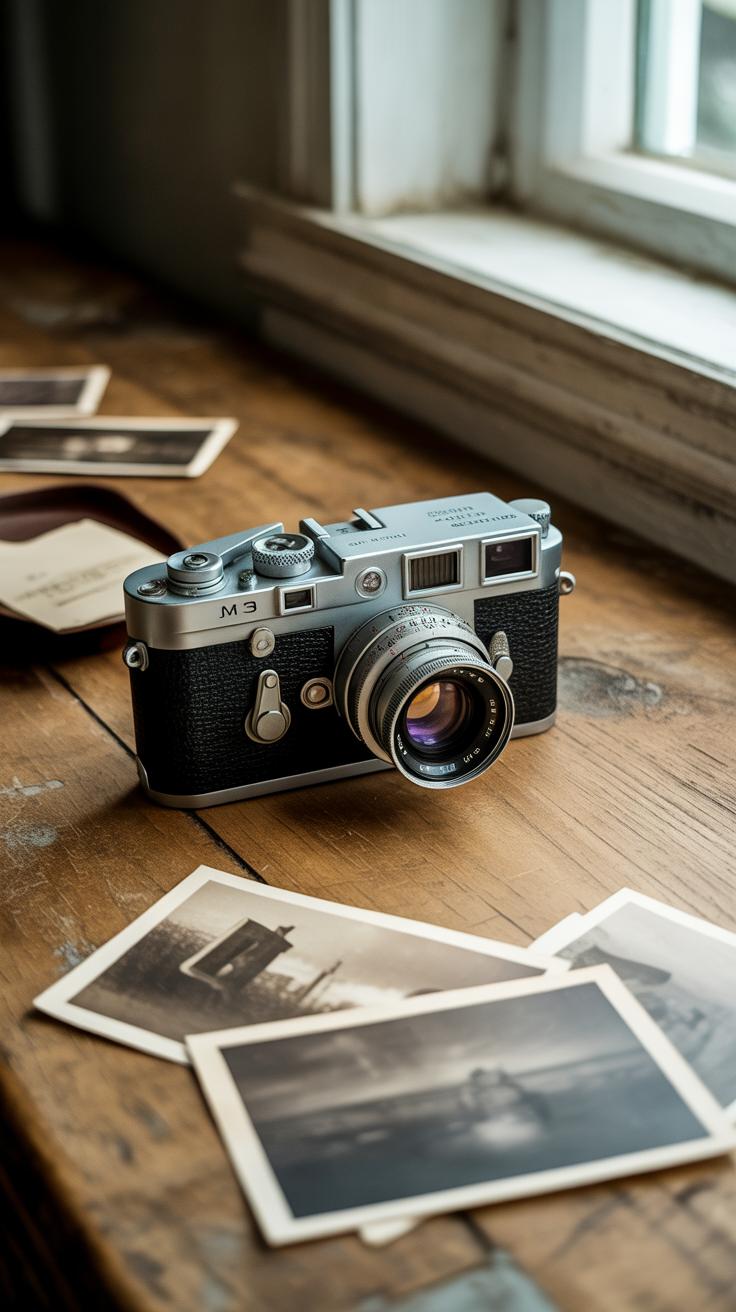
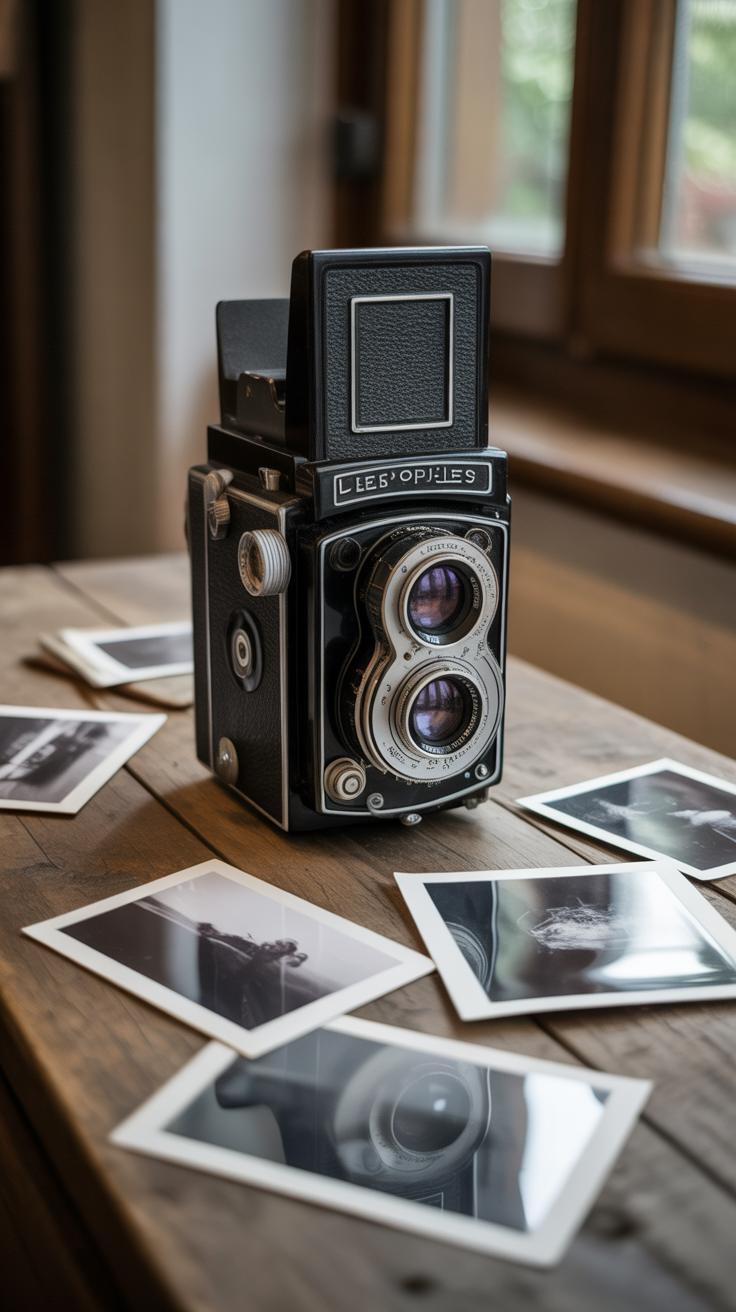
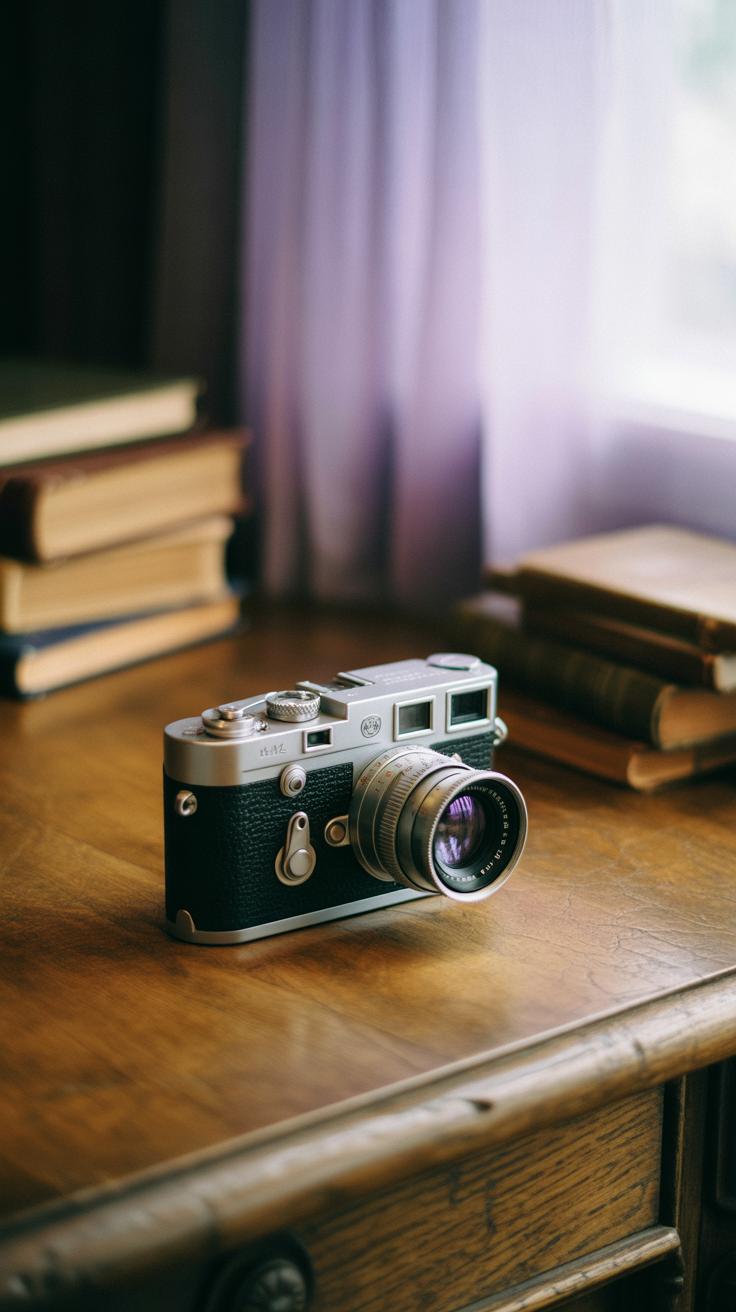
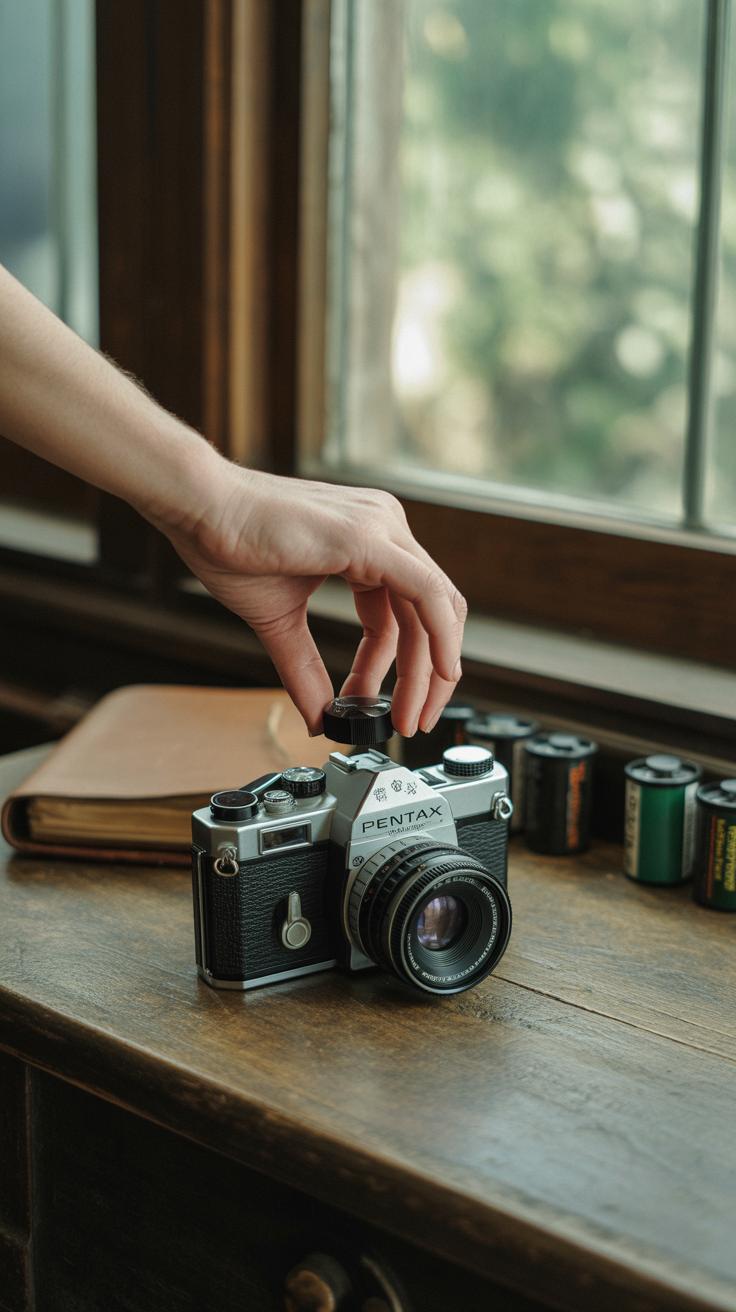
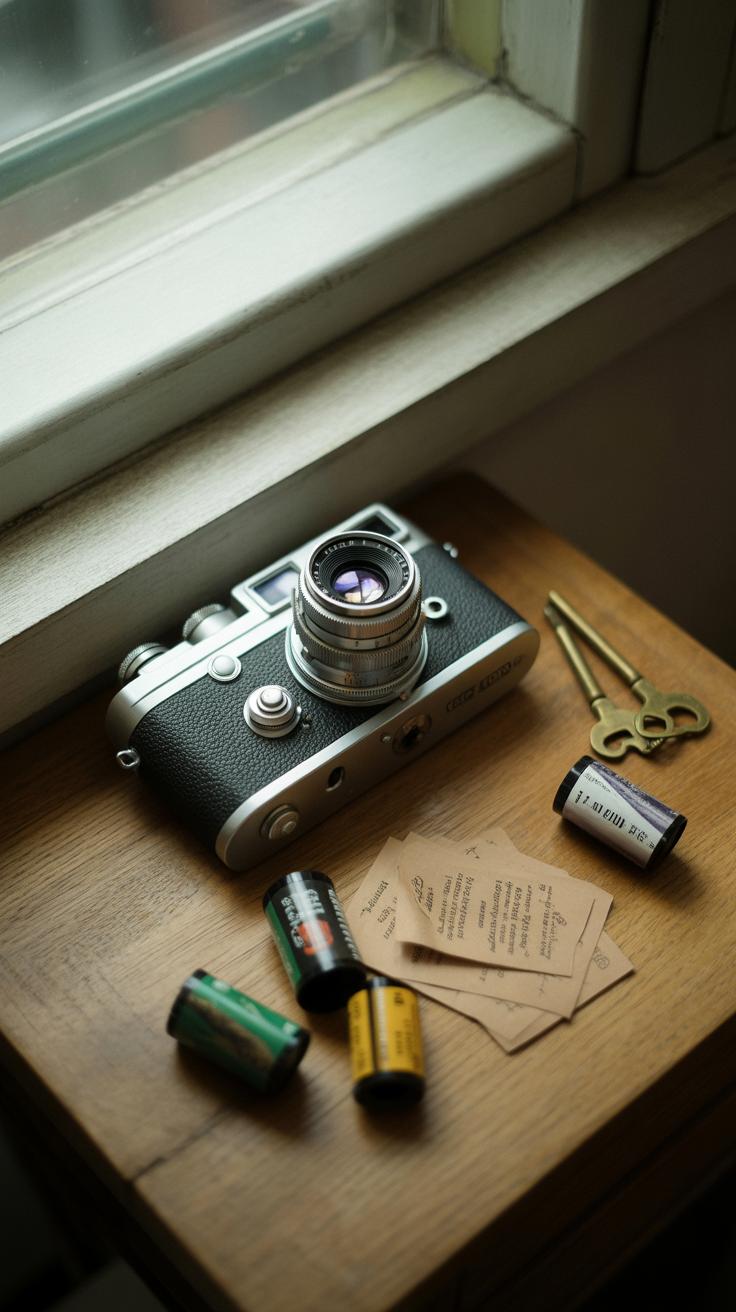
When you think of vintage cameras, film-based ones usually come to mind first. These come in a few recognizable types. Box cameras are simple, often rectangular, and known for their straightforward use. They usually had fixed focus and shutter speeds, making them easy for beginners but with limited control. Then there are SLRs, or single-lens reflex cameras, which let you see exactly what the lens sees through a mirror mechanism. They offered more control, like interchangeable lenses and adjustable settings. People often overlook instant cameras, but models like early Polaroids changed photography by delivering instant prints—a novelty that still charms today. These film-based options give you a tactile connection to your shots, although you’ll need to factor in film and developing.
Retro-style Digital Cameras
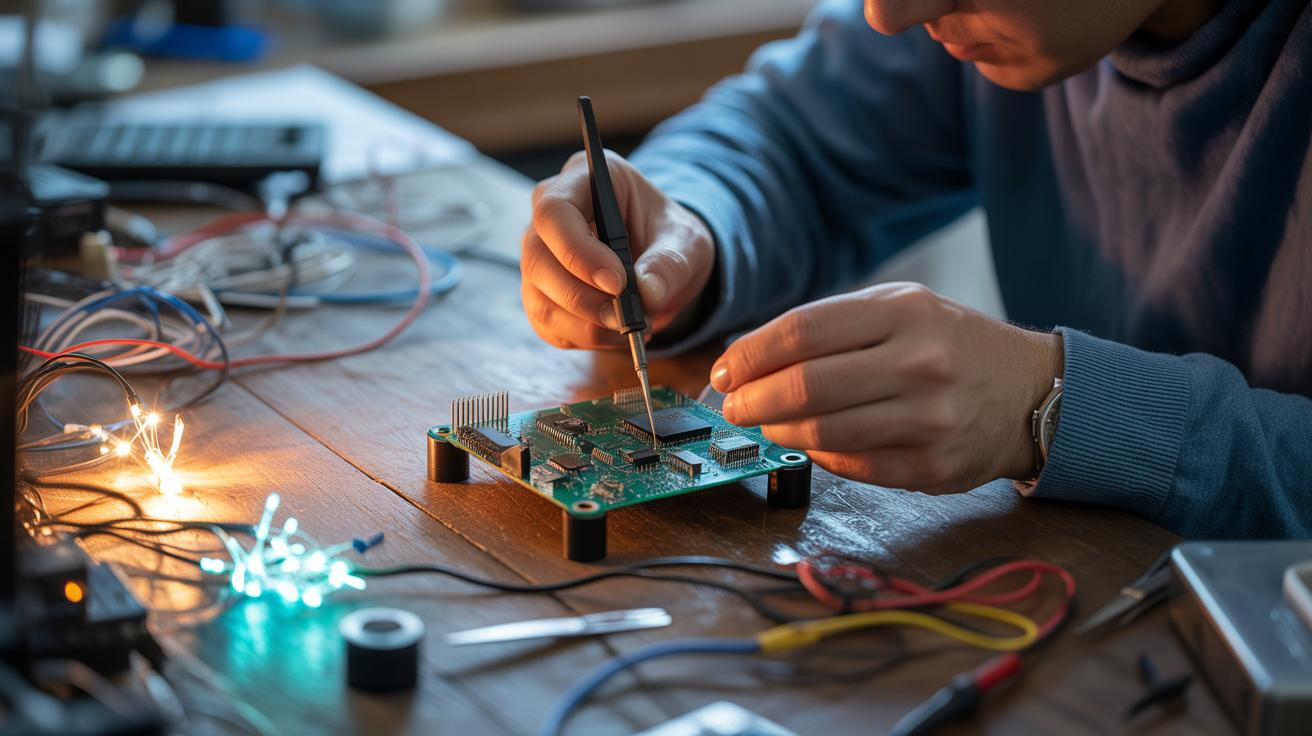
You might be surprised how some modern digital cameras mimic vintage design. These retro-style digital cameras often resemble classic rangefinders or SLRs, both in looks and feel. They combine nostalgia with new technology, usually packing contemporary sensors—like CMOS types—with features like LCD screens and USB ports silent in operation. I find it interesting how some users debate if these cameras really count as “vintage” or just style throwbacks. But they do offer a middle ground for those who appreciate vintage aesthetics but want digital convenience, especially if you dislike dealing with film’s unpredictability and costs. So, they might be a good choice—if you want the classic vibe but with instant feedback.
How Vintage Cameras Work
Film Exposure Basics
At the heart of vintage cameras lies the film—a light-sensitive strip that records images through exposure. When you press the shutter button, a tiny curtain opens briefly, letting light hit the film. The length of this opening, called the shutter speed, determines how much light reaches the film. A fast shutter speed freezes motion but lets in less light, while a slow one captures movement but risks blur.
The aperture, an adjustable hole in the lens, also controls light—sort of like your eye’s pupil. Smaller apertures mean less light and more depth of field, sharper background details. Larger apertures flood the film with light but blur the background. Balancing shutter speed and aperture takes patience and practice, maybe a sprinkle of trial and error, but that’s part of the charm.
Focusing and Framing
Unlike modern cameras, vintage models demand you to focus manually. Those neat focusing rings on the lens require you to judge distance, sometimes guided by distance scales or rangefinder mechanisms. Concentration is key—especially when light is low or your subject moves. It feels a little like guesswork, but it teaches you to observe your scene more closely.
As for framing, vintage cameras rely on optical viewfinders, simple windows showing almost exactly what the lens sees, though some have parallax errors depending on distance. You look through these finders to compose, making small adjustments before clicking the shutter. It might feel limiting compared to digital screens, yet this hands-on approach gets you thinking more about composition and timing. Have you noticed how that can make each shot feel deliberate, almost intentional?
Choosing Your First Vintage Camera
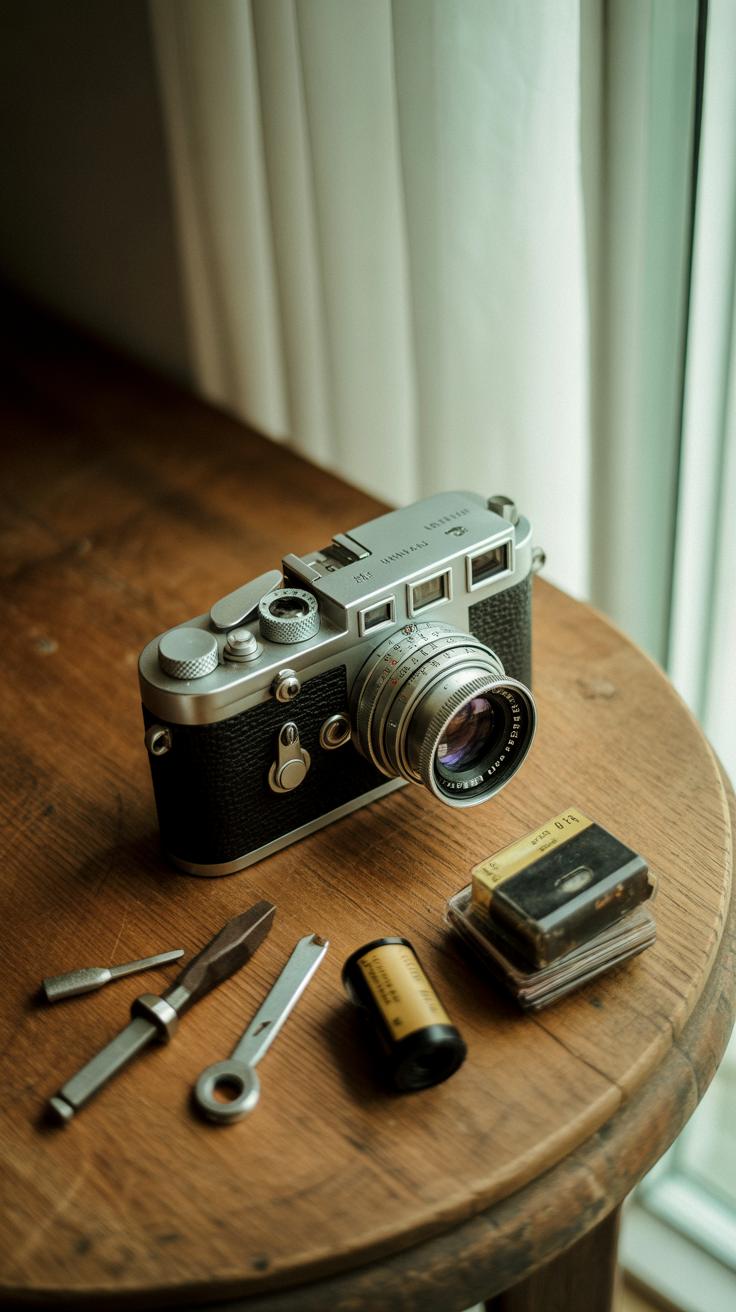
Picking your first vintage camera can feel a bit overwhelming. There are so many options, and you want something that works without breaking the bank. Start by focusing on the camera’s condition—look carefully for rust, stuck mechanics, or light leaks. These can be tricky to spot if you’re new, but a smooth shutter click and a clear, clean lens are good signs. Sometimes, the camera looks fine on the outside but struggles inside, so if possible, test it out, or see if the seller offers returns.
Next, consider the type of camera. Do you want something simple, like a basic 35mm SLR, or a rangefinder? Some cameras are easier to learn on, and frankly, the fewer settings you have to manage, the less confusing it might be at first. Think about what style of photography excites you most—it influences your choice.
Budget is a big factor. You don’t need to spend a fortune right away. Cameras from brands like Canon, Pentax, and Olympus often show up at reasonable prices and have decent support for parts and info online. You might find a great Nikon, too, but some models can get pricey fast. For beginners, aiming between $50 and $200 is usually a good place to start. Just keep in mind; sometimes, spending a little more upfront prevents headaches later.
Film Types and Formats
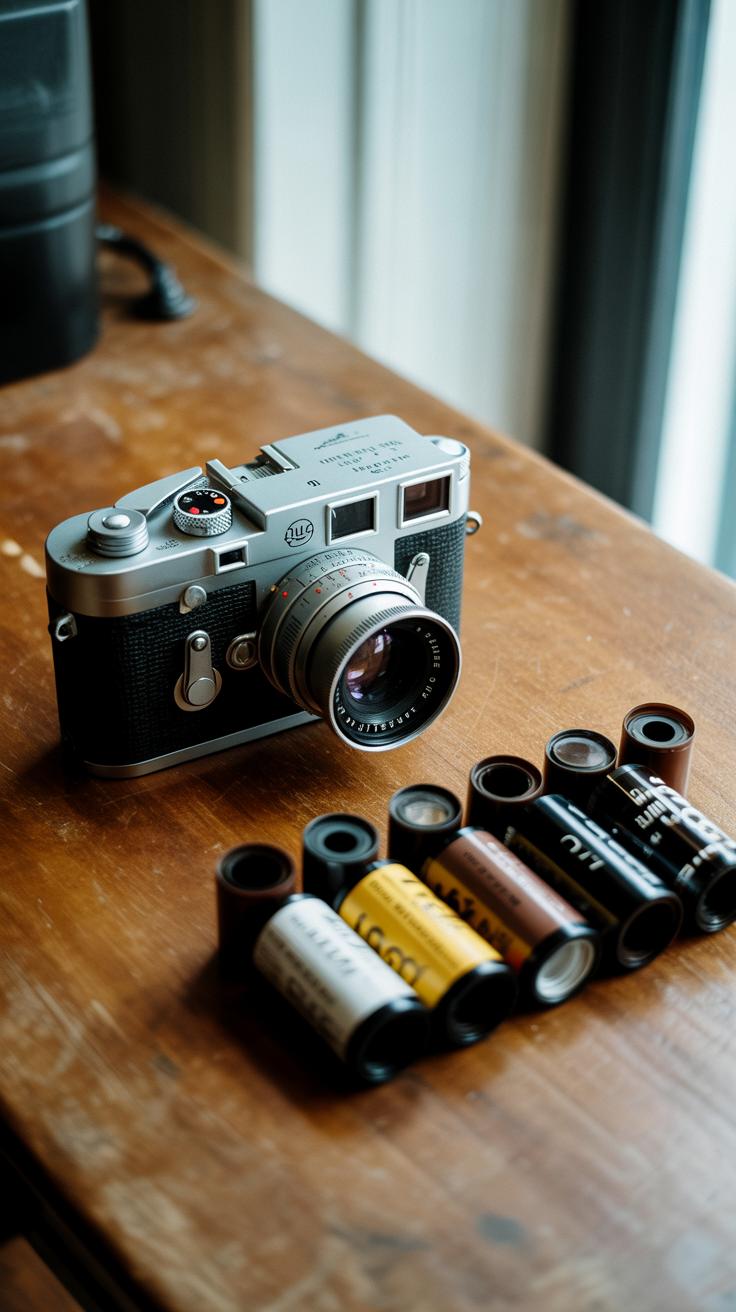
When you dive into vintage cameras, the world of film types can feel a bit confusing at first. But it’s actually quite straightforward once you get familiar with the main options and what they bring to your photography.
Common Film Formats
First up, 35mm film—probably the most popular and widely available. It’s compact, easy to load, and produces 24 or 36 exposures per roll. You might find it perfect for everyday shooting and street photography. The grain and sharpness can vary depending on the film brand and ISO, which adds some flexibility to your style.
Then there’s medium format film, which is larger—typically 120 or 220 rolls. Cameras using this film give you negatives that are physically bigger, resulting in more detail and smoother gradients. Portrait photographers tend to love this one, though the cameras can be bulky and the film more expensive. The extra size matters if you’re after really rich images.
Instant film is another interesting type that pairs with certain vintage Polaroid or Fuji cameras. It offers immediate results, which some find addictive. The downside? Limited shots per pack and higher running costs, but the unique look and instant gratification often outweigh that. Plus, it has a nostalgic appeal all on its own.
Choosing the Right Film
Picking film isn’t just about what fits your camera, though that’s crucial. Think about the vibe you want to create. Want crisp, classic images? Try a fine-grain 35mm black-and-white film. Craving rich colors with a bit of softness? Maybe medium format color negative. And if you’re experimenting or want that quirky vintage instant feel, instant film is the go-to.
Also, consider ISO—you might want faster film indoors or at dusk, slower film for bright daylight. Don’t be surprised if you stray from your initial plan once you start shooting; sometimes, that unplanned detail makes all the difference.
Using Vintage Cameras Today
Getting started with a vintage camera might feel a bit tricky at first, especially if you’re used to digital’s instant feedback. But once you get the hang of loading and unloading film, the process becomes second nature. Here’s how you can handle it carefully:
Loading and Unloading Film
Open the camera’s back by releasing the latch or sliding the lock—this depends on your model. Take your film roll and gently place it into the film chamber, making sure the spool fits snugly. Pull the film leader across to the take-up spool and insert it properly, so the sprockets catch the perforations. Advance the film a bit using the winding lever or knob to ensure it’s tightly secured.
Closing the back should lock the film in place. After shooting, rewind the film all the way before you open the back again. This prevents exposing your film to light, which would ruin your shots. It’s a slow process, especially for beginners, but patience here really pays off.
Shooting Tips
Lighting plays a huge role. Vintage cameras often lack built-in light meters, so it helps to have a handheld light meter or rely on natural light as much as possible. Bright, even lighting reduces guesswork.
- Set your exposure carefully. If your camera has manual settings, start with ISO matching your film speed, then adjust shutter speed or aperture as needed.
- Use smaller apertures like f/8 or f/11 for sharper details, but watch your shutter speed doesn’t get too slow—handheld shots may blur.
- Composition matters more here since you won’t see the image until after development. Taking your time to frame the shot thoughtfully often results in more deliberate, interesting photos.
- Practice shooting slower—vintage cameras encourage a reflective pace, something I personally find rewarding but occasionally frustrating.
- If your camera has zone focusing, it helps to pre-set focus distances to save time and avoid missed shots.
Do you find the slower pace changes how you approach a scene? Sometimes, it makes you notice details you’d otherwise overlook. Or maybe it just makes you feel cautious, unsure if you’ve got it right. That’s part of the charm—and challenge—of using these classic tools today.
Maintaining Vintage Cameras
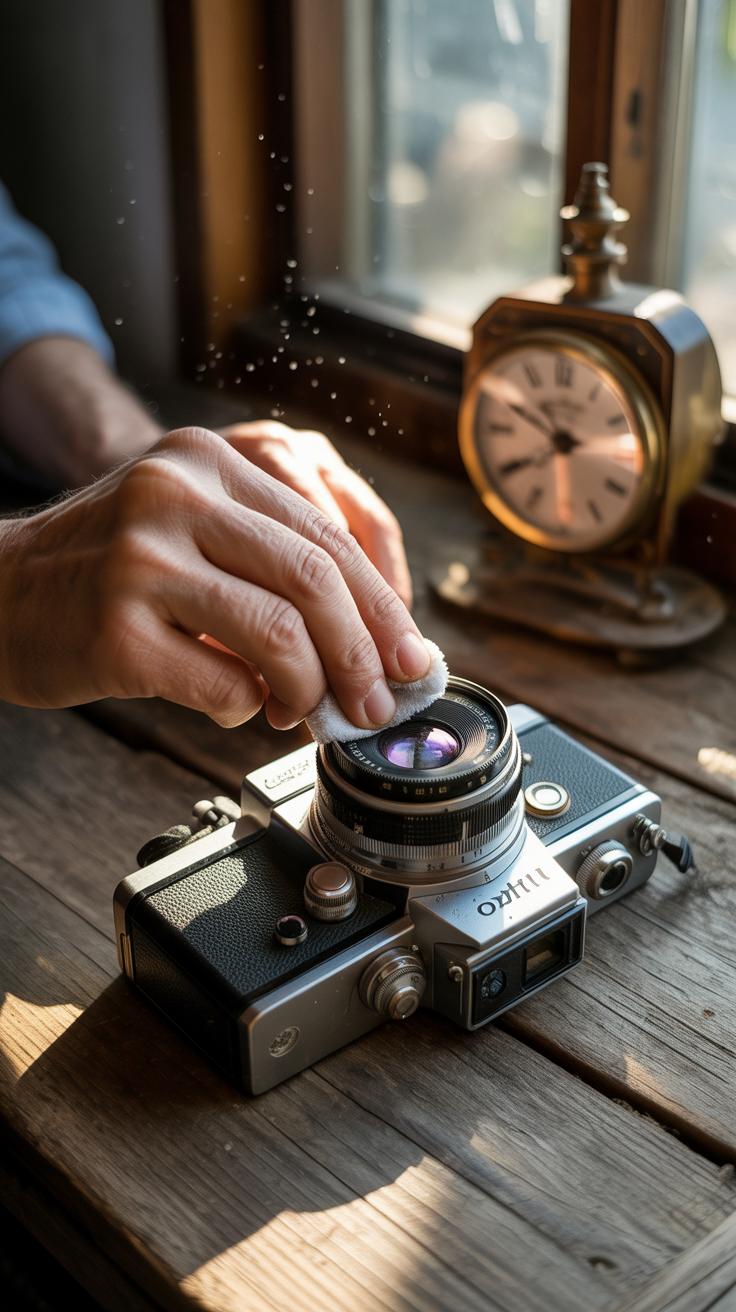
Keeping a vintage camera in good shape isn’t always straightforward. It takes some attention and care, but—if you’re cautious—it’s manageable. You’ll want to start with regular cleaning routines to avoid grime build-up, which can sneak in unnoticed if you’re not careful. For lenses and viewfinders, avoid harsh chemicals or rough cloths. Instead, use a soft microfiber cloth paired with a small amount of lens cleaner or even just a bit of distilled water. Gently wipe in circular motions, teasing out smudges rather than scrubbing.
The camera body can be trickier. Flecks of dust or dirt can sometimes get stuck in tight seams, so a soft brush or a gentle blower helps here. Avoid excessive moisture since it can damage older materials. I’ve caught myself overdoing it once—lens cleaner on a leatherette cover—which wasn’t the best idea.
How you store your camera might matter just as much as how you clean it. Mold and dust love dark, damp spots, so lean toward a dry, well-ventilated space with limited temperature swings. Think about using silica gel packets to keep humidity low inside your camera bag or case. A padded case helps protect the camera from knocks but also traps humidity if left in a closed room. You might want to open storage regularly, giving your gear some fresh air even if you don’t plan on shooting for a while.
Ultimately, it’s a balance between caution and attention. Do you notice any spots or grime forming more quickly than you expected? Then that might mean adjusting your care routine a bit. Vintage cameras are delicate, but they respond well to thoughtful maintenance. Sometimes, just handling them with care goes a long way—all that cleaning routine matters less if you drop it once! But of course, who hasn’t been there.
Restoring Vintage Cameras
When a vintage camera feels a bit off, or simply won’t work as it should, restoration can bring it back to life. Some fixes are surprisingly simple, and you might manage them on your own without much fuss.
Basic Repairs
Take sticky shutters, for example. They often get stuck because of old, dried lubricant or dust buildup. A small amount of specialized lubricant or gentle cleaning with a soft brush can sometimes free things up. Light leaks—those pesky streaks or patches of unwanted light—often come from old, cracked seals. Replacing foam light seals is something you could try at home with a kit available online. It’s fiddly, yes, but not impossible if you’re patient. Also, check the viewfinder glass and lens elements for dirt or haze; cleaning carefully with a microfiber cloth can improve your shots immediately.
Still, some repairs go beyond quick fixes. If you poke around in a camera’s mechanism, it’s easy to make things worse. Sometimes you’ll hit a roadblock that a DIY approach won’t fix.
Finding Experts
For those more complicated cases—faulty shutters that won’t cock, jammed film advance levers, or broken rangefinder alignment—you’ll want a professional. Finding reliable restoration specialists can take some digging. Look for camera shops with vintage expertise or search online communities for recommendations. Many restoration pros share before-and-after photos of their work. That’s a useful way to judge their skill and honesty.
Don’t hesitate to ask about their process, turnaround time, and costs upfront. Some offer full disassembly, cleaning, and parts replacement to restore function, but that can take weeks and may be pricey. Still, it’s often the best route if you want a vintage camera that performs like new.
At times, balancing how much you invest in restoration versus the camera’s value or sentimental weight feels tricky. But getting a camera working well again can change your whole experience of using it. Have you ever thought about how much the feel of a smooth shutter release matters? It might be worth a few careful hands to bring that back.
Collecting Vintage Cameras
Building a Collection
Starting a vintage camera collection can feel a bit overwhelming at first. You might wonder where to begin—should you focus on a specific brand, era, or type of camera? It helps to pick something that genuinely interests you, whether that’s old folding cameras, classic rangefinders, or iconic SLRs from the ’60s. Then, start small. Look for affordable models that still represent what you want in your collection.
Places to find cameras vary—from flea markets and online auctions to dedicated camera shops. Each has its quirks: flea markets might surprise you with a rare find, while shops often provide some guarantee on the condition. Patience matters here; you may pass on some tempting offers, waiting for that right piece.
Evaluating Value
Figuring out what makes a vintage camera valuable isn’t always straightforward. Rarity plays a huge role—cameras produced in limited numbers tend to be more sought after. But condition really influences price too. A well-preserved camera with original parts can fetch more, even if it’s not rare.
The brand can add weight as well. Some names carry prestige—Leica, Hasselblad, Nikon—though the appeal sometimes depends on personal taste and the story behind the model. Sometimes, a less-known brand surprises you with a feature or design that collectors love.
Keep in mind that value is part nostalgia, part market demand, and part sheer luck. You might find yourself questioning if a dusty, worn-out camera is worth holding on to. But that’s where collecting feels a bit like a puzzle—you try to make sense of the mix and find the pieces that matter most to you.
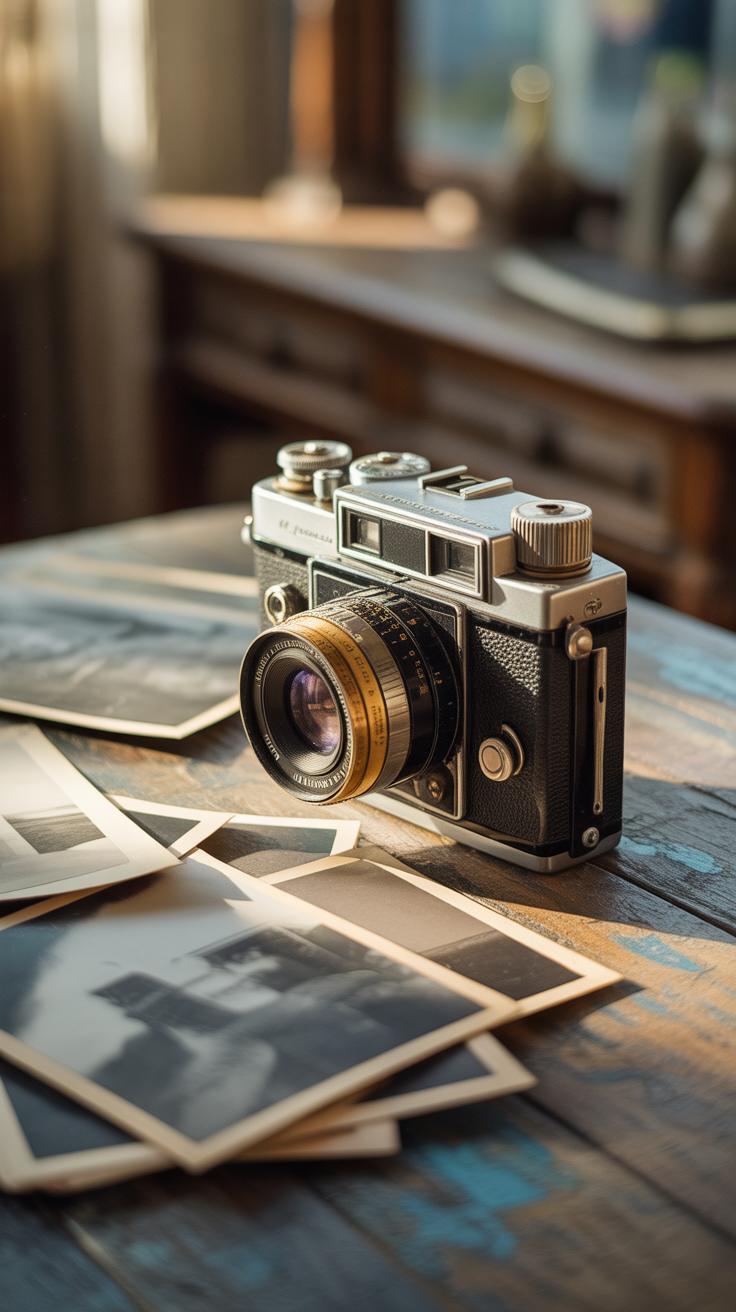
Capturing Moments with Vintage Style
Using vintage cameras changes the way you see and take photos. These cameras don’t just snap pictures; they encourage patience and thoughtfulness. You have to manually set focus, adjust exposure, and sometimes guess light levels, which slows you down. This process often leads to more intentional shots, each frame feeling like a little project rather than just a quick capture.
The images themselves carry a distinct character—grain, soft edges, and color shifts that digital cameras usually avoid. That faded look or slight blur adds a sense of nostalgia and authenticity. You might notice dust specks or light leaks, which aren’t accidents but part of the charm. It’s as if the photos hold stories beyond the moment they were taken.
Working with vintage gear can push you toward new creative ideas. Limited frames make you consider composition carefully, and unpredictable results can nudge you toward experimental angles or lighting. Sometimes, the quirks of the camera or film inspire styles you hadn’t before imagined. Do you focus on black and white, or chase the unpredictable effects of expired film? The choice can suddenly feel wider, maybe even a little freer than digital monotony.
Conclusions
Vintage cameras remain important for anyone who loves photography. They represent more than tools; they reflect craftsmanship and history. By learning to operate these cameras, you discover a rewarding creative process that requires patience and skill. Their distinct look and feel help capture moments timelessly.
If you take care of your vintage cameras and learn their features, you open a door to a fulfilling hobby. Whether shooting with film or using retro-style digital versions, vintage cameras teach valuable lessons and strengthen your photography skills. Embrace this journey and make your photographs stand out with a classic touch.