Introduction
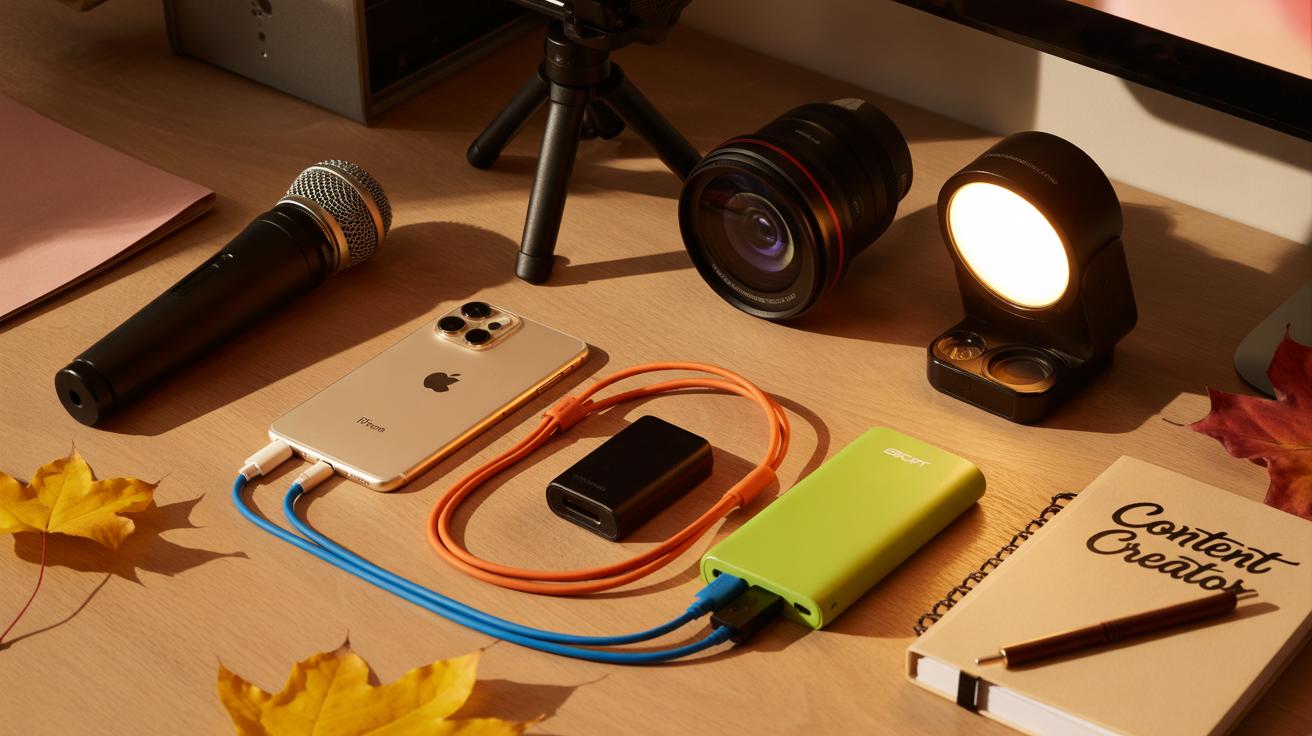
Every mobile creator wants to get the best from their Iphone. The right accessories can help you capture better photos, record clearer audio, and edit more efficiently. These tools add new functions to your device and improve your creative process.
Explore Iphone accessories every mobile creator should try. This article covers different useful accessories like cases, lenses, microphones, tripods, and more. You’ll find practical advice on how each accessory can help you work better and create impressive content right from your Iphone.
Protective Cases to Keep Your Iphone Safe
Types of Cases and Their Benefits
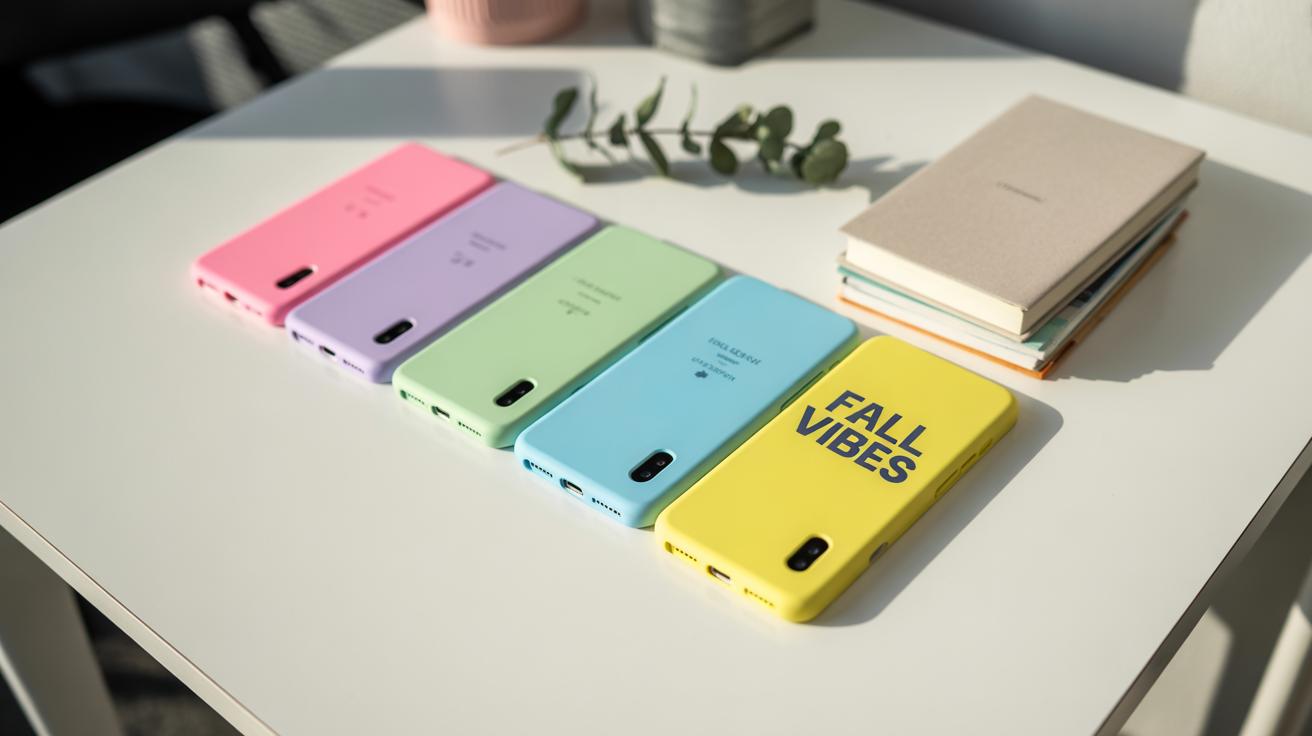
When it comes to protecting your iPhone while staying creative, the case you choose matters quite a bit. There are folio cases, which feel like a small notebook. They protect the screen and sometimes have pockets for cards—handy if you like to carry less but want some storage. For creators often on the move, these cases offer decent protection without bulk, though they might slow quick camera shots.
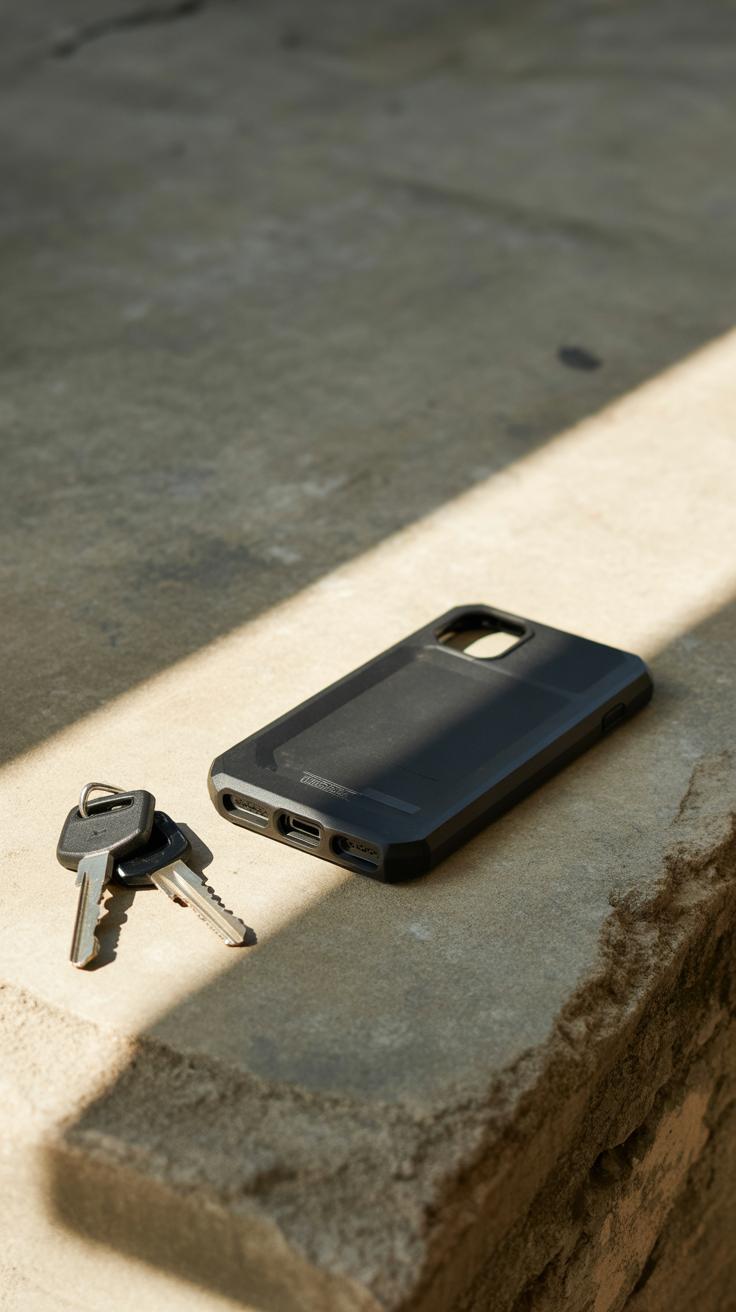
Rugged cases are another option. They look tough, and they really are. Designed to absorb shocks and drops, they suit creators working outdoors or in busy environments where accidents happen. They add bulk, sure, but they make you less anxious about your phone slipping from your hands—or worse, hitting concrete.

Battery cases can be a lifesaver when you’re filming long shoots or editing on the go. They add weight but ensure your iPhone lasts longer without searching for an outlet. Some models even feature extra buttons or tripod mounts, which can feel surprisingly useful when you’re focused on capturing the perfect shot.
Choosing the Right Case for Your Needs
Picking the right case isn’t just about looks. Think about how you work. If you mostly shoot in calm settings or studios, a slim folio case might be enough. It combines protection with a sleek profile, so your phone still fits comfortably in pockets. But if you’re often in unpredictable places—say, hiking or shooting street scenes—a rugged case could save you a costly repair.
Consider how often you use your iPhone for long sessions too. If battery life runs low before you finish, a battery case may feel like a practical choice. Otherwise, the extra bulk might get in the way of your creative flow. You might want to juggle protection with ease of use, especially when switching between tools or accessories quickly.
Ultimately, ask yourself: did I drop my phone recently? Am I patient enough to deal with a bigger case? How important is screen protection versus camera access? There’s no one-size-fits-all answer. Trying different styles may reveal what truly fits your work style.
Camera Lenses to Upgrade Your Iphone Photography
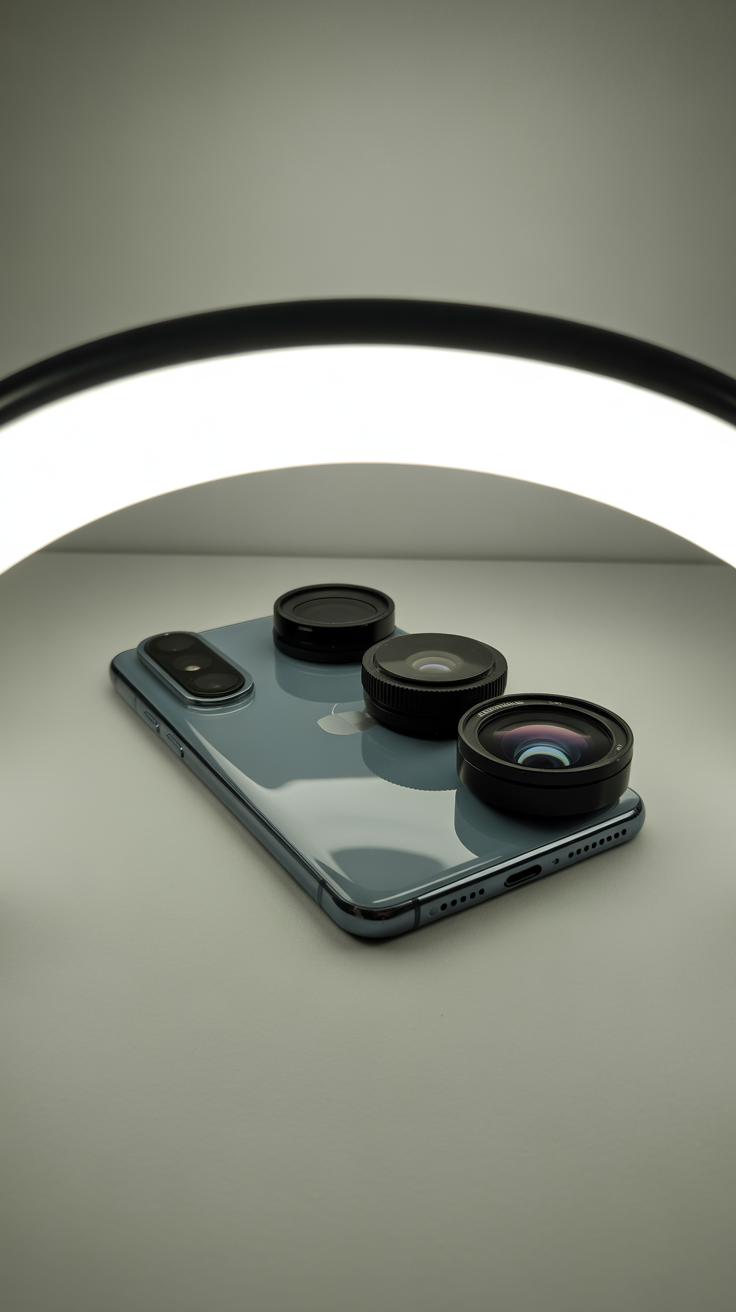
Add-on lenses for your Iphone can change the way you shoot, making your photos more creative and sharp. These small attachments clip or magnetically stick to your phone’s camera, giving you new perspectives beyond the built-in lens. If you’ve ever felt limited by the regular view, trying out these lenses can truly open up different possibilities. I’ve found it’s sometimes surprising how much detail and range you can gain from something that fits in your pocket.
Types of Add-On Lenses
There are a few popular types worth considering:
- Wide-angle lenses let you capture more of a scene. Perfect for landscapes or group shots where you don’t want to back up endlessly.
- Macro lenses bring tiny details into focus—think insects, textures, or anything minute that you want to explore up close.
- Telephoto lenses provide optical zoom beyond your Iphone’s default, letting you get closer to distant subjects without losing image quality.
Each has its quirks and ideal uses. The wide-angle might distort edges a bit, but that sometimes adds character. Macro can get super close, though the tiniest movement can blur the shot if you’re not steady.
How Lenses Improve Your Shots
These lenses do more than just stretchy or zoom the frame. Wide-angle lenses give your photos a fresh perspective, great for storytelling with environmental context. Meanwhile, macro lenses reveal a hidden world you can’t usually see with the naked eye. Telephoto lenses help you catch candid moments without interrupting the scene.
With a wide-angle lens, you might capture the entire skyline instead of a partial view. I remember trying macro on a leaf’s intricate veins—it felt like discovering a new planet. And telephoto lenses are especially handy during events or wildlife shots, where getting too close isn’t an option.
So, do you want to push your Iphone photography beyond basic shots? Experimenting with these lenses can make a noticeable difference, nudging your creativity in directions you hadn’t considered before.
External Microphones for Clear Audio Recording

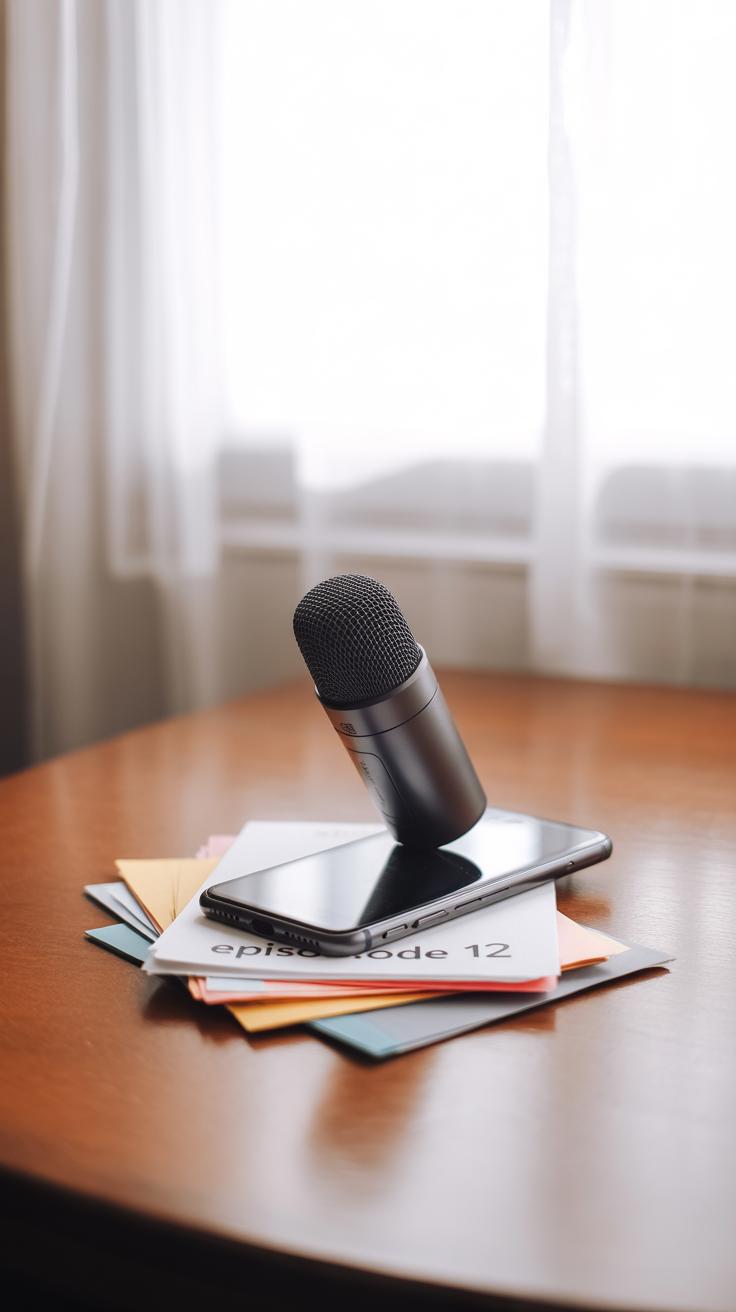
When shooting videos or recording audio on your iPhone, the built-in microphone often falls short. The sound can feel distant, muffled, or pick up unwanted background noise. That’s where external microphones come in—they connect directly to your iPhone and deliver notably better audio quality. If you care about clear, crisp sound, using an external mic is almost mandatory.
There are different types to consider, each suited for distinct needs. Lapel mics, also called lavalier microphones, clip onto your clothing and capture your voice closely without being intrusive. They are great for interviews, vlogging, or anytime you want hands-free audio. Shotgun mics, on the other hand, point straight at the sound source and reject noise from the sides, making them useful for outdoor shooting or capturing dialogue from a distance.
Wireless microphones add flexibility—especially when you’re moving around or filming in places where a cable could get in the way. They usually pair via a receiver plugged into the iPhone. So, if you want freedom of movement and consistent sound, wireless options can be worth exploring.
You might wonder when exactly it’s worth switching to an external mic. I find that simple talking-head videos benefit the most, especially in noisy environments. If you’re filming outdoors and wind or traffic intrudes, shotgun mics help isolate the voice. For tutorials or interviews, lapel mics keep the sound consistent, even if the person moves around. Wireless mics are a lifesaver during action shots or events where you can’t stay close to the phone.
Without an external mic, audio quality can feel like an afterthought—but it’s half the experience. If you’re serious about mobile content, trying out one or two kinds of external microphones might surprise you. Which type suits your style best depends on your setup, but having clearer sound can turn an average video into a professional-looking one.
Tripods and Stabilizers for Steady Shots

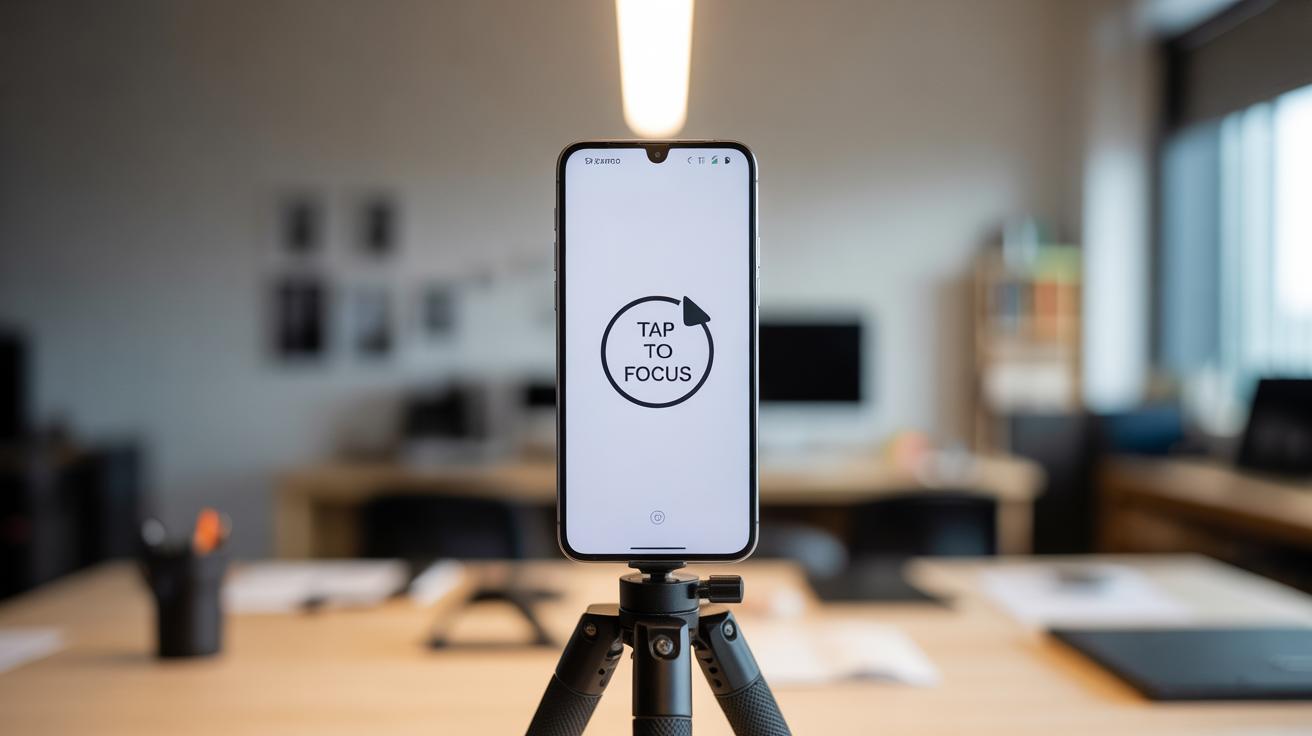
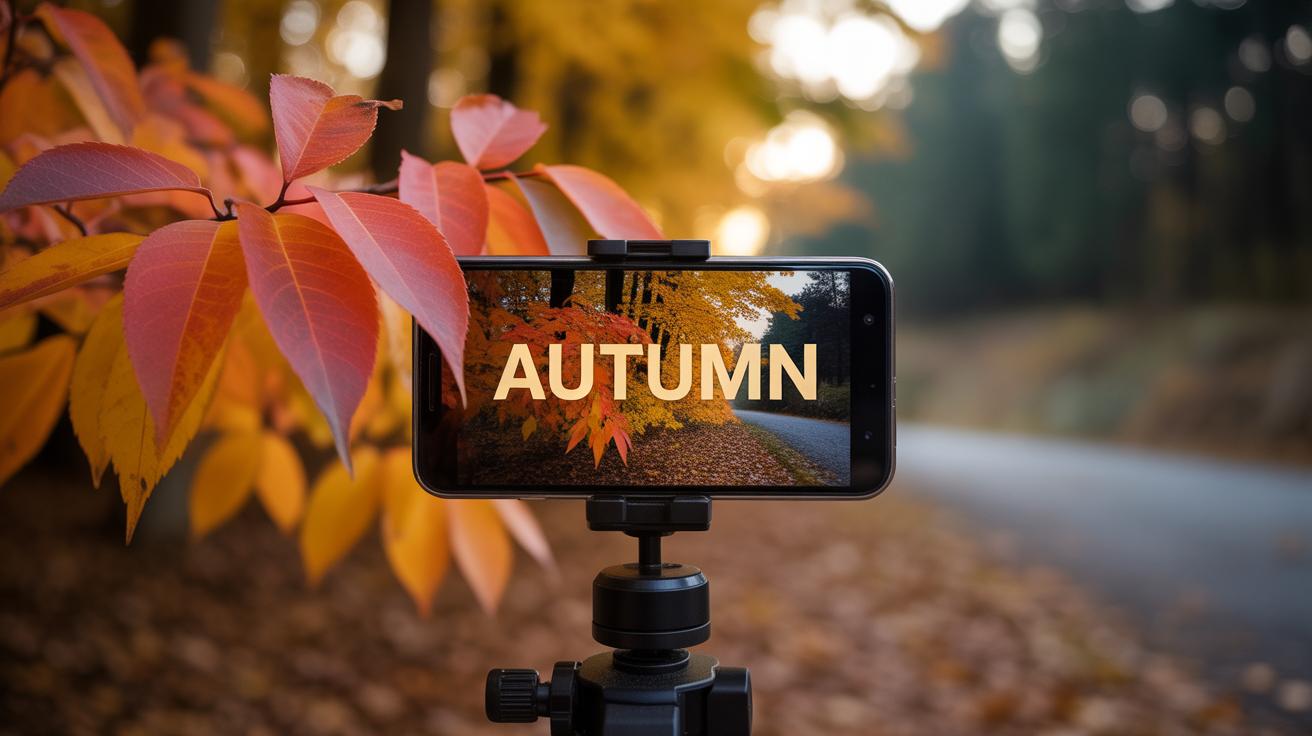
Keeping your iPhone steady during shooting is more than just helpful—it’s almost necessary if you want clean, professional-looking videos. Even the slightest hand tremor can make your shots look shaky or amateurish, which is frustrating when you’ve worked hard on a scene. Stabilization tools like tripods and gimbals help eliminate that unwanted movement so your footage looks smooth and polished.
Choosing a Tripod or Gimbal
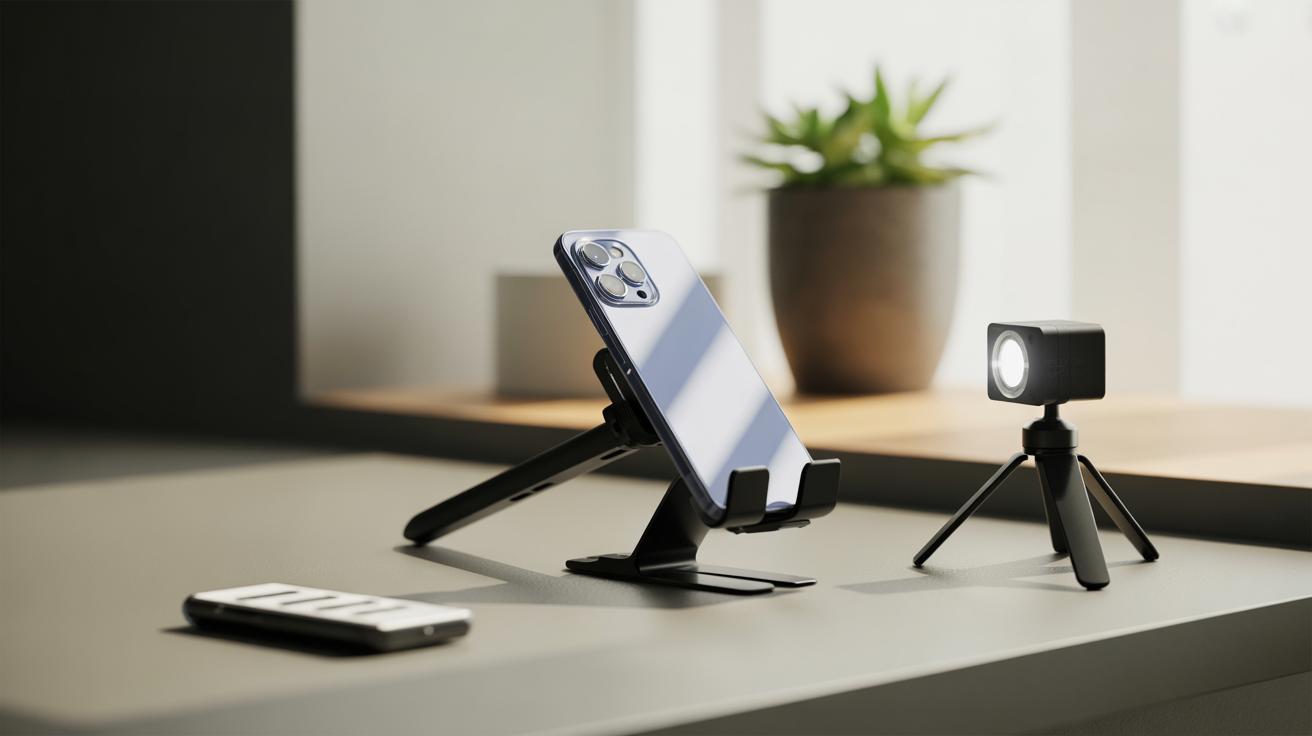
There are many tripods made just for mobile phones, ranging from tiny flexible legs you can wrap around objects, to larger, sturdier options with adjustable heights. Flexible tripods are great for quick setups—you can attach your phone almost anywhere, from tree branches to railings. On the other hand, traditional tripods offer more height and stability but can be bulkier to carry. Gimbals are a bit different—they actively stabilize your phone using motors and sensors. They’re perfect for dynamic shots, following movement without that annoying jitter. Although gimbals tend to cost more and require some charging, they can completely change how smooth your videos look.
Tips for Steady Filming
To get the best result, start by mounting your iPhone securely—never underestimate how a loose grip can ruin a shot. When hand-holding, fix your elbows close to your body and move slowly. On a tripod, adjust the legs until the setup feels solid. With gimbals, remember to balance your phone before turning it on; this takes a bit of patience but pays off in smooth footage. Also, try to plan your moves—quick pans or sudden tilts will still show some jerkiness, even with stabilization. And, if you’re walking, think about bending your knees slightly to absorb movement rather than stiff legs transferring every step vibration into the video.
Portable Lighting to Improve Image Quality
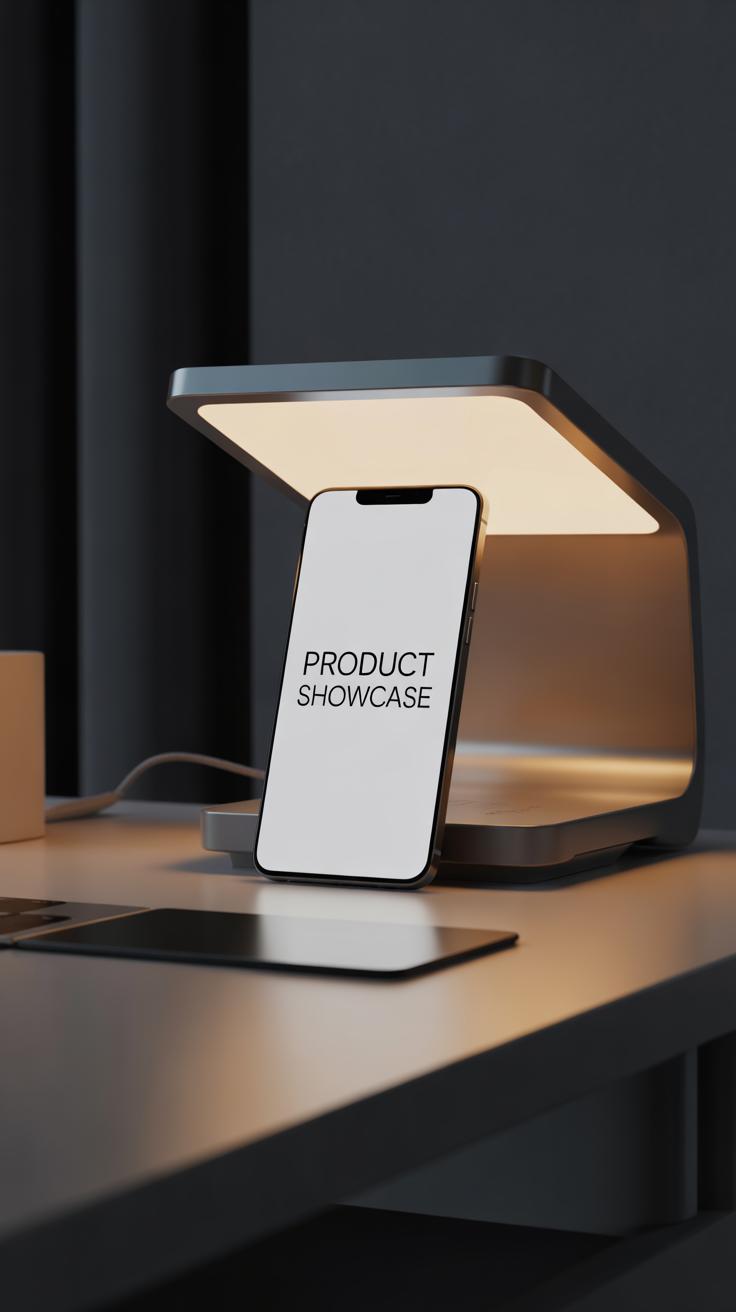
Lighting often makes or breaks a shot, especially when you’re working with an iPhone camera. Natural light isn’t always available or reliable, so having a compact light source can really change the game. Small accessories that clip onto or sit alongside your iPhone help you take control over your shooting environment. I’ve found that even a simple LED panel can lift flat or dull footage into something more vibrant.
Types of Portable Lights
There are a few main types you might want to explore:
- LED light panels – These are small, slim, and usually battery-powered. They offer adjustable brightness and sometimes color temperature, which helps in matching different lighting conditions.
- Ring lights – Popular for portraits and vlogs. They give a soft, even glow and create eye-catching circular catchlights in the eyes.
- Clip-on lights – Very portable, these attach directly to your phone and provide front-facing illumination, perfect for selfies or close-up shots.
You might even come across flexible light strips or mini spotlights. Choosing one depends on your style, but I think starting with an LED panel is a safe bet.
Using Lighting Effectively
Having good lights is one thing, but knowing how to set them up is another story. For instance, you generally want your light source angled from the side or slightly above your subject to avoid flat and lifeless images.
Don’t just aim the light straight at your face or object; try different angles to create depth and shadows that add dimension. Moving the light closer intensifies brightness but shrinks the spread, so adjust distance carefully. Sometimes mixing ambient light with your portable accessory works better than relying on the light alone.
One tip I’ve picked up is to experiment with diffusers or even a simple white cloth over lights to soften harshness—your phone’s camera often benefits from that. Positioning these tools takes patience, but once you get the hang of it, your images and videos will look noticeably cleaner and more professional.
Storage Solutions to Expand Capacity

When you’re shooting tons of photos or videos on your iPhone, storage quickly becomes a headache. The built-in space can fill up faster than you realize, especially if you work with high-resolution content or 4K video. That’s where external storage accessories come in. They offer a way to keep creating without constantly worrying about running out of room.
Options to Expand Your Storage
There are a few types of devices to consider:
- Wireless drives: These connect via Wi-Fi and let you transfer files without cables, which is great if you want to avoid carrying extra adapters. Though wireless speeds sometimes feel a bit slow, they do the trick when you’re on the move.
- Memory cards: While iPhones don’t have direct SD card slots, there are card readers that plug in through the Lightning or USB-C port. They’re handy, especially if you use a DSLR alongside your iPhone and want to consolidate all your files.
- USB flash drives: Some flash drives come with both Lightning/USB-C and regular USB plugs, allowing easy transfer between your iPhone and computer. I’ve found these pretty useful for quickly offloading footage after a shoot without involving cloud storage, which can be slow and unreliable.
Managing Files Efficiently on the Go
Carrying extra storage is only part of the solution. How you manage your files matters just as much. Here are a few tips I’ve picked up:
- Keep a clear folder system on your external drive. It saves time hunting through random files later.
- Transfer files regularly rather than waiting till your iPhone is totally full. It avoids backup headaches and potential data loss.
- Use Apple’s Files app or third-party alternatives designed to work with external storage. They simplify browsing and moving files without constant syncing.
It can feel a bit clunky at first to juggle external storage on a phone, but with some patience, it opens up new creative freedom. Have you tried using wireless drives or multi-port flash drives with your iPhone yet? They might change how you think about your phone’s storage limits.
Editing Tools and Apps Compatible with Iphone Accessories
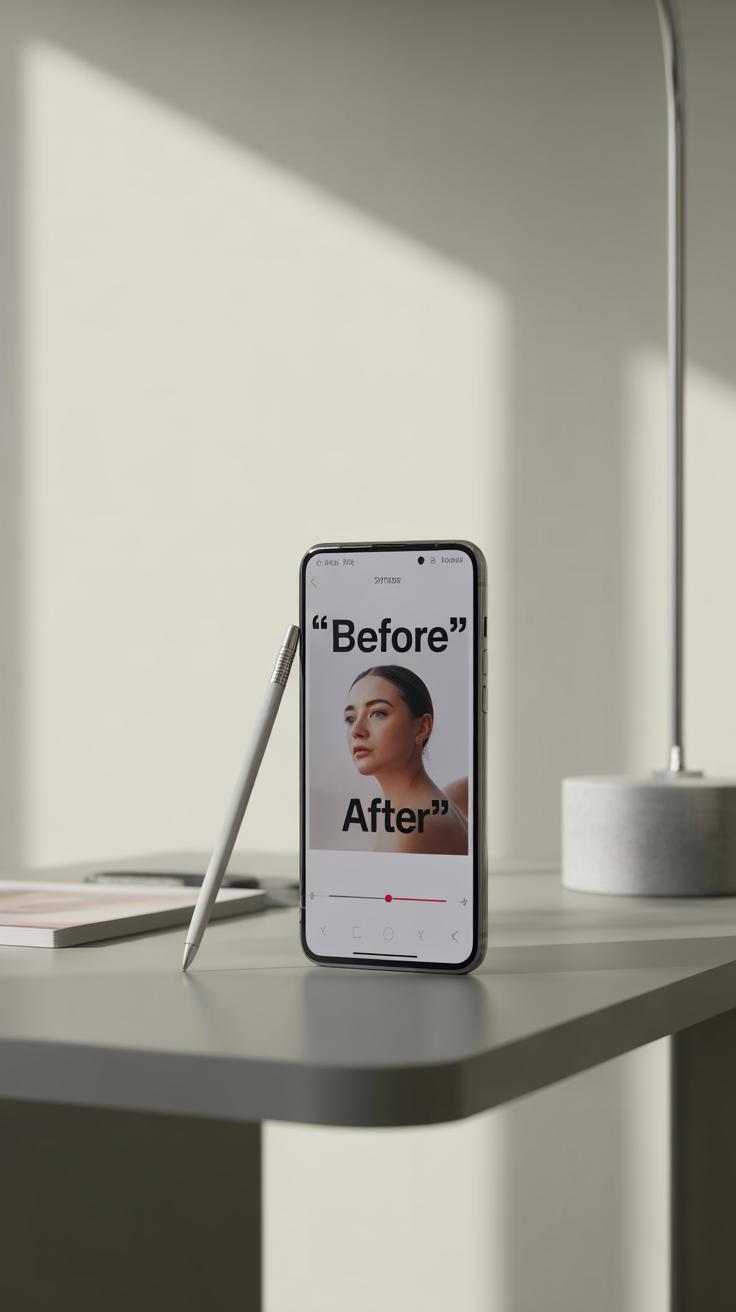
When it comes to editing photos and videos on your iPhone, the right software can make all the difference—especially when it works well with your accessories. For instance, apps that support pressure sensitivity and palm rejection really shine when paired with a stylus, helping you edit with more control than just your finger. Some of these apps also respond better to keyboard shortcuts, letting you speed through tasks that would otherwise slow you down on a touchscreen.
Popular Editing Apps for Iphone Creators
Picking an editing app isn’t always straightforward, but some stand out by syncing smoothly with external tools. Here are a few you might want to try:
- LumaFusion: A video editor that supports external keyboards and offers fine control over clips. It’s powerful yet intuitive—great if you want to do more detailed edits beyond quick trims.
- Affinity Photo: Known for photo editing with robust brush tools that work nicely with an Apple Pencil or any stylus. It handles layers and masks surprisingly well on the iPhone.
- Adobe Lightroom: Offers precise color grading and batch edits. With keyboard shortcuts, retouching and tweaking exposure feels much quicker, especially on longer workflows.
- VSCO: Simple and clean, but also supports some accessory-based features that make color adjustments and cropping easier and smoother.
Using Accessories to Enhance Editing Workflow
It might sound obvious, but a stylus changes how you interact with your edits. Detailed brush strokes or cutting exact frames can be tricky with just your finger—stylus pens add precision. Personally, I found that using a stylus helped me avoid those tiny mistakes and made retouching less frustrating.
Keyboards on the iPhone don’t just help with typing captions; they actually speed up editing. Many apps map shortcuts to keyboard keys, so tasks like undo, redo, copy, and paste become instant. You might hesitate to plug one in, but once you try it, the editing flow feels a lot less clunky.
One thing to consider—some apps handle accessories better than others. It often takes a bit of trial and error until you find the right combo that clicks for your style. But when you do, editing becomes less of a chore and more about creativity.
Power Banks and Chargers to Keep You Going
Choosing the Right Power Bank
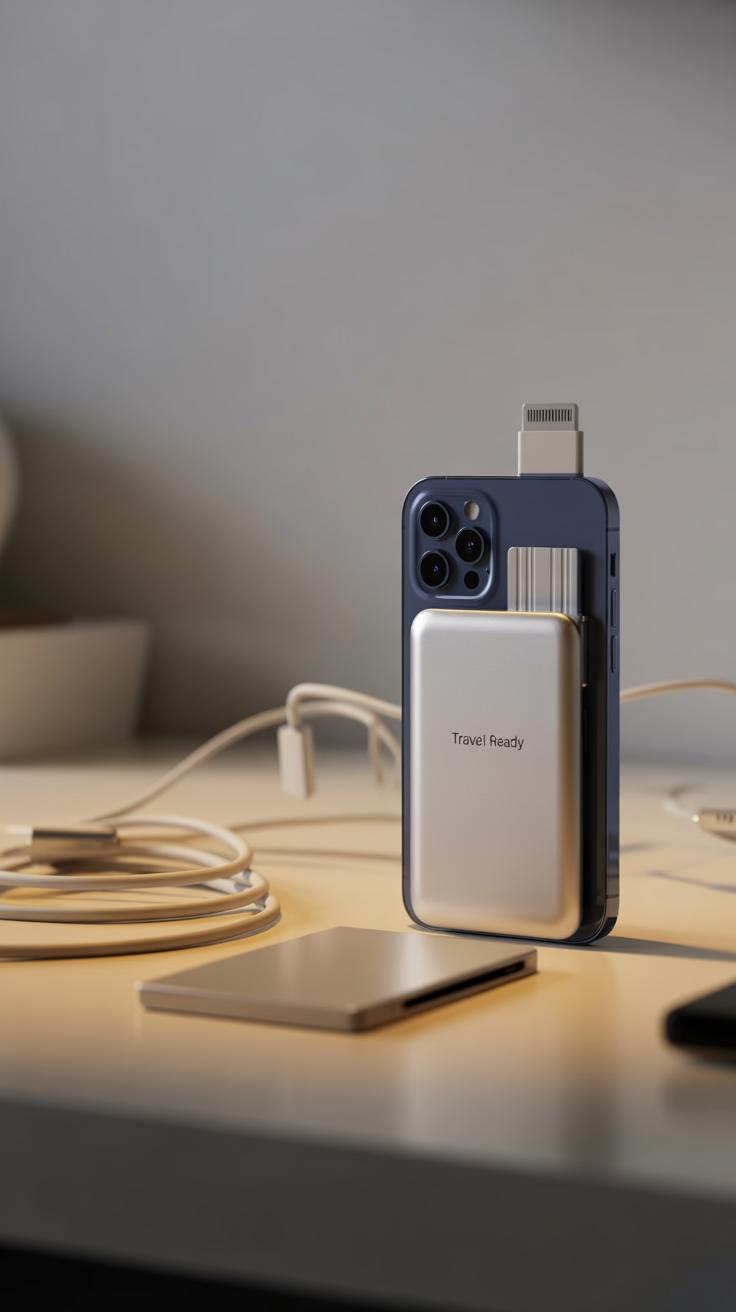
When you’re out capturing or editing, running out of juice is the last thing you want. Picking a power bank isn’t just about capacity—though size does matter. You’ll want something that balances capacity with portability. A 10,000mAh power bank is often a good middle ground. It’s enough to charge your iPhone at least twice, but still small enough to slip into a bag without feeling like a brick.

Look for models with USB-C output for faster and more versatile charging—most newer iPhones support this. Also, check if the power bank can charge multiple devices at once. Maybe you’re powering a Bluetooth mic or a light alongside your phone. That’s handy. I’ve had a few that seemed fine until I realized they took forever to recharge themselves. So, recharging speed on the power bank itself can be worth considering.
Fast Charging Options
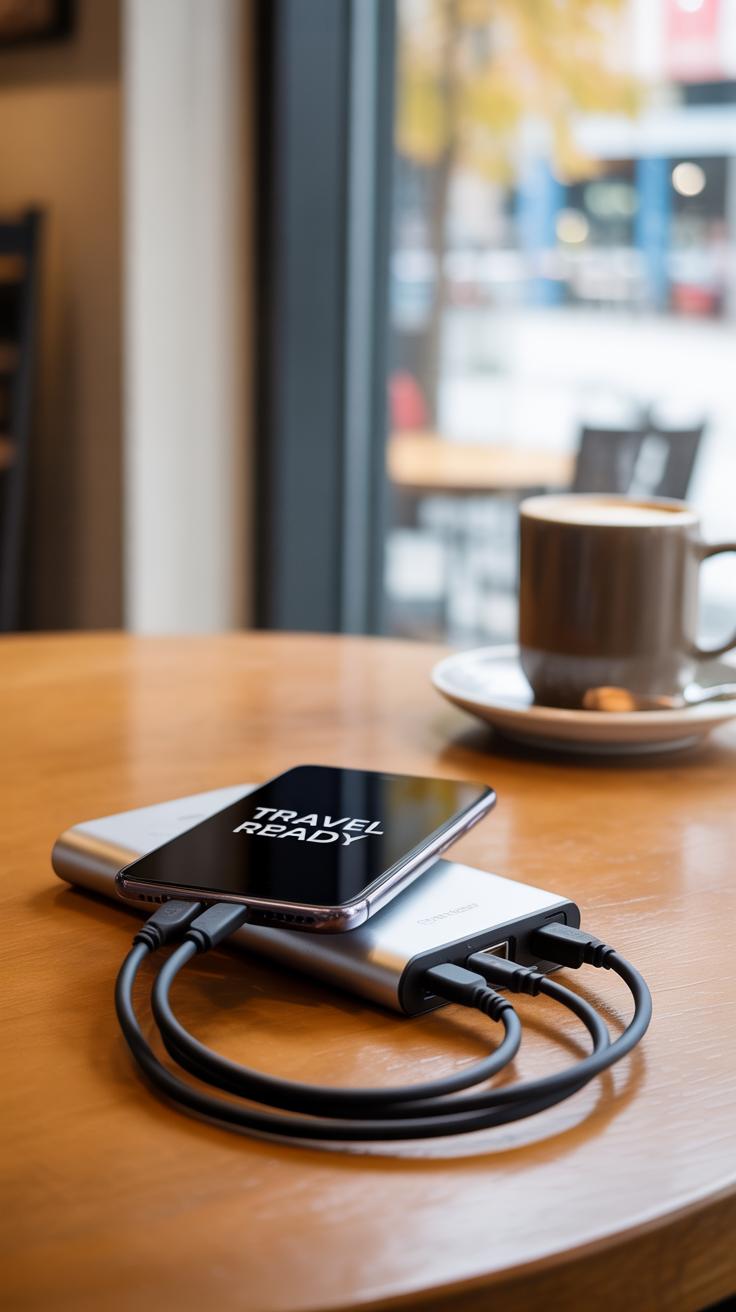
Fast charging gear can genuinely save your creative flow. Apple’s 20W USB-C charger is kind of the gold standard, but you don’t have to stick with just official products. Many third-party chargers support the same fast charging protocols and cost less. Pair those chargers with a sturdy USB-C to Lightning cable—they’re crucial for fast juice.
One thing I’ve noticed: cables matter more than you might expect. Cheap cables can slow everything down, even if the charger is solid. Also, a quick top-up during a coffee break can mean the difference between wrapping up a project or losing momentum. If you’re juggling multiple devices—maybe an iPad for sketching and your iPhone—look for chargers with multiple ports, supporting simultaneous fast charging. That said, not all “fast chargers” deliver the same speeds, so checking the wattage and compatibility first is probably a good idea.
Conclusions
Choosing the right Iphone accessories can change how you create content. From using lenses that improve your photos to microphones that capture clear sound, these tools add real value. They help you work smarter and produce quality results faster.
Think about your needs and try some of these accessories to enhance your workflow. With the right gear, your Iphone can become a powerful mobile studio, letting you take your creativity anywhere and everywhere you go.