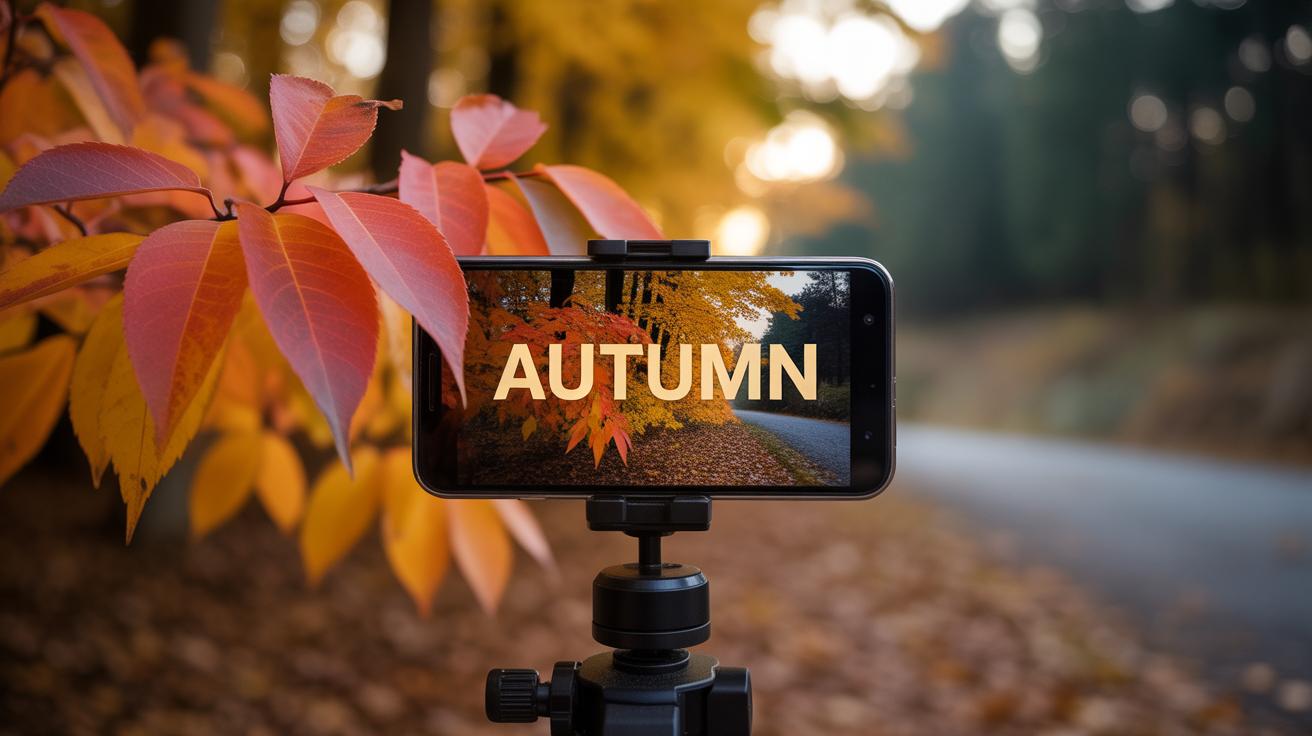
Introduction
Your iPhone camera can capture stunning photos when you know how to use its settings well. This guide helps you understand which settings to use for clear, sharp photos. With simple adjustments, your photo quality can improve greatly.
We explore the best iPhone camera settings to get tack-sharp photos. Learn how to use focus, exposure, and other tools in your camera app. You will also find practical advice that you can apply instantly to take better pictures.
Understanding iPhone Camera Basics
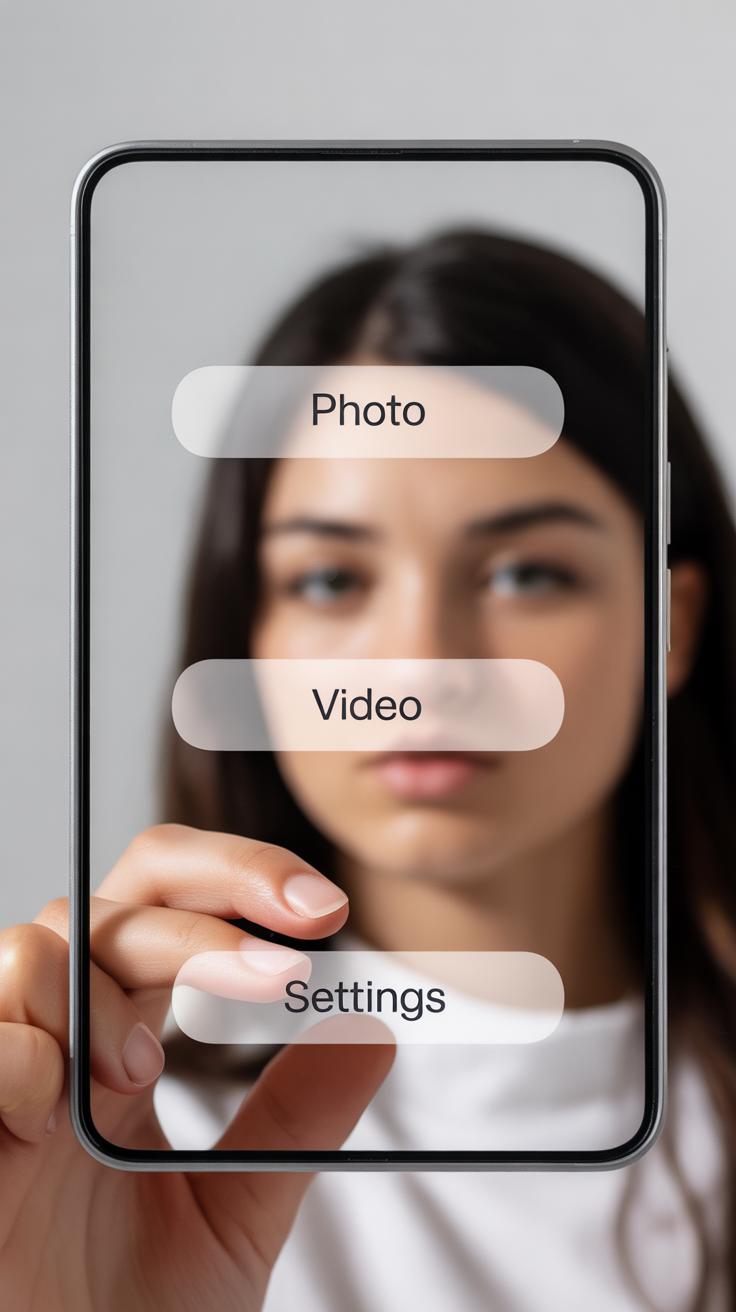
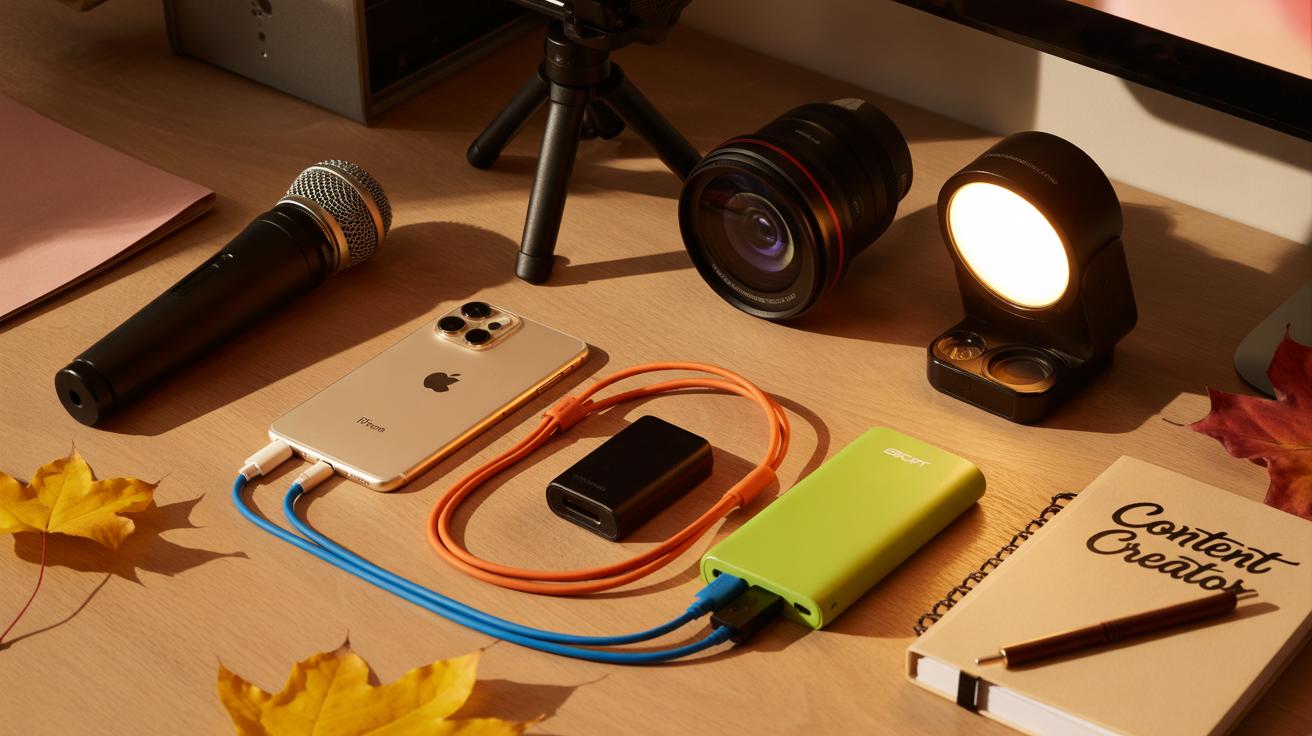
The iPhone camera app is designed to be straightforward, but it holds quite a few features packed under its simple exterior. Once you open the app, you’ll notice the main interface has several key elements that control how your photos turn out.
First, there’s the shutter button—large and centered at the bottom—that takes your photo. Near it, you’ll find buttons to switch between camera modes like Photo, Portrait, and Night. These modes change how your iPhone captures the scene. For example, Portrait blurs the background for a depth effect, while Night mode uses longer exposure to brighten dark scenes.

The focus area is usually marked as a square or rectangle when you tap on the screen. This lets you pick where the camera should sharpen the image. Near that, you can adjust exposure, which controls how bright or dark your photo will be. Sometimes the camera will suggest an automatic exposure, but tweaking it yourself often improves clarity.
There are also options you might not use every day—like Live Photos, which capture a few seconds of motion, and HDR, which balances bright and dark areas. These settings might seem minor, but they influence sharpness and detail more than you might guess. For instance, relying solely on auto-exposure can sometimes cause photos to be washed out or too dark, which diminishes sharpness.
So, why do all these settings really matter? Because sharp photos are often about control. Focus and exposure settings allow your camera to zero in on the subject and capture enough light for crisp details. A slight misstep in either can blur or dull your image, even if you have a steady hand. Playing around with these controls, even just a bit, can change an ordinary snapshot into something much clearer.
Mastering Focus for Sharp Photos
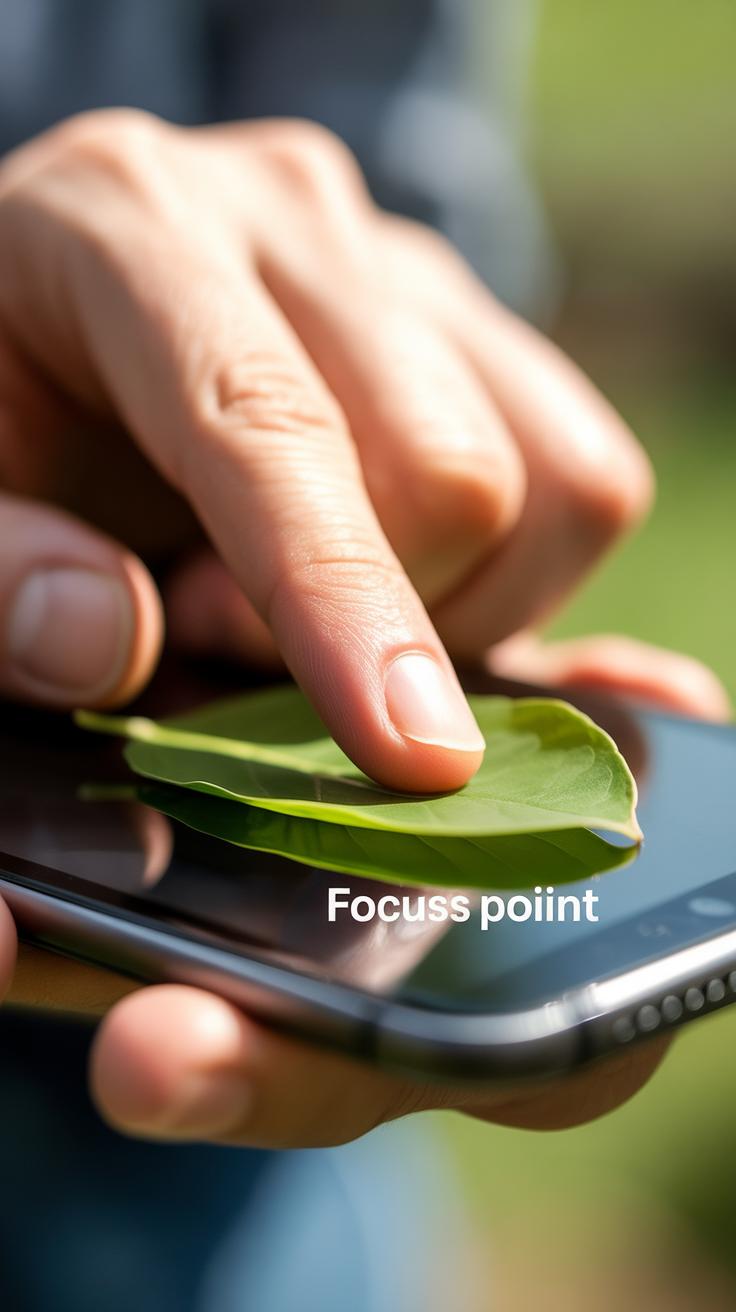
Getting that crystal clear focus on your iPhone isn’t always automatic, even though the camera tries hard. The simplest way to take control is by using tap-to-focus. Just tap the area on your screen where you want to set focus—the camera instantly prioritizes that spot, making it sharper in the final shot. For example, if you’re snapping a flower in front of a busy background, tapping the flower locks the focus there, so it won’t confuse itself with the background details.
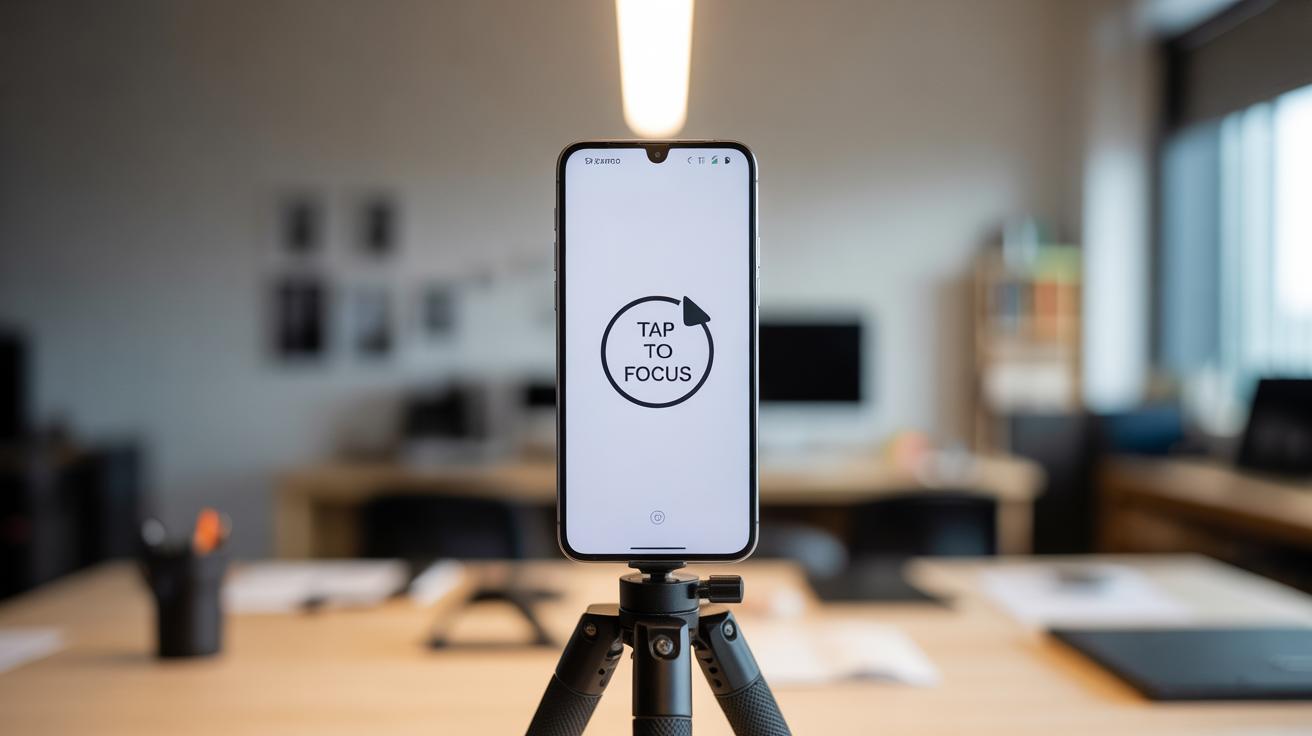
But wait, there’s more—tap-to-focus alone can sometimes shift if you move the camera after focusing. That’s where the auto-focus lock comes in. You can activate this by pressing and holding on the screen until you see “AE/AF Lock” appear at the top. Now, the focus and exposure stay steady, even if you wiggle or move a bit before taking the picture. This trick saves many photos that would’ve ended up blurry otherwise.
As for manual focus, while the native iPhone app doesn’t offer full manual focus controls, some third-party apps do. If you’re really picky about focus, exploring those apps might be worth your time. Still, for most everyday shots, mastering tap-to-focus and locking the focus generally does the trick.
Adjusting Exposure for Clear Images
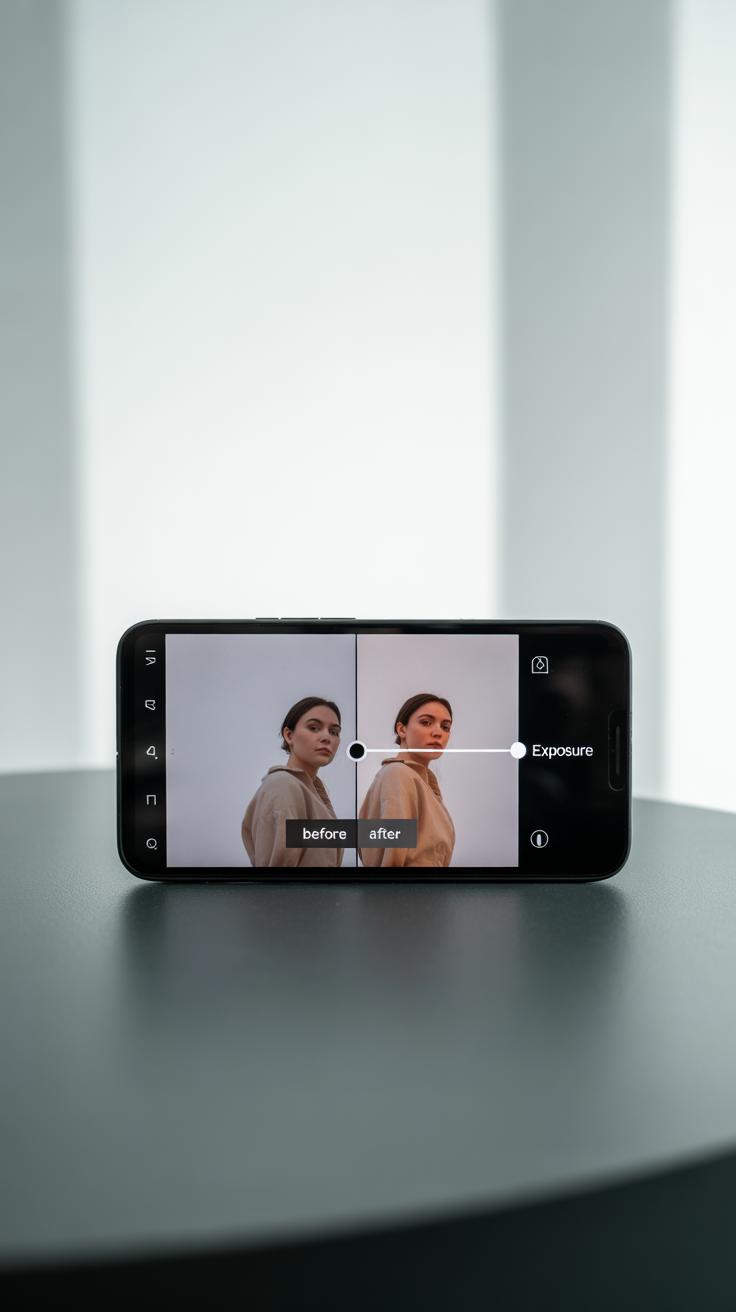
Exposure controls how much light your iPhone camera lets in when taking a photo. If the exposure is off, your images might end up washed-out or too dark, losing essential details and sharpness. When the image is overexposed, bright areas become flat and lose texture. If it’s underexposed, shadows swallow up details, leaving parts of the photo blurry or mushy. So, exposure really ties into how crisp your photo looks.
Setting Exposure Manually
After you tap to focus on your subject, look for the little sun icon next to the focus square. Dragging that sun up or down adjusts the brightness manually. Try nudging it slowly rather than jumping right to extremes. It’s a subtle balance because pushing exposure too high can wash out fine details, while dipping it too low hides them in darkness. I’ve found that spending just a second or two here often saves a shot from being dull or unclear.
Using HDR Mode
HDR stands for High Dynamic Range. When you switch HDR on, your iPhone takes several photos at different exposures and blends them together. This means shadows and highlights both keep their detail instead of blowing out or turning pitch black. For scenes with mixed lighting—say, someone standing by a window—HDR can help capture crisp textures everywhere, not just in the bright or dark areas.

Sometimes, the resulting image might feel a bit more processed or less natural. But if detail is your priority, HDR sharpens the contrast across the frame, bringing out edges and textures you might otherwise miss. It’s not perfect in every case, but it’s a solid tool for maintaining clarity when lighting is tricky.
Leveraging Lighting for Sharp Photos
Light can make or break your photo’s sharpness. It’s not just about brightness but how light interacts with your subject. Natural light tends to bring out fine details in ways artificial sources rarely do. When you position your subject near a window or outside during the early morning or late afternoon, you get soft, even light that helps your iPhone capture crisp edges without harsh shadows.
Try to avoid direct midday sun, which can create strong shadows that obscure details and confuse your camera’s focus. Sometimes, moving your subject just a few steps can mean the difference between a sharp image and one riddled with shadow distractions.
Now, about the flash—many people lean on it when indoors or in dim settings, assuming it solves everything. But that’s not always the case. The iPhone’s flash can easily overexpose a close subject, washing out details and reducing sharpness. Instead of relying on it blindly, experiment with the flash by adjusting the distance or turning it off to avoid that harshness.
Occasionally, pairing flash with ambient light helps—just enough fill light to lift shadows without flattening the texture. It’s a bit of trial and error, honestly. But you’ll get a sense of when your photo needs a touch of artificial light to stay sharp and when it just steals the subtle details you want to preserve.
Choosing the Right Mode for Your Photo

When shooting with your iPhone, selecting the correct camera mode matters more than you might think. The default Photo mode is versatile and usually nails sharpness for everyday shots, but when you want something a bit more specific, Portrait and Night modes can make a difference.
Photo mode keeps everything in focus, great for landscapes or quick snaps. But for portraits, it can miss that pop you’re looking for. Portrait mode steps in by isolating your subject and softly blurring the background. It’s not just a soft glow, it’s a distinct separation, making the subject sharp against a gentle blur.
Night mode works differently. Instead of just snapping in the dark and hoping for the best, it holds the shutter open longer, letting in more light while minimizing blur. It seems a little counterintuitive since longer exposure usually means more blur, but the iPhone’s software steadies the image, so that subject stays clear even when it’s dark.
Choosing which mode to use depends on your environment and what you want to emphasize:
- Photo mode – bright scenes, action, or when you want everything crisp.
- Portrait mode – for tighter focus on people, pets, or objects you want to highlight.
- Night mode – when light’s low and you need clear, sharp shots without grain.
Have you ever struggled with a photo where the background distracted from your subject? That’s when Portrait mode shines. Or taken a murky night picture only to wish for more clarity? Night mode can save the day, but it sometimes takes patience to hold still during the longer exposure.
Portrait Mode for Focused Shots
Portrait mode smartly blurs the background while keeping the subject sharp, recreating that shallow depth-of-field effect usually reserved for bigger cameras. However, it’s not perfect. Position your subject a few feet away from the background for a better blur effect—too close, and the background stays too sharp.
Lighting still matters here. Even though the background fades away, the iPhone still needs enough light on your subject to maintain crisp details. Midday or diffused natural light works well. And if you want sharper eyes or defined edges, tap on the subject’s face to lock focus before shooting.
Sometimes, portrait mode struggles with tricky edges—hair or transparent objects can confuse it. Don’t be afraid to experiment with angles or switch back to regular Photo mode if you want everything in focus.
Night Mode for Low Light Sharpness
Night mode kicks in automatically when the iPhone detects low light, extending the shutter speed somewhere between a fraction of a second and several seconds. The trick is the phone’s built-in stabilization—both optical and software-based—that compensates for slight shakes.
To get the sharpest possible night photos, hold your phone steady or rest it on a surface while shooting. The longer exposures mean even the tiniest movement can cause blur. You can even drag the exposure slider within night mode to increase or decrease exposure time based on the scene.
Night mode captures more detail and reduces noise, but the image usually looks softer on a quick glance. That softness isn’t lack of sharpness—it’s smooth detail from stacking multiple frames, so your subject remains crisp despite the low light. If you want ultra-sharp nighttime shots, patience and steady hands really pay off.
Using Tripods and Stabilization
Benefits of a Tripod
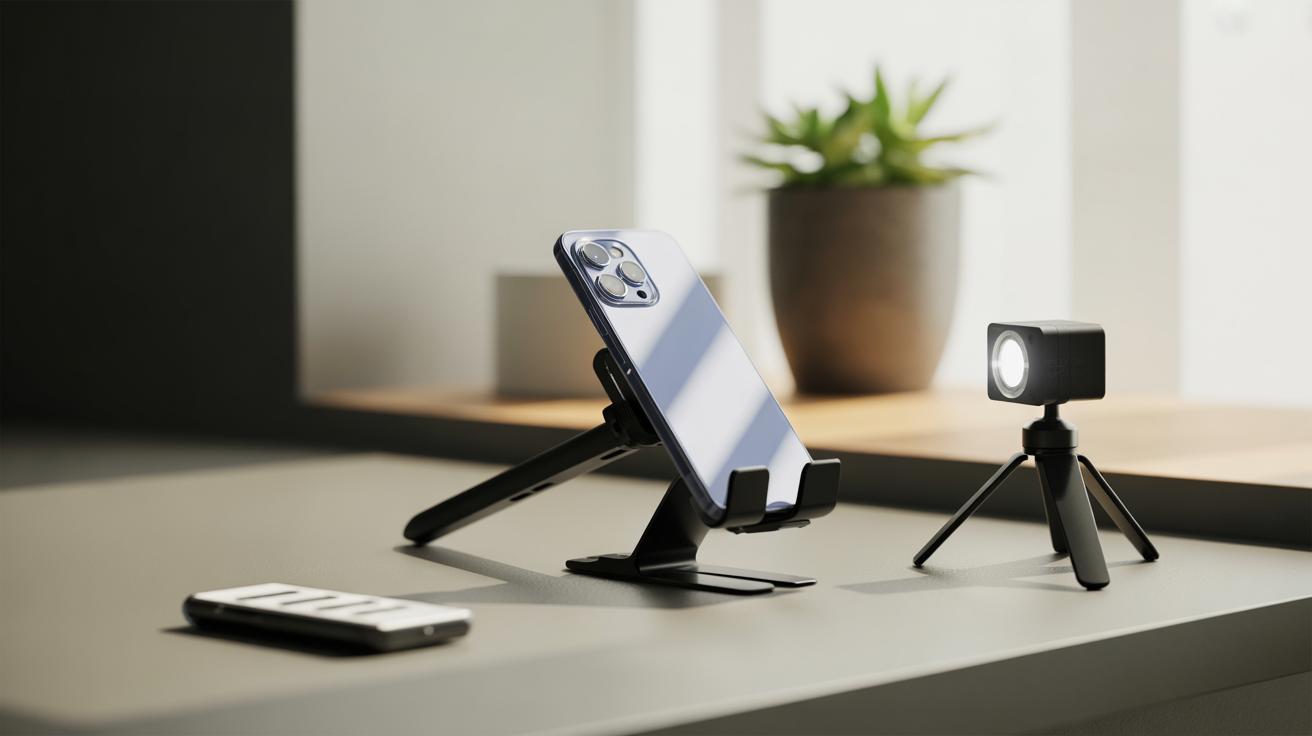
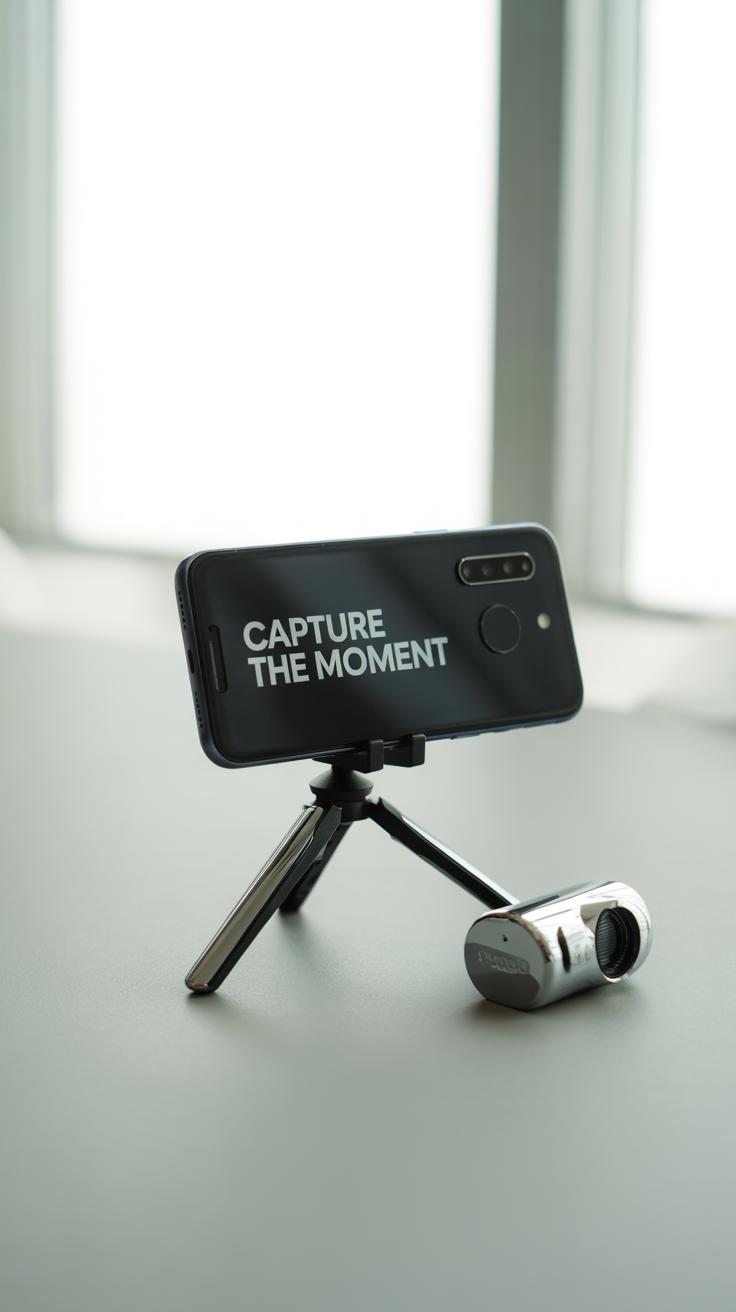
Holding your iPhone steady isn’t always easy, especially when you’re trying to capture a crisp shot. Even a slight tremble can blur details. This is where a tripod or any solid surface comes into play. Securing your phone on a tripod basically removes hand shake from the equation. You can take your time framing the shot without rushing or worrying about movement.

Actually, I’ve noticed that when I use a tripod outdoors—especially in lower light or with zoomed-in shots—the difference is clear. Images are sharper, and you don’t lose subtle texture in shadows. Sometimes, you might think a steady table or a wall is good enough, and sometimes it is—but if you want consistent sharpness, a tripod’s stability just can’t be beat.
Using Image Stabilization
Your iPhone doesn’t just rely on your hands to stay steady. Inside, it has technologies that help reduce blur caused by motion. Optical Image Stabilization (OIS) moves the camera lens physically to counteract shakes. This really shines in low light or when using the telephoto lens. Then there’s Electronic Image Stabilization (EIS), which adjusts the frame digitally to smooth out minor jitters.
That said, stabilization can’t fix every shaky moment, especially if the movement is too quick or awkward. So, relying solely on these built-in features might not always get you the sharpest image. Pairing them with a tripod or resting your phone on a firm surface often yields better results. Thinking about when you shoot—like at night or with zoom—can guide you on whether to lean more on the stabilization tech or external support.
Editing Photos for Added Sharpness
Even after capturing a steady shot, your work isn’t quite done. Editing your photos can bring out details that might seem a little dull at first glance. Simple tweaks often make a noticeable difference, especially when it comes to sharpness. You don’t need a complex program—just some basic tools can do the trick.
Basic Editing Tools
Most photo editors have a handful of controls that improve clarity without turning your picture into something unnatural. Focus on these few adjustments:
- Sharpening – This makes edges crisper. Be cautious though; too much sharpening can create unwanted halos or noise.
- Contrast – Increasing contrast often helps make details pop, giving the image more depth.
- Brightness and Exposure – Adjust these carefully. Sometimes, a slightly darker image can appear sharper because highlights don’t wash out details.
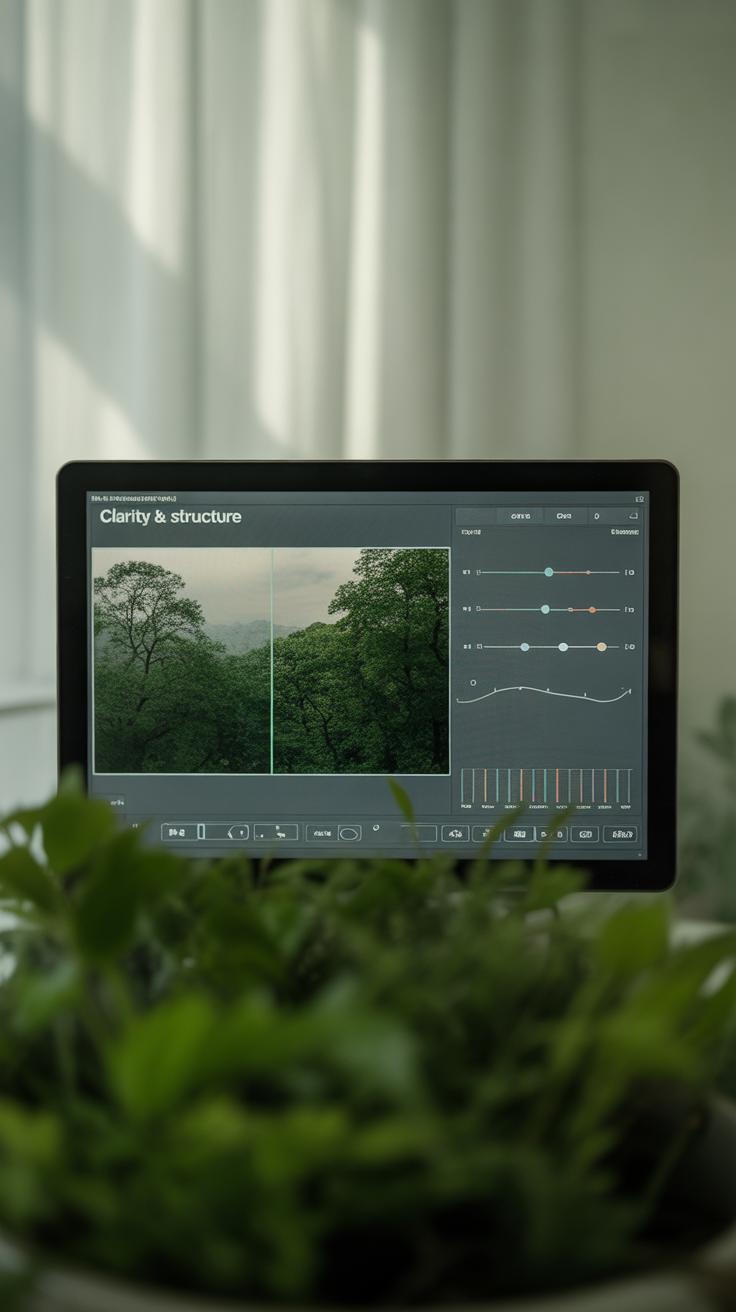
- Clarity or Structure – These enhance mid-tone contrast, adding punch to textures without altering overall exposure.

I find that small, subtle changes here tend to work better than aggressive edits, which often feel artificial. It’s a bit like seasoning food—you add just enough so the flavors come through without overpowering.
Apps for Enhancing Sharpness
Here are some user-friendly apps I’ve tried that offer straightforward sharpening controls:
- Snapseed – The ‘Details’ tool lets you boost structure and sharpening selectively. It’s simple but effective and free.
- VSCO – Offers a ‘Sharpen’ slider that’s gentle but useful for adding clarity without too much fuss.
- Adobe Lightroom Mobile – Has more advanced clarity and sharpening tools, great if you want additional control but still easy to learn.
- Afterlight – Another option for quick sharpening with intuitive sliders.
Playing with these apps, you’ll see how subtle edits can change the feeling of your photo. Sometimes less is more, but other times, a bit more sharpening can really bring a subject into focus. It’s always about balance—and trust your eyes as you go.
Common Mistakes to Avoid When Shooting

When you’re aiming for tack sharp photos, a few common pitfalls often sneak in and spoil the shot. Poor focus is probably the biggest culprit. Sometimes your iPhone’s autofocus locks on the wrong spot or struggles with moving subjects, leaving you with blurred images. You can fix this by tapping precisely where you want to focus and using the AE/AF Lock feature to hold it steady—especially when your subject is in motion.
Lighting also plays a huge role. Low light or strong backlighting can confuse the camera and reduce clarity. Try to shoot with good, even lighting whenever possible. And if your hands shake even a little, well, that tiny motion causes blur too. A quick trick is to brace yourself against something or gently rest your elbows on a surface while shooting.
Composition influences sharpness more than many realize. Choosing a clean background and a steady angle helps your subject stand out crisply. Experiment with framing—sometimes getting closer or adjusting your angle makes an image feel sharper, even if the technical focus remains the same. Have you noticed how slight changes in perspective can make or break a photo’s clarity? It’s worth thinking about as you shoot.
Conclusions
By using the right iPhone camera settings, you can greatly enhance your photo quality. Paying attention to focus, exposure, and lighting helps capture sharp and detailed images. Your iPhone’s camera is powerful, and knowing how to adjust its settings unlocks that power.
Try out the tips and settings explained in this article. Practice regularly to see your photo skills improve. Your next pictures will be clearer and more professional-looking just with a few simple tweaks.