Introduction
Mobile phone photography has changed the way we capture moments. With a camera always in your pocket, you have the power to take photos anywhere and anytime. But getting sharp, clear shots requires more than just pointing and clicking. You need to know some key tips and tricks to make your photos stand out.
In this article, you will learn practical hacks for taking sharper photos with your mobile phone. We explore how your phone camera works and show you steps you can take to improve focus, lighting, and composition. Whether you’re new to mobile photography or want to sharpen your skills, this guide gives you clear advice to get better photos.
Understanding Your Mobile Phone Camera
How Your Phone Captures Images
When you tap the shutter button, your phone’s camera goes to work quietly and quickly. At its core, there’s a tiny sensor that grabs light, kind of like how your eyes pick up what’s around you. This sensor turns light into an electronic signal, which your phone then turns into a picture you can see. The lens in front helps focus the light onto the sensor, making sure details aren’t blurred out.
The lens adjusts a bit to sharpen things up, but it’s limited by its small size. You might notice sometimes your photos didn’t focus perfectly, and that’s because this lens can’t zoom or focus as precisely as some bigger cameras. It’s like trying to look through a small window versus a big one—more light and details can get missed.
Why Cameras in Phones Are Different
Phone cameras are tiny compared to traditional digital cameras. They pack everything into a very small space, which makes them super convenient to carry around—your camera is literally in your pocket. But that compact size limits how much light the sensor can capture. This means phones often struggle in low light or when you want sharp focus on distant subjects.

Unlike traditional cameras with big lenses and parts that can move around, phone cameras rely heavily on software to fix problems or enhance images. For example, your phone might take multiple shots and blend them together to make a photo brighter or clearer. Some higher-end digital cameras don’t need to do that as much because their hardware already captures better images in challenging conditions.
Still, there’s something to be said for having a camera that’s always ready in your hand. Sometimes, the ease of snapping a quick photo beats fancy equipment—don’t you agree? You might miss the absolute sharpness of a DSLR, but the phone camera wins in capturing moments fast and sharing them instantly.
Using Light to Your Advantage

Finding Good Light for Photos
Light shapes every photo you take. The tricky part is learning where and how to find the best light for your shot. Natural light often works best, especially during the golden hours—shortly after sunrise or before sunset—when the sunlight is softer and warmer. That kind of light can bring out textures and details without creating harsh contrasts.
Look at the direction of light. Front lighting illuminates your subject evenly but can sometimes flatten the image. Side lighting, on the other hand, adds depth by casting gentle shadows. Backlighting might seem difficult, but it can produce striking silhouettes or a soft glow if balanced correctly.

Artificial light can also serve you well, but you have to consider its intensity. A dim lamp won’t do much for clarity, but a well-placed LED or even a ring light can enhance sharpness. The main point? Avoid flickering or colored bulbs that might throw off your shot’s balance.
Avoiding Common Lighting Mistakes
Too often, photos get ruined by harsh shadows or glaring overexposure. Have you ever shot a portrait only to find half the face drowned in darkness while the other half is spotless? That usually happens when the sun is too high—or the light source is too close—and your phone sensor struggles to balance the extremes.
Try shifting your position or changing the angle. Moving slightly can turn an unflattering shadow into a subtle contour. When dealing with bright light, tap on your phone screen to adjust exposure manually rather than relying on automatic settings. Sometimes lowering the brightness can save the shot.
On the flip side, avoid shooting directly into a bright light unless you want a silhouette effect. If overexposure still creeps in, quick edits like lowering highlights or exposure in your phone’s editing tools can help, although it’s always better to get lighting right from the start.
Focus Techniques for Clearer Photos
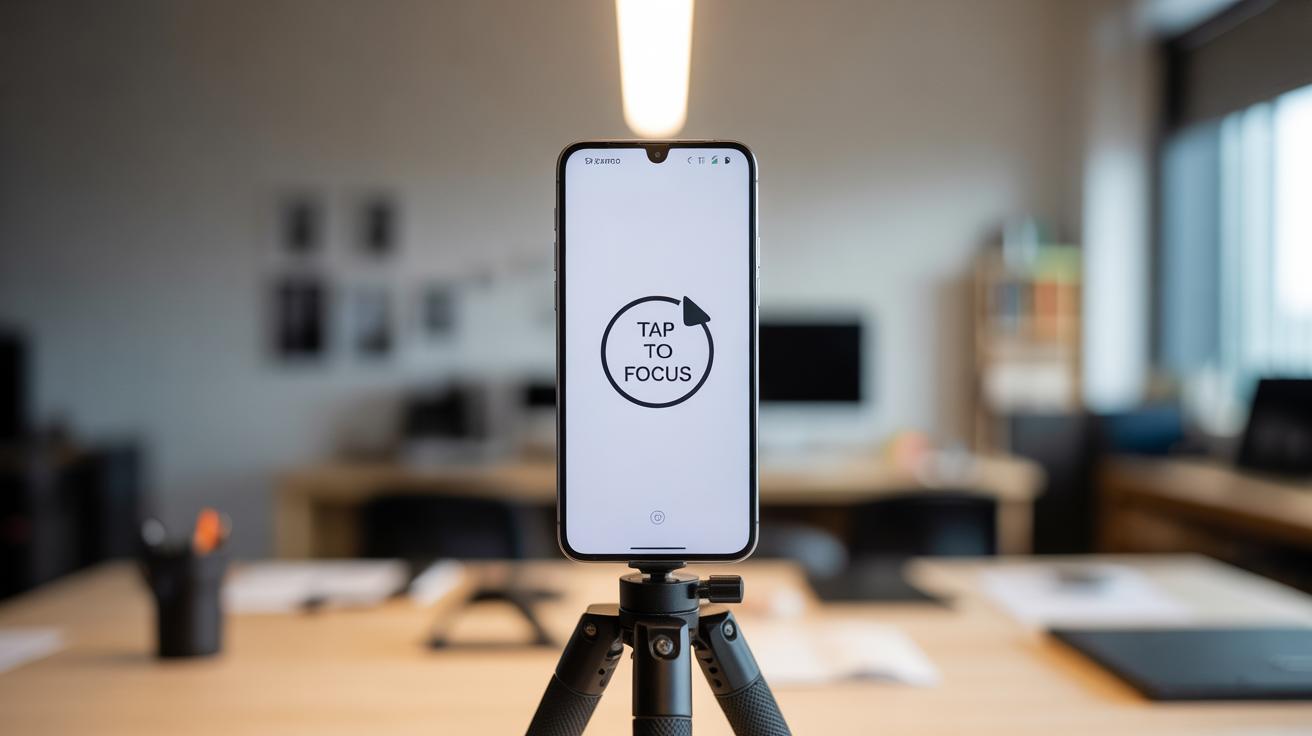
Getting your subject sharp often begins with how you tell your phone where to focus. Most mobile cameras let you tap directly on the screen to set the focus point, which can make a major difference. When you tap on the area you want sharp, the camera adjusts exposure and focus exactly there. If you don’t, your phone might default to focusing somewhere else—like the background—which leads to less crisp images.
Try this: before you snap, tap once on your subject, watch your screen briefly to see if it reacts, then shoot. I usually find that doing this gives me that little extra clarity I hadn’t expected. But sometimes, if your subject moves, you need to tap again or reset, just to keep things sharp.
Distance also matters. If you’re too close, your lens might not focus properly. Step back a bit and then zoom in slightly—digital zoom can kill sharpness, but a bit of physical distance often helps the auto focus do its job better. Finding that sweet spot with your phone can be a bit touch-and-go.
One thing I struggle with every time is holding the phone steady. Even slight shakes cause blur, especially in low light. You can try resting your elbows on a surface or against your body. Some people use two hands, pressing firmly but gently—too tight and you might tense up and shake more. A small pause just before pressing the shutter goes a long way to steady your shot.
Some phones have image stabilization but don’t rely on it alone. I’ve noticed most blur comes simply from those quick, unnoticed jitters in your hands. So settle into your stance, breathe out slowly, and then shoot.
Optimizing Camera Settings for Sharp Shots
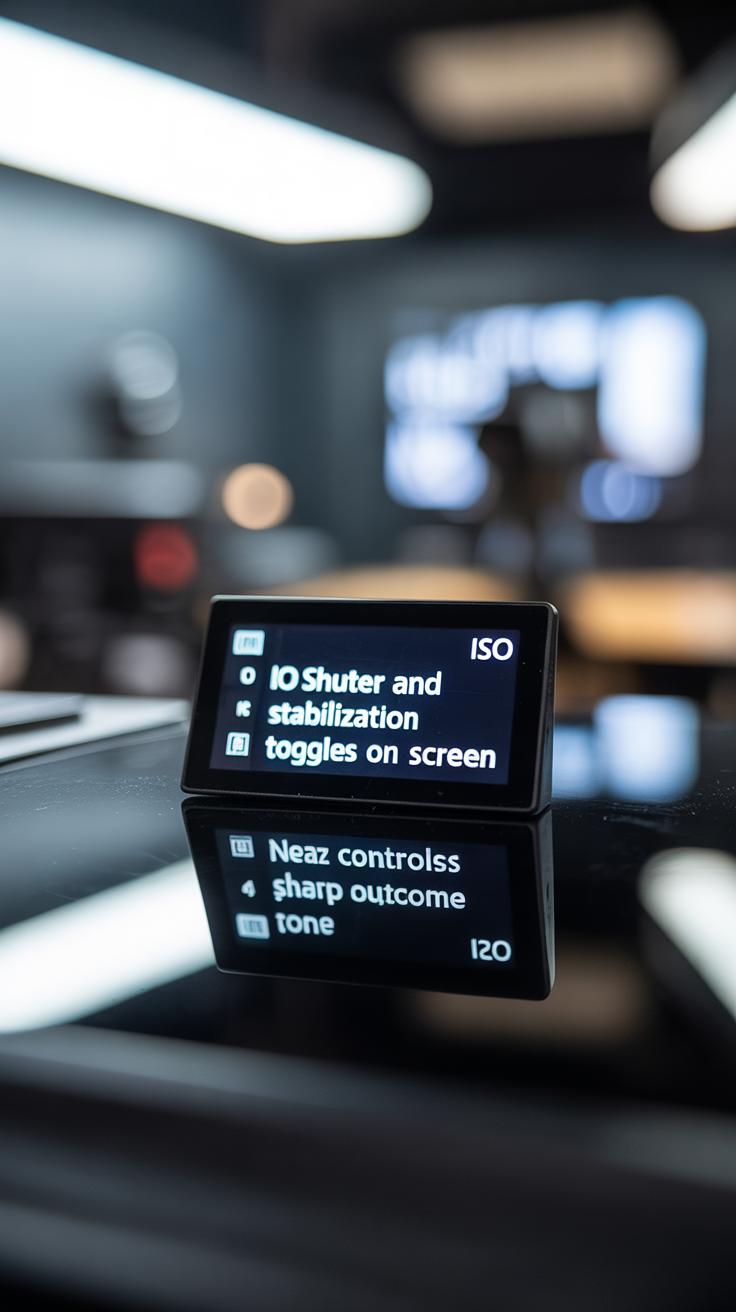
When it comes to resolution, it basically means how many pixels your photo contains. A higher resolution captures more detail but also takes up more storage space. You might want to choose high resolution when you plan to print or crop photos later, but for quick shares or everyday pictures, standard resolution usually does the job just fine. It’s a bit of a balance—you don’t always need the biggest file size if your goal is just clear viewing on your phone.
Then there’s HDR mode, which stands for High Dynamic Range. This mode helps when your shot has both dark shadows and bright highlights. Think of a sunset or an indoor scene with a window. HDR mixes several exposures to bring out details you might miss otherwise. Sometimes HDR can make images look unnatural if overused. I find telling the phone when to use it carefully can give sharper, more balanced photos.
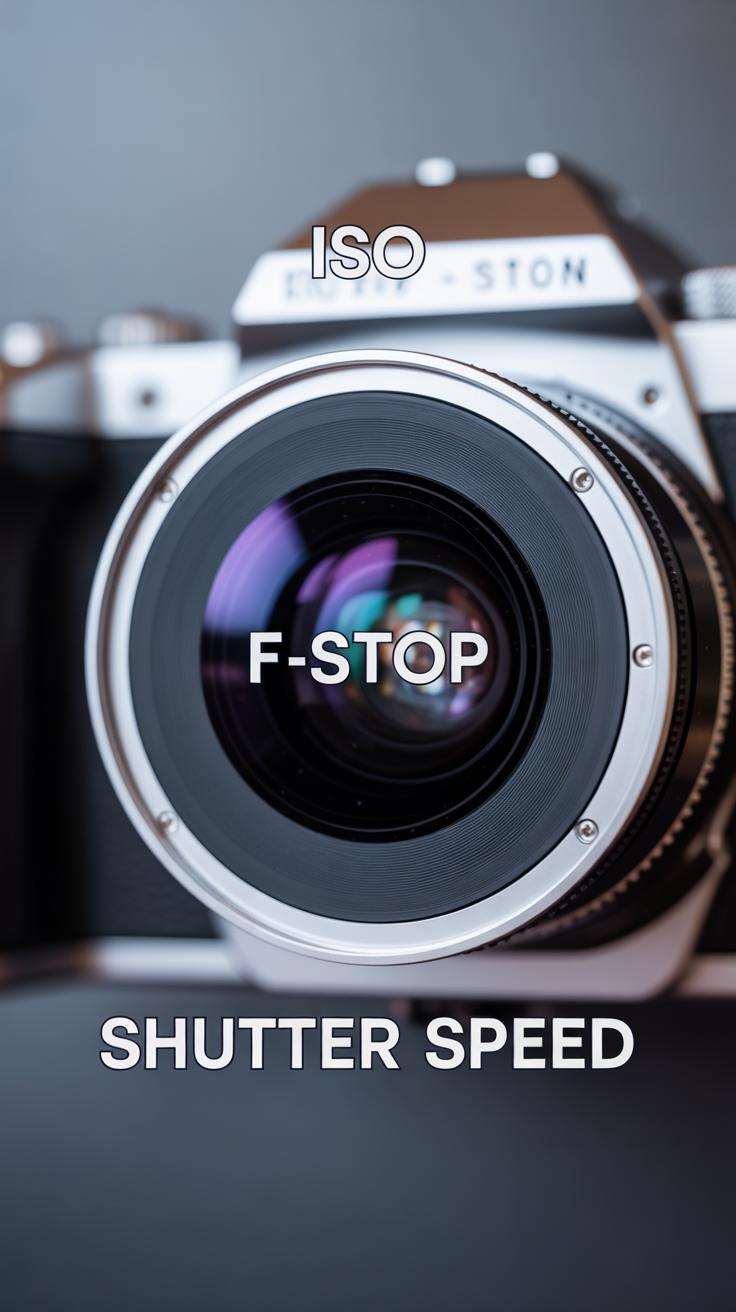
ISO and shutter speed feel tricky but you don’t have to dive deep into manual controls to get good results. ISO controls your camera’s sensitivity to light. Lower ISO numbers usually mean less grain and clearer shots—ideal outdoors. Higher ISO helps in dim light but might add noise. Most phones handle ISO automatically, which is convenient, though you can try adjusting it manually to reduce grain in tricky light.
Shutter speed is how long your camera’s sensor stays exposed to light. Faster shutter speeds freeze motion and reduce blur, which you want for sharper shots of moving subjects. Slow speeds capture more light but can cause blur if your phone moves even slightly. Again, your phone often manages this well, but it helps to stabilize the phone when shooting in low light to let slower shutter speeds work without blur.
Playing with these settings, or letting your phone smartly switch between them, can really improve sharpness. Are there moments when you want to change these, or should you just leave it to auto? That’s a question I think many phone photographers wrestle with. Experiment a bit, and you’ll get a feel for what works best in different situations.
Composition Tricks to Enhance Your Photographs
Applying the Rule of Thirds
When you look at your phone’s screen, try imagining it split into nine equal parts, like a tic-tac-toe grid. Placing your main subject along these lines or at their intersections tends to create photos that feel more natural and less forced. It’s almost like balancing the image without making it too symmetrical—the eye finds these points more engaging.
For example, if you’re photographing a person, don’t center them exactly in the frame. Instead, shift them slightly to one side, aligning their eyes near a top intersection. This simple move can make the shot feel more dynamic. Sometimes I catch myself ignoring this rule and centering anyway, but I usually regret it later—photos with that subtle off-center placement just catch attention more.
Try it yourself: next time you snap a picture, turn on the grid lines in your camera app and consciously position your subject on one of those lines. See if the photo feels more balanced or interesting. Don’t expect magic every time, but it often brings a quiet strength to your shots that’s worth exploring.
Using Lines and Frames in Photos
Lines and frames within your photo aren’t just accidental—they guide where the viewer’s eyes travel. Leading lines like roads, fences, or architectural elements pull the eye toward the subject, making the image feel sharper, more intentional.
Frames work in a similar way. Natural frames could be tree branches, doorways, or windows that wrap around your subject. I remember once taking a picture through a bike wheel, the spokes naturally framing the person in the background. It didn’t just highlight the subject, it added depth and a sense of space that I hadn’t planned.

Think about your surroundings. Look for shapes or objects that can act like a border or a guide, leading your viewer’s focus. This small step can prevent flatness and make your photos seem more vibrant and layered, even if the scene itself is simple. Have you ever noticed how your gaze follows a path in a photo without realizing it? That’s exactly what lines and frames do—help you control that experience.
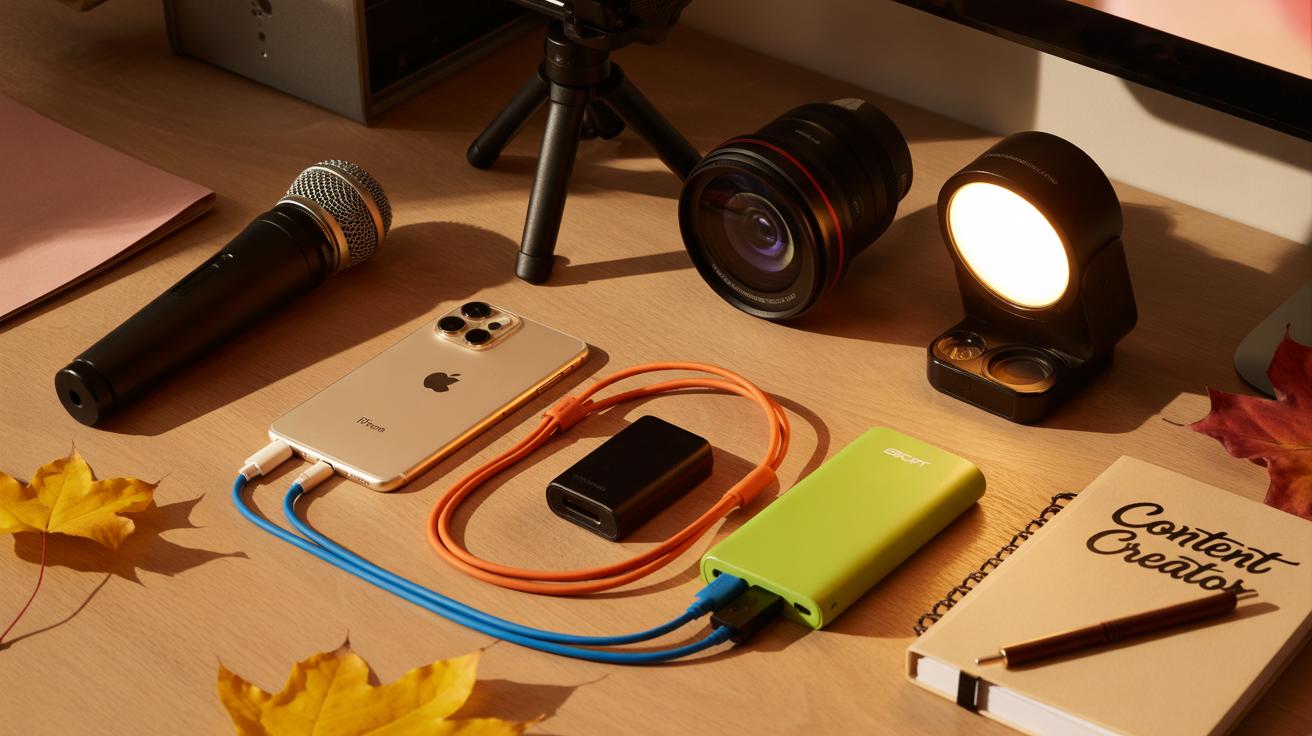
Using Mobile Photography Apps for Better Control
You might think your phone’s default camera app is enough, but there are others that give you much more control over focus, exposure, and other settings. Apps like Camera+ 2 and ProCam stand out because they put manual adjustments right at your fingertips without making things overly complicated.
For instance, with ProCam, you can tweak ISO, shutter speed, and white balance—things that affect sharpness and clarity directly. I’ve found sliding exposure manually really helps avoid blown-out highlights or crushed shadows that you sometimes get when the phone decides automatically. It’s a bit fiddly at first, but worth experimenting with.
Then there’s Halide, which offers a clean interface for focus and exposure control. You get a focus peaking feature that highlights sharp areas, which is useful if you want specific subjects to stand out crisply. It’s like having a DSLR feel on your phone, but still a bit more casual.
Apps to Control Focus and Exposure
Here are a few apps that let you take control without needing a photography degree:
- Halide: Manual focus, exposure lock, RAW shooting. Great for precise focus control.
- Camera+ 2: Lets you change ISO and shutter speed, plus stabilizes images to avoid blur.
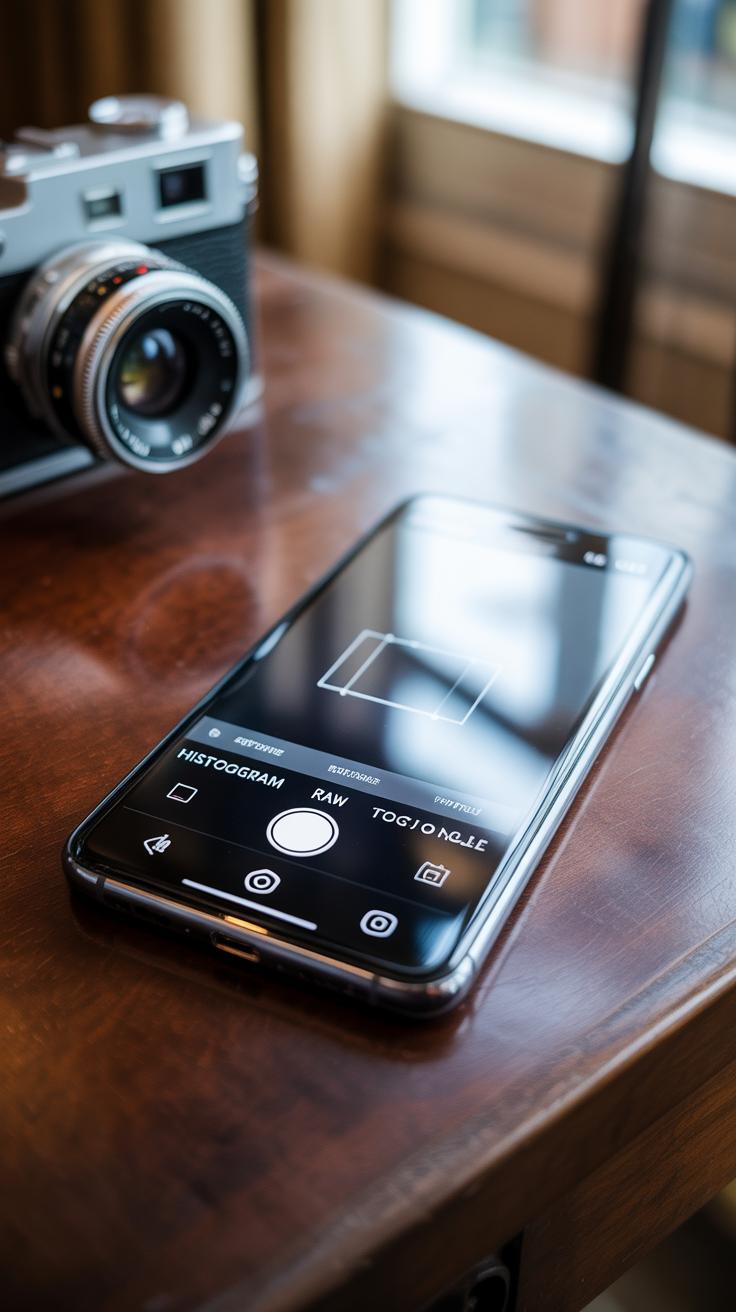
- ProCam: Offers manual settings and has a live histogram to judge exposure better.
- VSCO: Has simple exposure control and filters that subtly improve sharpness.
These apps remove the guesswork, letting you decide exactly how sharp and clear your photos will be, rather than relying on automatic settings that might miss the mark.
Editing for Sharper Final Images
You don’t have to stop once the picture is taken. Editing apps give you tools that make a noticeable difference in clarity and sharpness.
Try apps like Snapseed or Lightroom Mobile. Both provide sharpening sliders that help bring out detail without making images look artificial or noisy. Snapseed’s ‘Details’ tool lets you adjust structure and sharpening separately, which can help keep textures crisp.
Lightroom’s clarity and sharpening sliders are handy, but I’ve often found over-sharpening makes photos look harsh. Subtlety is key. And while you’re at it, playing with contrast and highlights can make edges pop, indirectly affecting how sharp an image feels overall.
What’s nice is you can apply these edits quickly and preview changes live, so you can compare before-and-after. Sometimes small nudges can make a big difference, even if the original shot wasn’t perfect.
Practical Tips for Shooting in Different Conditions


Indoor Photography Hacks
Shooting indoors can be tricky. Artificial lighting often casts strange colors or shadows, which can blur your image if you’re not careful. Try to position your subject near a window or a natural light source—that soft, diffused light usually helps keep details sharp without harsh contrasts.
If natural light isn’t available, use lamps or ceiling lights but avoid direct light shining right on your subject. Instead, bounce light off walls or ceilings to soften it. This reduces glare and prevents overexposed spots.
Steady your shot. Small movements get magnified in lower light, so rest your phone on a stable surface or brace your arms to avoid blur. You might be tempted to use flash, but it often flattens the scene and misses fine details.
Outdoor and Bright Light Tips
Bright sunlight offers excellent sharpness, but it can create deep shadows and blown-out highlights, which mess with the details. Shooting in the early morning or late afternoon, when the light is gentler, can make a difference. The harsh midday sun can be unforgiving.
When shooting under strong sun, look for shaded areas or create your own shade using a hat or an object. This balances exposure better, reducing glare and preserving details in both shadows and highlights.
Don’t forget about your phone’s HDR mode. It helps blend different exposures to keep both bright and dark areas visible without sacrificing sharpness. Just don’t rely on it blindly; sometimes manual control produces better results.
Storing and Sharing Your Sharp Photos

Saving Photos in the Best Quality
When it comes to saving your photos, what really matters is the file type. Most phones save pictures as JPEGs by default, but JPEG compresses images to save space, which can dull sharpness and fine details.
If your phone or app lets you shoot or save in a RAW format, that’s usually better for preserving quality. RAW files keep all the original image data, so you can edit without losing sharpness. The trade-off? They take much more space and need special software to open.
Another thing to watch is your phone’s photo settings. Sometimes there are options to adjust resolution or quality. Always go for the highest setting if you want the sharpest image. Cloud storage services differ too—Google Photos, iCloud, or Dropbox often compress images unless you tell them not to upload in “high quality” or “optimized” mode. I once lost some detail just by blindly backing up to the cloud.
Sharing Photos Without Losing Sharpness
Sharing sharp images is trickier than just tapping “send.” Many social apps compress photos automatically, which can blur details.
One simple trick: instead of sharing directly through messaging apps like WhatsApp or Instagram stories, upload photos as files or use the “original quality” option if available. For example, in WhatsApp, sending as a “document” bypasses compression. Also, email or cloud sharing links keep the photo intact.
When posting on social media, resizing images before upload helps. If your images are too large, the platform’s compression gets harsher. I’ve noticed that uploading a slightly smaller, sharp JPEG keeps the details better than the original massive file.
So, ask yourself—are you aiming to share quickly, or preserve every bit of your photo’s sharpness? The balance isn’t always clear, but saving and sharing with thought makes a big difference.
Conclusions
Sharper mobile photos come from understanding your phone’s camera and applying simple techniques. Focusing carefully and using good lighting are easy ways to improve your shots immediately. Learning how to hold your phone steady and use the right settings also makes a big difference. Small changes add up to better pictures you will enjoy sharing.
Practice these tips regularly and watch your photos get clearer and more appealing. Mobile phone photography is about seeing the world in new ways and capturing it with skill. You have the tools in your hands. Now it’s time to take sharper, better photos with your mobile phone.