Introduction
Traveling can get complicated, especially when your cables are all tangled up. A travel kit layout that keeps cables tangle free makes a big difference. It saves you time and stress when you need your chargers or earphones quickly. In this article, you will learn how to pack and organize your cables so they stay neat and easy to find.
We will explore ways to arrange your travel kit and recommend tools that help keep cables in place. You will get tips on choosing the right bag and folding methods. By the end, you will be ready to travel with a well-organized kit that avoids cable chaos.
Choosing the Right Travel Kit Bag
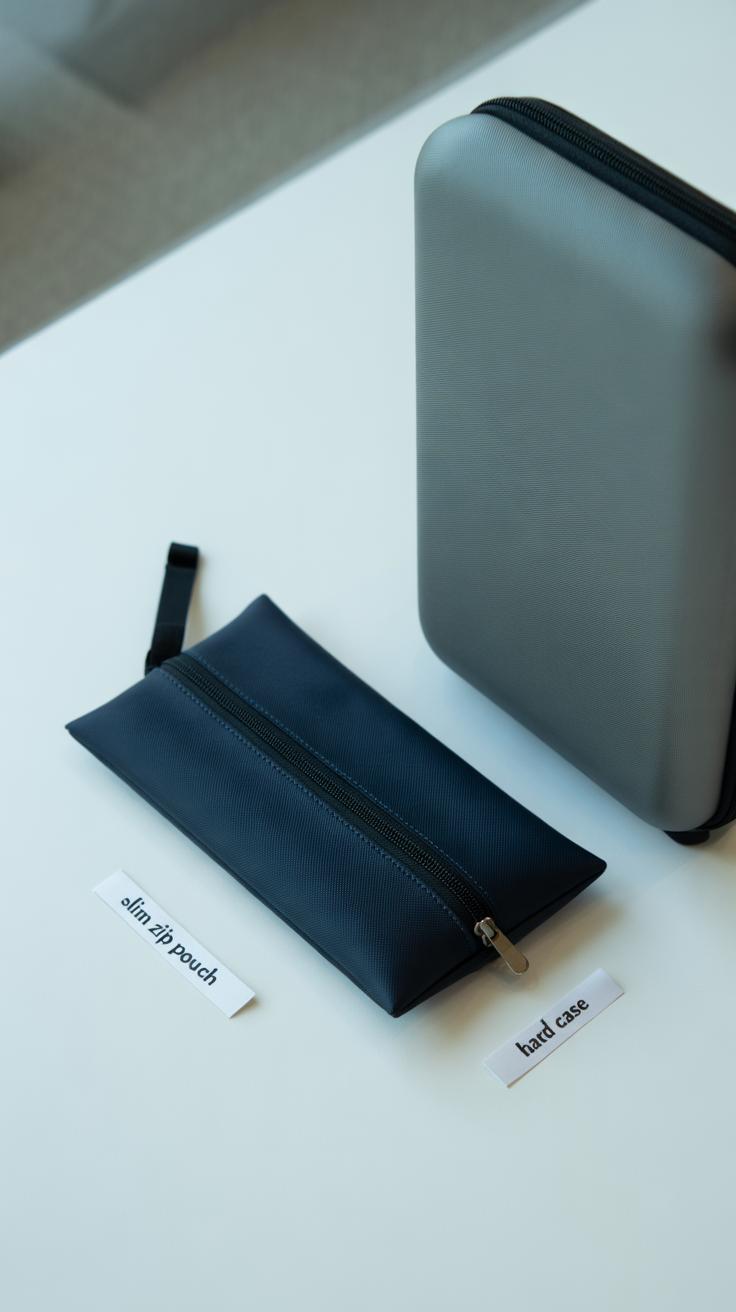
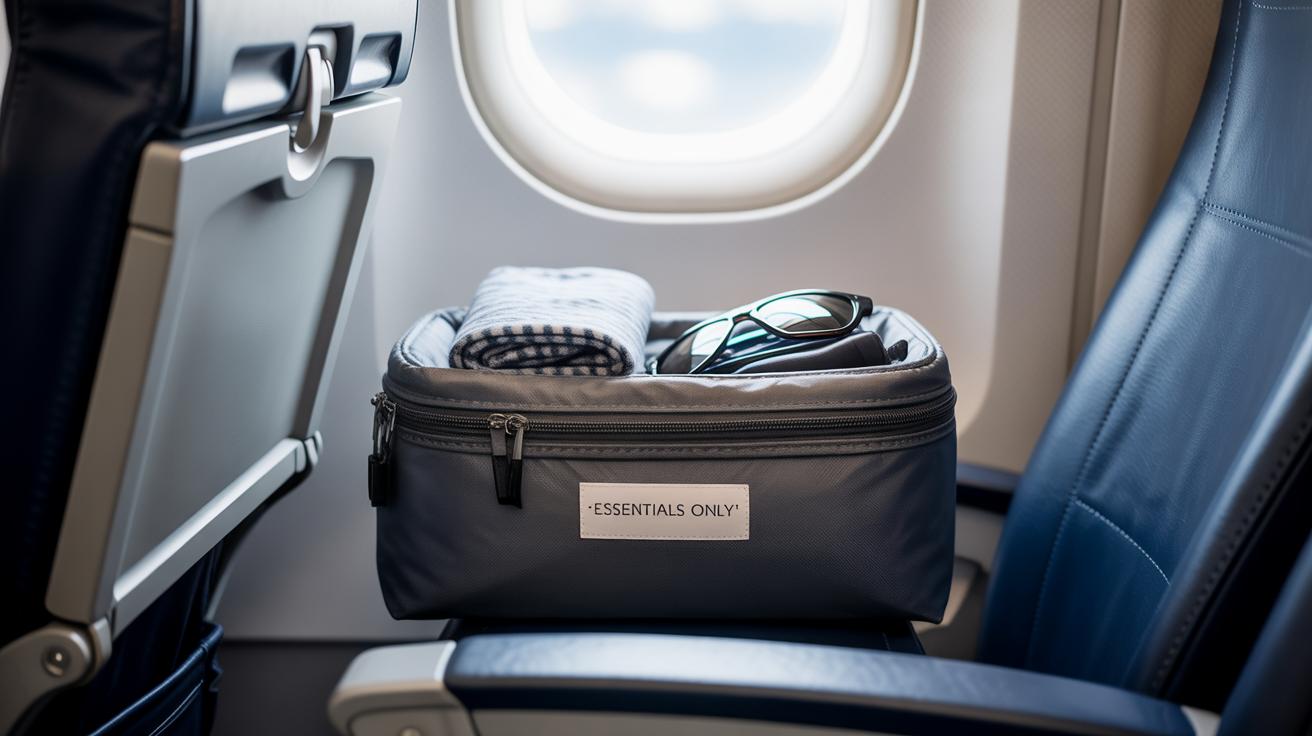
Picking the right travel kit bag can make a big difference when it comes to keeping your cables organized. One of the first things to think about is the number and type of compartments. You want something that separates cables from chargers, earbuds, and other accessories so they don’t all end up in a jumbled mess.
Size matters, too. A bag that’s too big might let things move around too much, leading to tangles anyway. But if it’s too small, it won’t hold everything comfortably. Finding that middle ground can be tricky—but worth the effort.
The material also plays a role. Look for something durable but flexible enough to fit into your luggage without adding bulk. Waterproof or water-resistant options help protect against spills or unexpected weather, especially if you toss the bag in your carry-on or backpack without much thought.
Some bags come with straps or elastic loops inside, which I’ve found really helpful. They keep cables coiled and in place instead of allowing them to shift during travel. Others offer modular designs, letting you adjust compartments as needed, which is neat if your gear changes over time.
Finally, think about easy access. You want to pull out the right cable quickly, without digging through everything. Bags that open wide and lay flat usually work best for this, but that’s a personal preference you might want to test.
Features That Help Separate and Protect Cables
When you’re picking a travel kit bag for cables, look closely at how it’s built inside. Compartments and pockets aren’t just decorative—they keep cables from tangling and even prevent wear. For instance, individual mesh pockets can hold chargers separately, which stops them from getting twisted around each other. Some bags include padded sections or cushioned flaps that protect delicate wires and connectors from bends or pressure. I’ve noticed that without a bit of padding, cables can get squished when packed tightly, sometimes causing little breaks that are hard to spot until it’s too late.
Separate spaces also make it easier to grab what you need quickly. Instead of rifling through a jumbled mess, you find the cable right away. Yet, too many tiny compartments might make packing slower, so think about how much sorting you actually want to do during travel.
Size and Portability Considerations
Size matters more than you might expect. If your travel kit is too big, it becomes bulky and awkward—no one wants a heavy brick in their carry-on. But if it’s too small, cables might bunch up anyway, defeating the whole purpose. Pick something that fits your usual travel style.
For shorter trips, a compact pouch with a few well-placed pockets may be enough. For longer journeys or if you carry lots of gear, a mid-sized bag with multiple layers could work better. Ideally, your bag should slide easily into your main luggage without creating lumps or awkward shapes. I’ve learned that some soft-sided bags tend to fit better, especially when you need to squeeze them into a packed suitcase.
Consider the closure too. Zippers offer good security but can get stuck or snag cables if you’re not careful. Magnetic snaps or clips might work, though they risk popping open. So yeah, there’s a bit of a trade-off.
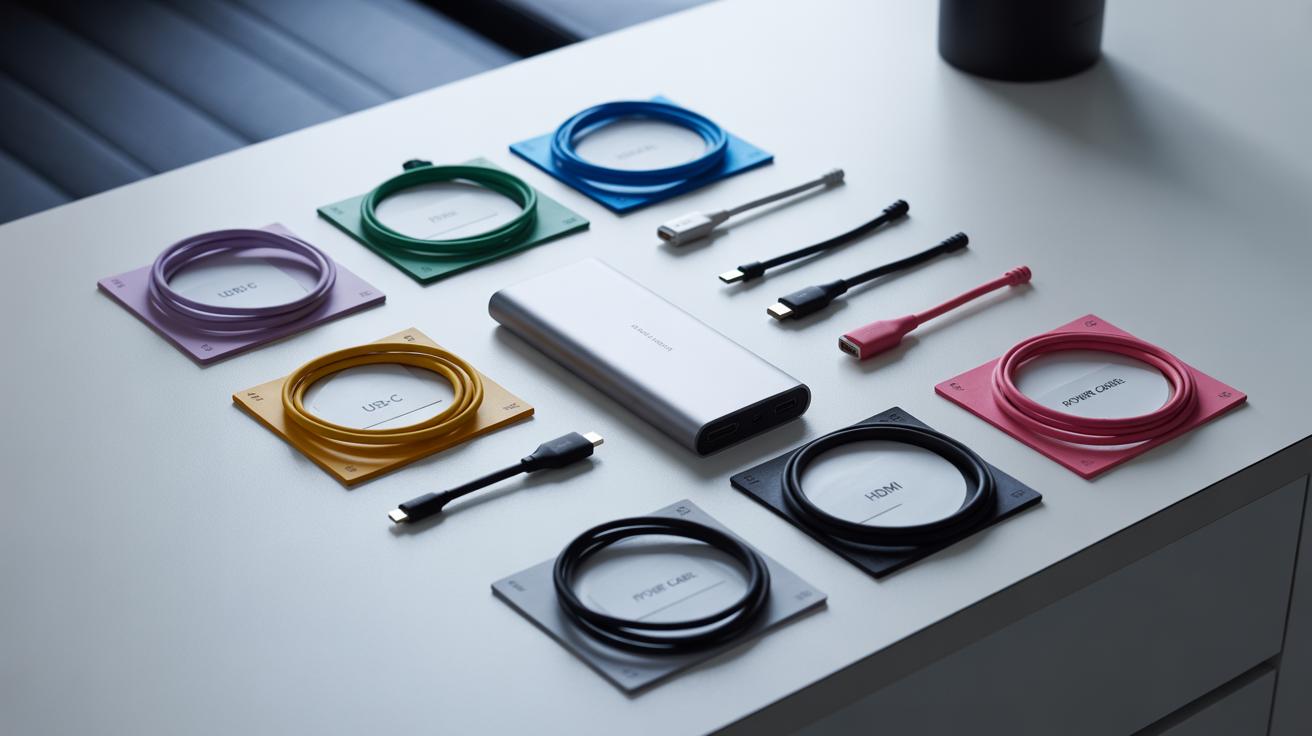
Effective Cable Organization Tools

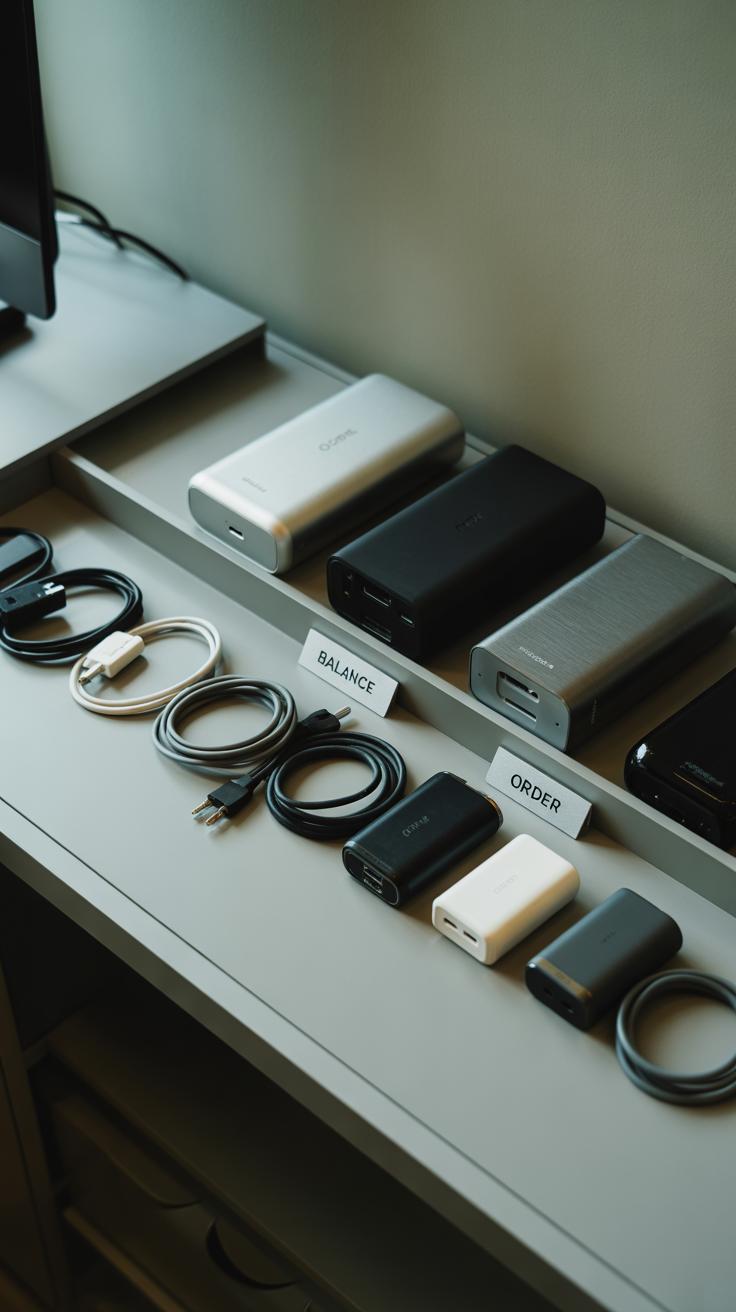
Keeping cables neat inside your travel kit relies a lot on the right tools. Simple items like cable ties or straps can work wonders to keep wires from twisting into a mess. I’ve found reusable Velcro straps handy because they adjust to different cable sizes and don’t damage cords like some plastic ties can. Then there are small pouches or cases designed specifically for cables, which stop everything from shifting around during travel.
Organizers with compartments make a difference too, especially compared to tossing cables loose into your bag. Some have elastic loops to hold each cable separately, preventing that frustrating jumble you’ve probably experienced before. If you carry multiple gadgets, pouches with several sections keep things accessible and visible, so you’re not digging through layers of wires.
Types of Cable Organizers and Their Benefits
You might find cable ties, straps, cable clips, and dedicated organizers, each with pros and cons. Straps, like fabric or silicone bands, are flexible and lightweight but may slip off if not snug enough. Cable clips attach to surfaces and keep cables in place and untangled on your workstation or inside the kit. Then there are zippered cases with elastic loops and mesh pockets, which offer a blend of protection and organization. They shield cables from damage but can add some bulk to your kit.
Choosing between something minimal like a simple elastic strap or a full pouch depends on how many cables you carry and their length. For example, short charging cables might only need a strap. Longer HDMI or power cables might demand a pouch to keep them from rubbing against each other.
Choosing the Best Tools for Your Setup
Start by considering how many cables you travel with and their purpose. If you carry only a couple of short cables, lightweight straps might be enough. But if you pack chargers, headphones, adapters, and more, a pouch with compartments can save you from a knotty nightmare.
Think about your luggage space too. Do you prefer a slim setup? Then choose flat pouches or thin straps. If space isn’t a big issue, something more structured might be okay. Also, reflect on convenience—do you want a quick grab-and-go solution or a more deliberate layout to prevent tangling over days?
I sometimes hesitate between a bulkier organizer that keeps everything separated and a minimalist option that’s quicker to pack. This indecision shows there’s no perfect choice, but you can pick what fits your travel style best. What’s been your experience so far with cable organizers? Could a new tool improve your setup?
Simple Folding and Rolling Techniques for Cables

When it comes to packing cables, the way you fold or roll them can make a big difference. If you just stuff them in a pouch, untangling later becomes a nightmare. Instead, try the over-under twist method, which, at first glance, might feel a bit unusual but really helps in preventing kinks and tangles.
The Over-Under Twist Method
This technique is about alternating the direction of each loop—one loop goes over, the next one under. It may sound tricky, but once you get the rhythm, it feels kind of natural. The key here is that it reduces the strain on the cable’s internal wires. I’ve noticed cables folded this way rarely resist being pulled apart in knots, even after days in a backpack.
Try making loops roughly the size of your hand. You’ll feel the natural twist, and it won’t fight you. This method is especially useful for thicker cables like charging bricks or audio cords, which can easily develop internal damage if folded wrong.
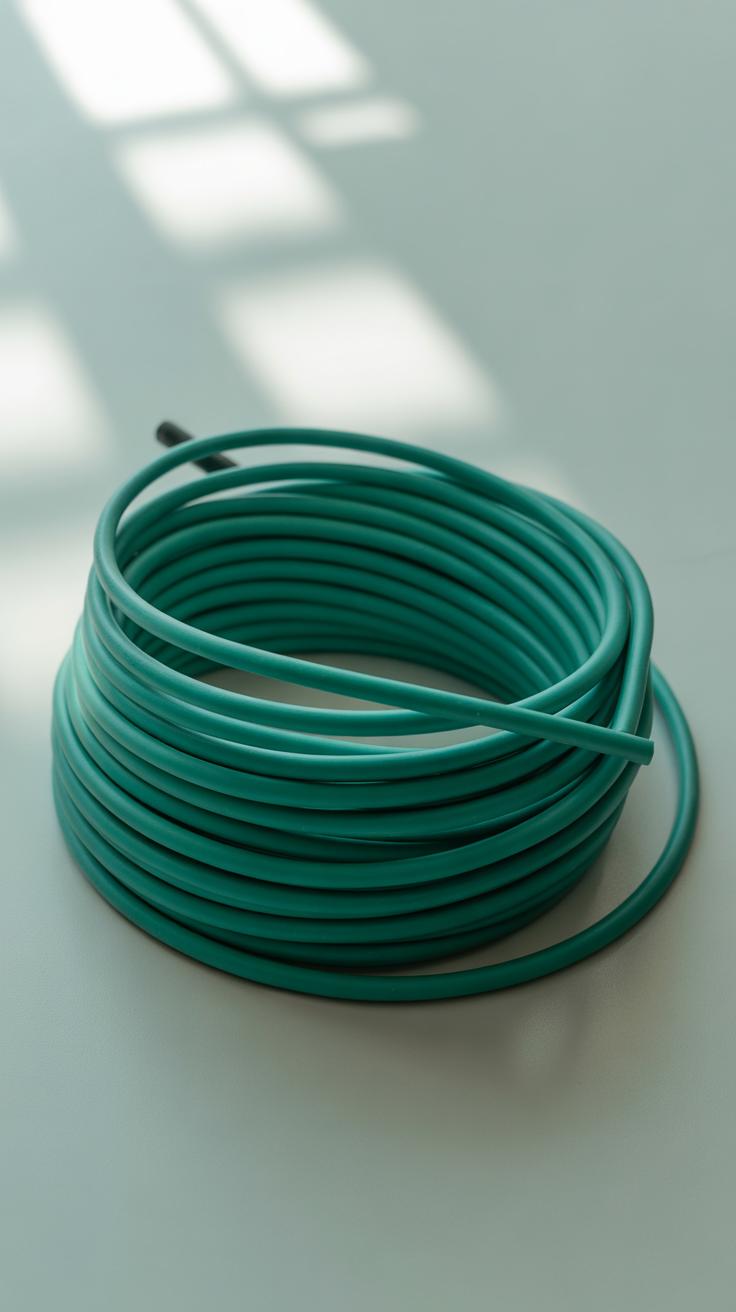
Rolling Cables for Compact Storage
Rolling cables is a simple approach but often overlooked. Instead of folding, just wind the cable into a tight, consistent roll from one end to the other. What’s important is securing the roll firmly—maybe with a small strap, a velcro tie, or even a twist tie.
Rolling saves space and keeps cables from snagging on each other. I remember once cramming multiple cables into a pouch without rolling—and the result was hours of untangling later. Rolling prevents that, and you can even stack rolls neatly inside your travel organizer.
It’s not a one-size-fits-all though. Some very stiff or short cables might be easier to manage with folding. So, think about the cable’s length and flexibility before choosing your method. Do you prefer gentle loops, tight rolls, or a mix? Try both—you might find you switch depending on the trip.
Labeling Your Cables for Easy Identification

When you’re rummaging through your travel kit, the last thing you want is to spend precious minutes untangling cables or guessing which one belongs to your phone or camera. Labeling your cables can make a surprising difference. It adds convenience and speeds up finding the right cable—especially when time is tight, like at airport security or during a busy layover.
Think about those moments when you’re half-asleep and need to charge your device. A quick glance at labeled cables can save you a lot of hassle. Plus, it can prevent the frustration of unplugging the wrong cord or accidentally taking someone else’s charger when traveling with others. Simple labels bring clarity, and that clarity pays off more often than you’d expect.
Different Labeling Options to Consider
Labeling doesn’t need to be complicated. You can try various straightforward methods:
- Tags: Small plastic or fabric tags you attach near the connector. They don’t add much bulk and are easy to spot.
- Stickers: Using writable or pre-printed stickers on the cable or its plug end can work well. Just be careful they don’t peel off easily with use.
- Color Coding: Assign a color to each device or cable type. Maybe all your phone chargers get red tape, and your camera cables are blue. It’s quick and doesn’t require much reading effort.
You might even combine these methods—whatever feels intuitive. Some travelers swear by small lettered tags paired with colored wraps, but really, it’s what helps you the most.
Benefits of a Labeled Travel Kit
Labeling cuts down on the usual travel hassles more than you might realize. Imagine not having to pull out every cable to check if it fits your device or sifting endlessly through a jumble of black cords. It reduces frustration—a major plus when you’re tired or in a hurry.
Beyond convenience, labeling saves time. You move faster through packing and unpacking. You avoid accidental damage, too, because you’re less likely to yank or stretch the wrong cable. On your busiest travel days, that small bit of order can feel like a relief rather than an added task. While some people overlook it, labeling is a simple habit that pays back with less stress and more speed.
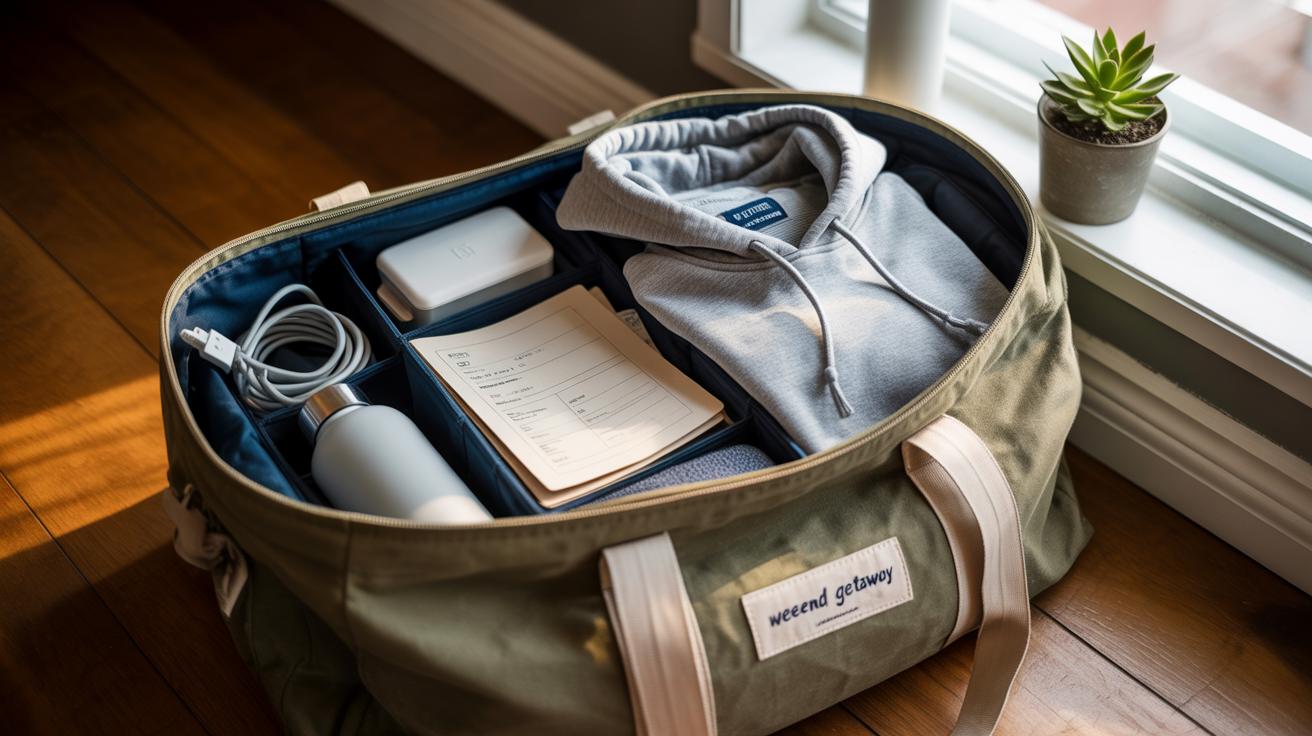
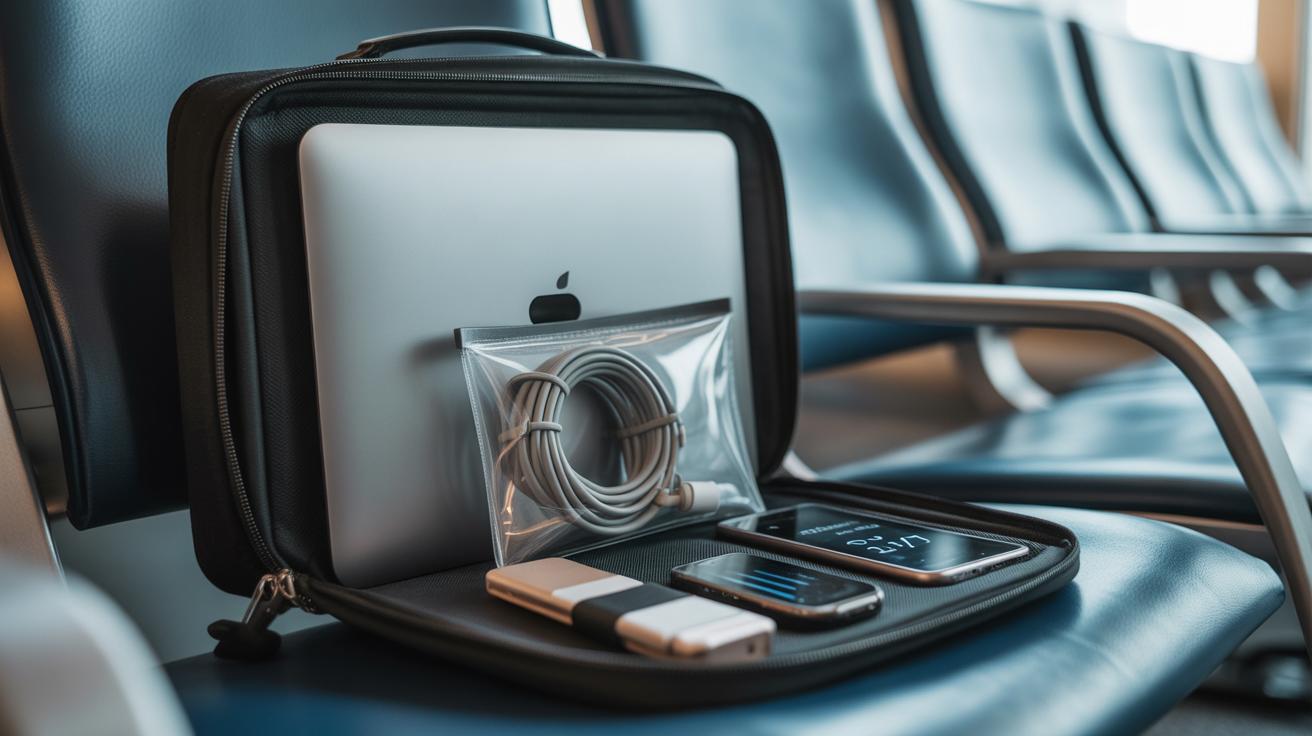
Packing Smartly Within Your Travel Kit
When it comes to packing your travel kit, the order you choose makes a big difference. Start by placing the bulkier devices, like power banks or chargers, at the bottom. This way, they provide a stable base and won’t squash your fragile cables.
For cables, try coiling each one loosely rather than folding it tightly. This prevents stress points and limits tangling. Then, tuck them into individual compartments or wrap them with small elastic bands to keep them from unraveling. You might find it helpful to lay longer cables along the edges of your kit, where they’re less likely to get caught up with other items.
Think of layering like this:
- Bottom layer: bulky devices and chargers
- Middle layer: medium-sized items with own compartments
- Top layer: delicate or frequently used cables, easily reachable
Speaking from experience, I once crammed everything in without any separation. It was a mess. Now, using dividers or elastic bands, everything stays apart, and finding the right cable is quicker than before. Small mesh pockets within the kit also work nicely for loose accessories like adapters or earbuds. These pockets prevent unexpected knots that drive you mad when you’re in a rush.
Do you ever wonder if a certain placement might make grabbing your charger quicker or not? Sometimes, switching just one cable’s spot saves a frustrating minute at the airport security line. So, experiment with the layout a bit. What feels logical to you might not be the best until you try it.
Maintaining Your Travel Kit Over Time

Regular Cable Checks and Tidy Ups
You might think that once your cables and gear are neatly packed, that’s the hard part done. But keeping that order requires some attention every now and then. I find that giving your cables a quick inspection for any fraying or damage before each trip saves headaches later. Sometimes a worn-out cable will sneak in unnoticed, and catching it early can keep you from scrambling in unfamiliar places.
Besides checking cable health, spend a few minutes re-organizing your travel kit between trips. Things shift around—you might forgot to return a cable to its slot or crammed in a new gadget hastily. Taking a moment to fold cables back into loops, tuck them into their compartments, and reset the kit to its neat state works wonders. It’s kind of like stretching after sitting too long, really. Your travel kit “breathes” better and so do you when you open it next time.
Cleaning and Storing Your Travel Kit Between Trips
Now, cleaning your travel kit might not be your first thought after traveling. Yet, dust and grime can build up on cables and inside the pouches. A gentle wipe down of cables with a slightly damp cloth works well—don’t soak them, just enough to remove surface dirt. If your kit’s fabric or case has small stains, spot cleaning helps. I once left a coffee stain on mine for weeks; it needed a good scrub to not look scruffy.
When it’s time to store your kit, choose a dry spot away from direct sunlight. Storing cables loosely inside the kit can sometimes undo your good work, so consider wrapping them in soft ties or cable organizers before tucking them in. You might even use small pouches for different cable types. This extra step avoids tangles growing quietly during those infrequent storage months.
What’s your routine for keeping your travel gear neat? Do you tackle it after every trip or only when things get messy? Either way, a little care goes a long way to keep your cables ready and frustration at bay.
Additional Tips for TechSavvy Travelers
If you tend to carry more than a couple of devices, your travel kit needs a little extra thought. Managing all those cables and chargers can get tricky fast, and it’s easy to end up with a mess that takes time and patience to sort out.
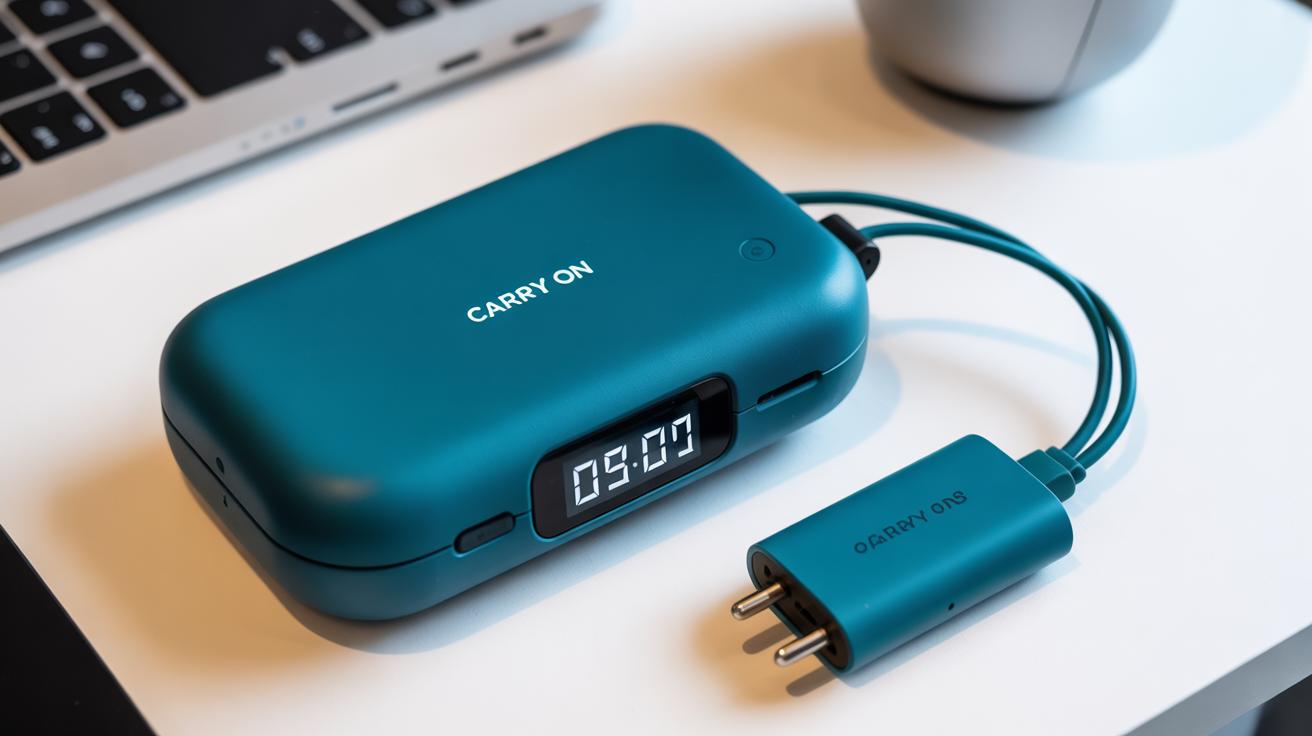
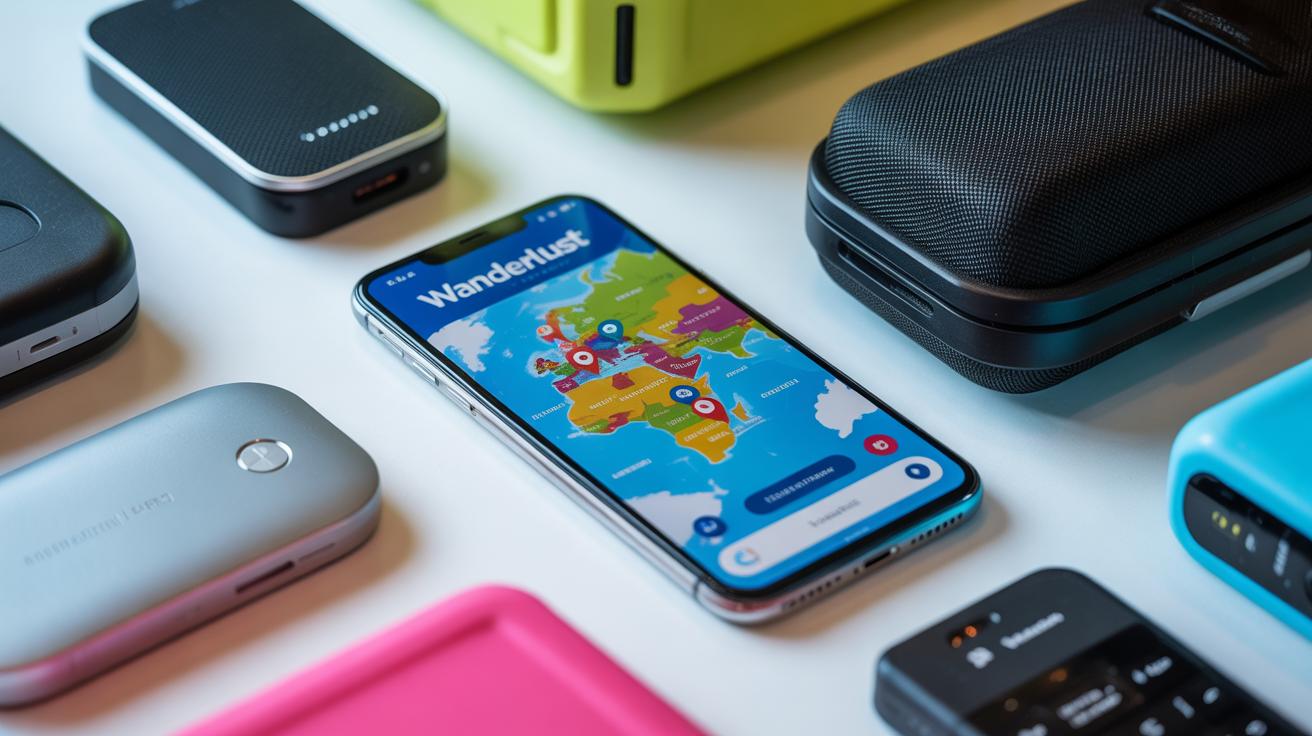
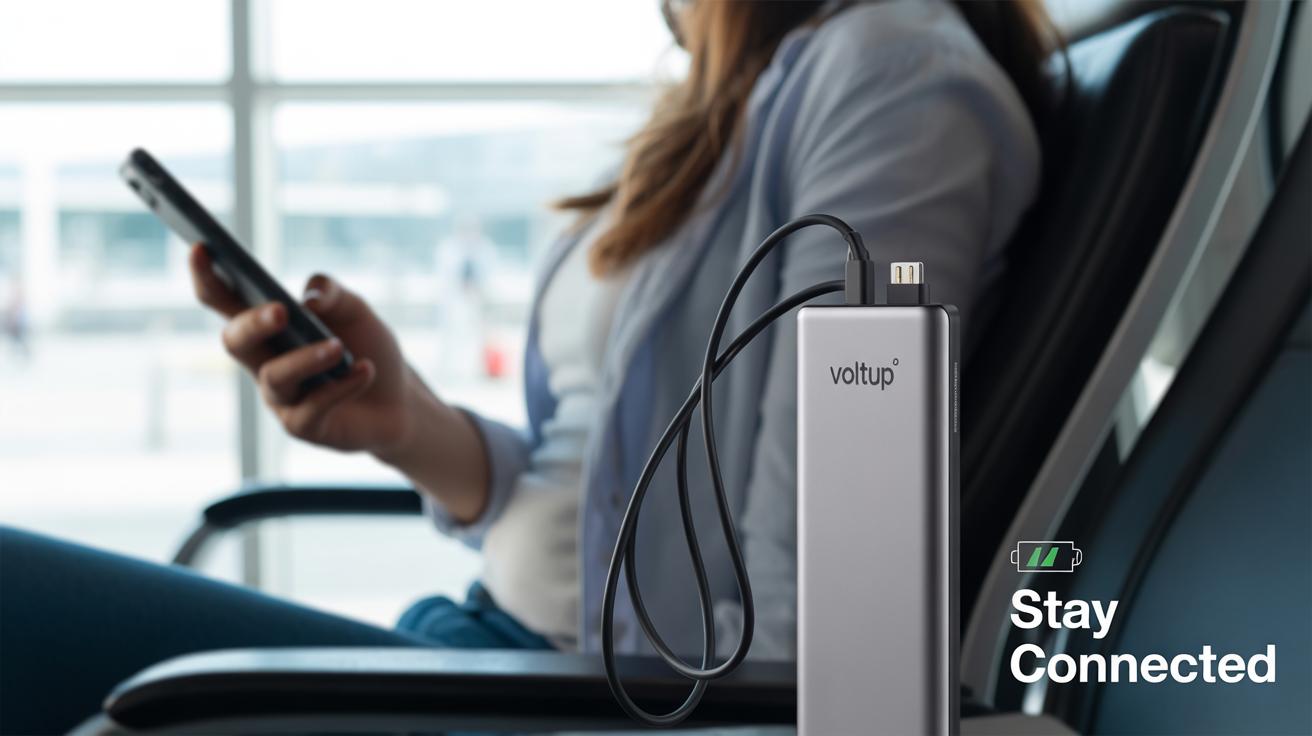
One way to cut down on clutter is using multi-charging hubs. Instead of juggling several wall plugs, a single hub lets you charge multiple gadgets from one outlet. It’s not just about saving space—sometimes those hubs even offer fast charging, which makes waiting less painful. I’ve found it handy on trips where power sockets are scarce or oddly placed. Though, keep in mind, these hubs can be bulkier than individual chargers, so pick one that balances size and capacity for your needs.
Wireless charging is another option, though it’s still not perfect for everything. If your phone supports it, you can leave cables behind, which feels freeing but remember you still need a power source and sometimes a specific pad. It won’t replace all cables, but it can drastically reduce the tangle situation.
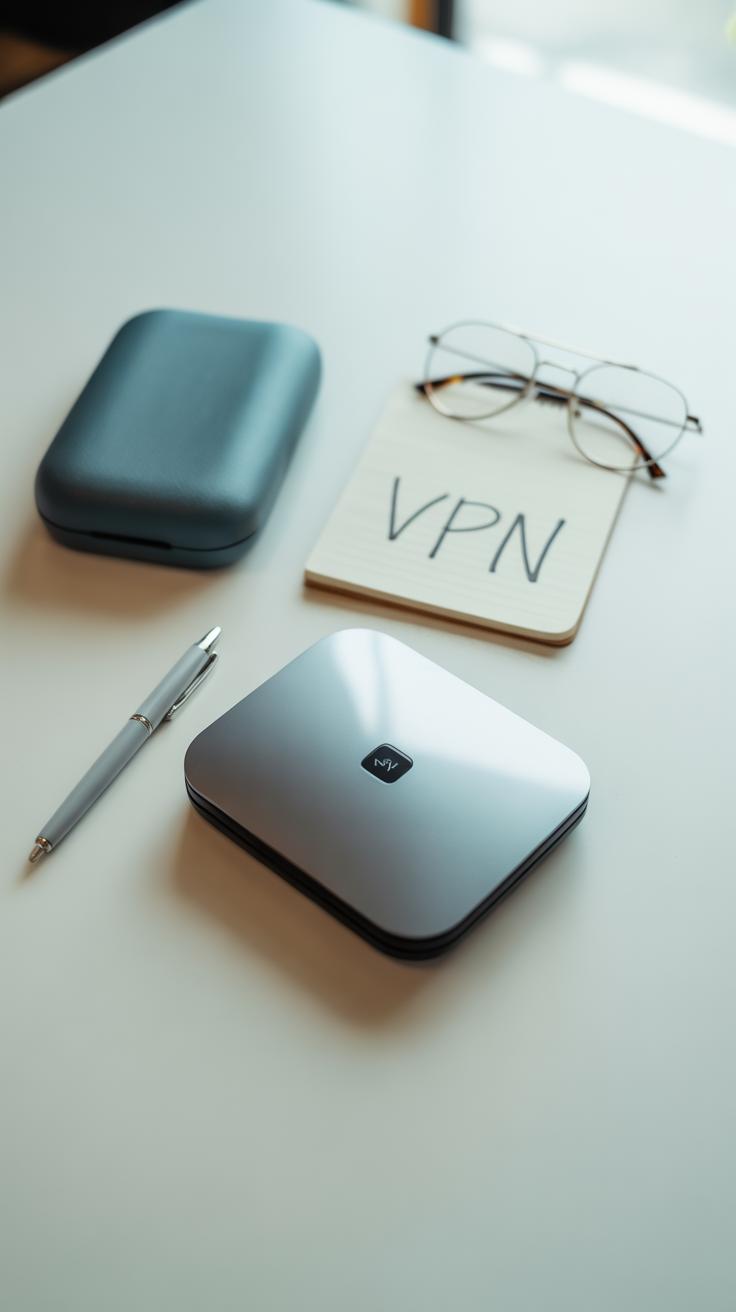
Planning for power compatibility worldwide is a challenge many don’t think through until they’re stuck with incompatible plugs or voltage. Carrying a neat set of adapters and voltage converters sorted in labeled compartments saves frustration. I like using small pouches or zip bags inside the kit for these, so I can grab what I need right away. Sometimes you’ll need more than just a plug adapter, especially with devices that aren’t universal voltage—having a spot that keeps these safe and accessible keeps your trip on track.
Have you noticed just how oddly shaped some plugs are? That’s why organizing these elements carefully makes difference, not only for function but for protecting cables and chargers from damage. A little foresight here helps you avoid a mess that’s not just annoying but costly in the long run.
Conclusions
Keeping your cables tangle free takes a bit of planning but pays off every time you travel. You now know why layout matters and how to pick the right travel kit. Using simple folds, labels, and compartments can prevent messes and save time.
With these ideas, you can say goodbye to the frustration of digging through knots. Your travel kit will be ready to go whenever you are, letting you focus on your trip instead of your cables.