Introduction
Projection mapping turns objects into dynamic display surfaces. It works by using software to map images or videos onto irregularly shaped objects, like buildings or stages. This technology combines video and audio to create engaging visuals, widely used in art, advertising, and education. Setting up such a system requires understanding both the electronic components involved and the best marketing practices to promote your service or product.
This article covers a projection mapping installation checklist focusing on electronics and digital marketing. You’ll find step-by-step instructions for choosing components, software, and troubleshooting hardware issues. Plus, you’ll get digital marketing tips tailored to raise awareness and attract clients or audiences to your projection mapping projects.
Basic Electronics For Projection Mapping
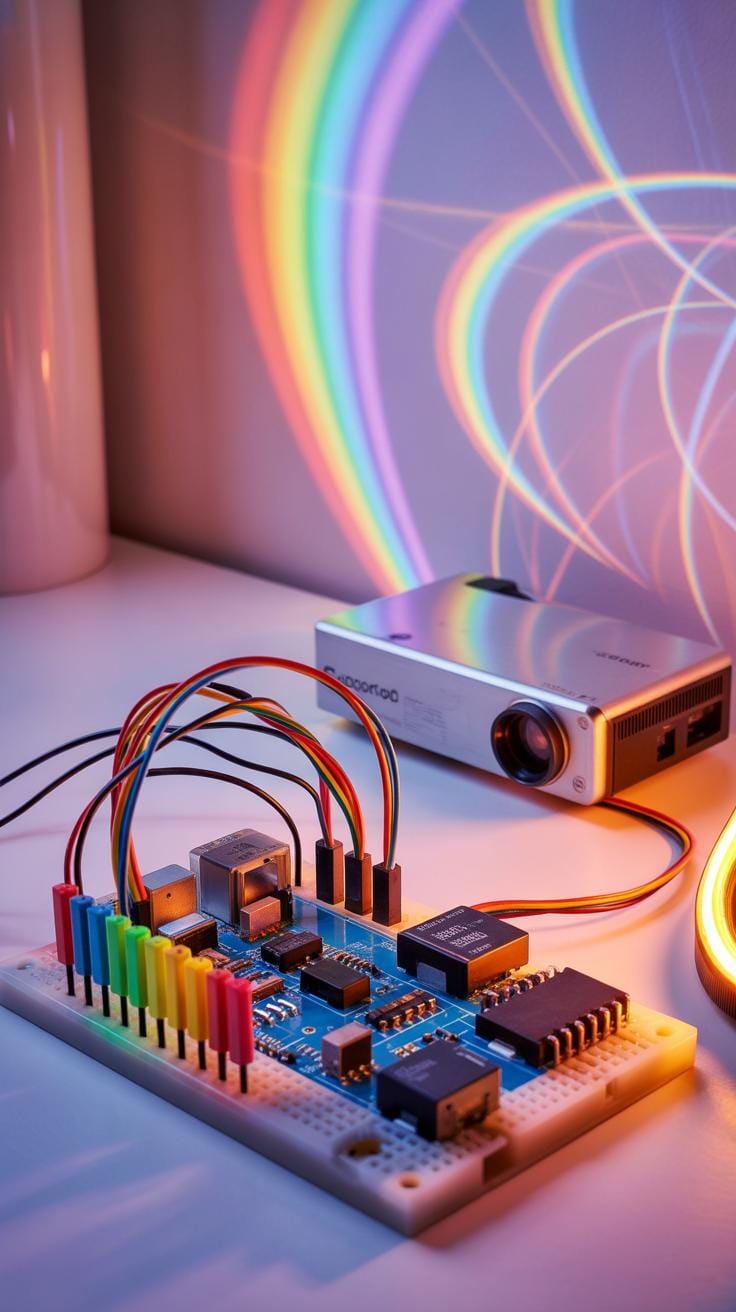
Projection mapping rests on a foundation of a few crucial electronics pieces. At its heart, you need a projector — the device that throws light and images onto your surface. Then, a computer runs the projection mapping software, crafting the visuals and controlling what the projector throws out.
Projectors come connected via cables — often HDMI or DisplayPort — to your computer, which sends the visual data. Controllers step in sometimes, providing hands-on command with hardware interfaces, allowing real-time adjustments to mappings or effects.

Each element plays a role: the computer designs and adjusts the content; the projector delivers it visibly; cables maintain the flow of signals; and controllers tweak the output live. Together, they create the illusion of motion and depth across physical surfaces. You’ll need to think carefully about the compatibility and reliability of each component — one weak link can throw off the entire experience.
Projector Types And Features
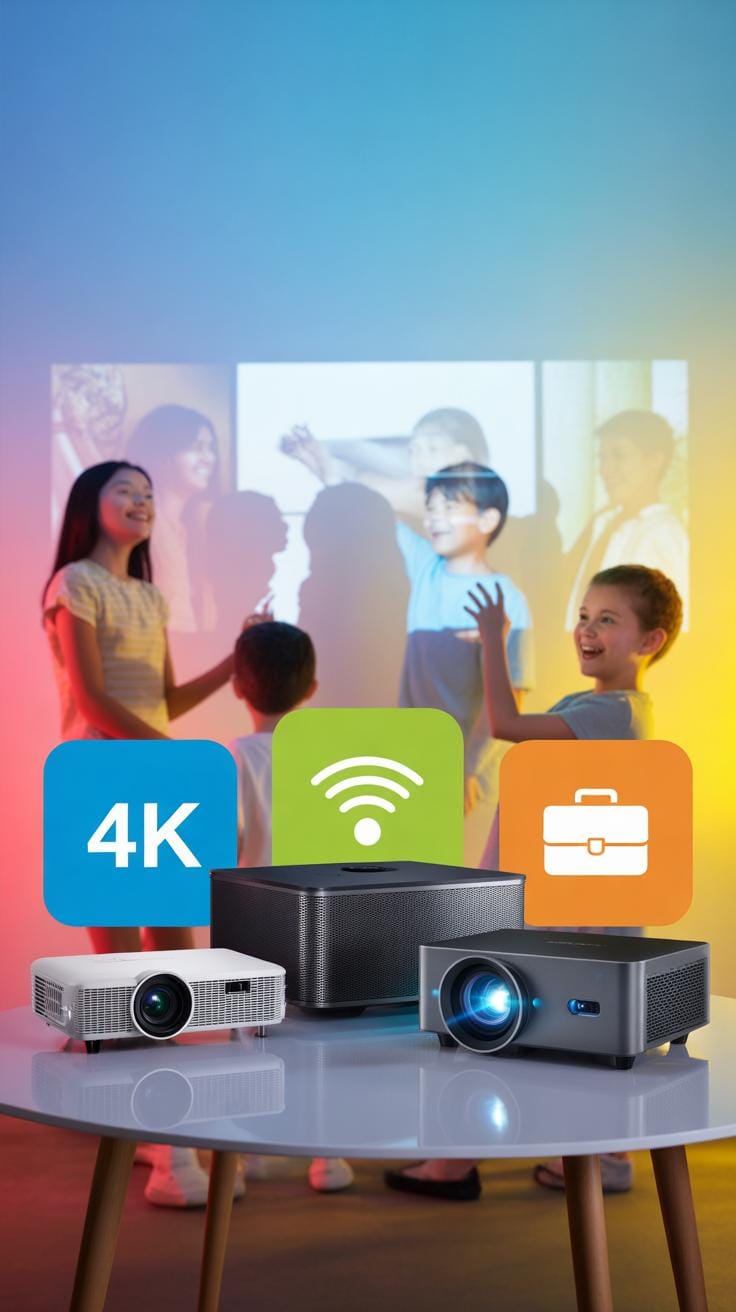
Choice of projector shapes your mapping possibilities. DLP projectors use tiny mirrors to reflect light, known for sharp images and smooth motion. LCD projectors split light through panels, producing vivid colors but sometimes a softer focus. LED projectors offer long lamp life with better energy efficiency, but can lag behind others in brightness.
Key features really make a difference. Brightness, measured in lumens, decides how well your projection cuts through ambient light. Resolution impacts how crisp your visuals appear—higher is better for detailed mappings. Throw distance defines how far the projector can sit from the surface while filling the desired space. Each of these factors sways your setup’s flexibility and final effect.
Computing Requirements Overview


Your computer is the projection mapping workstation. Minimum specs often start at a quad-core processor, at least 8GB RAM, and a dedicated graphics card, though these numbers can feel tight once complex visuals or multiple projectors come into play.
For smoother workflow, aim for faster CPUs, 16GB or more memory, and mid-to-high tier GPUs—think NVIDIA’s GeForce or AMD’s Radeon lines. Projection mapping software processes large files and renders scenes in real time; insufficient power leads to lag or crashes. So, your hardware isn’t just a box; it’s the engine driving your entire digital canvas. Don’t skimp here—you might regret it when your mapped animations stutter unexpectedly.
Preparing The Physical Setup

Setting up the physical environment for a projection mapping installation requires careful planning. You need to think about the surface you’ll project onto—its texture, shape, and color all matter, but that’s not the full story. Ambient light is a factor that can’t be ignored. Sometimes, it’s easy to overlook how much light sneaks in from windows or overhead fixtures, dulling the image. Controlling this might mean blackout curtains or dimming lights, depending on the setting.
Projector placement challenges many installers. You want to cover the target surface completely, but also avoid shadows and distortion. Mounting options vary—tripods, ceiling mounts, even custom rigs—each with pros and cons. Measuring distances helps with focus and alignment, but it’s almost like math and art combined. You’ll adjust and tweak multiple times to get it right. Sometimes the best spot is unexpected.

When I first tackled a mapping installation, I underestimated how much the environment would affect the final display. I thought the software would handle most details, but no. The physical world pushes back. It reminds me to always survey the space fully.
Choosing The Right Projection Surface
An ideal surface isn’t just flat and white. While simplicity helps, the magic comes when you match your content to the shape and color of the surface. Rough or glossy textures might scatter or reflect the projection oddly. For instance, a matte surface usually gives a clearer image. Color throws another curveball—darker surfaces absorb light, so your images dim; lighter surfaces bounce it better. Shapes matter, too. Curved surfaces can add depth but need more precise mapping to avoid warping.
It’s worth doing test projections on different materials. Sometimes a surface that seems odd ends up adding character to the image. On the other hand, overly complex textures might ruin your clarity. And then there’s the question—should you prep the surface with paint or materials? Some projects benefit from specialized projection paint, which can enhance brightness and contrast.
Projector Position And Alignment
Projectors should ideally be placed at a distance and angle that covers the entire display area without distortion. I’ve found that mounting height and angle affect keystone correction needs. The more off-angle, the more digital correction you’ll require, but beware: too much correction can degrade image quality.
Distance isn’t purely about fitting the image. It also impacts brightness and focus. Closer means brighter and sharper, but can limit coverage if the projector’s throw ratio isn’t right. Further away expands coverage, but at the cost of brightness and potential softening. Sometimes multiple projectors help solve these issues, blending edges with masks and software.

Alignment takes patience. Using grids or test patterns projected onto the surface helps you line things up. Some setups use laser pointers or software tools for precision. You can’t rush it. Even small misalignments show up sharply, especially on complex shapes. Think of it like tuning an instrument—you adjust, step back, and adjust again.
Software Setup And Calibration

Choosing and setting up the projection mapping software can feel a bit daunting at first. You’ll want to begin by installing your chosen application—whether that’s TouchDesigner, MadMapper, or Resolume Arena, for example. Each has its quirks, so taking time to get comfortable with the interface is key. Don’t rush; sometimes the best way is just to experiment.
Calibration is the step where the real precision starts. You align the projector with your physical surface, which might be anything from a building facade to a sculpture. Typically, you’ll project a grid or a test pattern onto your object and then adjust the software’s controls until the grid perfectly matches the contours. This process can feel fiddly; minor tweaks often make major visual differences.
Mapping content to your object involves creating masks or defining the surfaces within the software. You map your digital visuals onto these contours so they appear anchored in the real world. You might wonder—how exact does this mapping need to be? A small mismatch can stand out, but sometimes imperfections add character too.
When deciding on software, consider these points:
- Is the interface intuitive for your skill level?
- Does it support your hardware and operating system?
- Are there built-in calibration tools, or will you rely on manual adjustments?
- Does it integrate easily with other software you’re using?
Sometimes the simplest software suffices, but if you need advanced features like real-time video effects or interactive controls, you might lean toward more complex options. It’s not always a clear choice, but testing trial versions can reveal what fits you.
Electronic Testing And Troubleshooting

Testing each electronic component before and during operation can feel a bit tedious, but skipping it often means you’re gambling with unexpected failures. Start with a visual inspection of connectors, cables, and circuit boards for signs of wear or damage. Then, power on the components individually, monitoring voltages and current to ensure they fall within specified ranges.
Common issues often appear as intermittent signal loss or device shutdowns. For example, a loose wire can cause flickering projections, or a faulty capacitor might make the projector reboot sporadically. When you find issues, replace suspect parts or tighten connections, and always test again to verify the fix.
Checking Connections And Signals
Before fully running your setup, double-check all cables—HDMI, VGA, power cords—and confirm each is firmly seated. Sometimes what looks connected isn’t making proper contact. Also, test the projector’s input signals directly from the computer interface; a mismatched resolution or refresh rate can cause blank screens or distorted images.

Use signal testers or simple trial swaps with known working cables to isolate faults. Don’t overlook the software side either—make sure your devices recognize each other and that drivers are current. Not noticing a small setting error early on can lead to scrambling later, trust me.
Handling Common Hardware Issues
Projector overheating is a frequent frustration, especially during lengthy displays. Check fan operation and filter cleanliness first. If temperatures climb despite ventilation, reducing brightness or slowing refresh rates might help. Sometimes, a quick shutdown to cool down is unavoidable.
Signal loss can feel random, but the root often lies in poor cable quality or electromagnetic interference nearby. Replacing cables with shielded ones and routing them away from power lines can stabilize the connection.
The software crashing or freezing needs a different approach — try reinstalling the mapping program or checking system resources. Sometimes, an unfamiliar update on the OS can disrupt previously stable setups. Keeping backups of your configuration files saves time here.
Visual Content Design Basics

When it comes to projection mapping, creating or selecting content isn’t just about picking attractive visuals. You need to consider how the images or videos will actually interact with the surface you’re projecting on.

Resolution is a primary factor. Your content has to match or exceed the native resolution of your projector to avoid blurriness or pixelation. If you use lower resolution content, it tends to look stretched or fuzzy, especially on large or complex surfaces.
Contrast plays a big role too. Projection mapping often happens in varying light conditions, so images with strong contrast stand out better. Low contrast visuals might just fade into the surface background, losing their impact entirely.
Animation is an interesting element to work with. Subtle movement or well-timed effects can add depth and capture attention, but too much or poorly synchronized animation might make the content distracting or confusing. Balance is key.
Have you ever noticed how some images seem to “wrap” naturally around corners or irregular shapes? This happens because they’re designed with the projection surface’s form in mind. Content might need warping or masking so it looks natural, not distorted, when projected on uneven or complex objects.
In practice, you might create editable templates or use software that allows dynamic adjustments so your visuals remain flexible when mapped. This adaptability is crucial for irregular surfaces — it’s not a one-size-fits-all process.
What kind of visuals are you considering? Static images, looped videos, or full animations? This choice can impact both your design approach and technical requirements.
Digital Marketing Essentials For Projection Mapping
When promoting projection mapping services or events, you really must consider a broad range of digital marketing tactics. Here’s a checklist to help you navigate this:
- Social media presence matters—build profiles on platforms like Instagram, YouTube, and Facebook to share high-quality visuals and behind-the-scenes clips.
- SEO is key: focus on keywords related to ‘projection mapping’, including local terms if you serve specific regions.
- Paid advertising can boost reach quickly, especially Google Ads and social media ads targeting event planners, brands, or tech enthusiasts.
All these strategies work better together than alone. For instance, good SEO will increase organic traffic, while social media can engage audiences more personally.
Optimizing Online Presence
Creating a website tailored to your projection mapping offerings is a must. Your site should:
- Showcase a portfolio with high-res images and video projections to demonstrate your capabilities.
- Be optimized for search engines by integrating keywords naturally in each page’s content and metadata.
- Include clear calls to action—like quote requests or event booking forms.
It surprises me how many websites neglect strong SEO. Ranking for phrases like “projection mapping services” can drive steady traffic and inquiries.
Social Media Engagement Ideas
Instagram and YouTube are great for visual storytelling around projection mapping. Here are some ideas that might help:
- Share short time-lapse videos of your projections being set up—people love watching the transformation unfold.
- Highlight client testimonials or reactions during events to add authenticity.
- Use YouTube to post in-depth case studies or tutorials, which can establish your expertise.
Engaging consistently builds followers, but remember, it’s not just about pretty images. Tell the story behind each projection. Why this site? What challenges did you face?
By combining these digital marketing efforts thoughtfully, you’ll reach the right audiences and help your projection mapping work gain the attention it deserves.
How To Build Client Relationships

Pitching Projection Mapping Projects
When you pitch your projection mapping services, focus on what makes your approach unique and how it addresses the client’s specific needs. Start by illustrating the impact projection mapping can have—whether to enhance a brand’s presence or transform an event space. Use visuals or demo videos; seeing is believing after all.
Highlight technical strengths but keep it grounded—overloading with jargon can lose people fast. Instead, explain how your technology can bring a client’s vision to life creatively and practically. Be ready to discuss past projects but tailor them to the client’s industry or event type.
Don’t forget to convey your understanding of timelines and budgets. Clients want reassurance you can deliver on time without surprises. It helps to share your collaborative style—project mapping is often iterative, so make clear you’re open to feedback and adjustments.
How To Build and Maintain Client Relationships
After a project, your job is far from over. A quick follow-up to thank clients and solicit honest feedback goes a long way. Even if things didn’t go perfectly, this shows you care and are committed to improvement.
Personalization matters here. Recall specific preferences or concerns they mentioned and address them directly. It’s a subtle way to remind them that their project wasn’t just another job.
Staying in touch occasionally—without being intrusive—keeps you top of mind. Share news about new tech you’re experimenting with or invite them to events where your work will be featured. These small gestures can build trust over time.
Securing Repeat Business
Think beyond the immediate project. After completion, ask if there are upcoming events or campaigns where projection mapping could add value.
Consider establishing a feedback loop: a brief survey or casual chat about their satisfaction and suggestions for future projects. This can unlock ideas for improvements or new creative directions.
Encourage referrals by offering incentives or highlighting successful collaborations. Most importantly, be dependable. Clients often return when they know they can trust you to deliver quality consistently.
Ultimately, building these relationships is about more than just business—it’s about becoming a partner in their storytelling, not just a provider of technology. That perspective changes everything.
Budget Planning And Cost Management

Estimating the cost of a projection mapping installation requires you to consider several key elements: electronics, software, labor, and marketing expenses. It’s not just about the equipment and software; keep in mind the human factor—skilled labor for setup, calibration, and troubleshooting can add up quickly, depending on the project’s complexity.
Breaking down equipment costs might help you grasp what’s ahead financially:
- Projectors: A reliable projector for mapping can run anywhere from $1,000 to $10,000 or more depending on brightness and resolution needs.
- Computers: You’ll need a powerful computer or media server, often $1,000–$3,000.
- Cables and mounts: Don’t overlook necessary accessories that might add up to a few hundred dollars.
- Software licenses: Projection mapping tools vary; some cost a few hundred dollars while others are subscription-based.
For the marketing side, think about allocating around 10-20% of your total budget to digital marketing efforts like social media ads, SEO, and content promotion. It’s crucial to track the return on investment. Tools such as Google Analytics or campaign-specific tracking links can offer insight—so you don’t just spend money blindly but understand what’s driving engagement or conversions.
Ultimately, balancing these costs while keeping an eye on potential ROI can feel a bit like walking a tightrope—you aim for precision but expect some unpredictability along the way.
Setting Project Timelines Advise on scheduling tasks from planning to launch

Setting clear project timelines for projection mapping installations is crucial. These projects usually unfold in phases, starting from planning, followed by setup, testing, and finally the public launch. When you plan, be mindful that setup itself can be time-intensive, requiring careful alignment of projectors, calibration of imagery, and adjustments to the physical environment. Testing isn’t just a final check; it often reveals small tweaks you’ll need to make, which can take longer than you expect.
For marketing campaigns, timing them to generate buzz just ahead of the launch is generally effective. Yet, launching promotions too early can lead to waning interest before the event. Perhaps a staggered approach—teasers, then full campaigns—works best. Don’t rush it, but don’t delay too long either, or you risk losing momentum.
Installation Day Tasks
Installation day can be hectic. Make sure you have a detailed checklist ready. Start by confirming all equipment has arrived and is undamaged. Next, focus on setting up projectors securely—this means stable mounting and precise positioning relative to the projection surface. Once installed, perform initial image mapping and alignment. It’s important to do a run-through of power connections and network setups if remote control is involved.
Don’t forget lighting conditions. Ambient light can drastically change the image appearance. Assess the environment and adjust projector settings accordingly. Load your content and run preliminary tests. Finally, have backup solutions ready to handle unexpected glitches. You’ll want to avoid delays that can cascade into missed deadlines.
Marketing Campaign Scheduling
Timing your online marketing campaigns in relation to your projection mapping milestones can be tricky. You want to build anticipation, but the visuals or videos you share need to be polished to avoid negative impressions. Usually, starting a teaser campaign a few weeks before installation builds curiosity. Follow this with scheduled content drops featuring sneak previews as you get closer to launch.
Think about syncing campaigns with key project milestones—like completing installation or finishing user testing. This alignment shows progress and keeps your audience engaged. However, be wary of over-promising too early; projections can face technical delays. Always leave room for adjustments in your schedule so marketing and the actual project remain coherent.
Monitoring Success And Troubleshooting

Measuring the performance of your projection mapping event and the accompanying marketing efforts can feel a bit tricky, but focusing on a few key metrics can give you solid insights. Start with audience engagement—observe the crowd’s reactions in real-time and gather feedback afterward. How attentive or interactive is your audience? Are they sharing pictures or videos online? These are vital signs of success.
Website traffic is another indicator worth tracking. If your projection event links to a website, monitor visitor numbers, duration of visits, and conversion rates. Increased traffic during and after the event usually means your digital marketing is hitting the mark.
Then, consider social media interactions. Likes, shares, comments, and mentions related to your event can reveal the buzz it’s creating. But remember, high numbers don’t always mean deep engagement. Are followers engaging thoughtfully or just scrolling past? It’s something to watch closely.
When troubleshooting, quick problem identification is key. Designate a team to monitor live feeds and social channels simultaneously. Establish clear communication lines for instant reporting of glitches in projection or marketing channels. If an issue arises—say, a projector glitch or a negative social media trend—respond fast with solutions or clarifications.
Think about these steps for a prompt response plan:
- Assign monitoring roles before the event starts.
- Use analytics tools for real-time data on web and social media.
- Prepare backup options, like alternative content or extra equipment.
- Keep communication open with your tech and marketing teams for rapid fixes.
Don’t expect everything to flow smoothly—sometimes subtle projection misalignments or unexpected drops in online engagement occur. It’s the rapid recognition and response that matter most to keep the audience experience and marketing momentum intact.
Conclusions
Projection mapping involves careful planning of both hardware and promotional strategies. A clear checklist ensures you don’t miss critical steps in the installation process, avoiding technical issues. Combining electronics knowledge with solid marketing lets you deliver impressive visuals to your audience and grow your presence professionally.
By following the guide from selecting electronic components to applying marketing tactics, you gain confidence and efficiency. Take control of your projection mapping projects by adhering to the checklist, using the right tools, and communicating your offerings effectively in the digital space.