Introduction
Unreal Engine is a powerful tool originally designed for video game development that has expanded its use into areas such as environment design for electronics and hobbies. This article will look at how the Unreal Engine can help in creating virtual environments that simulate real-life electronics scenarios and hobbyist projects.
We will cover what environment design entails in this context, tools available within Unreal Engine, and how hobbyists and professionals can apply these techniques effectively for practical and creative purposes. This guide aims to provide clear and practical insights on using Unreal Engine for environment design tailored to electronic and hobby needs.
Unreal Engine Environment Basics

What Defines Environment Design
Environment design in Unreal Engine means crafting the digital space where your project lives. It’s not just about pretty visuals but creating a believable, functional world. Key pieces include the terrain, which forms the ground or landscape, objects that populate the space like furniture, electronics, or hobby tools, and lighting, which sets the mood and influences how everything looks. Then there are interaction elements—the parts users can actually engage with, such as buttons, switches, or animated components.
Each element needs attention. For example, terrain shaping can mimic real-world surfaces or be completely artificial depending on the project. Lighting isn’t just illumination; it can highlight important parts or simulate day and night cycles, adding realism or emphasis. Objects bring detail and context, essential for electronics simulations where exact positioning and scale matter. Interaction mechanics allow users to test or play with objects, making the environment useful beyond just visual appeal.
Why Environment Matters In Electronics
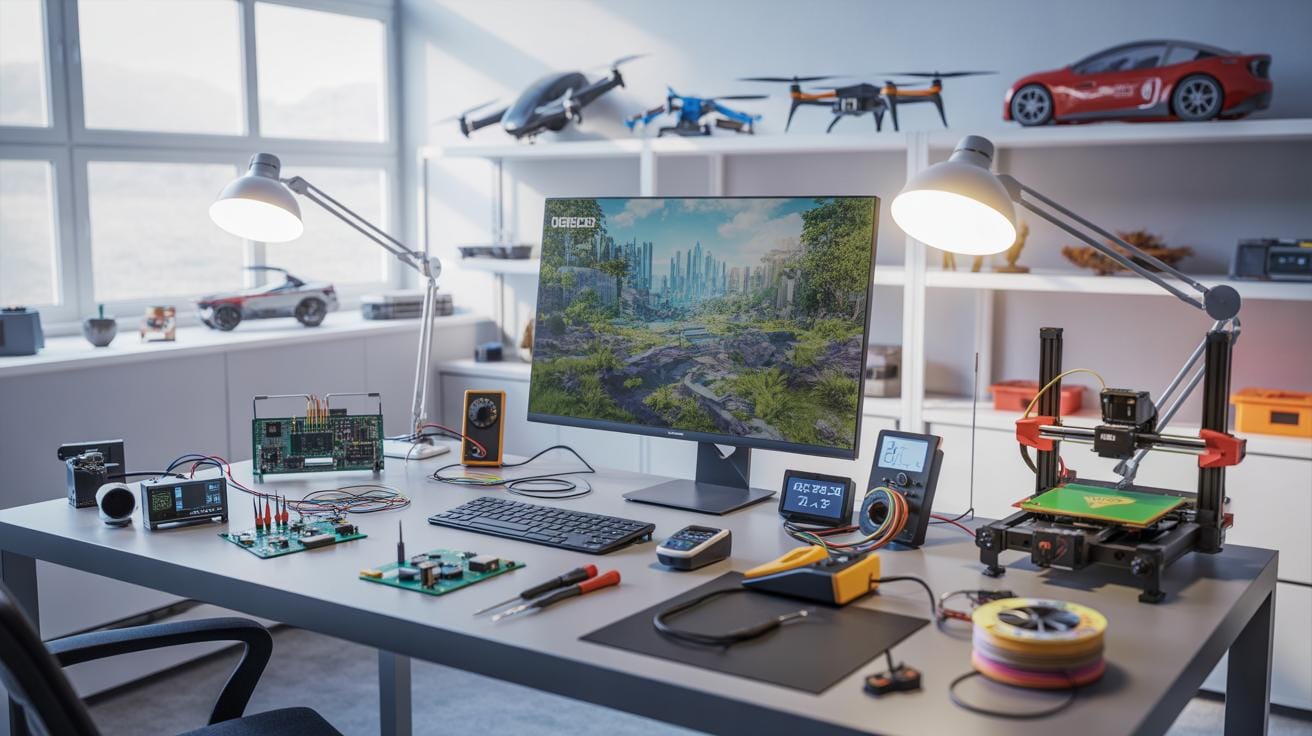
In electronics simulations and hobby projects, environment design isn’t just decoration. It directly affects usability and learning. If you’re building a virtual electronics workbench, the layout needs to feel intuitive and tools accessible, or it risks confusing users. Lighting affects how clear circuit details appear, which matters for precision work. Materials and textures can simulate different surfaces, helping users understand interaction better—for example, distinguishing a metal wire from a plastic case.

Environment shapes how users troubleshoot, prototype, or demonstrate electronics. A carefully designed space can replicate real-world constraints or provide idealized conditions to experiment safely. This also impacts engagement; if the environment feels realistic or inviting, users are more likely to spend time exploring and learning. So yes, environment design influences both function and experience—a fact that hobbyists often discover as they tweak their virtual setups for better results.
Setup Checklist For Unreal Projects
When you begin a new Unreal Engine project focused on environment design for electronics and hobbies, it helps to have a checklist ready. First off, make sure you have the right software installed. Unreal Engine 5 is generally recommended since it offers improved lighting and rendering features that are beneficial for detailed environments. You might want to double-check that you have Visual Studio or Xcode installed, depending on your OS, as some projects require code compiling.
Hardware-wise, a system with at least 16GB of RAM and a mid-to-high-end GPU like an NVIDIA GTX 1070 or equivalent should work. Don’t expect everything to run flawlessly on older hardware; projects with lots of assets and complex lighting in Unreal can demand a fair bit.
Starting the project, pick a template close to your needs—usually “Blank” or “First-Person” for flexibility in environment-focused builds. Opt for Deferred Rendering for better lighting control, especially when simulating electronic components and hobby setups. Organize your content right from the get-go. Creating folders for Textures, Blueprints, and Static Meshes avoids chaos later. Trust me, a neat folder structure saves headaches down the line.
Common Workflow Of Environment Creation


Creating environment designs inside Unreal Engine for electronics and hobby applications can feel a bit daunting at first, but breaking down the process helps a lot. It usually starts with planning and layout. Here you sketch or map out how your scene should be structured—where electronic components or hobby displays will be positioned, how users might interact with them, even thinking about the lighting and ambiance. Sometimes you realize halfway that a setup won’t fit well or looks cluttered, so being flexible is key.
Once the planning feels right, the next step is importing assets. You bring in 3D models, textures, and materials, whether from external sources or ones you created yourself. The challenge lies in placing these assets accurately, reflecting real-world setups. You might adjust scale, rotation, or position to get things looking right. It’s a bit like arranging a physical workspace—some trial and error helps. You’ll find yourself constantly tweaking, maybe repositioning a circuit board or a miniature tool to make it feel natural and useful within the scene.
This workflow rarely feels perfectly linear; you might bounce between layout and asset placement several times. But sticking to these steps builds a solid foundation for the environment, making it easier to add interactivity or effects later.
Visual Scripting With Blueprints

Basics Of Blueprints

Blueprints in Unreal Engine offer a visual scripting approach that’s quite approachable, especially if you’re not deep into traditional coding. You literally connect nodes to create logic—a bit like plugging wires in a circuit board, if you think about it. This makes it easier to add behaviors and interactions in your electronic hobby environments without wrestling with lines of code.
For someone designing an environment of electronic devices or hobby setups, Blueprints become a tool for rapid prototyping. It lets you focus more on the design and function rather than syntax. Plus, the real-time feedback you get is handy—you see how your environment reacts, immediately.
Example Interactive Elements
Imagine you want to simulate a simple switch that turns on a light inside your virtual workshop. Using Blueprints, you can:
- Create a toggle switch object.
- Set it to trigger a light component’s on/off state when clicked.
- Add sound effects for the click to give tactile feedback.
You could also build an interactive multimeter that changes readings based on connection points you simulate with Blueprints. Or set up an alarm system that responds to multiple sensors with customized warnings in your environment. The range is wide—mostly limited by your imagination and patience with node wiring.
Despite the simplicity, sometimes the visual layout can get messy, especially in bigger projects. That’s an aspect you might find frustrating at first. But once you get used to the flow, Blueprints can feel surprisingly natural for adding rich interactivity to your hobby electronics scenes.
Comparing Unreal Engine Versions


Graphics And Rendering Differences
Unreal Engine 5 introduces some pretty notable changes from Unreal Engine 4, especially in rendering. UE4’s rendering system has served well for years but UE5 pushes graphical fidelity much further with its Nanite virtualized geometry system. This means you can use incredibly detailed models without worrying about polygon count. For electronics and hobby environments, where detailed objects like circuit boards or intricate hobby kits matter, that’s a huge plus. The lighting system also saw a change; UE5’s Lumen provides real-time global illumination and reflections, reducing baking times. I found this quite handy when tweaking scenes—no more waiting for hours to see lighting updates.
Performance And Usability
Performance-wise, UE5 is optimized for next-gen consoles and powerful PCs, so expect smoother handling of large, detailed environments, which is great if you’re building complex electronics spaces. That said, running UE5 on older machines might be challenging. Usability improvements, especially the revamped editor UI and better content browser, help speed up asset management and scene assembly. I think for hobbyists who often juggle many small parts, this can ease the workflow. On the flip side, UE4’s tried-and-true approach might feel more stable or familiar for some, so it’s a bit of a trade-off between advanced features versus ease and reliability.
Overall, should you jump into UE5 straight away? If your projects need cutting-edge visuals and you have the hardware, yes. If not, UE4 still holds strong for detailed environments without demanding as much.
Tools For Electronics Simulation


When it comes to simulating electronics in Unreal Engine, several tools and plugins stand out. Perhaps the most useful are Blueprint visual scripting tools, which let you model circuit logic without deep coding. These provide a way to prototype electronic behaviors interactively, which I think saves a lot of trial and error. For more advanced users, plugins like Electric UI bridge Unreal with real hardware, allowing real-time communication between virtual and physical devices.
Another interesting option is Unreal’s Datasmith plugin. While it’s typically for importing CAD models, it can be adapted to bring detailed electronics models into your environment, preserving accuracy. It’s a bit niche, sure, but great if precision matters.
Physics And Collision Tools
Simulating how electronic components interact physically is crucial, especially when designing prototypes. Unreal Engine’s built-in physics engine handles rigid body dynamics quite well, letting parts move, collide, and connect realistically. Tools like Chaos Physics add robust collision detection, which is essential for ensuring components don’t improperly overlap in a simulation.
You may need to tweak collision meshes and physics constraints manually to get behavior just right — it’s rarely perfect out of the box. For instance, resistor leads or switches might behave oddly unless you fine-tune their collision profiles. It’s a bit fiddly, but once dialed in, the more realistic feedback significantly improves the design process.
Material And Lighting Options
Materials play a surprisingly big role in making electronic parts look believable. Unreal’s Material Editor lets you create detailed shaders to mimic metals, plastics, glass, even circuit board surfaces. Using physically based rendering materials helps achieve realistic reflections and surface details, which can subtly cue users about a component’s material and function.
Lighting setup also matters. You want a balance: too harsh lighting washes out details; too dim hides intricacies. Using HDRI maps for environment lighting can add natural reflections on metal parts, making them pop visually. And don’t forget subtle emissive materials to simulate LEDs or displays — small touches but they surprisingly boost realism.
Avoiding Common Design Pitfalls

When crafting electronic and hobby environments in Unreal Engine, it’s easy to fall into certain traps that can quickly undermine your work. One common mistake involves cluttering your scenes with too much detail. While detail might seem appealing, piling it on can slow down performance dramatically and make the environment harder to navigate. You want users to focus on what matters, not get lost in visual noise. Sometimes less really is more.
Another frequent issue is overlooking hardware constraints. Unreal Engine offers impressive capabilities, but your project’s scale and complexity must fit the devices it’s meant for. Ignoring this can lead to frustrating lag or crashes, which nobody wants. Think about the typical user’s hardware and balance your ambition with what’s practical. It’s a tightrope walk—too simple and it feels empty, too complex and it’s unusable.
Keep these points in mind:
- Avoid excessive geometry and redundant assets in scenes.
- Use level of detail (LOD) to reduce load dynamically.
- Test regularly on target devices to spot performance drops.
- Optimize textures and lighting for faster rendering.
- Plan interaction zones carefully to prevent confusion.
By watching these common pitfalls, your Unreal Engine environment will be more streamlined and approachable. I’ve found that stepping back periodically and asking, “Is this really necessary?” helps keep things on track in busy projects. You might find yourself surprised at how holding back can create a cleaner, more enjoyable experience for users.
Example Project For Beginners


Project Concept And Setup
Imagine you want to create a simple electronic hobby environment in Unreal Engine—a small workspace where you can virtually build and test circuits or gadgets. Start by defining what your scene will include. Perhaps a desk with some tools, a soldering iron, circuit boards, and wires. Keep it manageable; too much detail can overwhelm you at the beginning.
First, create a new Unreal Engine project using the basic template with no starter content—that keeps it clean. Import or build simple 3D models of the items you want to include. Focus initially on scale and placement rather than textures or lighting. Setting up a camera angle that mimics a real working desk view will help you get a feel for the environment.
Early on, decide if you want some interactivity, like dragging wires or switching components on and off. If yes, keep that in mind when organizing assets so later you won’t have to rethink everything.
Finalizing And Testing
Once your objects are in place and roughly textured, check for any issues with object collisions or camera clipping—these can quickly break immersion. It’s good to test simple interactions at this stage, like clicking a soldering iron to switch it on, even if just visually for now. That feedback loop will help clarify what needs refining.

Adjust light sources so shadows feel natural but don’t clutter the scene with overly dark spots. Test the environment in both editor and standalone modes to see if performance stays smooth. Often you might tweak sizes or reposition items because what seemed fine at first feels awkward in practice.
Try to use the environment yourself for brief periods—seeing how it holds up in “real use” highlights adjustments you wouldn’t notice by just looking at it. This phase is about balance: polishing details without getting stuck on perfection.
Conclusions
Unreal Engine offers valuable capabilities for designing environments suited to electronics and hobbies. Its features support detailed simulation, modeling, and interaction within virtual spaces, which can enhance project planning and visualization. By using this technology, both enthusiasts and professionals can develop organized, functional environments that support their specific goals.
Mastering environment design with Unreal Engine involves understanding core concepts, applying the available tools step-by-step, and continuously refining your digital space based on project requirements. Applying these principles will help you create environments that not only look good but also function well for your electronic and hobbyist projects.