
Introduction
Easy video editing tips can greatly benefit beginners, especially those involved in digital marketing. Videos are a powerful way to engage audiences online, and using the right editing techniques and tools can make your content more attractive and professional. This article will guide you through simple yet effective tips to get started with video editing apps, crucial for your marketing success.
We’ll explore what video editing apps do, why they matter in digital marketing, and how to choose and use them well. By following these tips, you will create content that captures attention and communicates your message clearly. Get ready to enhance your marketing videos with easy, practical advice.
Core Features Of Video Apps

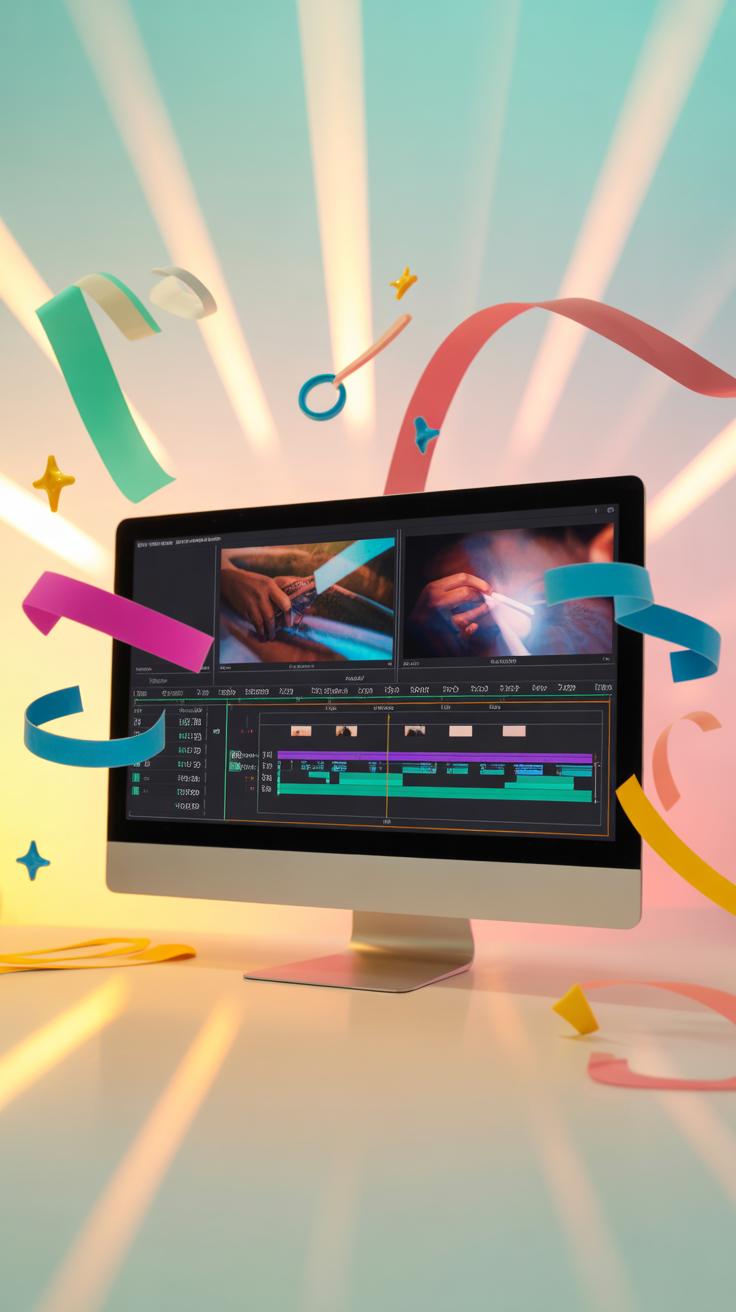
When you open most video editing apps, you’ll spot some shared elements—these form the backbone of editing and help keep things straightforward. The timeline, preview window, and media library usually dominate the screen. The timeline acts as your main workspace, where clips sit in order, ready to be cut, moved, or trimmed.
Most apps let you drag and drop videos, images, and sounds right into the media library. From there, adding them to your project involves a simple click or drag. You’ll often find buttons for undoing actions or snapping clips neatly together.

Also common are tools with icons that look like scissors, for cutting clips, or little music notes for audio editing. Even if the app looks crowded, these tools generally do the same thing: help you choose portions of footage, manage layers, or adjust volume levels. It’s not always clear from the start. I remember fumbling around, wondering which button did what, but after a few tries, it becomes kind of second nature.
Timeline And Clip Editing
The timeline is your project’s skeleton. Imagine it as a horizontal ruler where clips line up chronologically from start to finish. You drag clips left or right to change their order or duration.
Cutting clips is usually straightforward. You place a marker at the spot you want to split, hit the cut tool, and voilà—two clips instead of one. This lets you isolate the exact moments you want to keep or remove.
Sometimes you’ll want to overlap clips or insert transitions; that’s also done on the timeline. But it can get tricky if you have many clips stacked atop one another. Organizing layers so nothing covers an important shot can require some trial and error, especially early on.
Adding Text And Audio
Text tools in video apps let you add titles, subtitles, or captions by simply typing in an editor window. You can usually change the font, size, and position by dragging the text box around the preview screen. Some apps offer preset styles, which can feel like a helpful shortcut—or a limit, depending on your taste.
When it comes to audio, apps often let you import music or voiceovers into the timeline as separate layers. From there, you can trim, fade in and out, or adjust volume. I’ve noticed that subtle background music tends to work better when gently mixed, so don’t just blast it all the way up.

One tricky part is syncing text or audio with the clips. It might take a couple of attempts to get everything timed just right. You might ask yourself: Is this title appearing too late? Should the beat drop align with the visual cut? These are details that can make a noticeable difference, even without professional skills.
Choosing Apps For Beginners

When selecting video editing apps as a beginner in digital marketing, ease of use should lead your choices. If the app feels complicated right away, you might lose motivation before even starting. A clean, straightforward interface helps you focus on your content, not on figuring out menus. I’ve seen beginners get stuck on apps packed with confusing options—so simplicity really matters here.
That said, there’s a tricky balance between features and simplicity. Some apps offer a ton of tools, filters, and effects that sound tempting. But these extras can slow you down or distract you from basic editing skills, especially if you’re still learning. On the other hand, apps that keep things minimal might leave you wanting more as your skills improve.
Ask yourself:
- Will this app let me quickly trim and arrange clips without hassle?
- Are the editing tools easy to find and understand?
- Does it have useful options like adding text or adjusting audio without overwhelming menus?
- Will this app grow with me, or will I outgrow it fast?

Sometimes, starting with a simpler app builds confidence. Later, you can explore more complex tools. It’s not about picking the “most powerful” app right away, but the one that fits your current needs and encourages steady progress.
How To Start Editing Videos

Importing Footage And Setup
Getting your clips into the editing app is the first step, and it can feel a bit confusing at first. Usually, you’ll find an “Import” or “Add Media” button—it’s often near the top or in a menu. Click that, navigate to your files, and select what you want to use. Some apps allow drag-and-drop, which feels more natural once you get the hang of it.
Once your footage is in, set up a new project. This means picking a frame rate and resolution that matches your clips—or at least stays consistent with where you want to publish. You might not know exactly what that means now, but just matching your source video usually works okay.
Arranging your clips in a timeline is next. The timeline is where you’ll build the story by putting clips in order. It’s like organizing puzzle pieces; you want to see how the story flows before cutting anything too soon.
Basic Cuts And Arrangements

Trimming clips is about removing extra bits at the start or end that don’t add anything. Most apps let you drag handles at the clip edges in the timeline—that’s one of the simplest yet most useful tools. I find myself doing this a lot, chopping footage until it feels tighter. Sometimes, though, you might hesitate, worried you’re cutting important parts—you’re not alone in that.
Moving clips around is just clicking and dragging them along the timeline. You can test different sequences and see what feels right. The order you put scenes can change the whole message. Don’t be afraid to experiment, even if it feels like you’re making a mess initially.
Sometimes, splitting a clip helps if you want to insert something or delete a middle part. Look for the razor or cut tool. It’s easy to overuse it, but when used sparingly, it helps build pacing and flow. Just avoid jumping between clips too fast—it can confuse viewers.
Using Effects And Transitions
When you’re working with visual effects and transitions, it’s tempting to pile them on—sometimes I’ve been guilty of that myself. But too many effects can make your video feel chaotic or distracting rather than engaging. The key is subtlety. Use effects sparingly to highlight key moments or to maintain a smooth flow between clips.

Transitions like fades or cuts help guide the viewer through the story without calling too much attention to themselves. They shouldn’t interrupt the message; instead, they should support it. I often find myself asking: Does this transition enhance the flow, or does it just draw the eye away from what’s important?
Pick effects that add value. For instance, gentle color correction can improve mood and clarity without overwhelming the content. But flashy filters? Maybe only for specific moods or branding. Think about what your video is trying to say and choose effects that reinforce that.
Simple Transitions That Work
Some transitions are easy to apply yet effective. Here are a few you can try out with most video editing apps:
- Crossfade: Fades one clip smoothly into another. Perfect for soft scene changes.
- Cut: The sharpest transition. Cuts directly from one shot to the next, keeping pace steady.
- Fade to black (or white): Useful for ending or starting sequences with a clean, natural pause.
- Dissolve: Blends overlapping clips briefly for a gentle shift in time or place.
Applying these typically involves dragging and dropping the transition between clips in the editing timeline, then adjusting duration to fit your pacing. Don’t overthink it; often a short, subtle crossfade works better than a complex wipe.
When To Use Effects
Not every effect suits every video. You’ll want to use effects when they clarify or boost your message, not just because they look cool.
Ask yourself: Does this effect help viewers understand my message quicker? Does it add emotion or draw focus where needed? For example, slow motion might emphasize an important action, but overusing it might make the video drag. Similarly, adding text effects can highlight a call to action but too much animation can feel noisy.

Sometimes less is more because your audience isn’t there to see your editing skills—they want clear, concise info. So, stick to effects that add meaning. If you’re puzzled about an effect, try removing it and seeing if the video still conveys the same point. If yes, you might not need it after all.
Editing Sound For Videos

When editing audio in video apps, the first thing to remember is that sound isn’t just a background detail—it can make or break your video’s impact. Most apps let you trim sound clips, fade audio in or out, and adjust volume levels. While working in apps like InShot or Adobe Premiere Rush, you’ll find sliders or controls for these adjustments. It’s sometimes easy to overlook minor tweaks, but small changes to audio timing or smoothing transitions can really improve the overall feel.
Adding music is another common step. Choose tracks that don’t overshadow your message—something simple usually works better than complex pieces. You can find free or inexpensive royalty-free music in many apps or from libraries like YouTube Audio Library. Try layering music softly beneath your voiceover or main sounds but avoid overpowering what’s being said. The goal is to enhance, not distract.
Balancing volumes is tricky. Voiceovers should be clear and at a steady level, while background music or effects need to sit lower in the mix. Many beginners crank up background sounds, which often drowns out speech. A good rule is to set your voice 10 to 15 percent louder than other tracks. Some apps even have automatic leveling; these can be helpful but sometimes miss the mark on nuanced adjustments. Don’t hesitate to trust your ears more than what the meters say.
Exporting And Sharing Videos
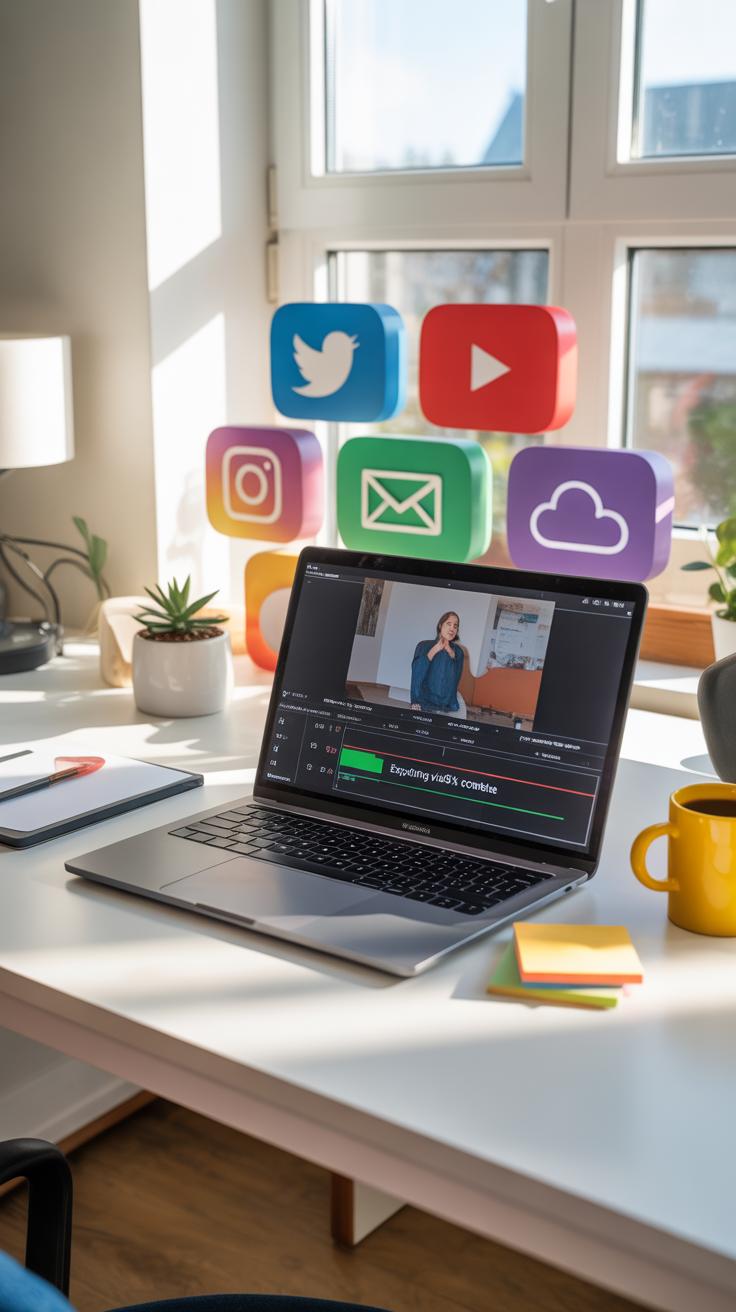
When you finish editing your video, the next step is getting it out there. Exporting is where your project turns into a real, playable file. Most video apps offer a few export options—sometimes it feels overwhelming, but focusing on the purpose helps. For digital marketing, you want formats that balance quality and accessibility.
MP4 is usually the safest bet. It’s widely supported by social media platforms, websites, and email clients. You might notice some apps let you tweak bitrate or resolution at export, which can drastically affect file size. For instance, lowering resolution from 1080p to 720p can speed up loading without losing too much detail, especially on mobile.
Sharing from the app can be direct. Some tools connect to YouTube, Instagram, or Facebook, letting you upload videos straight away. But if you’re unsure, saving the file locally first gives you control over where it goes next. In my experience, exporting twice with different settings sometimes helps—one for preview, one for final upload.
Choosing The Right Format
The format you pick matters more than you might think. MP4 with H.264 codec generally hits the sweet spot. It compresses well but keeps decent quality. WebM is another option, especially for websites. It’s lighter but not as widely supported everywhere.
AVI and MOV files offer high quality but tend to be bulky, not suited for quick online sharing. Unless you’re sending videos to a client for further editing, these aren’t practical.
Ask yourself: where will your audience watch this? If it’s mainly social media, MP4 is safe. If you plan to embed videos on your site, test WebM or MP4. You might need multiple files for different platforms.
Optimizing For Web
File size and video quality often feel like a tug-of-war. Large files look crisp but load slowly, which can lose viewers fast. Smaller files load quicker but may appear grainy or pixelated. Finding that middle ground is part science, part guesswork.
Some tips that might help:
- Keep your bitrate between 3,000 and 5,000 kbps for 1080p videos. Lower for 720p.
- Try to keep file size under 50 MB for short clips (under 2 minutes).
- Use app settings to reduce frame rates slightly, especially if your video isn’t action-heavy.
Still unsure? Run tests on different devices with different internet speeds. What looks good on your high-speed connection may stutter on slower ones.
Sharing videos that load fast and look decent is tricky but doable. It comes down to experimenting and knowing your audience. Have you noticed some videos just won’t play smoothly on mobile? Export settings could be the culprit there.
Top Apps Versus Free Ones

Benefits Of Paid Apps
Paid video editing apps often come with a wide set of features that you might not find in free alternatives. Take Adobe Premiere Pro or Final Cut Pro, for instance. They support multiple video tracks, advanced color grading, and detailed audio controls. For someone aiming for polished marketing videos, these options give you more control over every aspect.
Another thing—paid apps usually offer reliable customer support. So if something goes wrong or you get stuck, you can reach out to a team ready to help. This might save you some serious frustration, especially early on.
Then there are the updates. Paid software often receives regular updates with new features or security patches. I remember using a professional app where an update fixed compatibility issues I hadn’t even noticed until then. That kind of support feels reassuring. Of course, that comes with a price, and not everyone will want to make that commitment right away.
What Free Apps Offer
Free or open-source video editors have improved a lot recently and can do more than just basic trimming. Apps like DaVinci Resolve (which has a free version), Shotcut, and HitFilm Express provide decent editing tools like multi-track timelines, keyframe animations, and color correction. For beginners, these features are often enough to get started without feeling overwhelmed.
Many free apps also include useful presets and effects that help you quickly enhance your videos. Plus, since they’re free, you can experiment without pressure. I’ve seen people create neat marketing clips with free tools before, and it’s impressive how much can be accomplished.
Still, free apps tend to have limitations, like restricted export options or watermarks. Sometimes the interface isn’t as intuitive or polished, which can slow down your workflow. But if budget’s tight or you just want to test the waters, they offer a solid stepping stone into video editing.
Video Editing Apps Overview
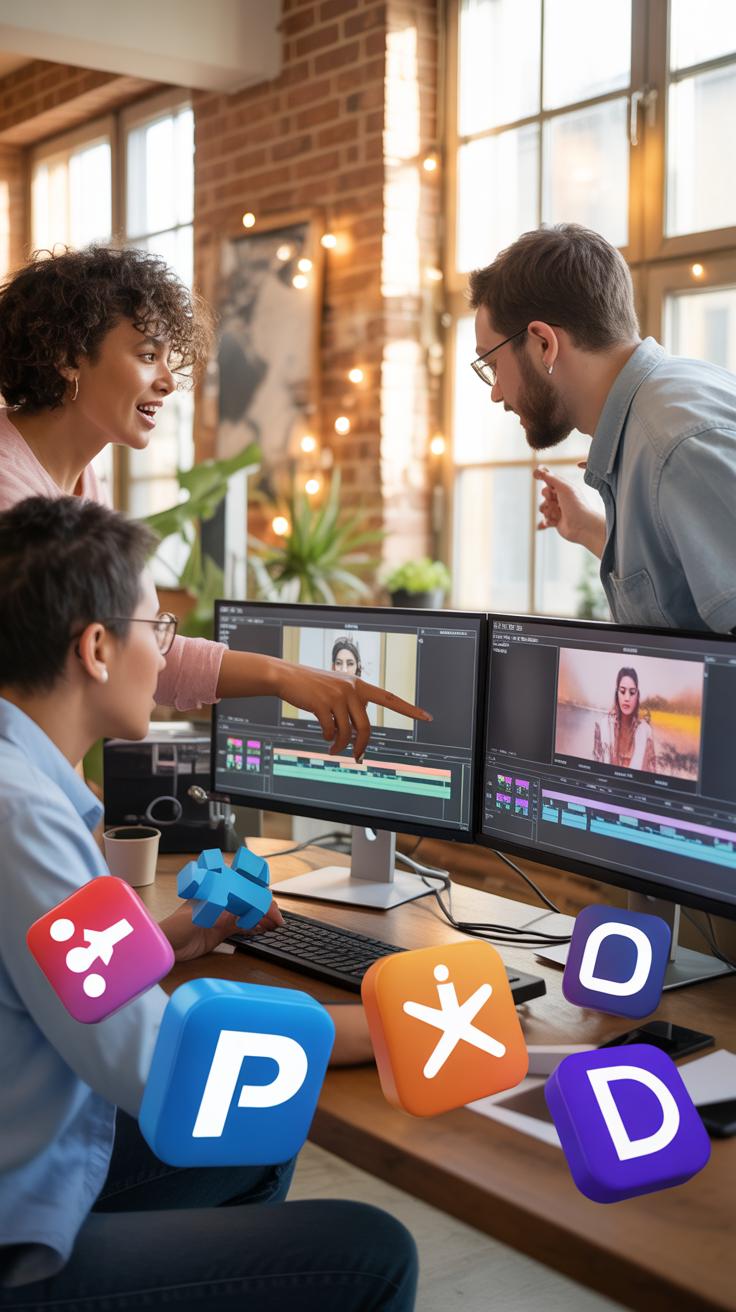
When you start editing videos for marketing, choosing the right app can feel a bit overwhelming. There are so many options out there—some simple, others quite complex. Picking one that matches your skill level and goals is actually more important than you might think.
If you’re just beginning, apps like iMovie or InShot can be great because they focus on straightforward tools. They don’t bombard you with features you may never use, which means less distraction. On the other hand, if you want a bit more control, apps like Adobe Premiere Rush or Filmora offer more options but can feel intimidating at first.
One thing I noticed while trying a few tools was that sometimes an app can seem simple but hides tricky parts. You might start feeling frustrated, then switch to another app, which wastes time. So, maybe it’s okay to spend some time experimenting before settling in.
- Look for apps that let you trim, cut, and reorder clips easily.
- Check if they allow simple text overlay and basic color adjustments.
- Test the audio controls before committing; bad sound handling can be a pain.
Most apps also come with ready-made templates or preset filters, which sound useful. But be careful—these can sometimes push your video in a direction you didn’t intend, making it look generic. You might want just a little tweak, not a full makeover.
Something else—I found that some apps perform better on certain devices. So if your phone or computer lags or crashes, that app might not be the best choice for you. Don’t ignore this, because it affects your workflow a lot.
At the end of the day, there’s no one perfect app. Your choice depends on what feels right and suits your project. Maybe try a couple, and see which clicks.
Checklist For Your Editing Workflow
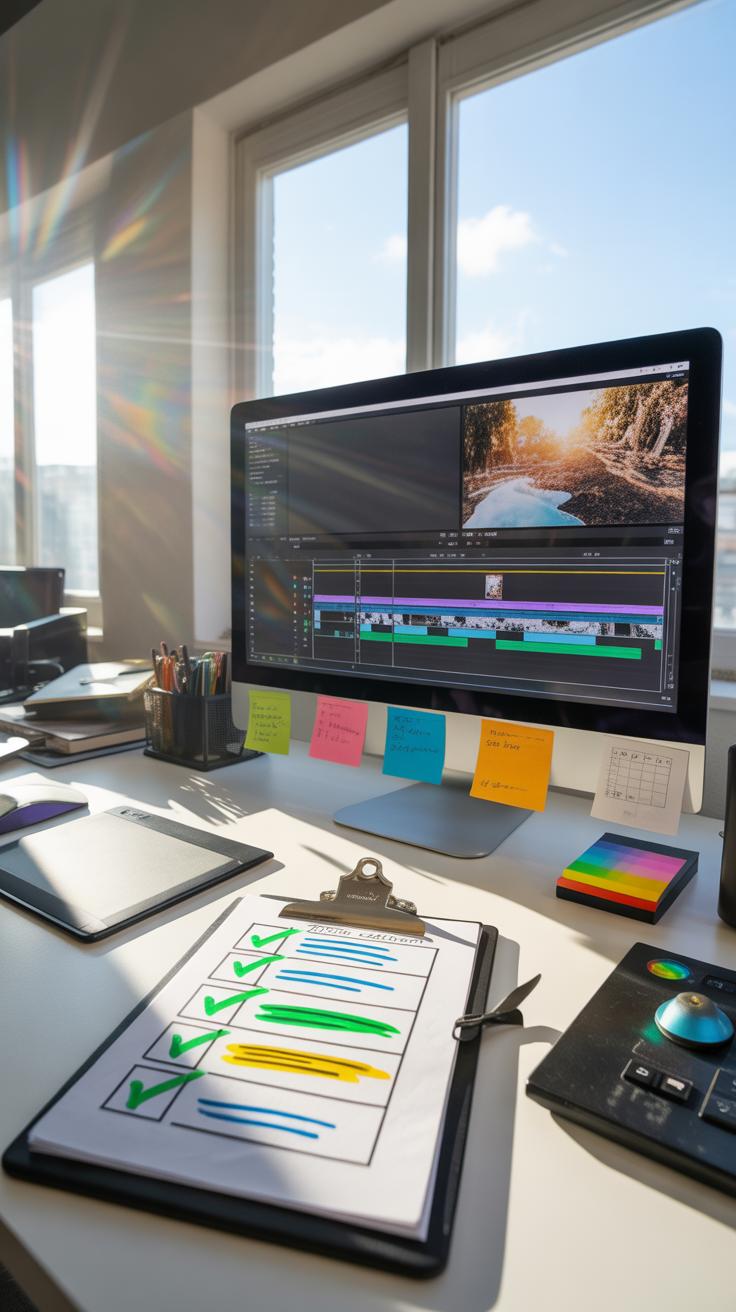
When you jump into editing your marketing videos, having a checklist can be surprisingly helpful. It keeps you on track, especially if you’re still figuring out the flow. Here’s a simple one to follow—nothing fancy, just the essentials.
- Import your footage: Start by gathering all your video clips, graphics, and audio files in one place. It sounds obvious, but missing files can throw off your whole process.
- Rough cut: Trim out the unnecessary parts. Keep only what tells your story. Don’t worry about perfection yet, just get the main pieces aligned.
- Fine cut: Go back and smooth transitions, tighten your edits, and make sure the flow feels natural. This step takes time, so be patient.
- Add effects and graphics: Sprinkle in simple text overlays, logos, or callouts. It’s tempting to go wild, but subtle works best for marketing.
- Sound editing: Balance audio levels, cut background noise, and add music or voiceovers. Sound can make or break your video, so pay attention here.
- Export settings: Choose the right format and resolution based on where you’ll post your video. This can be a bit confusing if it’s your first time.
Once you reach the final stage, it’s easy—well, sort of—to forget some details. So, after exporting, watch your video from start to finish. Look for any awkward cuts, weird audio spikes, or typos in your text. Sometimes, watching with fresh eyes—maybe even a friend’s—helps. What part feels off to you? Trust that feeling.
Video Editing Examples In Marketing

Social Media Video Ads
Short social media ads often live or die by a couple of key edits. Think about trimming unnecessary pauses or distractions early on to keep viewers hooked. A quick jump cut here or there can make the ad feel more energetic, helping it stand out in a crowded feed. Sometimes, all it takes is adjusting the pacing so the message lands just right—too slow, and people scroll past; too fast, and they miss the point.
For example, reducing a 30-second ad to 10 seconds forced a brand to rethink which visuals mattered most. The result? Clearer messaging and a noticeable boost in click-through rates. It felt like the video finally matched how people actually consume content on social platforms.
Product Demo Videos
When showing products, how you cut and highlight features matters a lot. Using zooms or slow motion around key moments helps guide attention, but don’t overdo it; too much can feel like over-selling. I’ve seen cases where simply adding text overlays to call out specs made viewers understand the product faster—especially for technical stuff.
Careful sequencing also makes a difference. A well-edited demo starts with the problem, then the product solution, keeping it clear and logical. Some brands use split screens or before-and-after shots to make comparisons straightforward. These editing choices can shift a video from just “another demo” to something that actually persuades viewers to consider buying.
Conclusions
Video editing apps offer a straightforward path to enhancing your digital marketing content. By recognizing their features and applying simple editing techniques, beginners can produce engaging videos without complex skills. Start with apps that suit your needs and explore their tools to shape your videos effectively.
Remember, your marketing videos should be clear, focused, and tailored to your audience. Use the tips shared here to improve your editing process and results. With practice and the right app, your content will catch eyes and support your marketing goals.